
Renter Friendly Backyard Makeover: 9 No Dig Upgrades That Move With You

A renter friendly backyard makeover has one rule the pretty photos never mention. Everything you buy has to fit in a car.
That is the whole constraint. It sounds limiting until you realize it quietly solves the biggest problem renters have, which is spending three hundred dollars on a yard that legally stops being yours the day the lease ends. Once every purchase has to survive a move, you stop buying gravel by the ton and start buying things that earn their keep twice, once here and once at the next place.
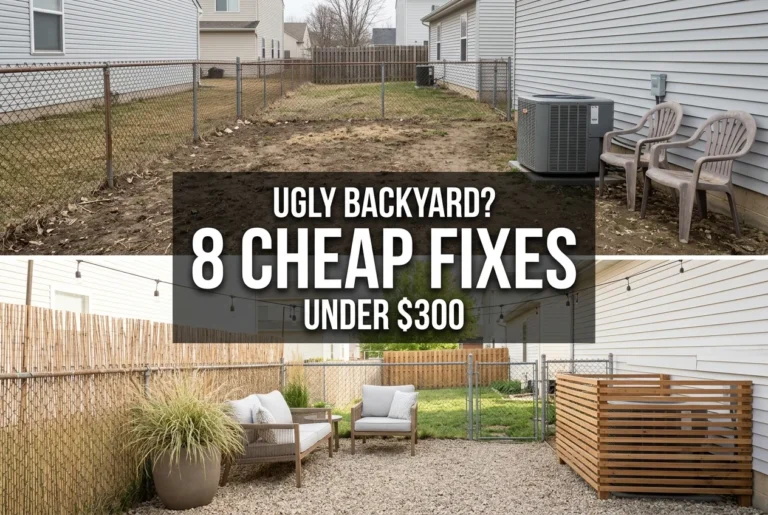
I have moved four times in seven years. The patio I have now is a 12 by 14 concrete slab behind a duplex, and it looked like a parking space when I got the keys. No digging happened. No holes went in a wall. The whole thing came together in three weekends for less than a decent pair of boots, and every piece of it is coming with me.
Below is the exact sequence I use now, in the order that actually works. If your budget is tighter than the numbers here, the same logic applies at half the spend, and these budget backyard garden ideas that do not look cheap will stretch it further.
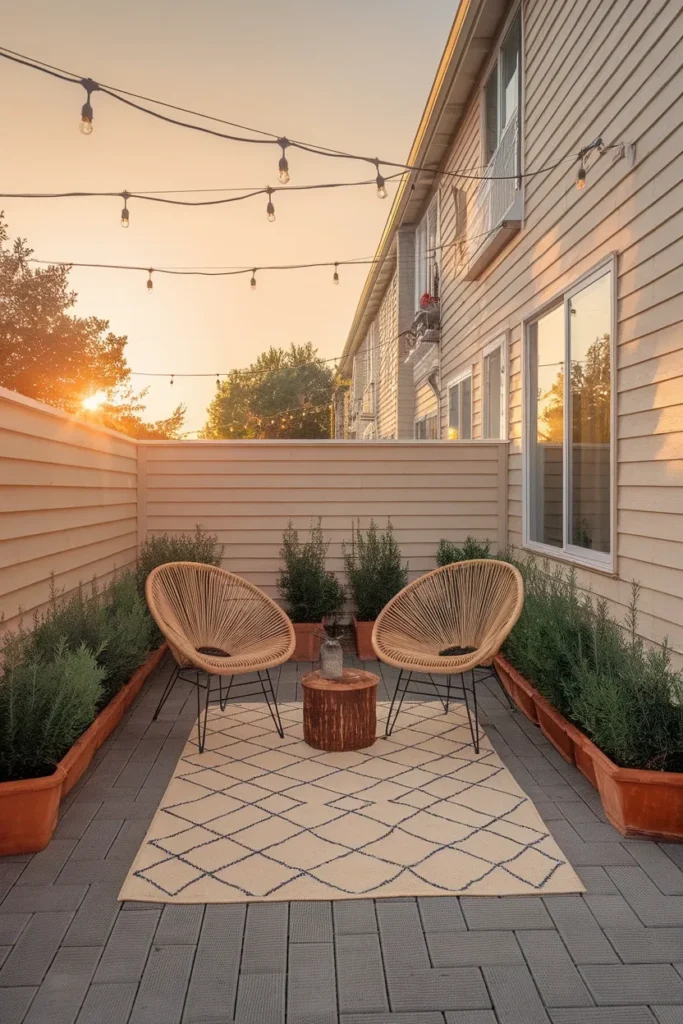
Why rental yards look bad, and why the plants are not the problem
Walk into any rental backyard and the thing dragging it down is almost never the greenery. It is the floor.
Cracked concrete, a bald patch where the last tenant’s dog lived, mismatched pavers laid by somebody in a hurry. Your eye reads that surface first, and no amount of pretty potted color fixes a floor that looks neglected. This is the part renters skip, because covering ground feels boring and buying a flowering shrub feels like progress.
Here is my counterintuitive take, and it is the one thing I would go back and tell myself at 24. Spend roughly 60 percent of a renter friendly backyard makeover budget on the ground and the lighting. Spend what is left on plants. Most people do the reverse and wonder why their yard still looks like a rental with nice pots in it.
The reasoning is simple. Ground and light are the two things that read in a photograph from ten feet away. Plants read at three feet. When somebody steps outside and their brain decides whether this space feels finished, they are responding to surface and glow, not to whether your basil is thriving.
There is a second reason, and it matters more for renters than owners. A rug, a set of tiles, and a string of lights all pack flat. A mature potted olive tree does not. Weighting your spend toward the flat, stackable, movable layer means more of your money survives the move.
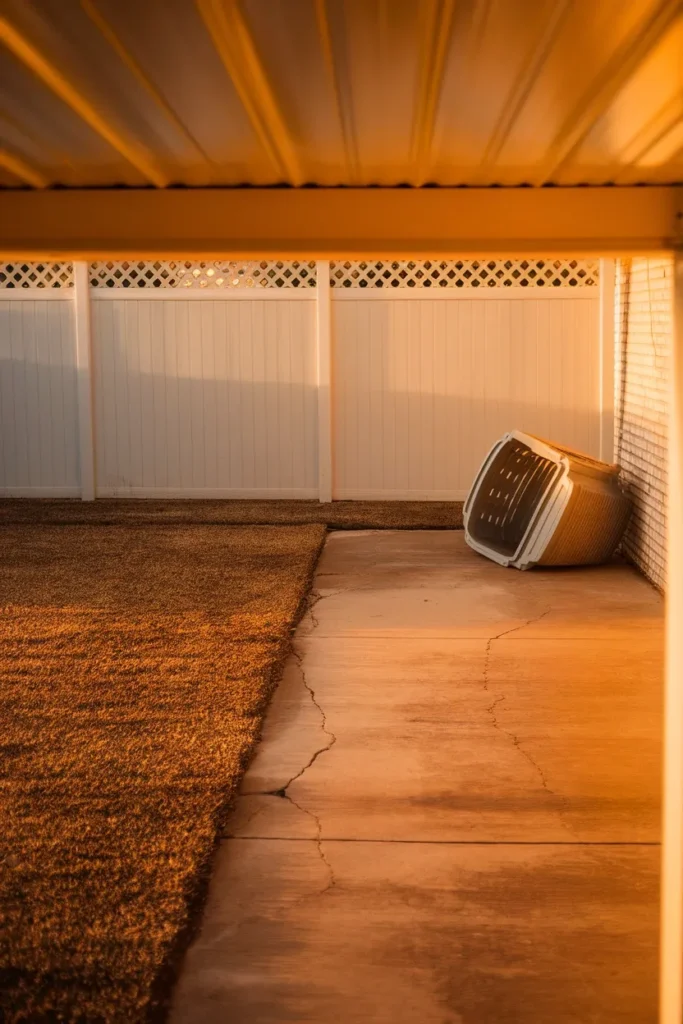
The Take It With You Test: four questions before anything enters the cart
Every renter needs a filter, because the internet will happily sell you a raised bed you cannot lift. I run everything through four questions. If an item fails two of them, it stays in the store.
I call it the Take It With You Test.
| Question | What a pass looks like | What a fail looks like |
|---|---|---|
| Does it lift? | One person can carry it, or it breaks down into carryable parts | Needs two people, a truck, or a dolly |
| Does it leave a mark? | Sits on the surface, adhesive-free or removable adhesive only | Screws, anchors, stakes, mortar, permanent paint |
| Does it survive the move? | Packs flat, nests, or rides upright in a sedan | Fragile, oversized, or single-use for this exact yard |
| Does it earn its footprint? | Works in at least two different layouts | Only makes sense against this one wall |
That fourth question is the one people forget, and it is the one that saves the most money. A bench that only fits a 6 foot alcove is a bench you will donate. A pair of stackable chairs works on a slab, a balcony, and a lawn.
Run the test on the big three purchases and you will not need to run it on the small ones. Flooring, seating, and privacy account for most of the budget and almost all of the regret.
One honest correction to my own rule. I break the “leave a mark” question exactly once per rental, for outdoor-rated removable adhesive clips. Command Outdoor Light Clips run under $15 for a pack of 16 to 20 with weather-resistant strips. They hold string light cable without hardware, and they peel off clean if you warm the strip for a few seconds first. That is the only adhesive I trust on someone else’s siding.
Print the table or screenshot it on your phone before you shop. A renter friendly backyard makeover goes sideways at the register, not at the planning stage, and having the four questions in front of you is what keeps a beautiful unliftable thing out of your cart.
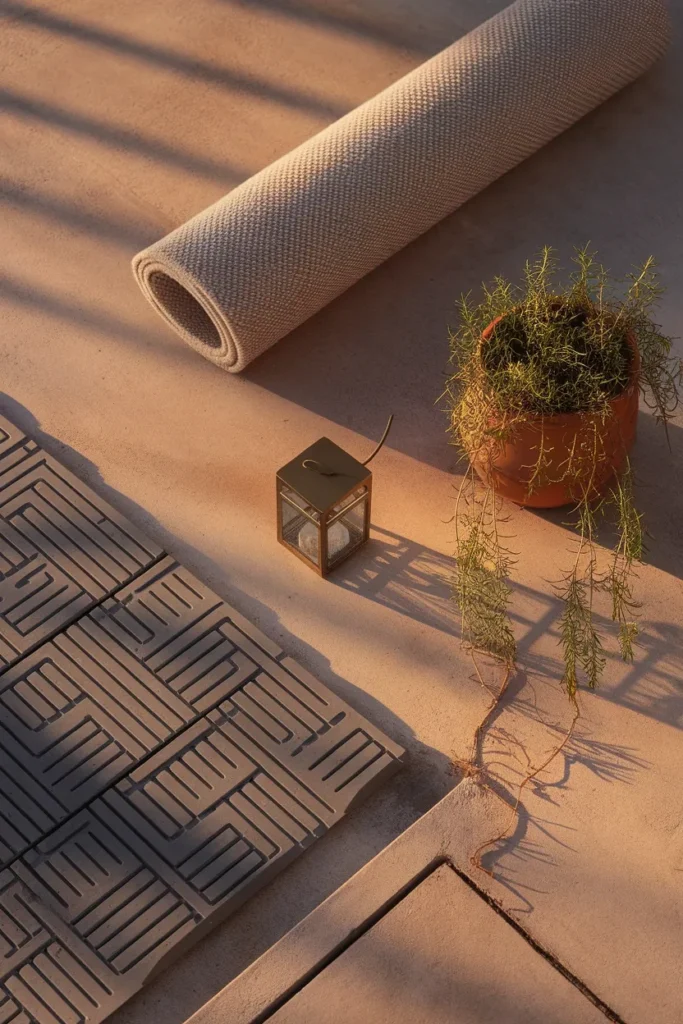
Layer one: cover the ground without touching a shovel
This is where a renter friendly backyard makeover either works or quietly fails. Solve the floor first.
You have three real options, and they stack.
Interlocking deck tiles. These click together over concrete with no adhesive and no fasteners. IKEA’s RUNNEN decking runs $29.99 for a pack of nine tiles covering 8.72 square feet, with each tile measuring about 11.75 inches square and three quarters of an inch thick. For my 12 by 14 slab I did not tile the whole thing. I tiled a 9 by 9 seating zone, which took nine packs and a Saturday morning, and left the rest of the concrete bare as a walkway. Partial coverage looks intentional and costs half as much.
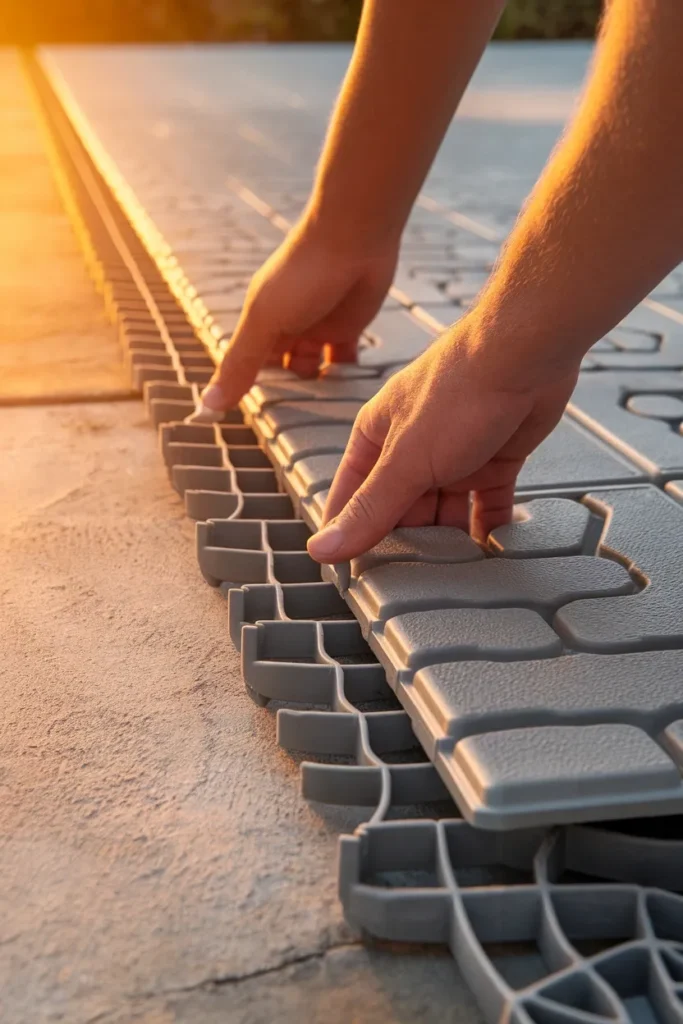
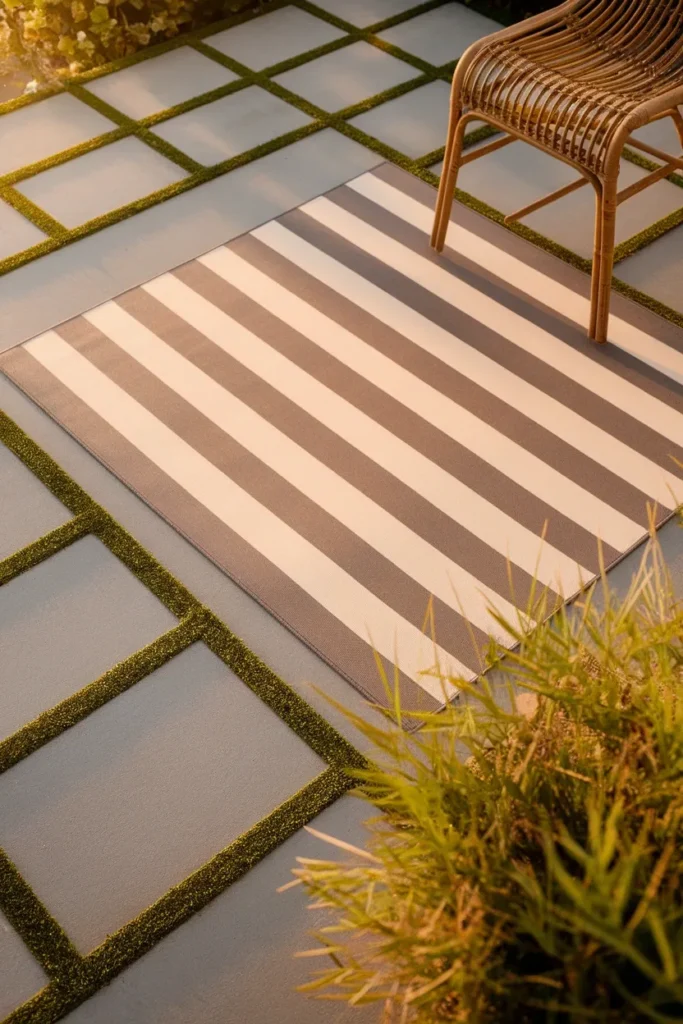
An outdoor rug on top. A polypropylene rug over tiles or bare concrete does more visual work per dollar than anything else you can buy. Expect $60 to $150 for something in the 5 by 8 range that will not fade in one season. Polypropylene is the material to insist on, because it sheds water instead of holding it.
Pea gravel inside a frame. For the dirt or dead-grass portion of a yard, landscape fabric plus pea gravel contained by a shallow removable edging gives you a clean surface with no excavation. Roll the fabric back up when you leave and the gravel goes to the curb or to a neighbor.
Now the warning nobody in the top search results gives you. A rug left flat on concrete for a full season will stain it. Trapped moisture underneath encourages mildew and leaves a dark ghost outline that a landlord will absolutely notice at move-out. I learned this the expensive way in my second rental. A jute-blend rug I bought on sale sat through a wet April and left a rectangle on the slab. Getting it out cost me a Saturday, a jug of oxygen bleach, and a deck brush.
The habit that fixes it takes ninety seconds. Lift the rug, flip it over the back of a chair, and let both surfaces dry after any heavy rain and once a month regardless. Deck tiles help here too, since the gaps between slats let air move underneath instead of sealing the moisture in.
Layer two: privacy that stands on its own two feet
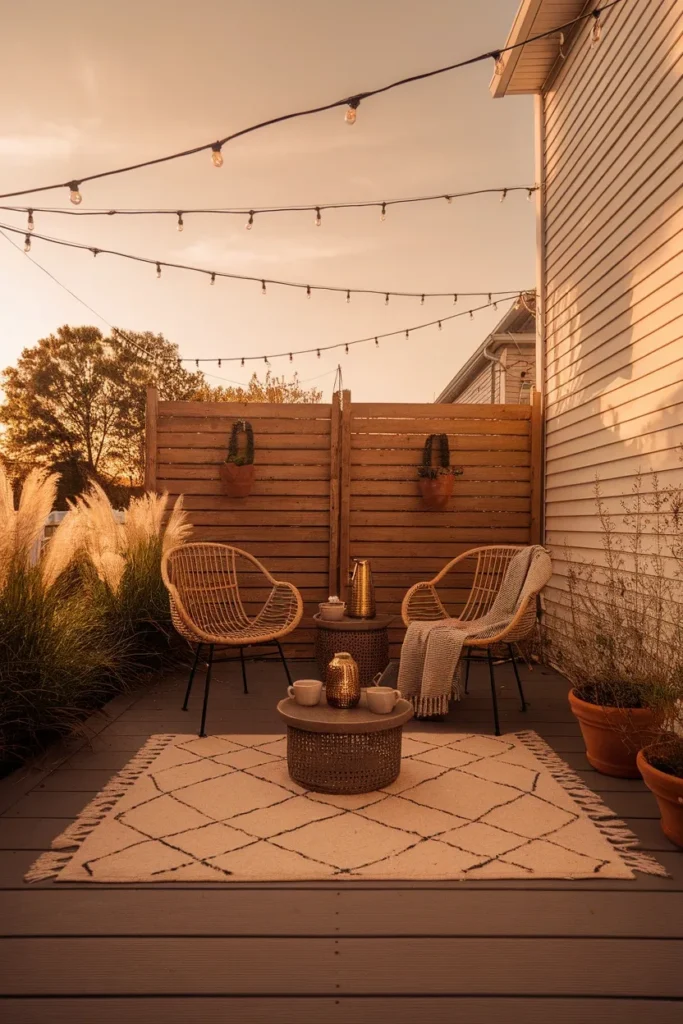
Nothing kills the feeling of an outdoor room faster than a neighbor’s window looking straight into it. Renters cannot build a fence. You can still build a wall.
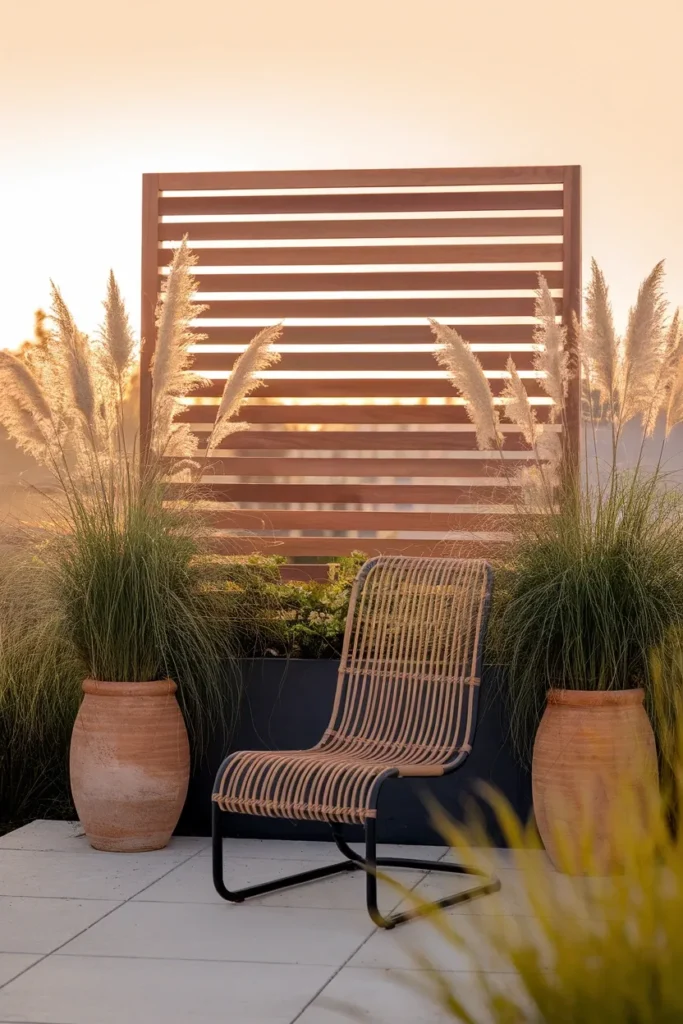
Freestanding screens with weighted bases. A cedar or composite screen panel set into a heavy planter base stands without any attachment to the house. Fill the base planter with soil and a few inches of gravel for ballast, then plant something trailing at the foot of it. Two panels at a 90 degree angle block far more sightline than three panels in a straight row, because you are closing a corner instead of building a fence.
Potted plants doing the screening. This is the slower option and the prettier one. Tall ornamental grasses in 18 to 24 inch pots throw a soft screen by midsummer and move with a hand truck. Clumping bamboo works in containers if you commit to watering, though it will need dividing every couple of years. Skip running bamboo entirely, even in a pot, because if it escapes into a rental yard you own that problem legally and financially.
Outdoor curtains on a freestanding frame. Two heavy planters, two poles, one tension rod, done. Curtains read as instantly expensive in photographs and cost very little, which is exactly why they show up on every high-performing pin in this category.
Angle matters more than height here. Before you buy anything, sit down in the chair you actually plan to use and look where your eye lands. Screen that line and nothing else. Most people build privacy for a standing person and then spend every evening sitting, blocked from a view they liked. If your yard is long and thin rather than square, these narrow townhouse patio layouts cover the geometry in more detail.
Layer three: light it so the whole thing reads as finished
Light is the cheapest thing on this list and it does the most. A patio with good overhead lighting looks designed. The same patio with a bare bulb by the door looks like storage.
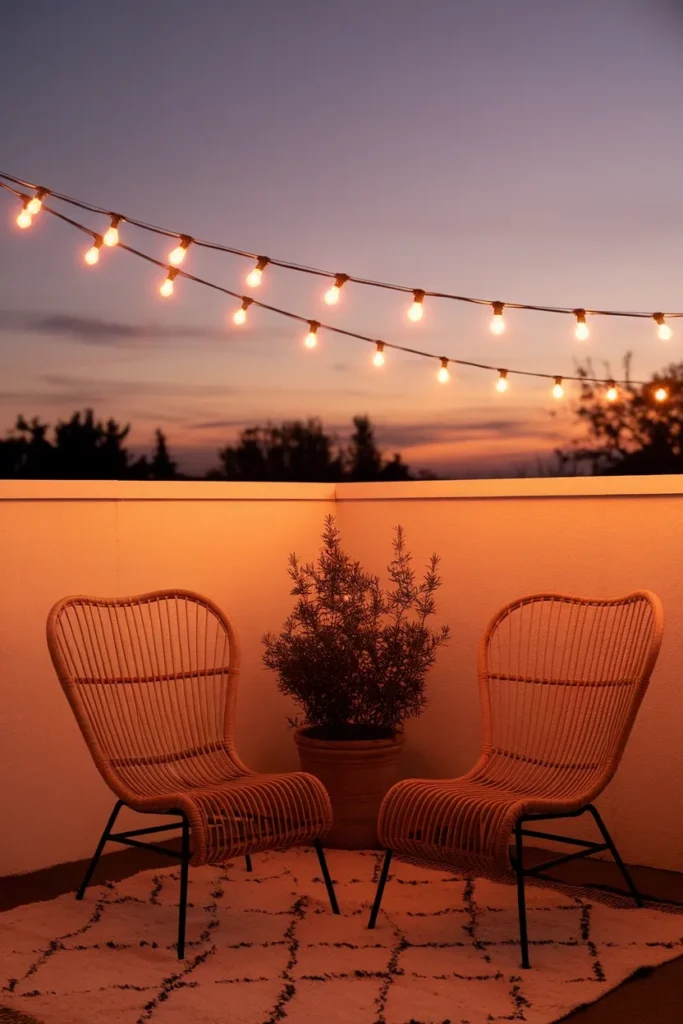
Overhead is the priority. Brightech’s Ambience Pro line is the workhorse here, with 48 foot commercial-grade shatterproof strands landing around $50 to $70 depending on bulb style and whether you go plug-in or solar. Run the strand in a zigzag rather than a straight line, because two crossing passes over a seating zone create a ceiling and one pass just creates a line.
For the anchor points, use the Command Outdoor Light Clips mentioned earlier on siding and trim, and use the existing fence posts, gutter edge, or a tall potted tree for the rest. A ten dollar telescoping pole set in a weighted planter gives you a suspension point in the middle of an open yard where there is nothing to attach to.
Then add two lower layers. Solar path stakes at about $1.25 each from Dollar Tree are genuinely fine for edging a walkway, since nobody looks directly at them and their only job is to suggest a boundary. Finish with two or three real lanterns on the table and the ground, ideally battery LED with a warm color temperature, because flame flicker at eye level is what makes people linger.
Warm white matters. Look for 2700K on the box. Cool white reads as a parking lot no matter how much you spent, and it is the single most common lighting mistake in rental yards.
One more habit. Put the strand on a $10 outdoor timer or a smart plug. Lights you have to remember to switch on are lights you stop using by August, and the whole point of this layer is that the yard looks inviting before you decide to go outside.
Container plants that actually earn their pot
Plants come last for a reason. By this point the space already works, so the greenery is decoration rather than rescue.
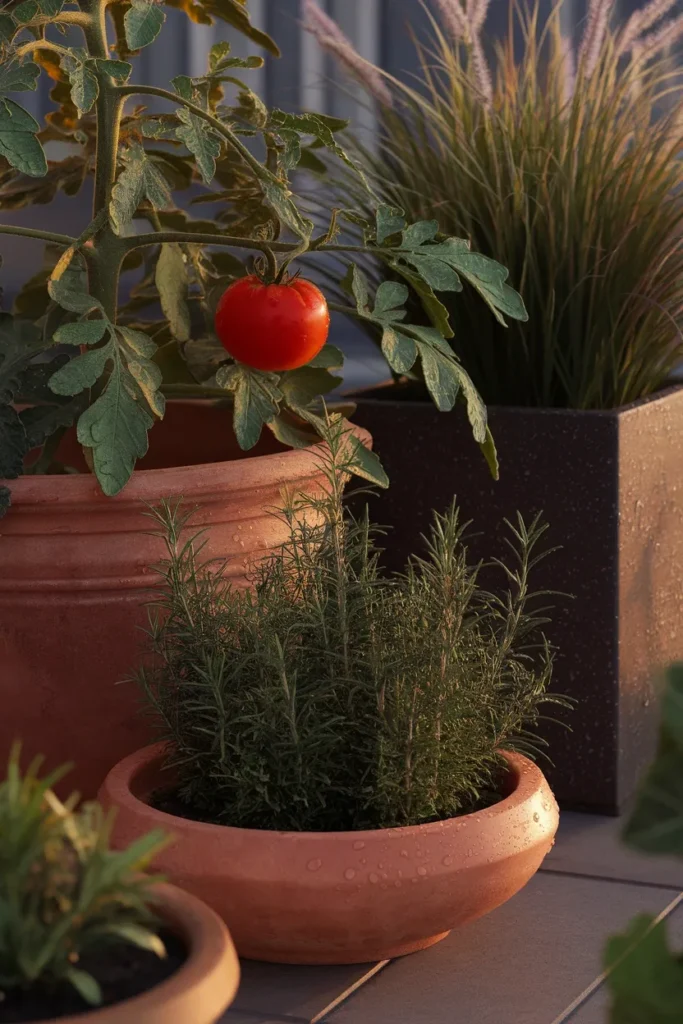
Size the pot to the plant, not to the shelf space. Penn State Extension’s four keys to container vegetable success puts a single tomato at a minimum 20 inch wide container and peppers or eggplants at 14 inches. That is meaningfully bigger than what most people carry home. Undersized pots are why renters conclude they cannot grow anything. The plant was fine. The pot was too small.
Use a soilless potting mix, never garden soil in a container. A bag of Miracle-Gro Potting Mix runs around $15 and covers a couple of medium pots. Straight garden soil compacts, drains badly, and brings weed seeds along for free.
For the pots themselves, Bloem’s resin planters sit under $25 in the common sizes and weigh a fraction of terracotta, which matters when you are the one carrying them down a moving truck ramp. I keep real terracotta for the two or three pots that live at eye level and use resin everywhere else. Nobody has ever noticed.
Pick plants by zone and by honesty about your light. Check your growing zone against the USDA plant hardiness zone map, which is now on the 2023 edition and lets you search by zip code. Most of the country falls in Zones 5 through 9, where last frost usually lands somewhere between mid-March and mid-May depending on how far north you are. Confirm your own date with the map or your county extension office before you commit to a planting weekend, because frost timing swings by year and by micro-location.
My rotation for rentals is boring and it works. Rosemary and thyme in shallow wide pots, because they tolerate neglect and smell like something. One tomato in a 20 inch pot if I get six hours of sun. Two or three ornamental grasses for height. A trailing sweet potato vine to soften every hard edge. That is it. I stopped buying flats of annuals years ago, after about $40 of petunias cooked in a July heat wave while I was away for a long weekend. A rental garden has to survive you forgetting about it.
Seating and fire you can carry to the next place
Two folding or stackable chairs beat one heavy set every single time in a rental. Stackables store in a closet over winter, ride flat in a car, and work in whatever shape the next yard turns out to be.
Buy the seating in a neutral frame color and put the personality in the cushions. Cushions wear out on a two to three year cycle anyway, so treating them as the replaceable layer keeps the expensive part timeless. Bring cushions inside during long wet stretches and they will last twice as long.
For the table, low and small wins. A 20 inch side table between two chairs feels intimate. A full dining set on a small slab feels like a showroom that nobody sits in.
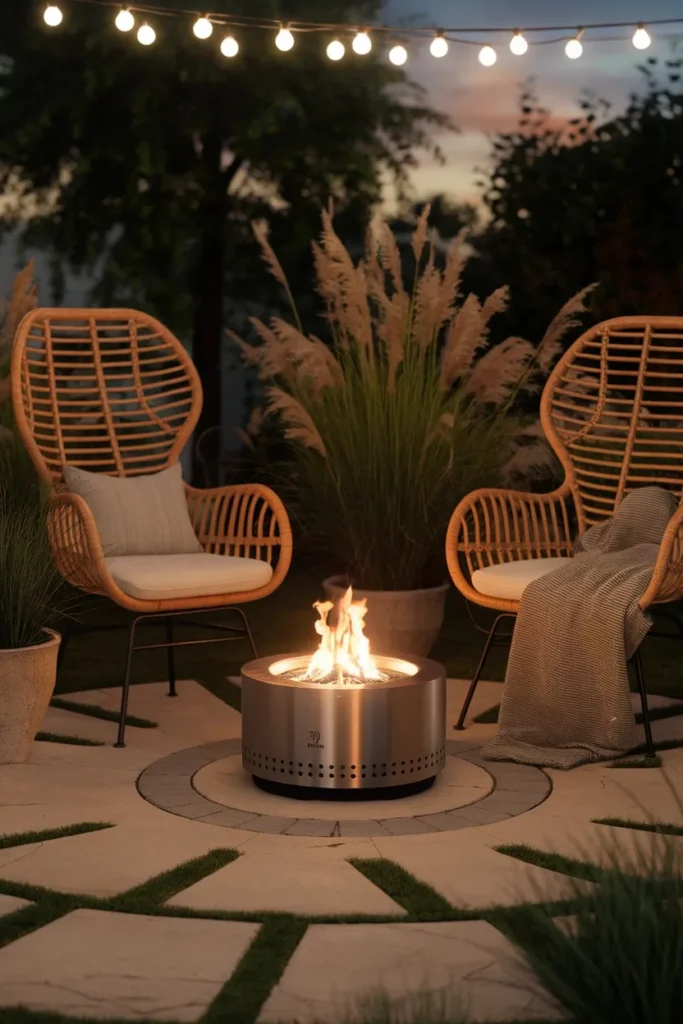
Fire is where a rental patio stops being a patio and becomes somewhere people stay past dark. A portable smokeless fire pit is the renter-correct version, since it sits on the surface, weighs little, and leaves nothing behind. The Solo Stove Bonfire 2.0 lists at $259.99 at Home Depot and measures 19.5 inches across by about 14 inches tall. It weighs roughly 20 to 23 pounds depending on the configuration, which one person can move alone. Set it on a paver or a fire-rated mat, never directly on deck tiles or a rug, and keep it well clear of the fence line and anything overhead.
Propane is the other route, and honestly the better one if you live somewhere with burn bans or a landlord who is nervous about wood. There is no ash, no smoke in the neighbor’s window, and you can shut it off in three seconds. These low smoke propane fire pit setups cover tank concealment and realistic heat output, which is the part product listings tend to oversell.
Check your lease and your local ordinance before you buy either one. Plenty of multi-family rentals prohibit open flame on a patio outright, and some cities restrict recreational fires by distance from a structure.
The lease conversation most renters skip
Here is the part every competing article reduces to three words: check your lease. That is not enough, so here is what actually protects you.
Photograph everything before you touch it. Wide shots and close shots of every surface, timestamped, on move-in day. This is the single highest-value ten minutes of your tenancy. When a landlord points at a stain in eighteen months, the photo settles it and no conversation is required.
Understand the fixture rule. In broad terms across US rental law, anything permanently attached to the property tends to become part of the property, which means the landlord owns it. A raised bed screwed into a deck could be theirs. The same bed sitting free on the ground is generally yours to take. Anything you want to keep should sit on the surface rather than attach to it. This is general information rather than legal advice, and state and local rules vary, so check with a qualified professional or your local tenant resource office if real money is involved.
Ask in writing, and ask small. Email beats a hallway conversation, because email creates a record. Keep the request specific and reversible sounding. Something like: “I’d like to put down removable interlocking deck tiles over the back patio and hang string lights with adhesive clips, no drilling. I’ll remove everything and restore the surface at move-out. Is that all right with you?” Specific, reversible, and easy to say yes to.
Most landlords say yes to this, because you are describing free upkeep on a space they are not maintaining. The ones who say no usually say no to something they misunderstood, so it is worth asking again with more detail rather than assuming.
One more thing worth clarifying up front: who mows. Yard maintenance responsibility varies wildly between leases, and plenty of disputes at move-out are really about an overgrown lawn rather than anything decorative you added.
Then plan the exit while you are still setting up. Keep one labeled bin for hardware, clips, and tile edging pieces, because those are the parts that vanish and the parts you need to restore the surface. Budget a single afternoon at the end of the lease for removal and a rinse of whatever was underneath. A renter friendly backyard makeover that comes apart in three hours is worth more than one that looks slightly better and takes a full weekend to undo.
Your weekend by weekend plan, and what it actually costs
Three weekends. That is the realistic pace for a renter friendly backyard makeover on a small slab if you have a normal job and a normal amount of energy.
Weekend one: the floor. Clean the surface, lay tiles over the seating zone, put the rug down. This is the heaviest lifting and the biggest visual jump. Do it first so you get the payoff early and stay motivated.
Weekend two: walls and light. Set the privacy screens or curtain frame, then hang the string lights. Do lighting on a Saturday evening rather than a morning, because you need to see the glow to judge the placement.
Weekend three: the soft stuff. Pots, plants, cushions, lanterns, the table. This is the fun weekend and it is deliberately last, since plants placed before the structure exists always end up in the wrong spot.
Give yourself a week of ordinary use between weekend two and weekend three. Sit out there on a Tuesday with coffee, notice where you actually put your feet, and see which corner stays annoyingly bright at 7pm. Those small observations will change your pot placement more usefully than any layout diagram, and they cost nothing except patience.
Rough budget bands for a patio around 150 square feet:
| Layer | Lean build | Comfortable build |
|---|---|---|
| Ground (tiles plus rug) | $120 | $400 |
| Privacy | $60 | $350 |
| Lighting | $40 | $150 |
| Seating and table | $150 | $600 |
| Plants and pots | $60 | $250 |
| Fire feature | skip | $260 |
| Total | $430 | $2,010 |
The lean column is not a compromise version. It is what my first rental patio cost, and the photos from it still get saved more often than anything I have built since. Prices move with season and retailer, so treat these as planning bands rather than a quote, and shop the end-of-season markdowns in September when outdoor inventory clears.
If you only have one weekend and one hundred dollars, do this: rug, string lights, two pots. That combination alone changes the room more than any single expensive purchase will.
Frequently asked questions
Can I make over a rental backyard without violating my lease?
In most cases yes, as long as every change sits on the surface rather than attaching to the property. Removable flooring, freestanding screens, containers, and adhesive-mounted lighting fall well inside what typical leases allow. Anything involving digging, drilling, permanent paint, or removing existing plantings usually needs written permission first. Read your lease’s alterations clause, then email your landlord with a specific description of what you plan to do and how you will restore the space.
Do I need my landlord’s permission to put in raised garden beds at a rental?
For a freestanding bed that simply sits on the ground, most landlords will not object, though asking in writing still protects you. Permission becomes necessary the moment the bed is fastened to a deck or fence, or the moment you remove sod to place it. Bear in mind the fixture principle: an attached bed can legally become the landlord’s property, while a bed resting on the surface is generally yours to take when you leave.
How do I add privacy to a rental backyard without drilling or building a fence?
Three approaches work. Freestanding screen panels set into weighted planter bases stand on their own. Tall ornamental grasses or clumping bamboo in 18 to 24 inch containers create a living screen by midsummer. Outdoor curtains hung on a frame of two poles anchored in heavy planters give you an adjustable wall for very little money. Angle the screen toward your actual seated sightline instead of trying to block the whole property line.
What is the cheapest way to cover ugly concrete or patchy grass in a rental?
A large polypropylene outdoor rug over concrete, or landscape fabric topped with pea gravel over bare dirt. A rug in the 5 by 8 range starts around $60 and covers the ugliest part of most slabs immediately. Interlocking deck tiles are a step up in both cost and effect, running roughly $30 per 8.7 square feet, and partial coverage of just your seating zone looks intentional while cutting the price in half.
Will outdoor rugs or deck tiles damage the patio underneath?
They can if you never lift them. Trapped moisture under a rug encourages mildew and can leave a dark stain outline on concrete that is a genuine deposit risk. Choose polypropylene rather than natural fiber, lift and dry the rug after heavy rain and roughly once a month, and pick deck tiles with an open grid underside so air can move. Handled this way, both are among the safest changes a renter can make.
What plants work best for a renter friendly backyard makeover?
Anything that tolerates a container and a missed watering. Rosemary, thyme, and sage go in shallow wide pots. Ornamental grasses give you height and screening, while sweet potato vine or creeping jenny softens hard edges. Add one tomato in a 20 inch pot if you get six or more hours of direct sun. Check your zone on the USDA map first, then match plants to the light you actually have rather than the light you wish you had.
How much should a renter spend on a backyard they do not own?
A useful rule is to spend freely on anything that passes the Take It With You Test and sparingly on anything that does not. A lean setup of rug, lights, seating, and a few pots lands around $430 for a small patio. Nearly all of it moves with you, so the real cost of a renter friendly backyard makeover spreads across several homes rather than landing on one. Reserve larger spending for pieces you would genuinely buy again for the next place.
Start with the floor and the rest follows
A renter friendly backyard makeover is not really about decorating. It is about deciding, once, that temporary is not the same thing as unfinished, and then building in an order that respects both your budget and your moving truck.
Ground first. Walls second. Light third. Everything soft after that.
Take a photo of your patio right now, before anything changes. In three weekends you will want the comparison, and honestly the before shot is half the fun.
Which layer is your yard missing? Start there this weekend and let the rest wait.
4 Comments