Rocky Backyard Makeover: Working With What You Have

A rocky backyard makeover usually begins with a shovel that goes eight inches down and stops cold. Clang. That sound is how most of us are introduced to our own yards, and the first instinct is almost always to call somebody about hauling it all out.
Please do not.
Pulling the rock is the single worst place to put your first thousand dollars, and I can show you the math on that in about ninety seconds. There is a cheaper order of operations. It starts with a test that takes twenty minutes, costs nothing, and decides everything else you do back there.
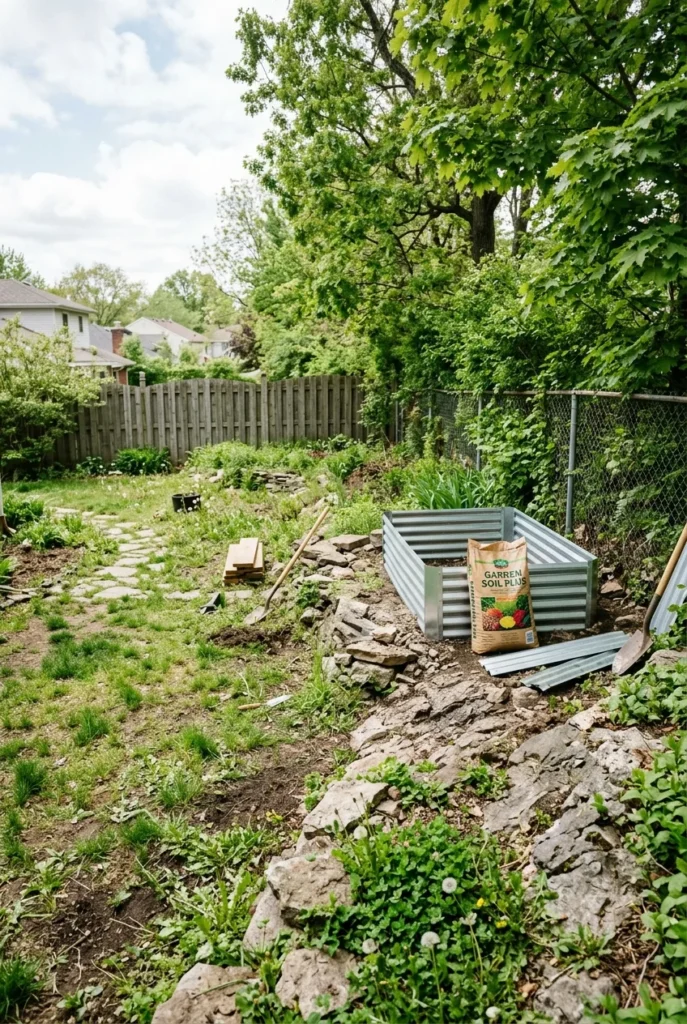
I have worked a yard like this. Shale ledge under maybe six inches of dirt, a slope that dumped water on the patio every spring, and a strip along the fence where nothing but crabgrass had ever agreed to live. What finally fixed it was not removal. It was reading the yard properly and then putting each zone to the work it was actually suited for.
Stop Fighting the Rock and Read the Yard First
Here is the thing nobody selling you a bobcat rental wants to say out loud: a rocky yard is not one problem. It is usually three or four different problems sitting next to each other, and they each want a different answer. Almost every rocky backyard makeover that goes sideways went sideways right here, at the point where somebody picked one plan for the whole property.
The bed by the fence might have fourteen inches of decent soil. The middle of the yard might have four. Treating both the same way is how people end up with dead shrubs and a receipt they do not want to look at.
So before you buy anything, run this.
The Two-Shovel Test
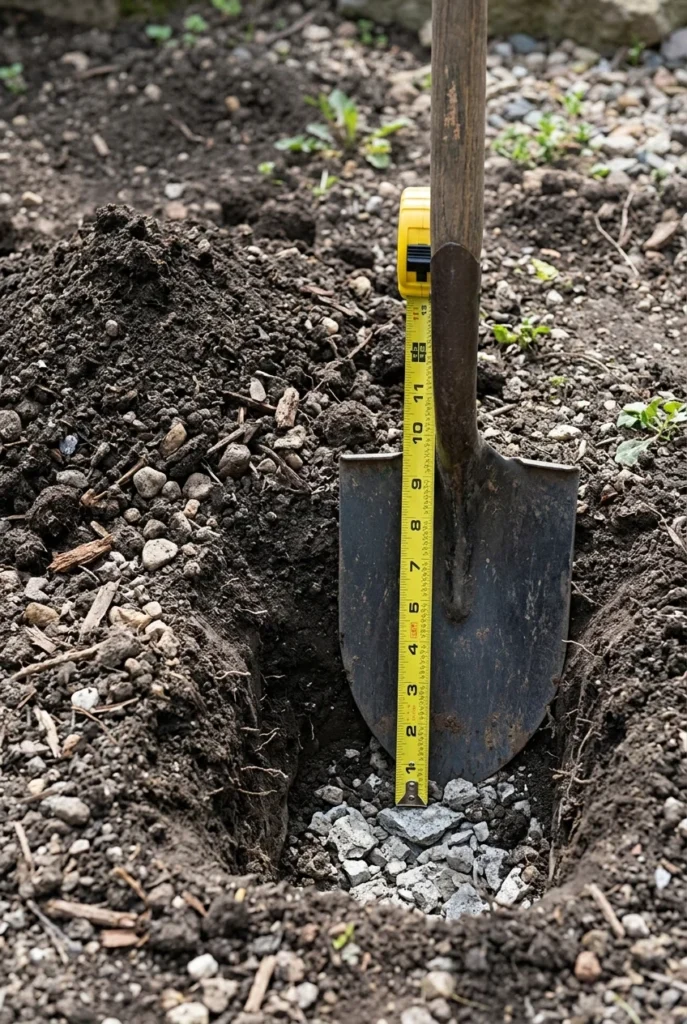
Dig three test holes in different parts of the yard. Push a standard round-point shovel straight down until it stops on rock and will not go further without a fight. Measure that depth with a tape. Do it in the spots you actually care about, not the easy corner.
Then sort each spot into one of three buckets:
| Depth to refusal | What that zone is | What you do there |
|---|---|---|
| 12 inches or more | Plant Zone | Plant directly. Light amendment, normal beds, most perennials and shrubs will take. |
| 4 to 11 inches | Build-Up Zone | Do not dig. Add height instead: raised beds, berms, imported topsoil at six inches minimum. |
| Under 4 inches | Hardscape Zone | Stop trying to grow anything in the ground. Gravel, patio, boulder feature, containers. |
That is the whole framework. Twenty minutes, three holes, and now every design decision downstream has an answer instead of a guess.
The reason this matters so much financially: the Hardscape Zone is the expensive one to fight and the cheapest one to accept. Once you stop trying to make it a lawn, it becomes the least demanding part of the yard.
What a Rocky Backyard Makeover Actually Costs in 2026
Let me put the two paths side by side, because this comparison is the part every other article on this topic skips.
Path A, remove the rock. Hauling landscape rock off site runs roughly $220 to $250 per cubic yard once disposal is included. A single decent boulder costs $250 to $1,000 or more to get out. If you rent instead of hiring, a mini excavator is $200 to $700 per day and a 10-yard roll-off dumpster runs $220 to $580 for the week. Labor sits around $50 to $150 per hour per worker. A modest 400 square foot area, dug a foot deep, is roughly five cubic yards. You are looking at four figures before a single plant goes in the ground.
Path B, work with it. Pea gravel is $30 to $55 per ton, or $45 to $80 per cubic yard, and a half-cubic-foot bag at Home Depot or Lowe’s runs about $5 to $8. Materials alone land near $0.50 to $1.50 per square foot. That same 400 square foot area becomes a gravel courtyard for a few hundred dollars in material if you spread it yourself.
The gap is not close. Removal buys you dirt. You then have to buy plants for that dirt. Working with it buys you a finished surface instead.
One honest caveat on relocation: moving rock around your own property rather than trucking it away drops the cost to $50 to $200 per cubic yard. If you have a spot for it, the rock you dig up in one zone becomes free material in another. More on that later, because it is the best trick in this whole article.
Build Up Instead of Digging Down
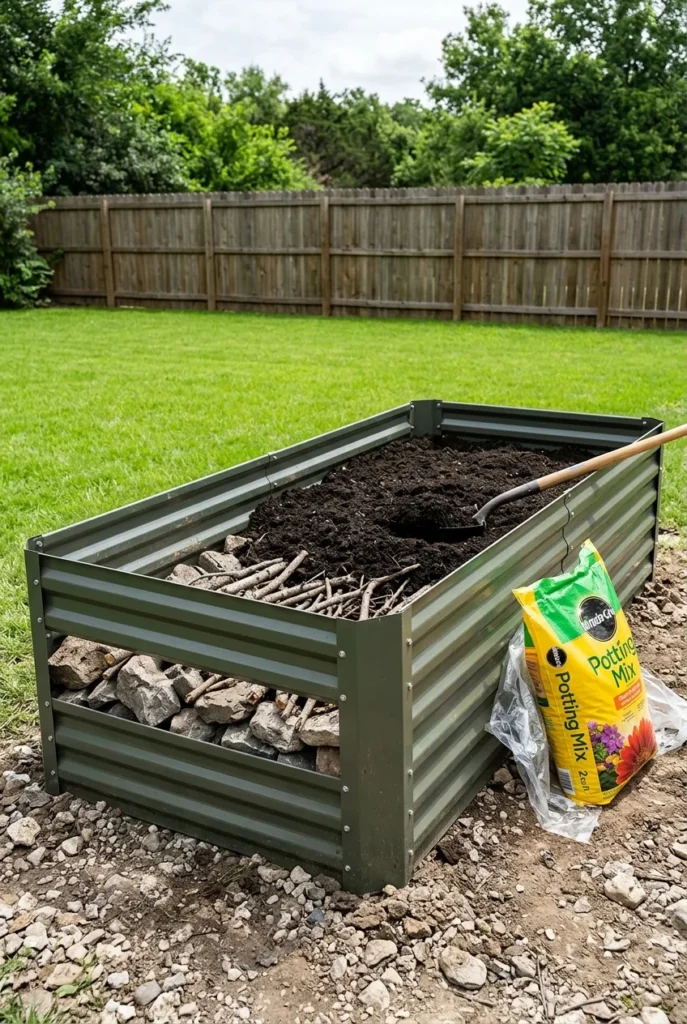
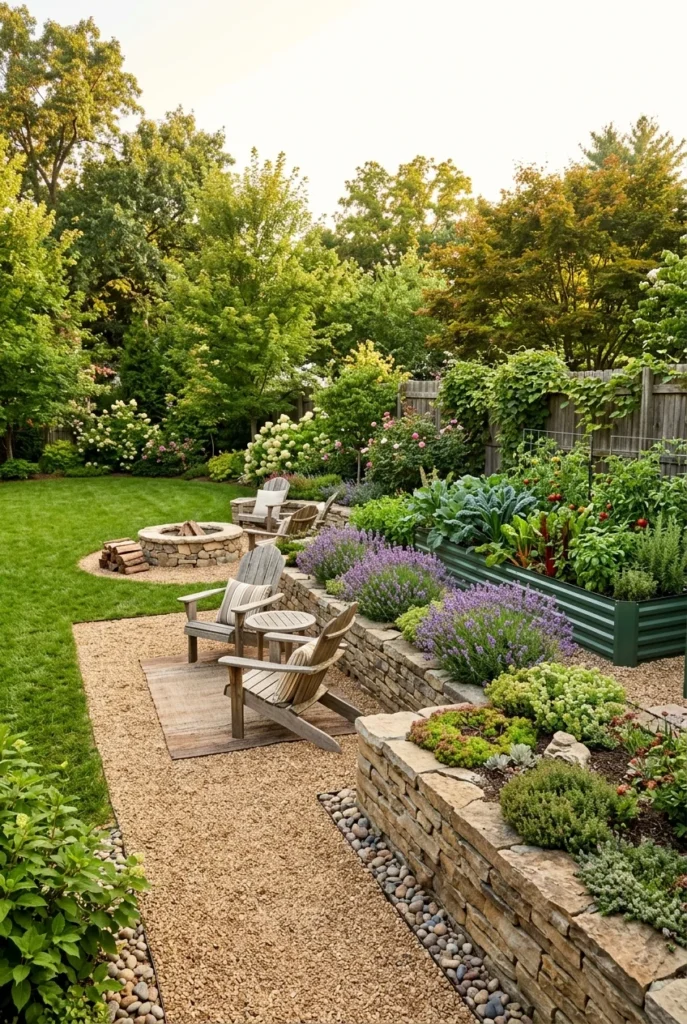
Every Build-Up Zone from your test gets the same answer, and it is a good one. You stop excavating and start stacking. This is where a rocky backyard makeover stops feeling like demolition and starts feeling like building something.
Utah State University Extension puts a hard number on this: when the ground is bad enough that you are bringing in soil, use at least six inches of imported topsoil. Six is the floor, not the goal. For anything with a real root system, twelve to eighteen inches gives you room to actually garden.
Galvanized steel beds have taken over this category for a reason. A 17-inch tall modular Vego Garden bed sits in the $150 to $250 range depending on size, assembles with a screwdriver in an afternoon, and does not care what is underneath it. Cedar boxes from Greenes Fence run cheaper, closer to $60 to $120 for a basic 4×4, though they will need replacing sooner in wet climates.
Berms are the version nobody mentions. No box at all. You mound soil into a low free-form rise, twelve to sixteen inches at its peak, and plant into that. It reads as intentional design rather than a container, and it costs whatever the soil costs.
A word of warning learned the expensive way. My first bed went in over a Build-Up Zone and I filled the whole thing with bagged garden soil, about eighteen bags of it, which came to roughly $80 more than it needed to. Fill the bottom third with the rock and branches you already pulled out of the yard, then bagged soil on top. The plants never know the difference.
Terrace the Slope and Let the Rock Do the Holding
Rocky yards and slopes travel together, which is why a rocky backyard makeover so often turns into a drainage project halfway through. The rock is usually why the slope exists in the first place, and water running across shallow soil is why the good dirt keeps ending up at the bottom of your yard.
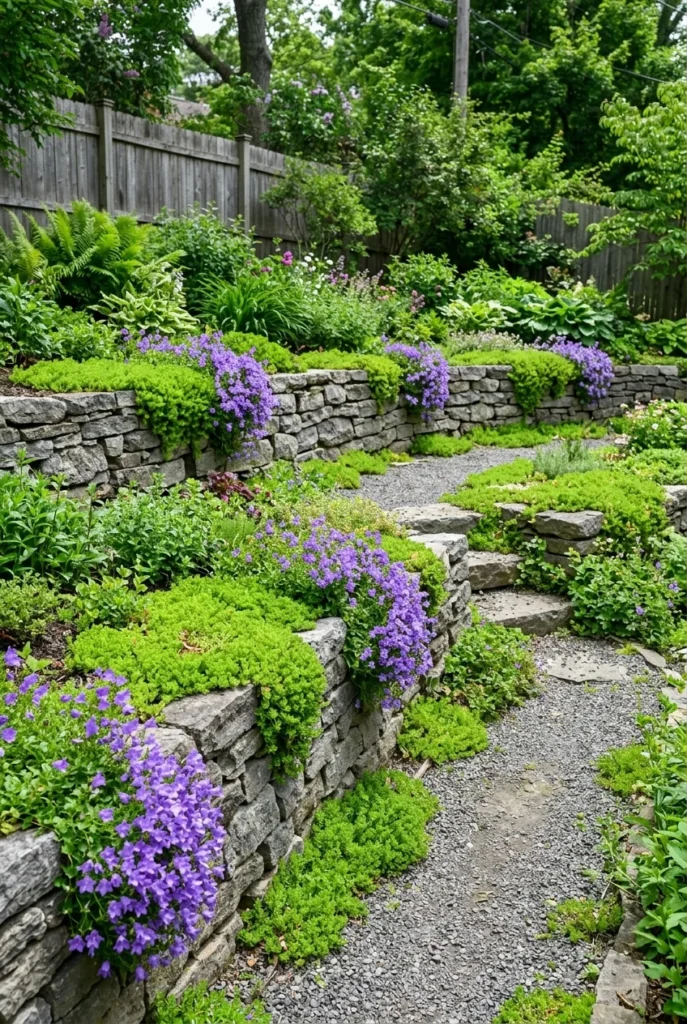
Terracing solves both at once. You cut the slope into two or three level shelves and hold each shelf with a low wall. Suddenly there is flat usable ground where a hillside used to defeat you.
Costs are real but manageable at small scale. Concrete block runs $15 to $40 per square foot of wall face. Natural stone is wider, $20 to $95, depending on whether you are buying the stone or pulling it out of your own yard. Two 18-inch terraces across a 20 foot run is a weekend and a few hundred dollars in block from Menards or Lowe’s if you do the labor.
Know the line before you start. Most cities require a permit for retaining walls over 3 to 4 feet, and walls at 4 feet or higher usually need a structural engineer’s design. Permit fees typically run $50 to $450. Keep every wall under 3 feet and stack two of them with a planted step between, and you stay on the friendly side of that rule while getting more usable space anyway.
If you want the full material breakdown before you commit, we went deep on this in our garden wall ideas that hold a slope guide.
Gravel Is the Cheapest Floor a Rocky Yard Will Ever Get
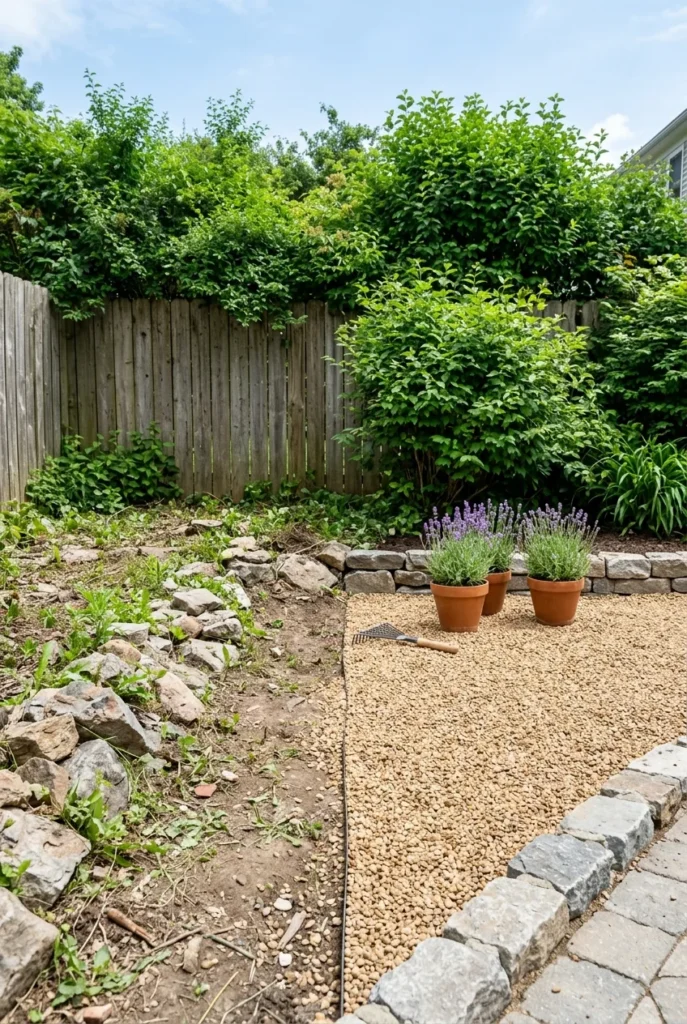
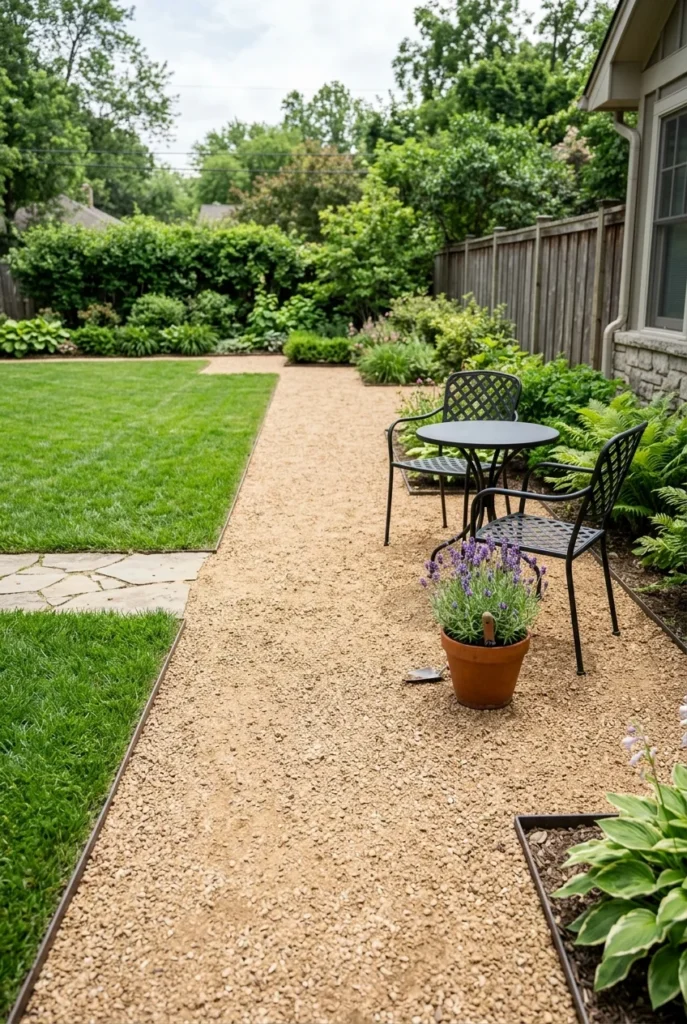
Your Hardscape Zones want a surface, not a struggle. Gravel is the answer that costs the least and looks the most finished the fastest, and it is the reason a rocky backyard makeover can come in under a few hundred dollars.
Pea gravel is the friendly default at $5 to $8 a bag for small areas, or $45 to $80 per cubic yard delivered loose for anything bigger. It is soft underfoot, drains beautifully, and works with almost any style.
Decomposed granite is the upgrade. Natural DG runs $40 to $100 per cubic yard, stabilized versions that lock together and resist tracking run $100 to $225. One cubic yard covers about 100 square feet at a 3-inch depth, which is the number to keep in your head when you are estimating. Anything thinner than 2 inches and you will see the ground through it by August.
Now the contrarian take, and I will stand behind it. Skip the landscape fabric. At $0.10 to $0.25 per square foot it feels like cheap insurance. In a rocky yard it fails faster than anywhere else. Uneven ground under the fabric lets gravel work down through the seams, and weeds root happily in the dust that collects on top. Two or three years in, you are pulling up shredded fabric with gravel welded to it. Use a proper 3-inch depth and a hard edge instead. That is what actually keeps weeds down.
A hard steel or aluminum edge is worth the money here. Without one, gravel migrates into the lawn, and you spend every spring raking it back.
Plants That Actually Prefer Bad Soil
Rich soil is not what half these plants want anyway. Rocky ground drains hard and fast, which is exactly the condition a whole category of perennials evolved for. The planting half of a rocky backyard makeover is genuinely easier than planting a normal yard, as long as you shop the right list.
Check your zone against the current USDA plant hardiness zone map before you buy anything. The map was last updated in 2023 and a lot of people are still shopping off the old one, which shifted enough in places to matter.
These earn their spot in shallow, gritty, fast-draining ground:
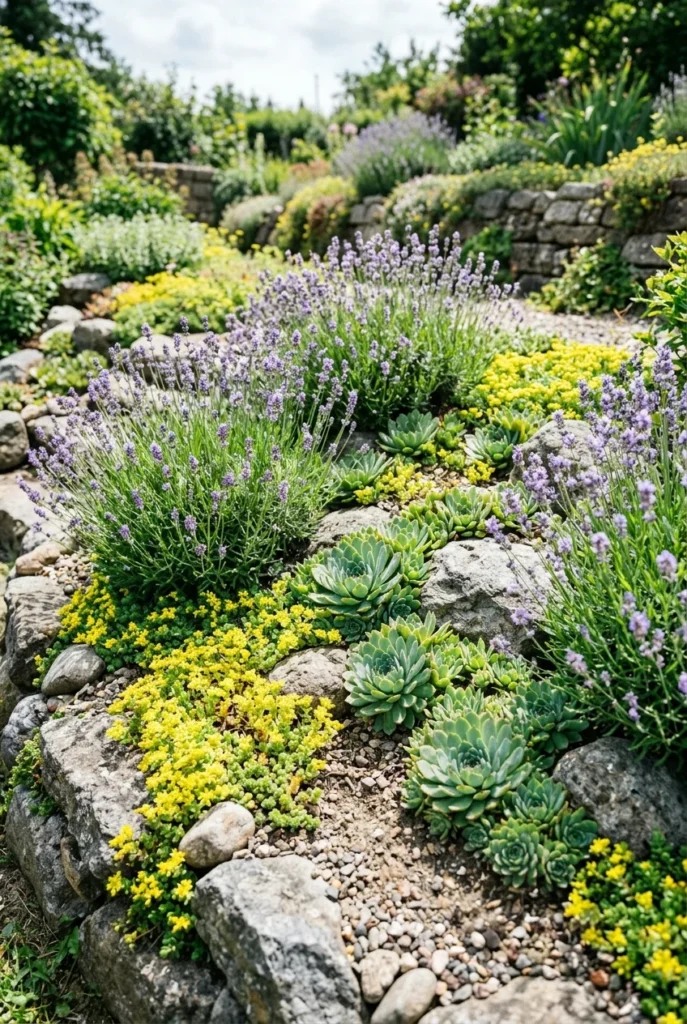
- Sedum (Zones 3 to 10, full sun to part shade). The most forgiving thing on this list. Creeping varieties knit across gravel and hold slopes.
- Hens-and-chicks, Sempervivum (Zones 4 to 8, full sun to light shade). Wants well-draining rocky soil specifically. Tuck them into wall crevices.
- Lavender (Zones 5 to 10, full sun). Hates wet feet, which makes a rocky bed close to ideal.
- Bearberry, Arctostaphylos uva-ursi (Zones 2 to 6, full sun to part shade). Evergreen ground cover built for rocky and sandy soils.
- Bellflower, Campanula (Zones 3 to 9, full sun to part shade). Purple bloom that spills over stone edges.
- Columbine (Zones 3 to 9, part shade to full sun). Native to rocky open slopes, which tells you everything.
- Candytuft, Iberis (Zones 5 to 9, full sun). White spring carpet that reads expensive.
- Pasque flower, Pulsatilla vulgaris (Zones 4 to 8, full sun). One of the earliest things to bloom in a cold-zone yard.
- Showy milkweed, Asclepias speciosa (Zones 3 to 9, full sun to part shade). Tolerates dry rocky ground and feeds monarchs.
Grass is the one I will push back on. If a zone tested under 4 inches, do not seed it. If it tested 6 inches or more, a turf-type tall fescue blend has the deepest roots of the common cool-season grasses and the best odds. Till 4 to 6 inches, work in a 2-inch layer of compost, then seed.
One more thing I got wrong my first fall: I planted lavender in a low spot that tested twelve inches deep and lost all three plants over winter. Depth was fine. Drainage was not, because water collected there. Test where the water goes too, not only how deep the shovel travels.
Turn the Rock You Pulled Out Into the Best Thing Back There
This is the part that changes the budget of a rocky backyard makeover more than anything else on this page, so I saved real estate for it.
Every stone you lift out of a bed is free building material sitting in your yard. Relocating rock on your own property costs $50 to $200 per cubic yard when a crew does it, and nothing at all when you do it with a wheelbarrow and a Saturday. The same stone that costs $250 to $1,000 to haul away becomes a feature if you keep it.
What to build with it:
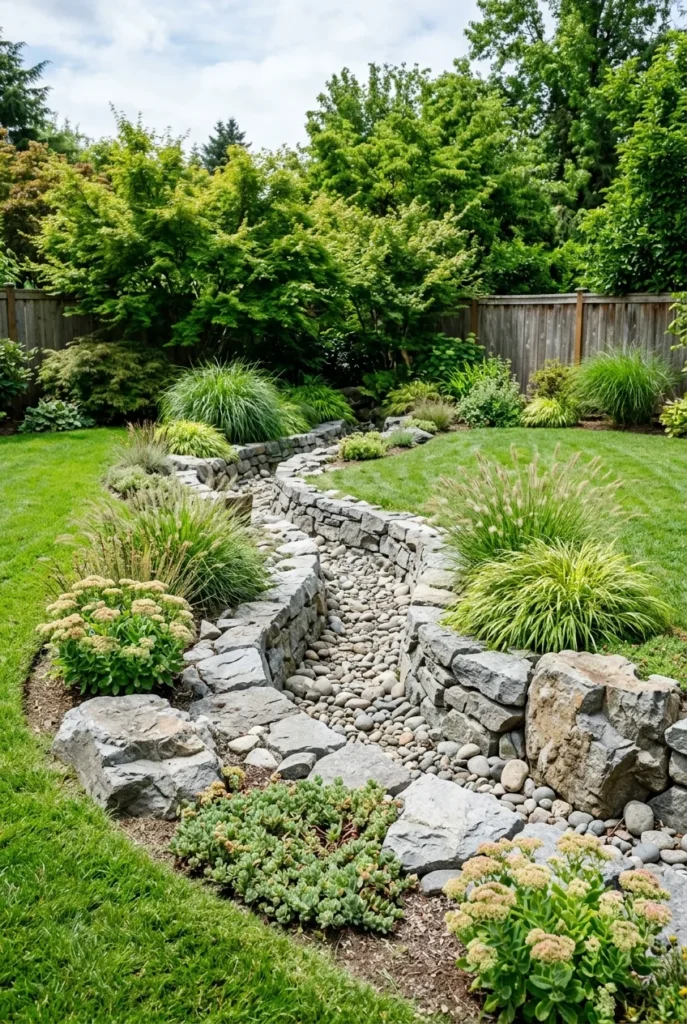
- A dry creek bed through the low line where water already runs. It solves drainage and looks deliberate. Bigger stones on the edges, smaller wash in the middle.
- A boulder cluster as a focal point. Three stones, odd numbers only, buried a third of their height so they look like they grew there rather than got delivered.
- A stacked border around beds, which replaces $3 a foot edging with $0 a foot edging.
- A fire pit. Fieldstone you already own is the best-looking version of this and the cheapest. Our full walkthrough on building a stone fire pit covers clearances and dry-stack versus mortared.
The mistake here is scattering. Six medium rocks spread evenly across a yard reads as debris. The same six grouped into two clusters of three reads as design. Group them. Bury the bases. Let plants grow up against the stone.
The Rocky Yard Mistakes That Cost the Most
A few patterns show up again and again, and each one has a price tag.
Renting equipment before testing. People book the excavator on Monday and find out Wednesday that two thirds of the yard only needed six inches of topsoil. That is $200 to $700 a day for information a shovel gives you free.
Buying plants before knowing the zone depth. A $40 shrub in a 4-inch Hardscape Zone is a $40 shrub that dies by August.
Spreading gravel too thin to save money. Under 2 inches and you will be topping it up next season, which costs more than doing 3 inches once.
Treating the whole yard as one condition. This is the big one, and it is why the Two-Shovel Test exists. Yards are not uniform. Neither should the plan be.
Building the wall too tall. Cross 3 to 4 feet and you have bought yourself a permit and possibly an engineer. Two short walls almost always beat one tall one, and they look better.
If you want more on styling rock as an intentional material rather than an obstacle, our landscaping ideas with rocks guide covers sizing, spacing, and the three-size rule that keeps beds from looking random.
The Order I Would Do It In
If I were starting a rocky backyard makeover over again tomorrow, this is the sequence. It front-loads the free work and delays the expensive work until you know it is actually needed.
- Run the Two-Shovel Test. Three holes, twenty minutes, zero dollars. Map your zones on paper.
- Watch where water goes after the next real rain. Mark the low line. That is your future dry creek bed.
- Pick up surface rock and pile it in one spot. You now have free material and a cleaner canvas.
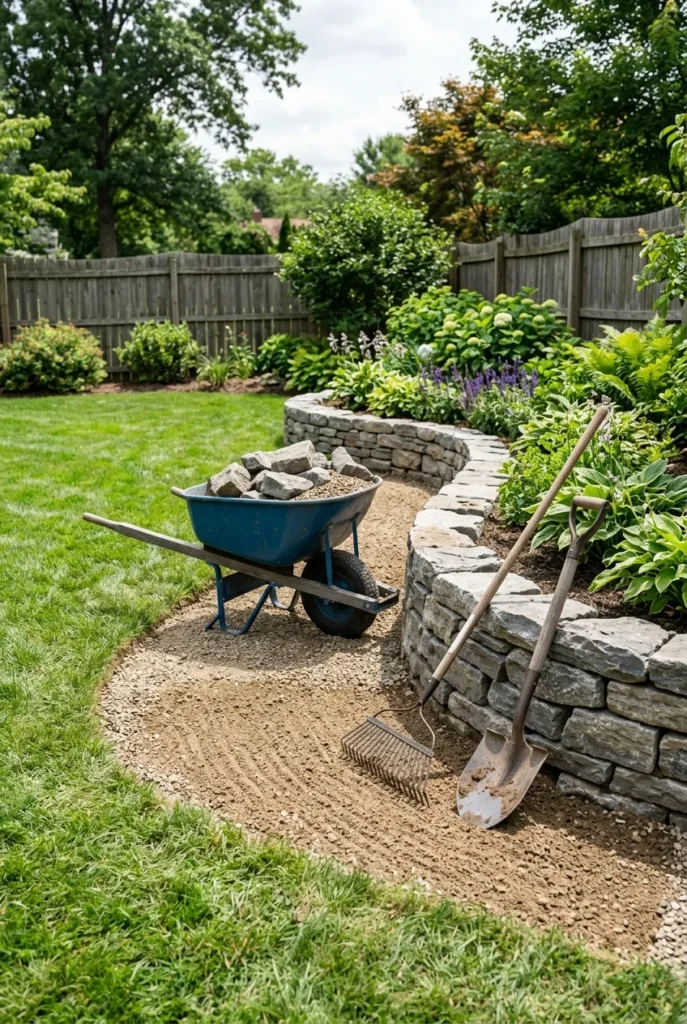
- Gravel one Hardscape Zone. Smallest one first. It gives you a finished-looking win in a weekend and proves the method.
- Set one raised bed in a Build-Up Zone. Rock and branches in the bottom third, six inches of soil minimum on top.
- Plant the Plant Zones with the drought-tolerant list above, matched to your USDA zone.
- Terrace only if you still need to, and only under 3 feet.
Most yards look genuinely different after steps three, four, and five. That is a couple hundred dollars and two weekends, not a financed project.
Rocky Backyard Makeover FAQ
How do I fix a rocky backyard without removing the rocks? Build up rather than dig down. A rocky backyard makeover works best when the design bends around the stone instead of through it. Add raised beds, berms, or imported topsoil at six inches minimum over the shallow areas, and convert the shallowest zones to gravel or patio instead of trying to grow anything in them. Removal costs $220 to $250 per cubic yard with disposal, and it rarely buys you a better result than designing around it.
Can you grow grass in rocky soil? Sometimes, and it depends entirely on depth. If you have 6 inches or more of soil above the rock, a turf-type tall fescue blend has a real chance because of its deep root system. Till 4 to 6 inches, work in a 2-inch layer of compost, then seed. Under 4 inches, grass will thin out and burn off every summer no matter what you spend.
How much does it cost to remove landscape rock from a yard? Roughly $220 to $250 per cubic yard including disposal, or $50 to $200 per cubic yard if you are relocating it elsewhere on the same property. Individual boulders run $250 to $1,000 or more. A 10-yard dumpster is $220 to $580 per week and a mini excavator rental is $200 to $700 per day.
What plants grow best in rocky soil? Sedum, hens-and-chicks, lavender, bearberry, bellflower, columbine, candytuft, pasque flower, and showy milkweed all handle shallow, gritty, fast-draining ground. Match the variety to your USDA zone before buying, and pay attention to drainage as well as depth.
What should I put down before landscaping rock? A compacted, level base and a hard edge. Skip the landscape fabric in a rocky yard; the uneven ground under it means gravel migrates through the seams and weeds root in the debris on top within two or three seasons. A proper 3-inch gravel depth suppresses weeds better than fabric does.
How deep does soil need to be over rock to plant a garden? Six inches is the accepted minimum for imported topsoil, and that is enough for shallow-rooted perennials and lettuce-type crops. For tomatoes, shrubs, or anything with a real taproot, aim for 12 to 18 inches, which usually means a raised bed rather than fill spread across the ground.
Does rock landscaping attract snakes and other critters? Large gaps and voids under stacked stone can shelter small animals, so it comes down to construction. Set boulders into the ground rather than resting them on top, keep dry-stacked walls tight, and use a consistent gravel depth without loose piles. Handled that way, rock beds are no more attractive to wildlife than a mulch bed.
Three Holes and a Tape Measure
You do not need a plan for the whole yard this weekend. You need three test holes and a tape measure.
Once you know which parts of your yard are 12 inches, which are 6, and which are 3, a rocky backyard makeover stops being stressful and starts being obvious. Gravel goes here. Raised bed goes there. Plants go in the good corner. The rock you pull out becomes the border, or the creek bed, or the fire pit.
Go dig your three holes. Then come back and tell us what you found, because the answer surprises people in a good way more often than not.