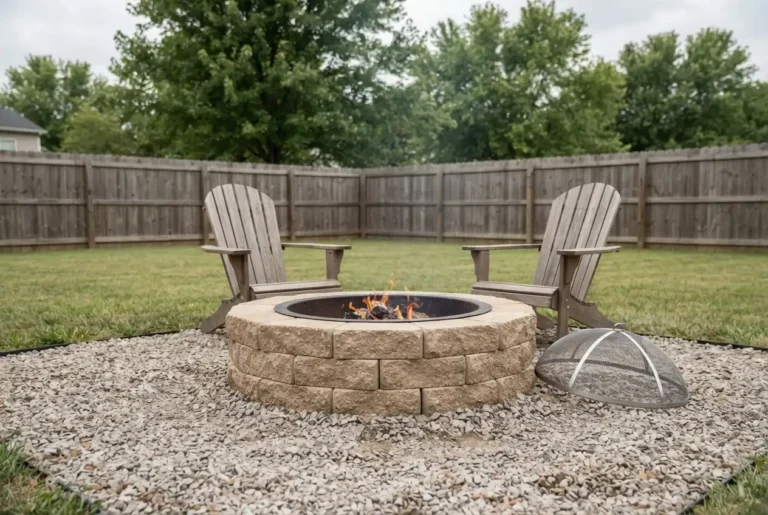
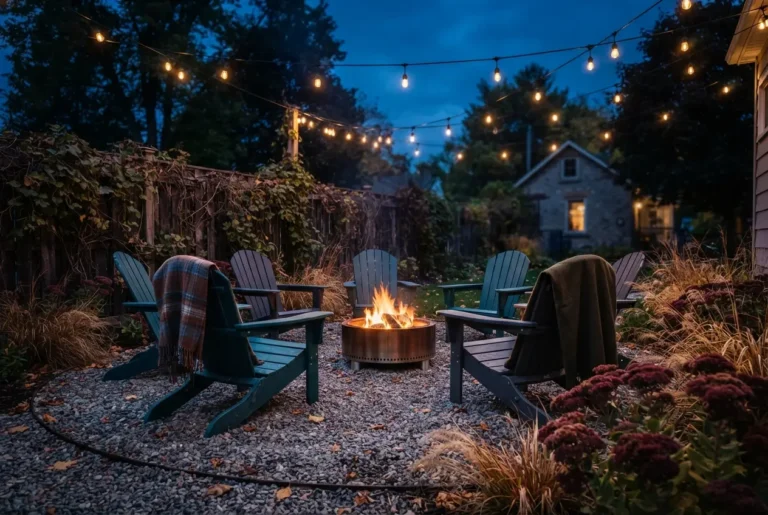
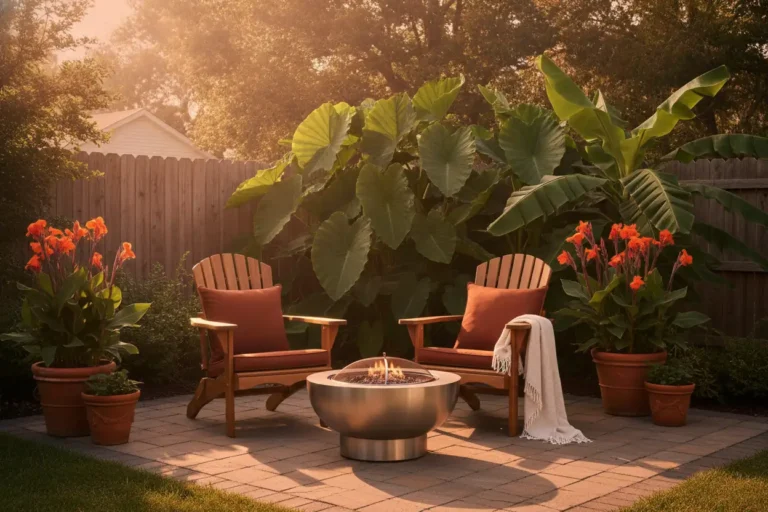
Stone Fire Pit Ideas for a Natural, Rugged Look
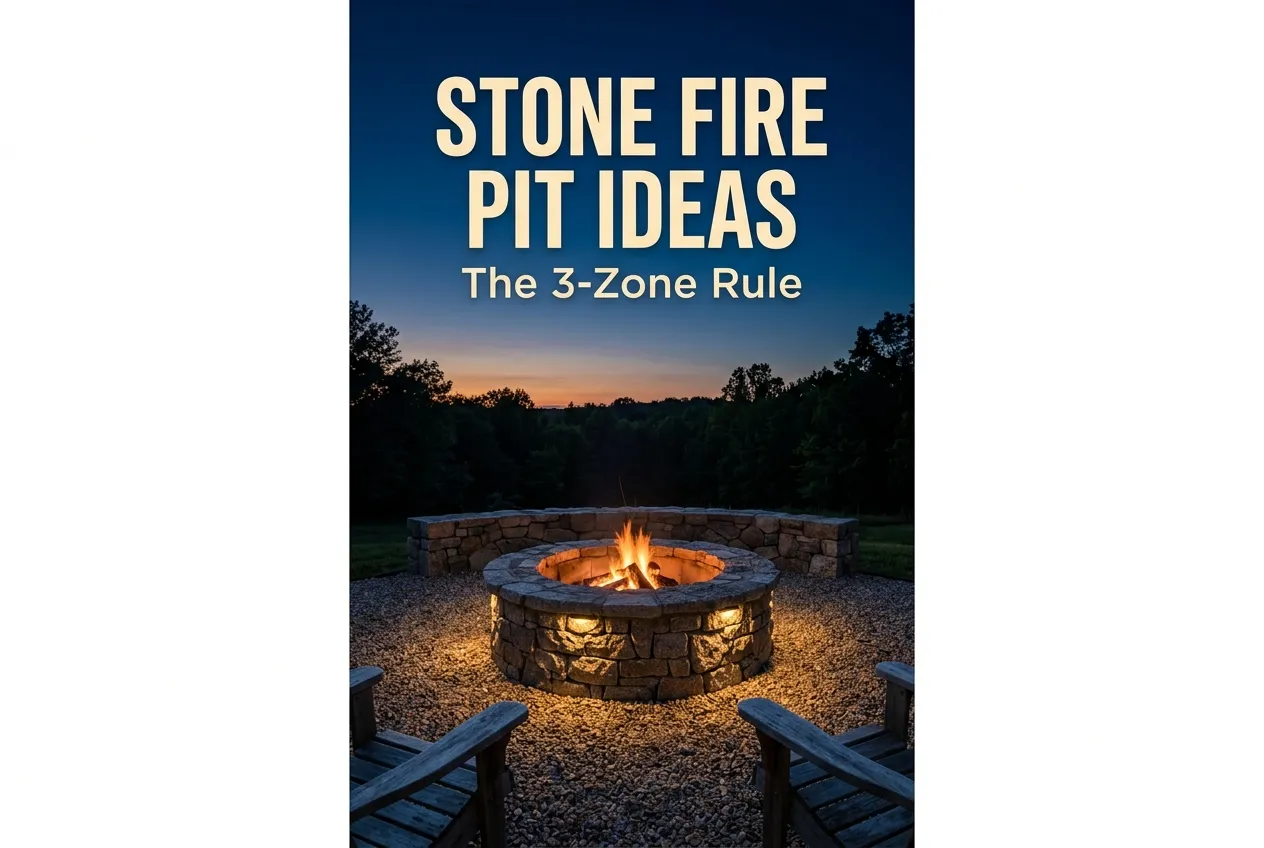
A stone fire pit earns its look the slow way. Stack the wrong rock and you end up with a lumpy gray donut sitting in the middle of the lawn. Stack the right one and you get something that reads like it was quarried on site, weathered in place, and left there on purpose. That look is earned. The difference comes down to about four decisions, and most of them happen before you buy a single block.
This guide covers all four: which stone goes where, how to get an irregular look without it reading as sloppy, what the build actually costs, and the safety rule that almost every inspiration roundup skips.
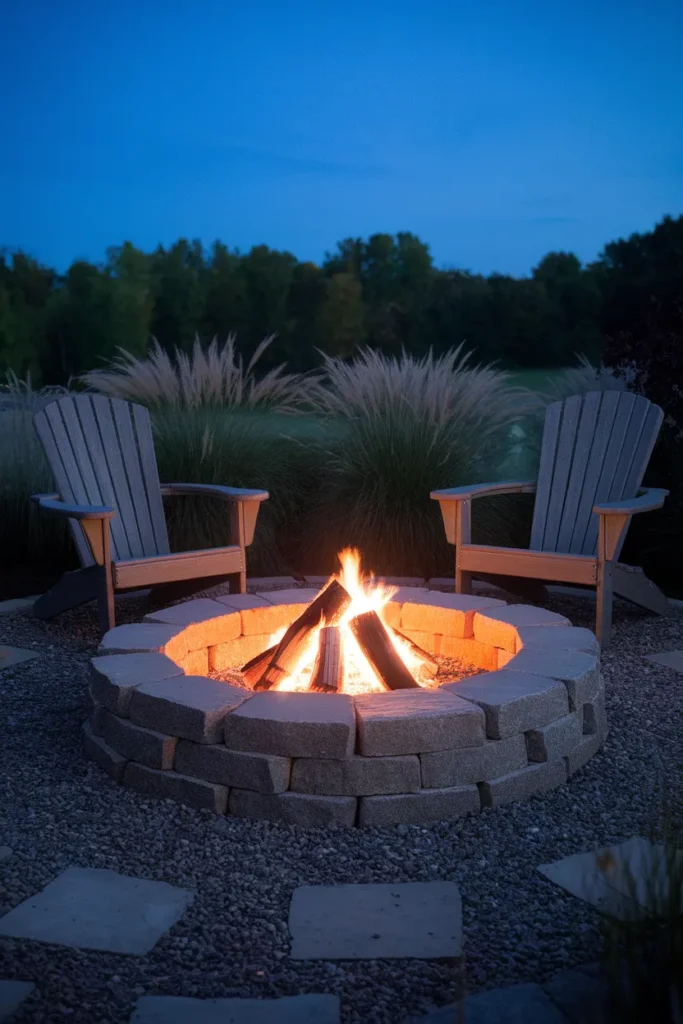
Why Stone Reads Rugged When Other Materials Don’t
Steel bowls look like products. Poured concrete looks like architecture. Stone looks like it lost an argument with a glacier, and that’s exactly the point.
The rugged quality people are chasing comes from three visual cues working together. Irregular face height, so no two courses line up perfectly. Visible mortar-free joints, or joints so tight they read as shadow lines. And color variation inside a narrow range, usually four or five shades of the same gray or buff rather than a rainbow.
Miss any one of those and the pit starts looking manufactured. Every time. Nail all three and a 12-inch wall does more work than a 24-inch one.
Worth saying out loud: rugged does not mean random. The pits that photograph well have tighter tolerances than they appear to. Someone spent an afternoon turning stones to find the face that sat flat.
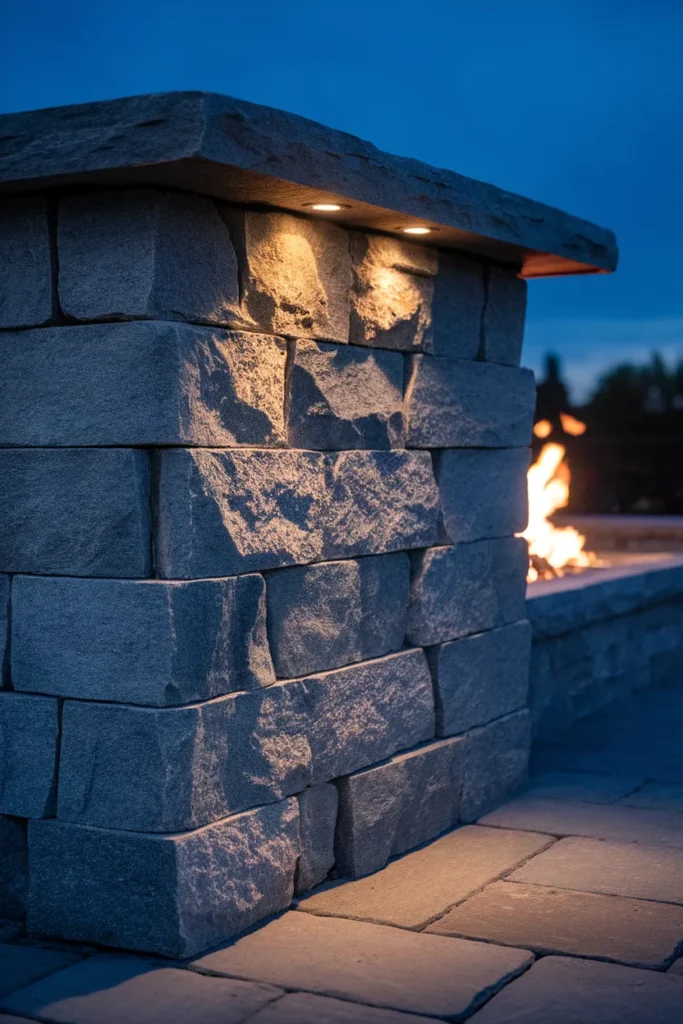
The Three-Zone Stone Rule
Here’s the part the pretty roundups leave out. Most of the stone that makes a fire pit look rugged will crack, spall, or explode if you put it in the wrong place.
Porous rock holds water even when the surface feels bone dry. Heat that trapped moisture fast enough and it flashes to steam with nowhere to go, which is how you get stone fragments leaving a fire pit at speed. Sandstone, limestone, shale, pea gravel, and river rock are the usual offenders. River rock is the worst of the group precisely because its smooth surface hides how saturated the interior is. The physics don’t negotiate.
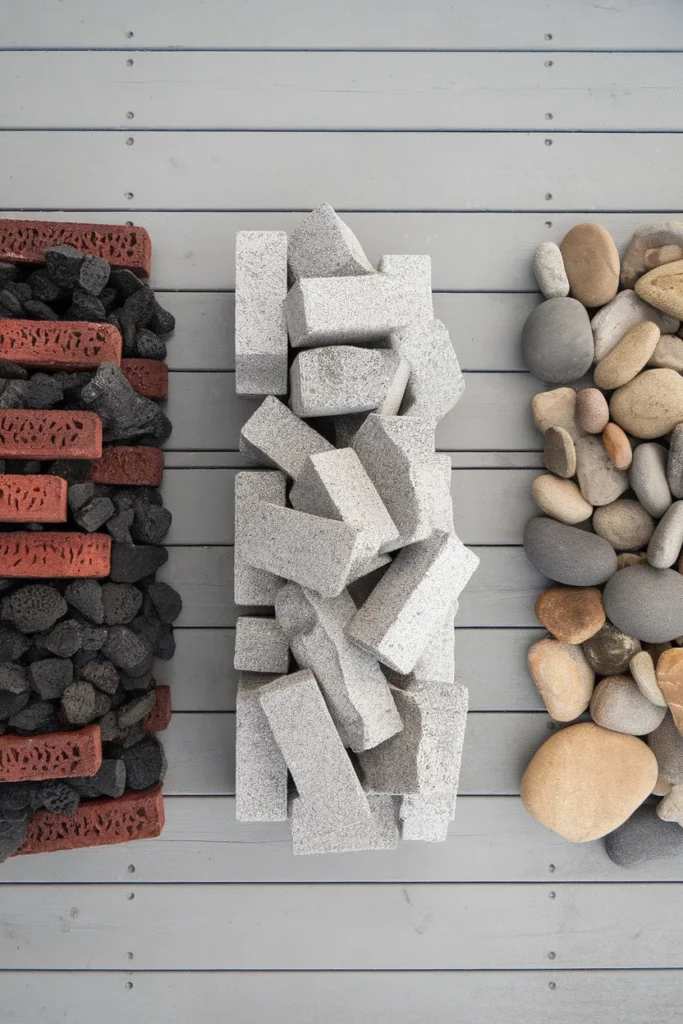
The fix isn’t to give up the good-looking stone. It’s to put each stone where its physics work. That’s the whole rule:
| Zone | Where it sits | Safe here | Never here |
|---|---|---|---|
| Zone 1: Liner | Direct flame contact | Fire brick, lava rock, steel fire ring | Any sedimentary or river stone |
| Zone 2: Wall | Radiant heat, no flame contact | Granite, tumbled wall block, retaining wall block | Sandstone, limestone, shale |
| Zone 3: Apron | Ambient warmth only, 18 inches out | Flagstone, river rock, pea gravel, decomposed granite | Nothing, this zone is forgiving |
Read it once and the design problem solves itself. That gorgeous smooth river rock you saved to a board? It belongs in Zone 3, ringing the outside, where it will look exactly as good and never pop. The flagstone that reads so well underfoot goes in Zone 3 too. Zone 1 gets the boring stuff nobody photographs. That’s fine. A steel ring disappears under six inches of ash by the second fire.
Most failed pits are a zoning error, not a taste error.
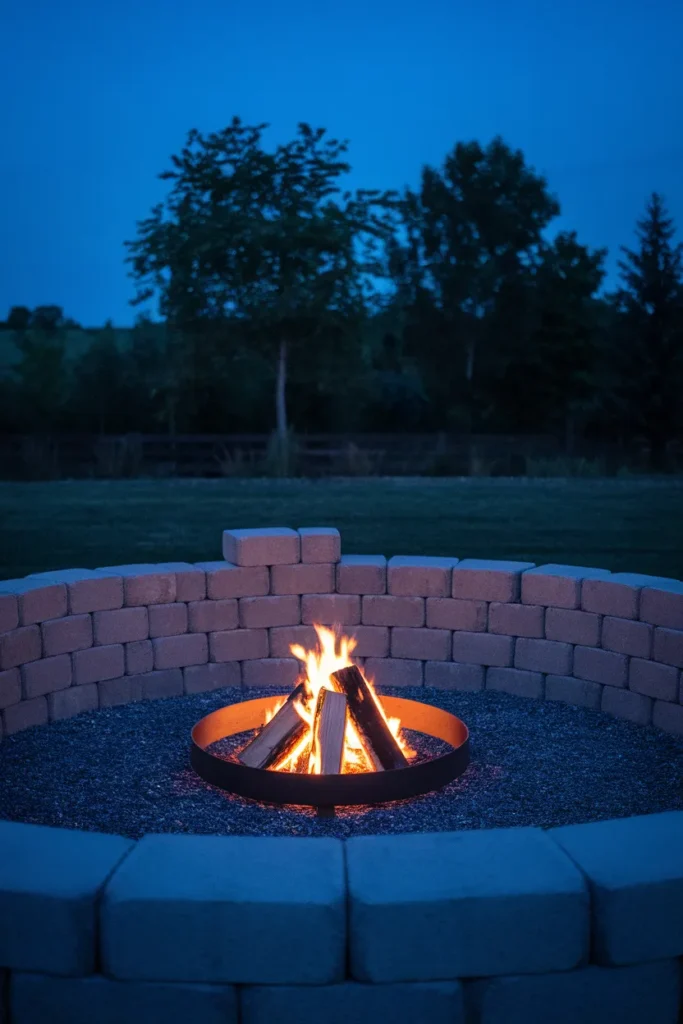
Stacked Stone Fire Pit Ideas That Look Quarried, Not Bought
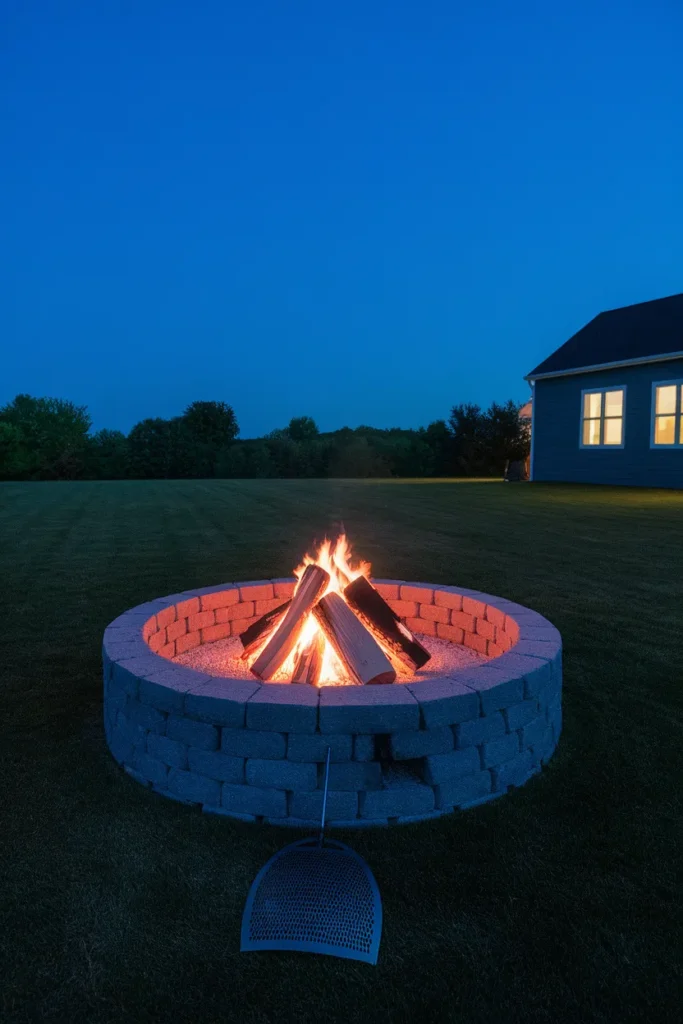
A stacked stone pit is the fastest route to the rugged look. The irregularity does the work for you.
Tumbled wall block is the workhorse here. It runs somewhere around $2.50 a piece at most home centers, and roughly twelve of them wrap a 30-inch fire ring per course. Three courses gets you a 12-inch wall, which means about 36 blocks plus a few spares for the ones that arrive chipped. The tumbling process knocks the edges off, so the stack looks weathered from day one. No aging required.
Standard retaining wall block costs a hair less, closer to $2.20, but it has a flaw for this application. There’s usually a cement lip on the back bottom edge that stops the stone sitting flat, and the straight faces leave visible wedge gaps when you curve them around a circle. You can chisel the lip and cap the gaps, though at that point you’ve spent your Saturday saving eight dollars.
Three stacking moves that raise the finished look:
- Vary the course height. Mix two block heights so the top edge undulates by an inch or so. This single change does more for the rugged read than any other choice, which is why it goes first.
- Break the vertical joints. Offset each course so no seam runs straight up. Basic masonry logic, constantly ignored.
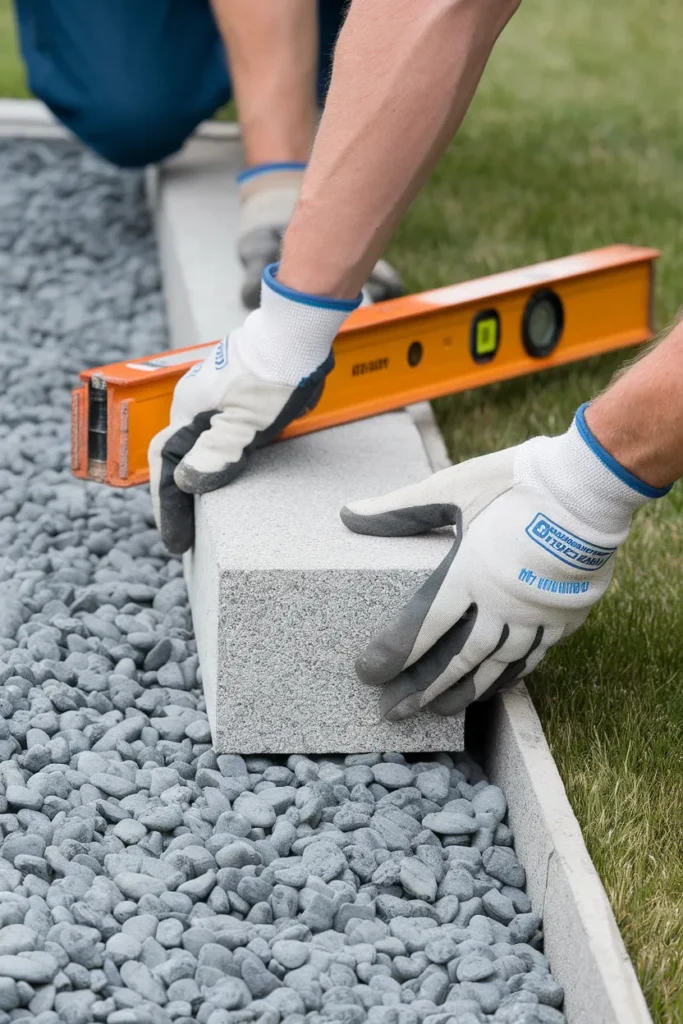
- Turn every stone twice before setting it. Find the flattest bed face. Your level will thank you.
If block-and-mortar geometry is more your thing, our guide to brick fire pit ideas covers the coursing patterns that hold up over a decade.
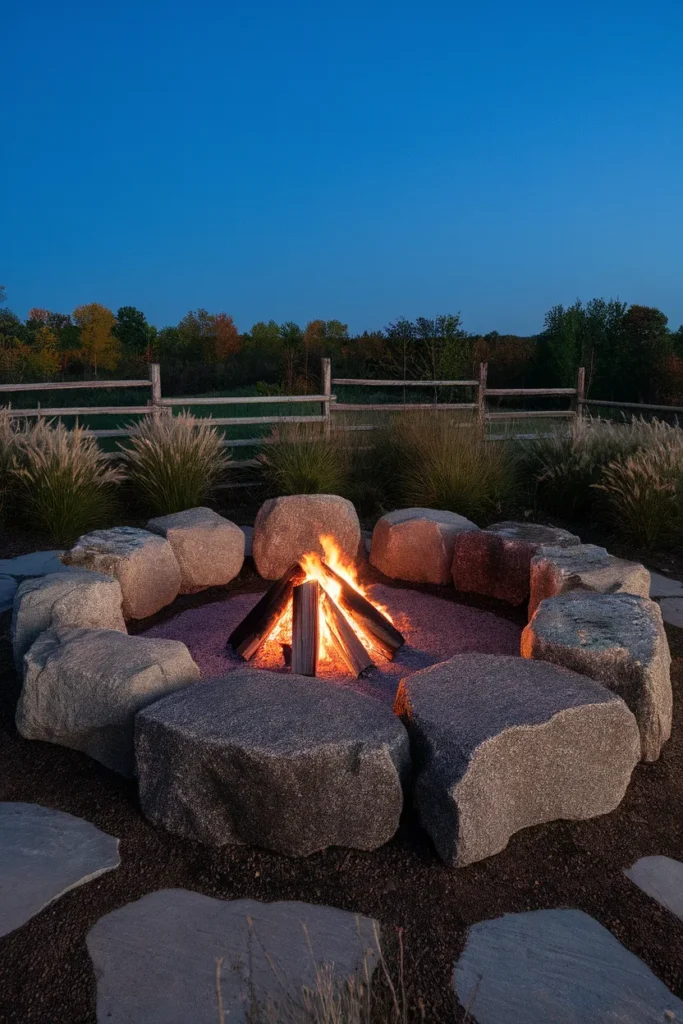
Natural Boulder and Fieldstone Builds
This is the version that looks least like a purchase, and it’s also the one people underestimate.
Fieldstone and boulder pits skip uniform block entirely in favor of whatever the local quarry pulled out of the ground. You get genuine size variation, real color mottling, and faces that never repeat. The cost math shifts too, since stone yards typically sell by the ton rather than the piece, and a small pit might take half a ton.
The catch is fitting. Uniform block is a stacking job. Fieldstone is a puzzle, and a heavy one. Plan on sorting your pallet into three rough piles before you lay anything: big flat-bottomed pieces for the base course, medium fillers for the middle, and your best flat-topped stones saved for the cap. Almost everyone runs short on good cap stones. Sort first. It saves the second trip.
Granite is the pick if you can get it locally. It’s dense, non-porous, holds up to repeated heat cycling, and it’s the one natural stone that sits comfortably in Zone 2 without hedging.
Flagstone, Gravel, and the Apron That Actually Sells It
The pit gets the attention. The ground around it does more than half the work.
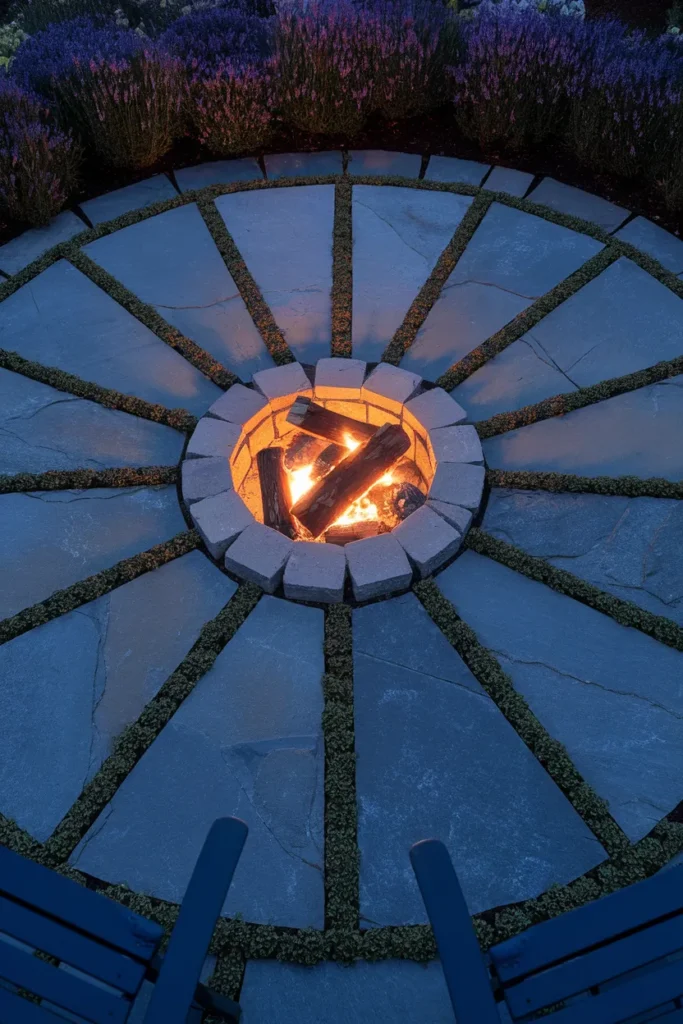
A fire pit sitting alone in turf always looks temporary, no matter how good the stonework is. Give it an apron and it reads as built. This is also the cheapest upgrade in the whole project, because Zone 3 is where all the affordable decorative stone lives.
Three apron treatments that pull their weight:
- Pea gravel ring, about 4 inches deep so it locks together underfoot. Cheapest option, drains beautifully, makes a satisfying crunch that people genuinely respond to.
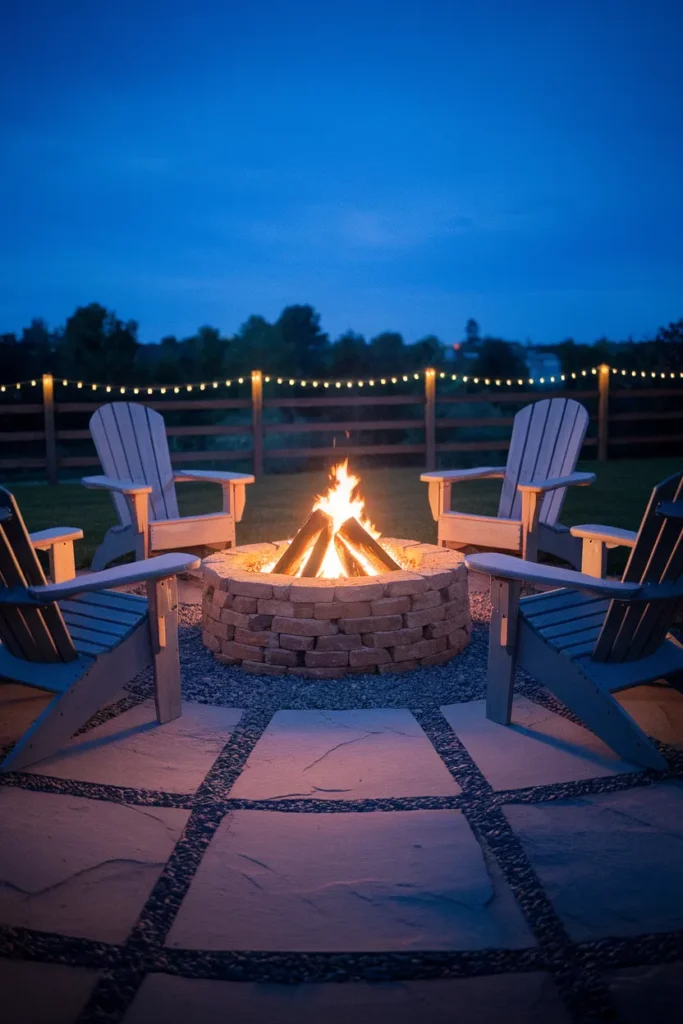
- Flagstone patio, set on sand with 2 to 4 inch gaps. Fill the gaps with topsoil and creeping thyme for the softened look, or with polymeric sand if you want zero maintenance.
- Decomposed granite, which compacts to an almost paved surface and picks up the same warm tone as buff stone.
Whichever you pick, go wider than feels necessary. Width reads as intent. Seven feet of clearance from the fire to the seating edge is the working number, which puts the outer apron edge roughly nine to ten feet across. Sparks land where they land.
Dry-Stack or Mortared: What Three Winters Do
Both work. They fail differently, and that’s the real decision.
Dry-stacked pits rely on weight and friction. Nothing bonds the stone, so you can pull the whole thing apart in an afternoon and rebuild it three feet left. That flexibility is genuinely useful, and it’s why most first builds go this route. The tradeoff shows up after a couple of freeze-thaw cycles, when the base settles unevenly and the top course starts to rock. Expect to reset a few stones each spring. Ten minutes, tops.
Mortared pits don’t shift. They also don’t forgive a bad base. If the gravel underneath wasn’t compacted properly, freeze-thaw movement cracks the mortar joints instead of just nudging a stone, and repointing is a worse Saturday than resetting.
The honest split: dry-stack if your soil drains well and you might move the pit. Mortar if you’re on clay, you’ve prepped a proper compacted base, and you want it permanent.
Base prep decides this more than the mortar does. Two to three inches of compacted paver base under the whole footprint, tamped in layers, is the thing that keeps either version level. On uneven ground the problem compounds fast, and our walkthrough on building a fire pit level on a sloped yard covers the terracing approach.
What a Rugged Stone Fire Pit Actually Costs
Numbers move with region and season. Treat these as tiers, not quotes.
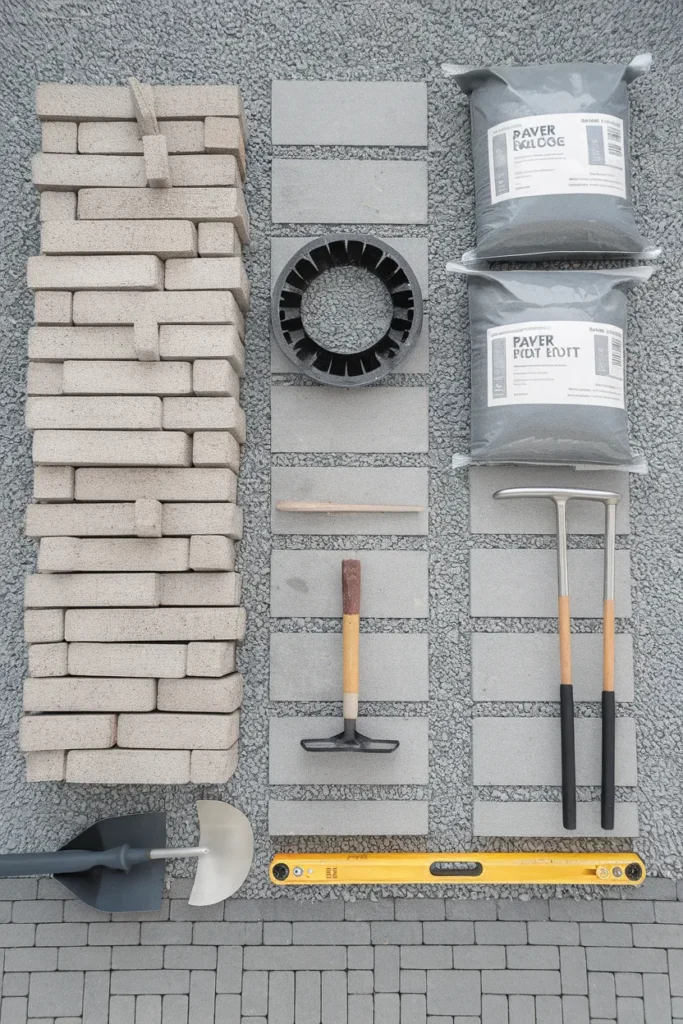
A straightforward DIY build using tumbled wall block, a steel ring, paver base, and gravel lands in the low hundreds. One widely documented build came in around $230 in materials for a 30-inch pit with a three course wall. Fieldstone runs higher because you’re buying by weight and buying extra to sort through.
Prebuilt kits average somewhere near $625, and that premium buys you matched stone and a guarantee it fits together. Delivery adds meaningfully on top, often near $80, though hauling half a ton of stone in a sedan has its own hidden costs.
Professional installation opens a wide range, roughly $800 for a simple wood-burning build up past $5,000 for mortared natural stone with a cap and a gas line. Natural stone veneer alone runs $15 to $30 per square foot, manufactured veneer closer to $8 to $15.
The budget lever most people miss is the apron. Gravel is a fraction of flagstone per square foot and arguably suits the rugged look better. Spend on Zone 2, save on Zone 3.
If the number still isn’t landing, a cinder block fire pit gets you a legitimate build for well under a hundred dollars in materials. A coat of stone veneer later closes most of the visual gap.
Clearances, Permits, and the Unglamorous Part
Skip this section and the rest stops mattering.
Ten feet is the widely cited federal minimum. The US Fire Administration’s outdoor fire guidance puts it plainly: keep fire pits at least 10 feet from your home or anything that burns. Plenty of municipalities go further, requiring 15 or even 25 feet, and some set minimum distances from property lines separately. A five minute call to your building department settles it. Make it first.
Three more things worth doing before you dig:
- Call 811. Free, required in most states, and it marks your buried utility lines before a spade finds them.
- Check for burn bans. Seasonal restrictions are common in dry regions and they apply to permanent pits too.
- Ask your HOA and your insurer. Both have opinions, and one of them affects your coverage.
On the injury side, the numbers deserve a mention. University of Utah Health’s burn center, citing Consumer Product Safety Commission data, reported that fire pit burn injuries nearly tripled over a decade, with more than 5,300 injuries in a single year. Their fire pit safety guidance makes the point that coals stay dangerously hot for hours after a fire looks out, which is the mechanism behind a lot of those cases.
Keep a spark screen on hand for windy nights, and site the pit away from overhanging branches. Boring advice. Still true. Skip it once and you learn why.
Putting the Look Together
The pits that stop people scrolling share a short list of traits. Irregular top course. Tight joints. A stone palette that stays inside one color family. An apron wide enough to look intentional. And a Zone 1 liner nobody notices, doing the actual work.
Start with the zoning rule. Pick your stone to match each zone. The aesthetic decisions get much easier from there. You’re no longer choosing between pretty and safe.
Stone Fire Pit FAQ
What stones should not be used in a stone fire pit? Keep sandstone, limestone, shale, pea gravel, and river rock out of direct flame contact. All of them are porous enough to trap moisture, and trapped moisture turns to steam under heat, which can crack or burst the stone. River rock carries the highest risk because its smooth surface hides how saturated it is inside. Use those stones in the apron instead, where they look just as good.
How far does a stone fire pit need to be from the house? Ten feet from any structure or anything combustible is the commonly cited federal minimum. Many local codes require more, sometimes 15 to 25 feet, and separate rules often apply to property lines. Check with your building department, because local code overrides any general guidance.
Do you need a permit to build a stone fire pit? Often no, but it depends entirely on where you live. Loose-laid, wood-burning pits frequently fall outside permit requirements because they’re considered impermanent. Permanent mortared structures, anything near a property line, and any gas line work usually do require permits and inspection.
How deep should a fire pit be? Aim for 12 to 18 inches of total depth, with walls standing 8 to 12 inches above the base. Shallower pits struggle to contain embers and burn poorly. Deeper ones starve the fire of airflow.
Is it cheaper to build a stone fire pit or buy a kit? Building is cheaper. A DIY build with wall block, a steel ring, and base material can land near $230, while kits average closer to $625 before delivery. Kits buy convenience and a guaranteed fit, which is a fair trade if you’d rather not measure and sort.
Can you put a stone fire pit directly on grass? You can, and plenty of people do, but it creates two problems. The pit won’t stay level as the sod compresses unevenly, and it won’t drain, so it fills with water after heavy rain. Strip the sod and lay 2 to 3 inches of compacted paver base instead.
How many stones do you need for a fire pit? For a 30-inch fire ring with a three course wall, plan on 36 to 38 blocks, since roughly 12 wrap the ring per course. Confirm the fit before buying: the ring’s outside diameter should sit 1 to 2 inches inside the inner diameter of your stone circle.
One Last Thing
Build it a size smaller than you think you want. Almost nobody regrets a 30-inch pit, and the 48-inch versions eat patio space and firewood at a rate that surprises people by the second season.
If you get one built, we’d love to see how the stone came out. Tell us which zone gave you the most trouble, because it’s almost always Zone 2.
General information only. Local fire codes, permit requirements, and setback rules vary by municipality. Check with your local building department before construction, and consult a qualified professional for any gas line or structural work. Prices reflect typical US ranges and shift by region and season.