Fire Pit on Sloped Yard: How to Build It Level
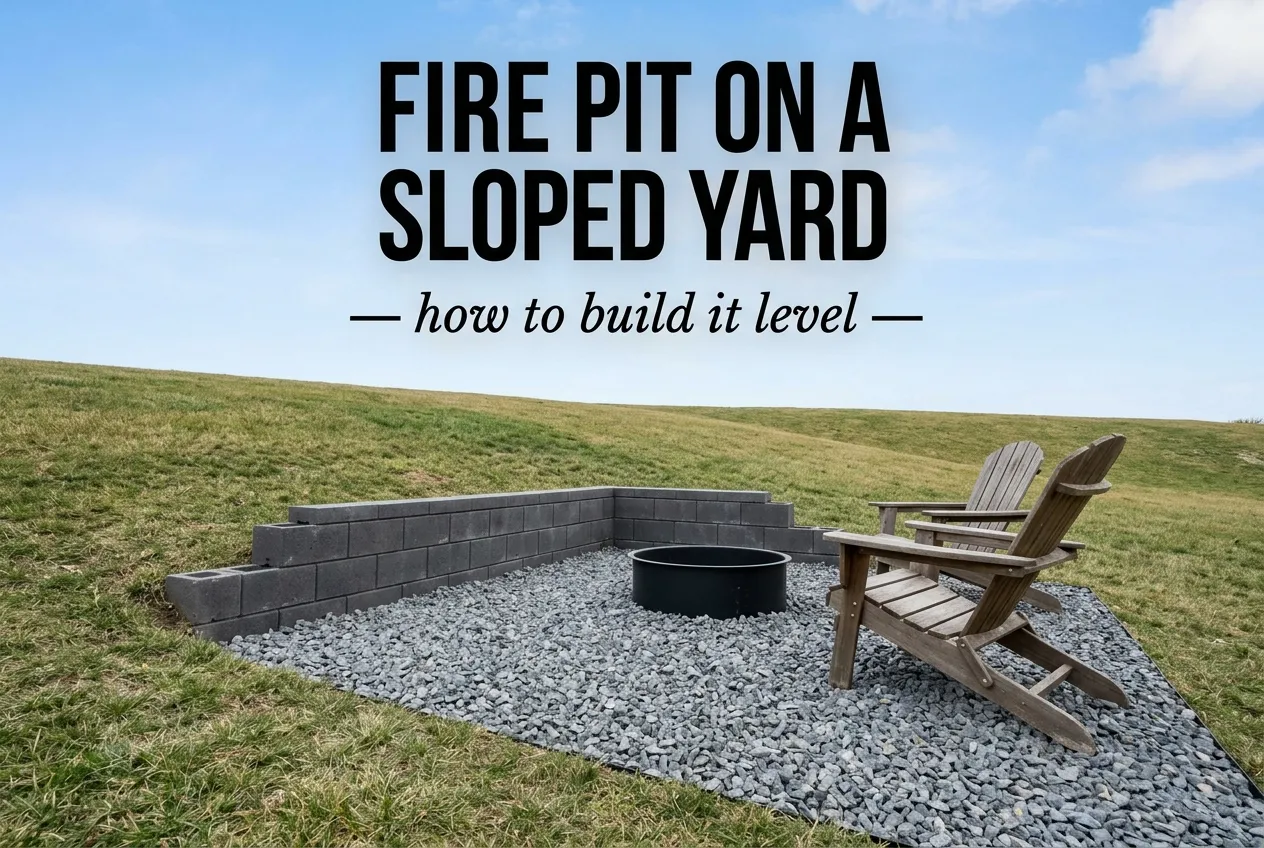
You’ve got the hill. You’ve got the chairs. What you don’t have is anywhere flat to put them.
A fire pit on sloped yard builds fail for one reason, and it isn’t the fire pit. It’s the ground underneath. Get the pad right and a cheap steel bowl from Tractor Supply will look intentional for a decade. Get it wrong and a $4,000 stone build leans downhill by the third spring. This guide walks the whole thing. How to read your grade, which of three builds your slope actually calls for, and what it costs in 2026. Plus the one safety detail almost every article on this topic skips.
Start with the ground. The pretty part comes later, and honestly, it’s the easy half.
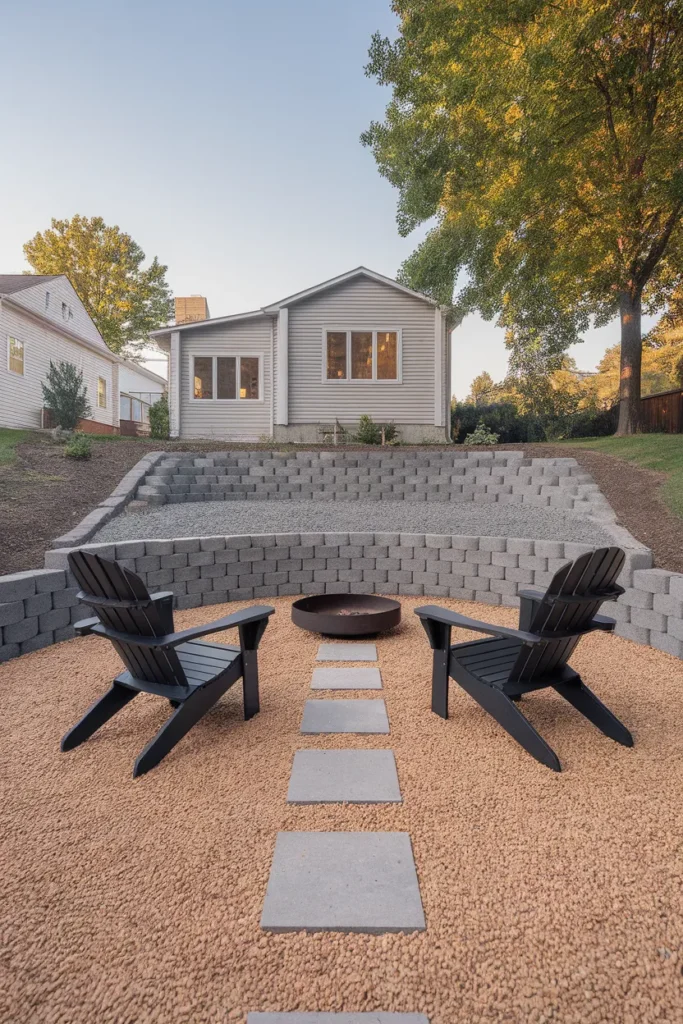
Why a Sloped Yard Changes the Whole Fire Pit Build
Planning a fire pit on sloped yard starts with the ground, not the fire pit. On flat ground, sloppy work hides. You can drop a paver kit on half-compacted soil, skip a step or two, and the thing still looks fine for years.
A slope doesn’t offer that mercy. Water moves across it. Soil creeps down it. Embers roll along it. And every one of those forces works in the same direction, which is away from you and downhill, all year, whether you’re watching or not. A one-inch settle on a flat lawn is nothing. The same settle on a grade shows up as a visible lean, because you’ve got a level horizon line right there to compare it against.
Landscapers who get paid to repair these builds report the same failure over and over: an undersized or skipped gravel base. Not the fire pit. Not the stone. The base.
So that’s where the work goes.
The 15/25 Slope Rule
Here’s the framework that decides your entire build. Measure your slope in degrees, then read the row.
The 15/25 Slope Rule: under 15 degrees, you can cut and fill your way to a level pad with hand tools and a weekend. Between 15 and 25 degrees, the fill won’t hold on its own and you need a wall. Above 25 degrees, stop moving dirt and build a platform over the grade instead.
| Your grade | Build type | Wall needed? | Realistic DIY? |
|---|---|---|---|
| Under 15° | Cut and fill terrace | No, or a low edge course | Yes, a weekend |
| 15° to 25° | Retaining wall plus level pad | Yes, 2 to 4 ft | Partly, wall may need a pro |
| Over 25° | Structural deck or platform | No, posts instead | No, hire it out |
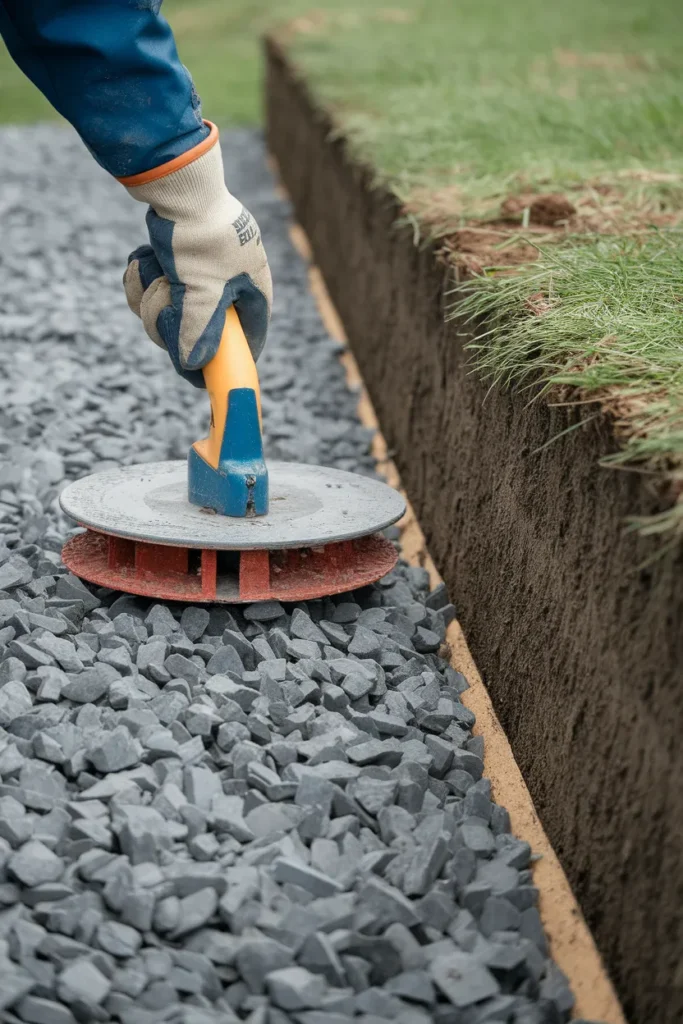
Measuring takes about ten minutes. Grab an eight-foot 2×4, a torpedo level, and a tape measure. Lay the board on the slope pointing straight downhill, lift the low end until the bubble centers, then measure the gap from the board’s low end to the ground. Every 1.7 inches of gap over eight feet is roughly one degree. A 12-inch gap puts you around 7 degrees. A 30-inch gap puts you near 18.
Write the number down. Every decision below hangs off it.
Cut and Fill: The Weekend Method for Gentle Grades
Under 15 degrees, this is your build.
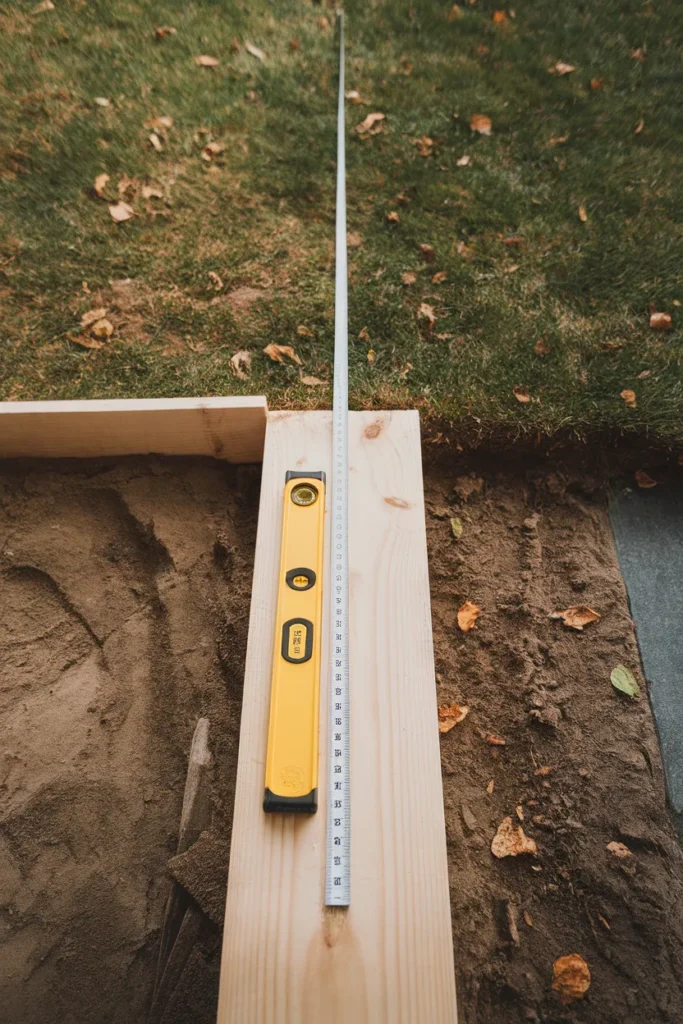
You dig into the uphill side and move that soil to the downhill side. The dirt you remove becomes the dirt you add, which is why it’s cheap. Mark your circle first and make it bigger than you think, because a fire pit needs a seating ring around it, not just a pad the pit sits on. A 36-inch pit wants a 12-foot finished circle minimum.
Cut the uphill half down to your target depth. Pile that soil on the downhill half. Then compact it in four-inch layers, not all at once, because loose fill dropped in one go will settle unevenly for years. Rent a plate compactor from Home Depot or Menards for the afternoon if you can.
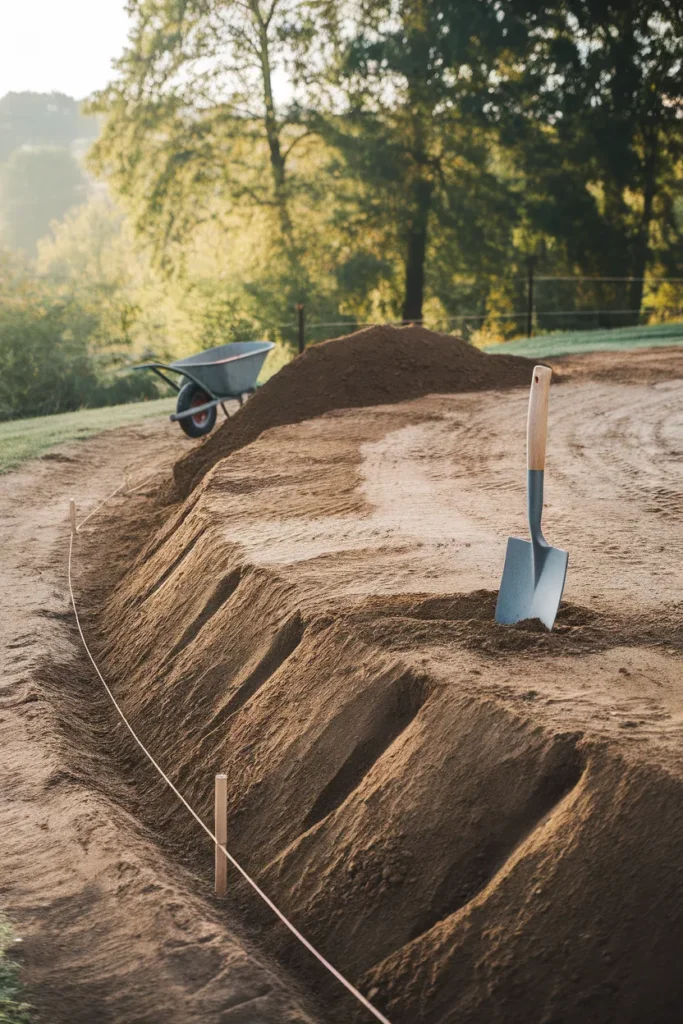
Top it with four to six inches of angular crushed gravel and compact again. Angular, not pea gravel. Pea gravel rolls under load and never locks together.
That’s the whole method. It’s tedious and it’s not complicated.
Retaining Wall Builds for Moderate Slopes
Between 15 and 25 degrees, gravity wins the argument. Fill alone slumps, so you build something to hold it.
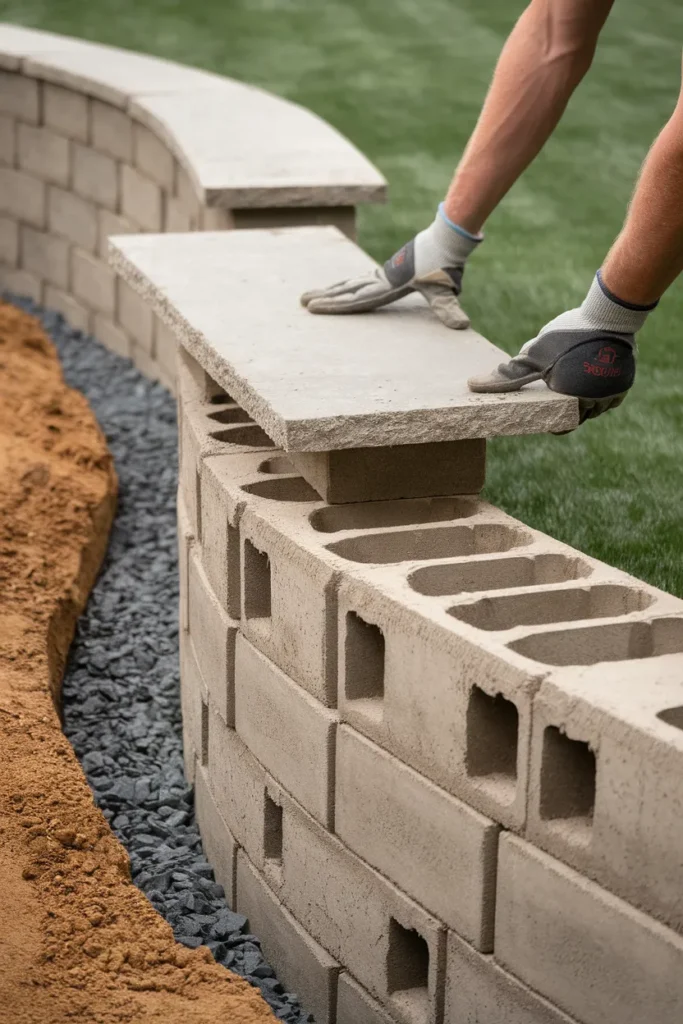
The wall goes on the downhill side of your pad. First course gets buried partly below finished grade and it has to be dead level, because everything above it inherits whatever error you leave there. Stack the rest in staggered courses like brickwork, offsetting each layer, and run construction adhesive between courses on the upper rows.
Behind the wall, backfill with coarse gravel instead of soil. This is not optional. Soil holds water, water builds pressure, and pressure pushes walls over. The same terracing logic that farms have used for centuries applies in a backyard, and Oklahoma State’s extension resources explain how terracing slows runoff on a grade rather than letting it accelerate.
One more thing on walls. Most jurisdictions require a permit above four feet, some as low as 30 inches. Check before you stack, not after.
If your wall is going to double as seating, cap it wide. Sixteen to eighteen inches deep at roughly 18 inches high gives you a bench that people actually sit on instead of perching. Pair the finished pad with paver patio layouts that hold up outdoors if you want the surface to read as a room rather than a gravel patch.
Deck Platforms for Steep Ground
Past 25 degrees, moving dirt stops making sense. The volume of fill required to hold a usable pad gets absurd, and the wall you’d need starts requiring an engineer’s stamp.
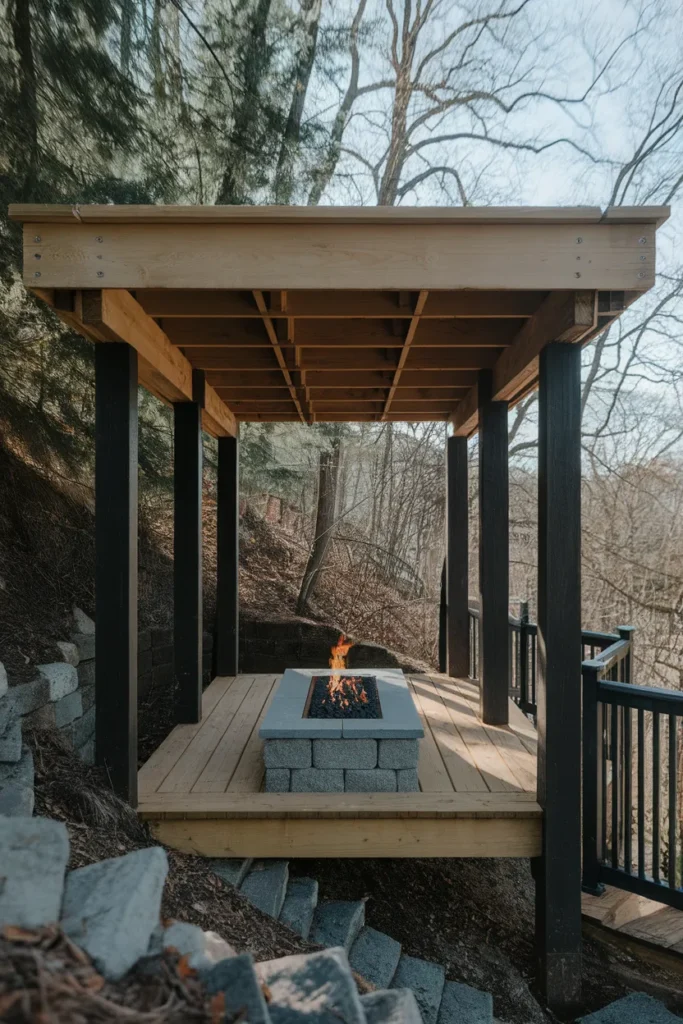
Build over it instead. A post-supported or cantilevered platform sits above the slope on footings, leaves the grade undisturbed, and gives you the most dramatic view of any option here. Lakefront and hillside lots often have no other realistic choice.
Two rules apply and neither bends. Use a gas or propane unit, never wood-burning, because embers and framing are a bad pairing regardless of what’s under the pit. And set the pit on a rated non-combustible insert or heat shield, not straight on decking boards.
Expect this to cost the most and need the most upkeep. It’s still sometimes the only answer.
The Downhill Ember Zone Nobody Talks About
Here’s the part almost every guide on this topic misses.
Standard fire pit advice gives you one number: keep 10 to 20 feet from structures, with many local codes requiring up to 25 depending on design and fuel. That guidance assumes flat ground, where an ember lands, sits, and dies where it fell.
On a grade, embers don’t sit. They roll. A stray ember off a wood fire can travel six, ten, sometimes fifteen feet downhill before it stops moving, and it stays hot the entire way. So your clearance isn’t a circle anymore. It’s a circle uphill and a stretched oval downhill.
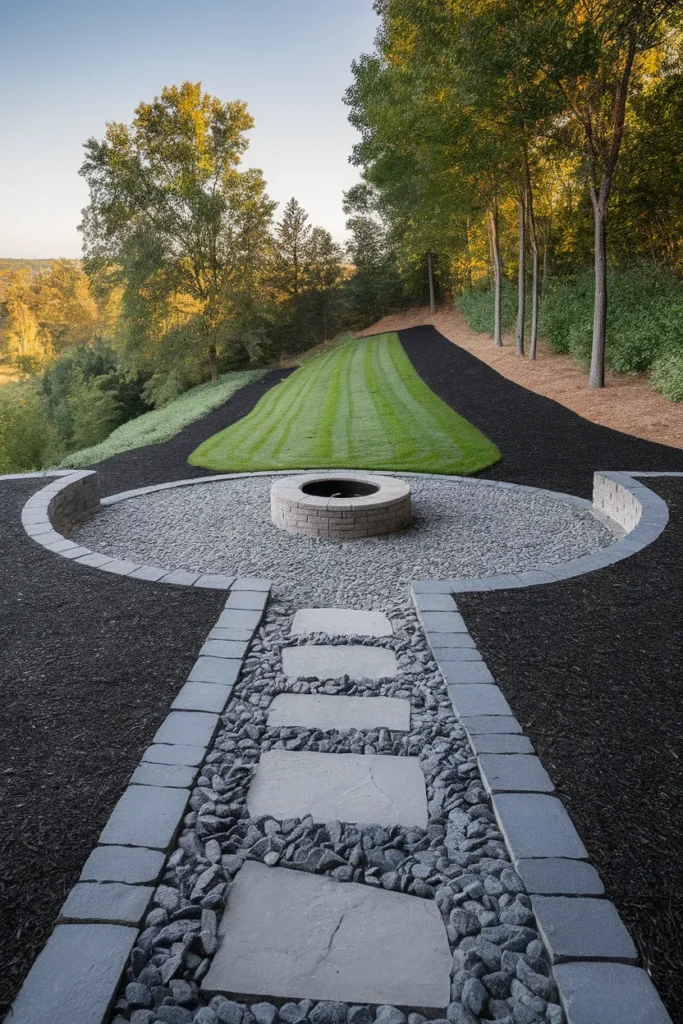
Practical version: keep the standard six-foot non-combustible radius all the way around, then extend it downhill by roughly half your slope’s drop across the yard. Gentle grade, add a few feet. Steep grade, add ten or more. What lives in that downhill zone matters more than the number does. Bark mulch, dry leaf litter, landscape fabric, a wood fence, and ornamental grasses are all things an ember will find. Gravel, pavers, stone, and mowed green lawn are not.
The national fire safety guidance for outdoor fires published by the NFPA is worth reading in full before your first burn, and your local fire department sets the rules that actually apply to your address. Provisions differ a lot from town to town.
Wind deserves a line too. Slopes generate their own upslope breezes in the evening as the ground cools at different rates, which is exactly when you’re using the pit. Position so that breeze carries smoke away from the seating, not through it.
Drainage, or Why Good Builds Fail in Year Three
Cut a flat pad into a hill and you’ve just interrupted every path water used to take. It has to go somewhere. If you don’t decide where, it decides for you, usually into the back of your new wall.
Three moves handle most yards.
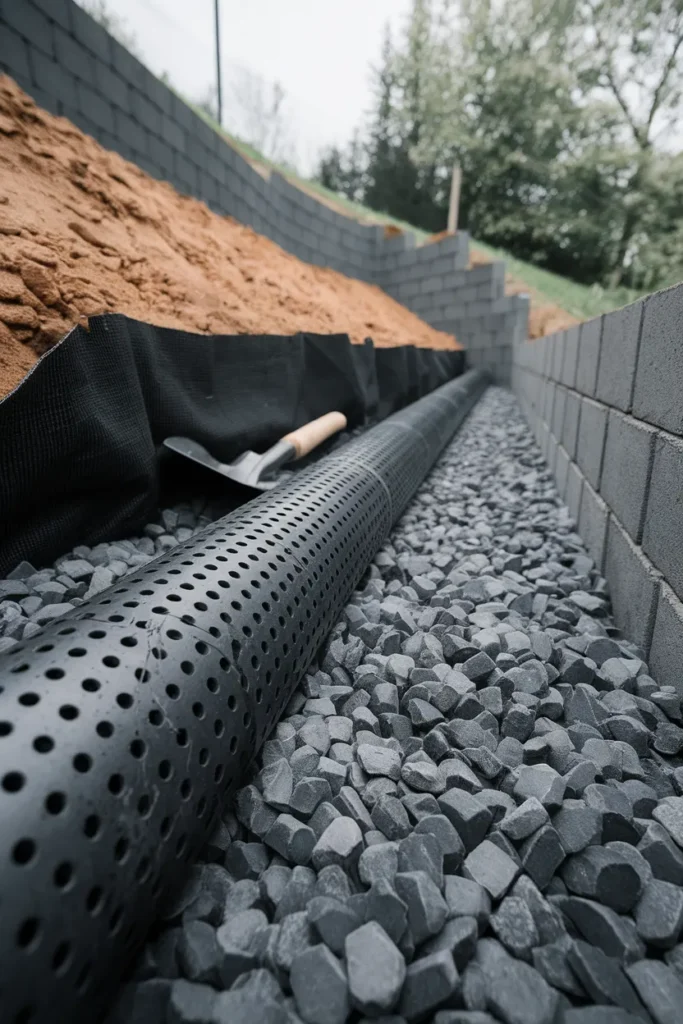
Run a perforated drain pipe in gravel along the base of the retaining wall, sloped to daylight at one end. A French drain runs roughly $10 to $35 per linear foot installed according to HomeGuide’s 2026 figures, and it’s cheaper than rebuilding a wall.
Cut a shallow swale uphill of the pad. It’s a gentle ditch that catches sheet runoff before it reaches your build and walks it around the side. Grassed over, it disappears visually.
Pitch the pad itself. About a quarter inch per foot, away from the uphill face. Enough to shed water, not enough to feel tilted underfoot.
Test before you commit, too. Dump five gallons on the spot you’ve picked and watch where it goes. If it pools, you’ve learned something cheap.
What a Sloped Fire Pit Costs in 2026
A fire pit on sloped yard costs more than the same pit on flat ground, and the gap is almost entirely site work. Numbers move, so treat these as current ranges rather than quotes. All figures below reflect 2026 US cost data published by Angi and HomeGuide.
- Yard leveling or regrading: $1,023 to $3,335 on average, or roughly $0.40 to $2.00 per square foot. Steeper grades push the top of that range.
- Terracing a backyard: $2,500 to $10,000 for a multi-level system with walls and grading.
- Retaining wall: $40 to $360 per linear foot for walls between two and six feet. Sloped sites can add 50 percent or more to labor.
- Sunken pit with built-in seating: $3,000 to $8,800 installed.
- French drain: $10 to $35 per linear foot.
- Gas line run: $14 to $25 per linear foot, licensed installer only, permit required.
- DIY timber terracing: $200 to $800 per level if you source materials and do the labor. Pressure-treated timber starts around $15 per square foot and is realistic for walls under three feet.
- The pit itself: entry smokeless models start near $80, a Solo Stove Bonfire 2.0 runs about $400, and a basic steel ring or a Sunnydaze bowl sits comfortably between.
The pattern worth noticing: the fire pit is almost never the expensive part. Site work is. A portable bowl on a properly built pad still needs the pad, which is why budgeting for the ground first and the pit second gets you a better result for the same money.
When to Build: Timing by USDA Zone
Nobody else covering this topic mentions timing, and it matters more on a slope than on flat ground.
A fire pit on sloped yard build asks two things of your soil at once. You’re compacting it, and you’re building something on it that has to resist frost heave. Both jobs go badly in saturated or frozen ground. Soil that’s too wet won’t compact, it just smears, and a base built on smeared clay settles the first dry summer.
Rough guide by zone. In Zones 5 and 6, last frost typically lands mid-April to mid-May, so late May through September is your window. In Zones 7 and 8, last frost usually falls in late March to early April, which opens April through October. In Zone 9, hard freezes are rare and the limiting factor is rainfall, so build in your dry season.
Frost dates shift year to year and vary a lot by micro-location, so confirm yours against the USDA Plant Hardiness Zone Map or your county extension office before you set a date.
One practical note: fall is often the best build season anywhere colder than Zone 7. Soil is drier than spring, temperatures are workable, and you finish just in time for the season when a fire pit earns its keep.
Seating That Works on a Grade
Level pad, then furniture. In that order, always.
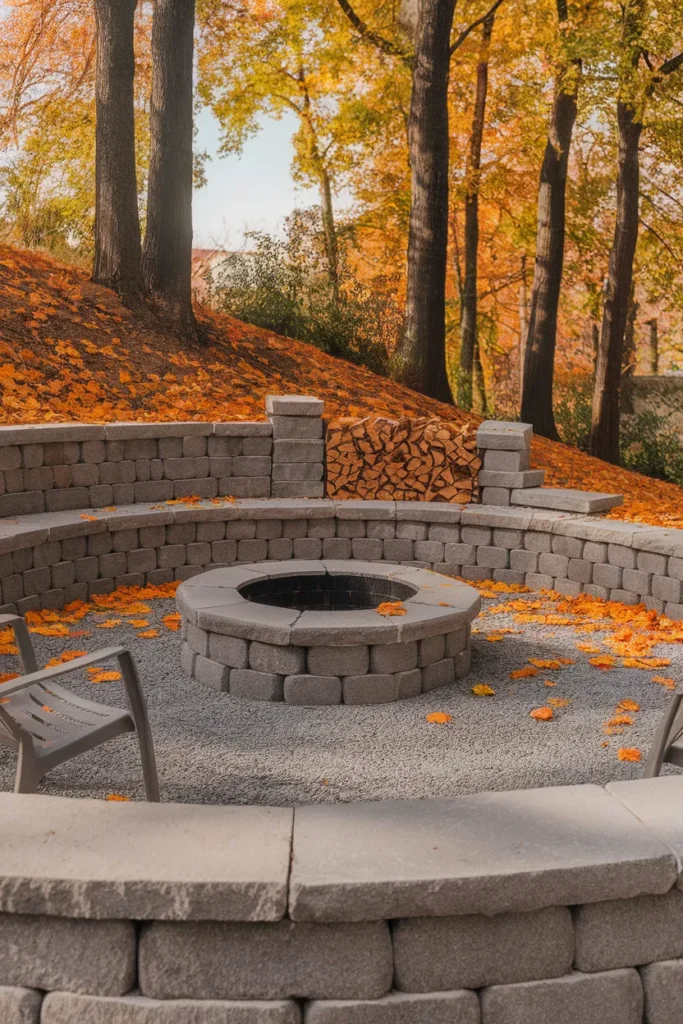
A capped retaining wall is the most efficient seating you’ll ever build, because the structure was going in anyway. Cap it 16 to 18 inches deep and you’ve doubled its job. Tiered benches cut into the slope behind the pit create a small amphitheater effect, and everyone gets a sightline to the fire instead of the back of someone’s head.
Freestanding chairs are completely fine, with one condition: the pad has to be genuinely flat. A two-degree tilt you can’t see is a tilt you’ll feel by the second hour.
Sloped yards also tend to be exposed yards, since you’re often sitting below a neighbor’s grade looking up. A few screening ideas for an exposed yard will do more for how the space feels than another round of furniture will.
Then style it. Lanterns on the wall cap, a galvanized bucket for kindling, weather-resistant cushions in a color that reads warm at dusk.
Frequently Asked Questions
Can you build a fire pit on a sloped yard? Yes. A fire pit on sloped yard is a normal project and the slope itself is never the disqualifier. You create a level pad first using cut and fill, a retaining wall, or a raised platform depending on your grade, then install the fire pit on that pad. The fire pit installation is standard from there.
Do you need a retaining wall for a fire pit on a slope? Under about 15 degrees, usually not. Cut and fill with proper compaction holds fine. Between 15 and 25 degrees a low wall becomes the durable answer. Above 25 degrees, a structural platform generally beats a wall.
How far should a fire pit be from the house on a slope? Standard guidance is 10 to 20 feet from structures, with some local codes requiring up to 25 depending on fuel type and design. On a slope, treat those as minimums and extend clearance downhill, since embers roll. Your local fire department sets the binding number.
How do you handle drainage around a fire pit on a slope? Three things: a perforated drain pipe in gravel behind any retaining wall, a shallow swale uphill to intercept runoff, and a slight pitch on the pad itself of about a quarter inch per foot. Skipping drainage is the most common reason a good build fails within a few years.
What is the best fire pit design for a sloped backyard? It depends on your grade. Sunken and terraced designs suit gentle to moderate slopes and feel sheltered. Retaining wall builds with integrated seat walls work well on moderate grades. Raised deck platforms with a gas unit are the practical option on steep ground.
Do I need a permit for a fire pit on a slope? The fire pit usually doesn’t require one. The retaining wall often does, commonly above four feet and sometimes as low as 30 inches. Gas line work always requires a permit and inspection. Check with your local building department before starting.
How much does it cost to level a sloped yard for a fire pit? Yard leveling averages $1,023 to $3,335 according to 2026 Angi data, or about $0.40 to $2.00 per square foot. A full terraced system with walls runs $2,500 to $10,000. DIY timber terracing can come in at $200 to $800 per level.
Start With the Dirt
The best sloped yard fire pits don’t look like someone fought the hill. They look like the hill was always going to end up that way.
That comes from sequence. A fire pit on sloped yard rewards order more than budget. Measure your grade, pick your build from the 15/25 Slope Rule, compact properly, plan where water goes, and extend your ember zone downhill. Do those five things and almost anything you set on top will work, whether that’s a $90 steel bowl or a stone build with a seat wall.
Take the measurement this weekend. It’s ten minutes and it tells you everything else. And once the ground is sorted, a few rounds of budget decor that still looks pulled together will finish the space for less than you’d guess.
Which grade are you working with? Drop your number in the comments and I’ll tell you which build I’d pick.