Budget Backyard Garden Ideas That Do Not Look Cheap

Most Backyard Landscaping Ideas on a Budget fail for one reason. The money goes to plants first, and plants are the single layer that cannot rescue a yard with no ground plane, no edge, and no light. You can spend $400 at a garden center in April and still be looking at a lawn with stuff sitting in it.
This guide runs the opposite direction. Real 2026 US prices, real coverage math for a real square footage, and a spending order that makes a small budget read as deliberate instead of broke.
Fair warning: there is arithmetic ahead. It is the good kind.
Start With the Dirt, Edge, Light Order
Here is the framework this whole article hangs on. We call it the Dirt, Edge, Light Order, and it is simply the sequence a budget yard has to be built in if you want it to look finished at every stage instead of only at the end.
Dirt first. Edge second. Light third. Plants come after all three, never before.
The logic is boring and it works. The ground plane is the largest visual surface in any yard, so fixing it moves the most square footage per dollar. A cut edge is what separates “landscaped” from “overgrown,” and it is nearly free. Light is what makes the yard usable after 8 p.m., which doubles the hours you actually enjoy the thing you just paid for.
| Stage | What it fixes | Spend for 200 sq ft | What breaks if you skip it |
|---|---|---|---|
| 1. Dirt | The ground plane: dead grass, bare patches, weedy soil | $30 to $120 | Plants sit in weeds and the yard reads unfinished |
| 2. Edge | The line between bed and lawn | $0 to $120 | Mulch migrates, beds blur into grass, mowing gets ugly |
| 3. Light | Evening usability | $40 to $150 | The yard disappears at dusk and nobody sits in it |
| 4. Plants | Color, height, seasonal interest | Whatever is left | Nothing, if the first three are done |
Screenshot that table. It is the entire budget strategy in four rows.
If your whole budget is $100, here is exactly where it goes. Sixty dollars of bulk mulch, zero dollars on a hand cut edge, and forty on one strand of string lights. That is it. You will have a defined bed, a clean line, and a lit seating spot, and the yard will read as finished even though you have not bought a single plant. Add plants next month with whatever the grocery budget forgives.
Most people run this order backward. They buy a flat of annuals in April because the garden center is pretty, then in July they are staring at $200 of leggy plants in a bed with no edge. The order fixes it.
If your project is a patio rather than a planting bed, the same sequence applies with different materials, and we broke it down separately in our inexpensive patio ideas guide.
Kill the Grass Without Renting a Sod Cutter
Stage one of the order is dirt, and for most yards that starts with removing turf you do not want. A sod cutter rental runs real money and a full day of your weekend. There is a cheaper method that costs almost nothing and leaves better soil behind.
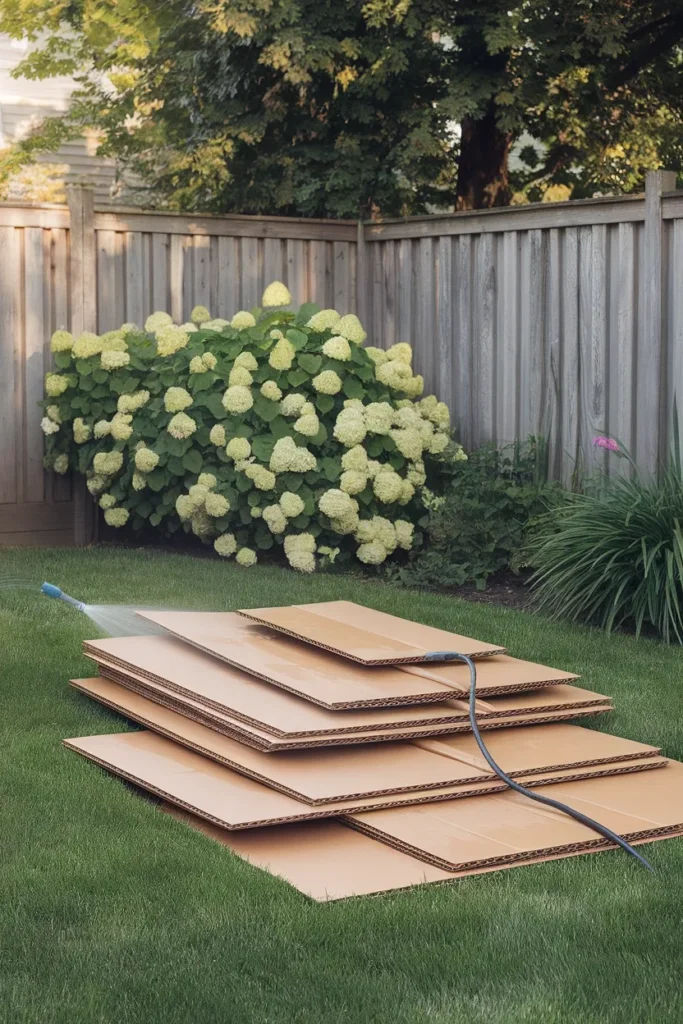
Sheet mulching. You lay cardboard directly over the grass, wet it down, and pile mulch on top. The grass dies underneath, the cardboard breaks down, and the worms do the tilling for you.
Penn State Extension gives the actual spec, and the numbers matter more than most tutorials admit. Overlap your cardboard sheets by 8 to 10 inches so no light sneaks through the seams. Pull off every strip of tape and every staple first. Then cover the whole thing with 4 to 6 inches of mulch, not the 2 inches most people eyeball.
Then wait. The bed wants a few months to rest before you plant into it, and over winter is the ideal window. Lay it in September and you are planting into soft, weed-free soil the following April.
Cardboard cost: $0 if you have moved recently or you ask the appliance section at Lowe’s for their box scrap. Mulch cost for a 200 square foot bed at 4 inches deep: about 67 cubic feet, which lands near 2.5 cubic yards bulk or 34 of the 2 cubic foot bags.
The one shortcut that is worth it
If you cannot wait a season, cut the grass as short as your mower goes, then sheet mulch and plant directly through the cardboard by cutting an X where each plant goes. It works. It is slightly messier and you will pull a few more weeds in year one.
Ground Cover Math: What It Really Takes to Cover 200 Square Feet
This is the section nobody else writes, and it is the one that saves the most money. Every material below is priced for the same 200 square foot area so you can compare honestly.
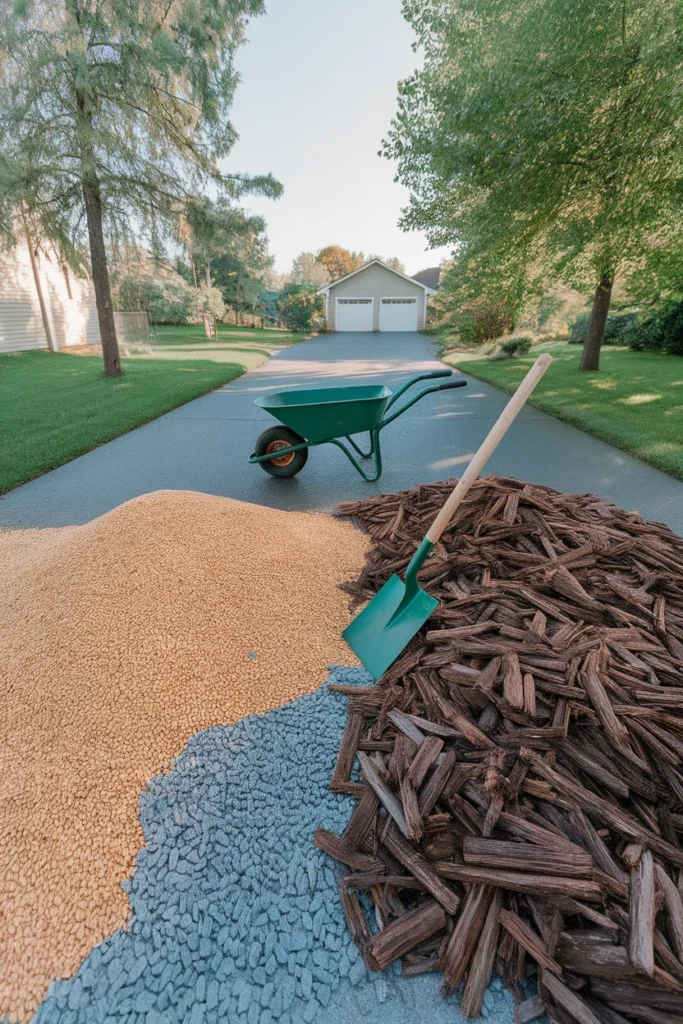
Hardwood mulch at 3 inches deep. A 2 cubic foot bag covers 8 square feet at that depth, so 200 square feet needs 25 bags. At Home Depot’s regular $3.97 per bag that is $99.25. During the August 2026 promo of 4 bags for $10, the same coverage costs $62.50. Buy it bulk instead and 1.85 cubic yards delivered runs $15 to $65 per yard, which puts you between $28 and $120 depending on your supplier and whether you haul it yourself.
Pea gravel at 2 inches deep. Here is where budget yards bleed money. You need 33 cubic feet, which is 67 of the half cubic foot bags. At $4 to $7 a bag that is $268 to $469. The identical volume delivered in bulk is 1.23 cubic yards at an average $46 per yard, so roughly $57. Same gravel. One-fifth the price. The only reason to buy bagged gravel is if you genuinely cannot get a truck to your driveway.
Sod. Material alone runs $0.30 to $0.80 per square foot, so $60 to $160 for the area. Installed by a crew it is $1 to $2 per square foot, or $200 to $400.
Concrete or pavers. A concrete patio runs $4 to $12 per square foot, which puts 200 square feet at $800 to $2,400. That is why gravel wins in almost every budget yard.
For context on what you are avoiding: a full professional backyard installation runs $3,000 to $16,000, and basic landscaping services bill $4 to $12 per square foot. Doing the dirt layer yourself with a $60 mulch order is the largest single saving available in this entire category.
Honestly, the gravel number surprises people every time. A five times price difference for the identical rock is the sort of thing that only shows up when you run the math per cubic yard instead of per bag.
Where to get mulch for nothing
Three free sources are worth chasing before you pay for any of it.
Arborist wood chips are the big one. Tree crews pay to dump their chips, so most of them will drop a load in your driveway at no charge if you are on their route. Sign up with a chip delivery service or call the crews you see working your street. The catch is quantity, since a load is often 10 to 15 cubic yards and it arrives whenever it arrives.
Municipal yard-waste compost is the second. Plenty of US towns give residents free or nearly free finished compost and chipped brush from their collection program, usually in spring and fall. Call your public works department and ask.
Leaves are the third, and they are sitting on your own lawn every October. Run the mower over them, rake them into the beds at 3 inches, and you have leaf mulch that feeds the soil better than anything in a bag. Your neighbors will hand you their bagged leaves happily.
Cut a Real Edge Before You Spend a Dollar on Plants
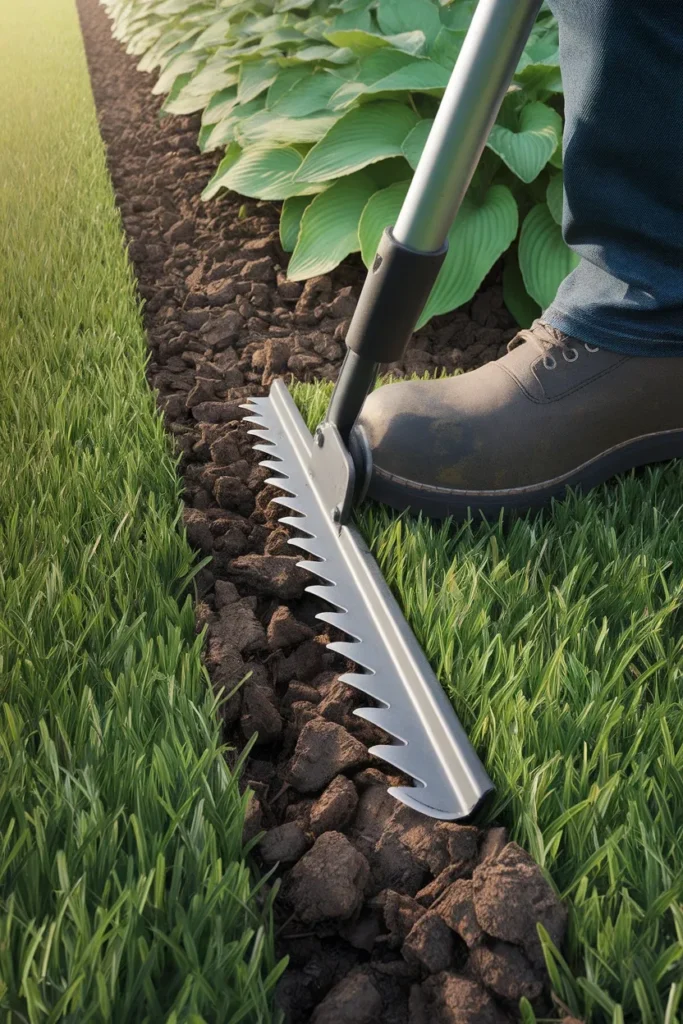
Stage two. An edge is the cheapest upgrade in landscaping and the one that most reliably makes a yard look professionally done.
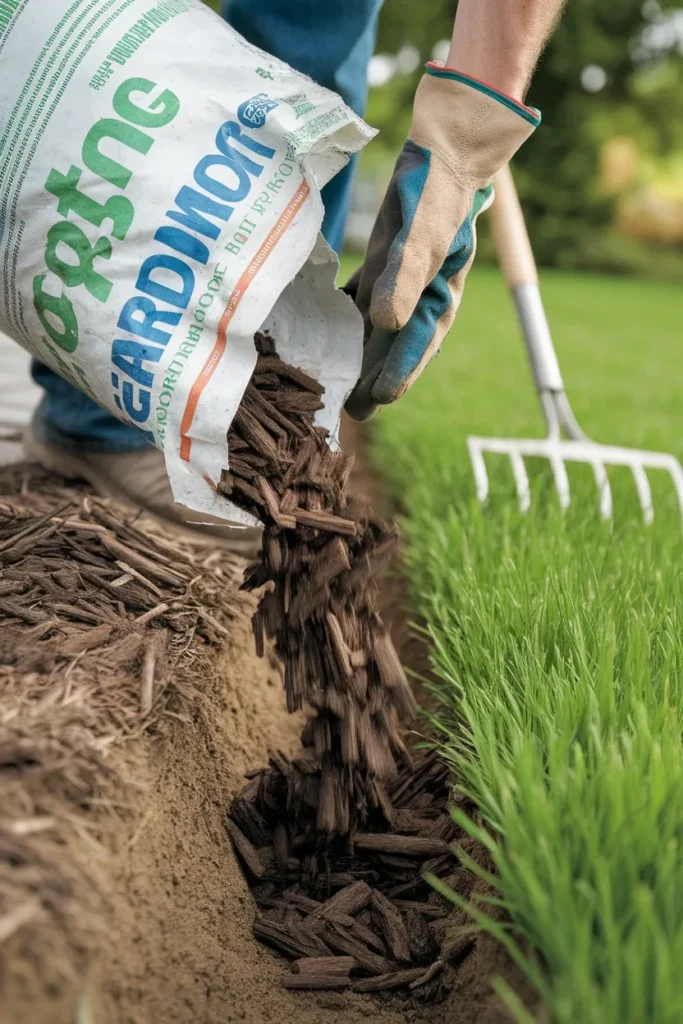
A hand cut trench edge costs nothing but an hour and a half moon edger. You slice a V shaped trench about 4 inches deep along the bed line, angle the lawn side vertically, and let the mulch stop at that line. Done well it looks better than most installed edging, and there is no material to heave, warp, or pop out of the ground in February.
Paid options, priced live:
- Steel or aluminum strip edging: $2 to $5 per linear foot
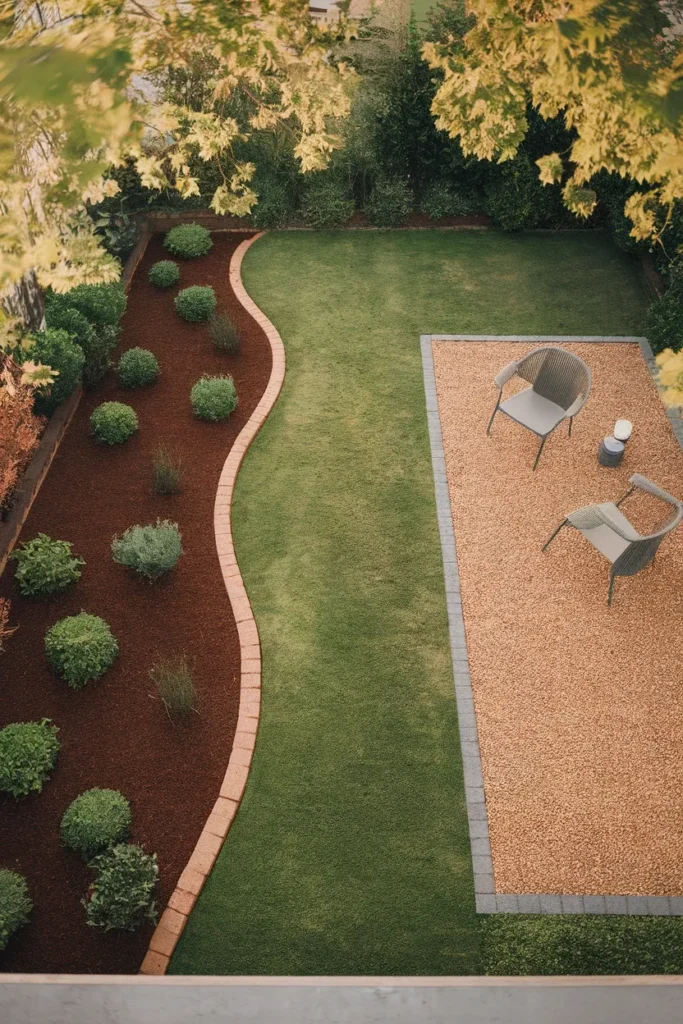
- Brick or paver mowing strip laid flush: $2 to $6 per linear foot
- Salvaged brick from a demolition listing or Facebook Marketplace: often free for hauling
For a 40 foot bed line, that is $0 for a trench, $80 to $200 for metal, or $80 to $240 for a paver strip you will never have to string trim along again. We walk through every option and the depth requirements by climate in our garden edging ideas breakdown.
One rule that matters more than the material: pick a shape you can actually mow. Tight scallops and fussy curves look great on Pinterest and take three times as long to maintain. Long, lazy arcs read as intentional and let a mower follow the line in one pass.
Buy Fewer Plants, Plant Them in Threes, Let Them Fill In
Now you can shop. Stage four, and by this point the yard already looks intentional, so plants are decoration rather than rescue.
Live 2026 pricing: perennials run $8 to $25 each, shrubs $10 to $80, and annuals $3 to $10. The temptation is to buy one of everything. Resist it. A bed with fifteen single specimens reads as chaos, and a bed with five groups of three reads as designed.
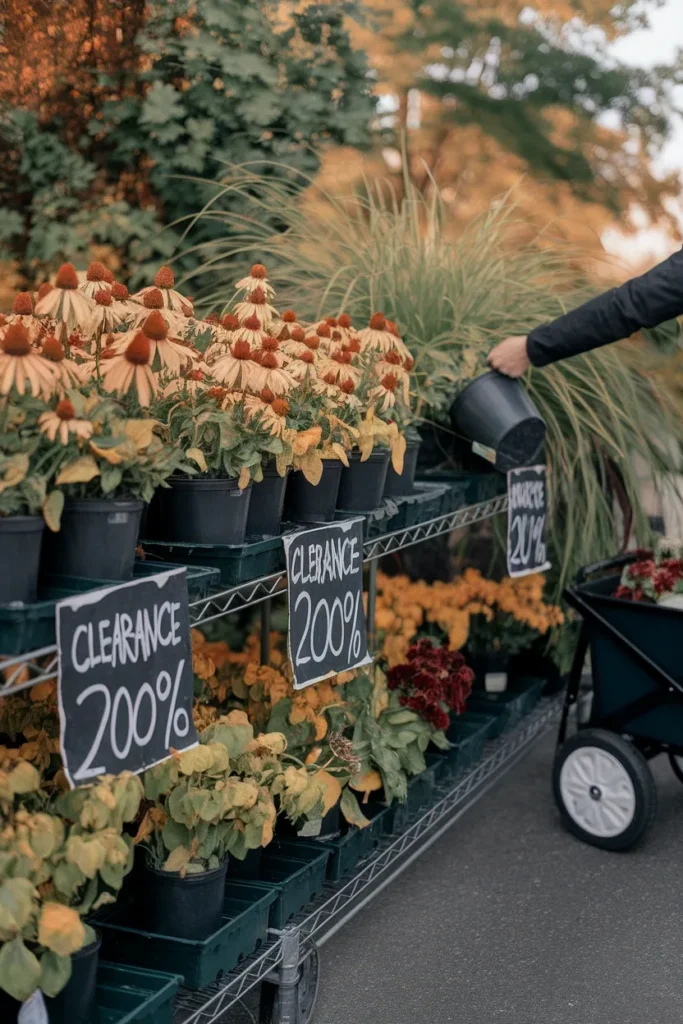
The highest value tip in this entire article: buy your perennials and shrubs in the fall clearance window. Garden centers cut prices 50 to 75 percent in September and October to clear inventory they do not want to overwinter. Those plants look terrible in the pot and establish beautifully, because roots grow in warm soil while cool air keeps the top growth from stressing. A $22 coneflower in May is a $6 coneflower in late September, and it will be a bigger plant by next June than the one you bought in spring.
More rules that save real money:
- Space at mature width, not at how it looks today. A plant tagged for a 30 inch spread goes 30 inches from its neighbor, even though the bed looks sparse for two seasons. Mulch fills the gap for now.
- Choose perennials over annuals for structure and use annuals only as accents. Perennials cost more once. Annuals cost the same amount every single spring.
- Buy the small size. A one gallon shrub catches up to a three gallon of the same variety within about two seasons and costs a third as much.
- Split what you already have. Hostas, daylilies, ornamental grasses, and coneflowers can all be divided in fall and replanted for free.
Match your choices to your zone before you buy anything. Check the USDA Plant Hardiness Zone Map for your exact location, because zone boundaries shifted in the 2023 update and plenty of yards moved half a zone warmer. Zones 5 and 6 typically clear their last frost somewhere between late April and mid May, while Zones 7 through 9 clear much earlier. Those are typical ranges, so confirm against the map or your county extension office before you set a hard planting date.
Native plants deserve a specific mention here, because they are a budget decision as much as an ecological one. A plant that evolved in your rainfall and your soil does not need amended beds, weekly watering, or replacing after a hard winter. Coneflower, black eyed susan, little bluestem, and switchgrass all fall in that category across most of the Zone 5 to Zone 9 band. Local native plant societies and county extension offices run seasonal sales where the same plants cost a fraction of garden center pricing, and many towns have a spring plant swap where they cost nothing at all.
Drought tolerant choices pay off twice, once at the register and again on the water bill. The EPA’s water-smart landscape design principles are worth ten minutes before you finalize a plant list, particularly if you garden anywhere with summer watering restrictions.
Build the Seating Spot, Then Hang the Lights Last
A yard nobody sits in is decoration. Two cheap layers turn a landscaped yard into a used one.
Seating and structure from blocks and salvage
Cinder blocks are the most underrated budget material in any backyard. They run about $2 each at Home Depot and Lowe’s, they do not rot, and they do not blow over. A two row 4 by 8 raised bed comes in under $70 in blocks, and the open cavities double as planting pockets for thyme or trailing strawberries. We laid out the block counts, the safety notes, and the build order in our cinder block raised garden bed guide.
For seating itself, salvage beats retail every time:
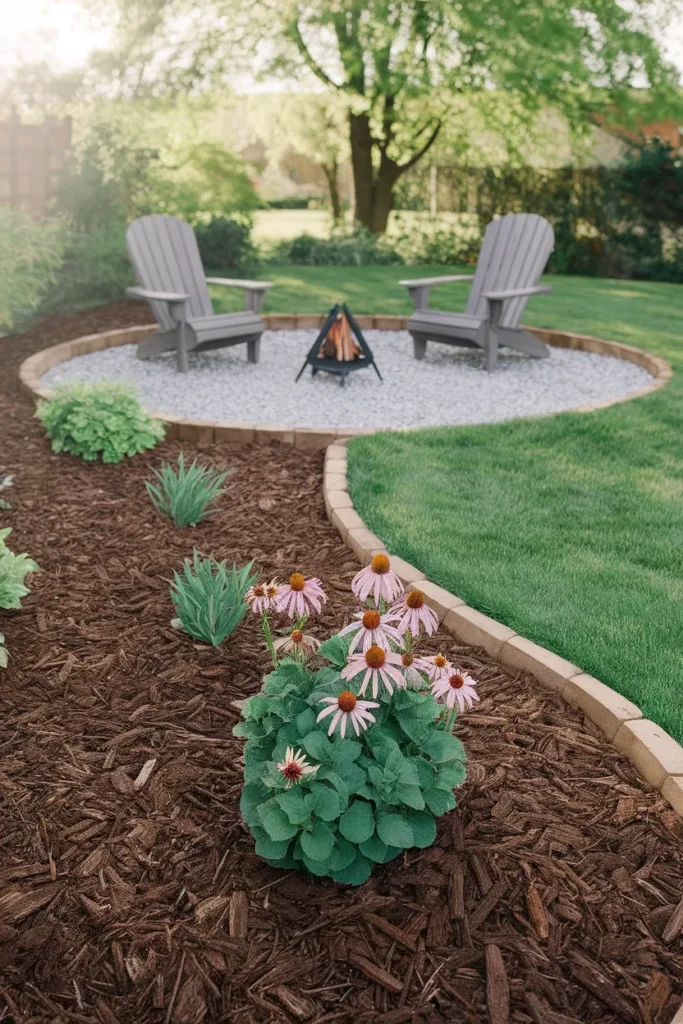
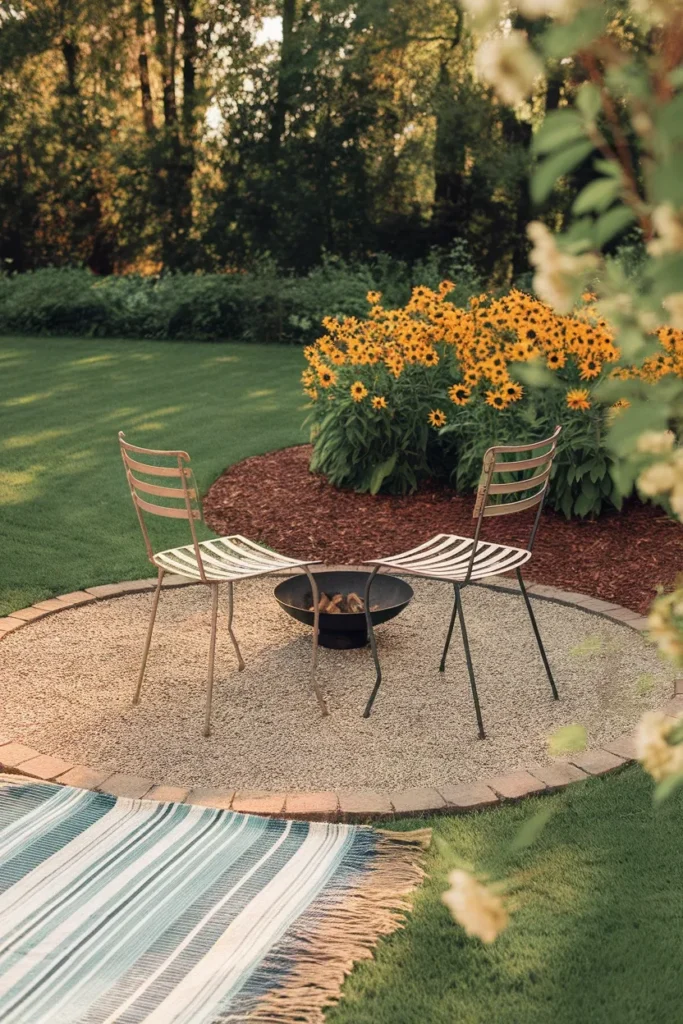
- A pea gravel circle 8 feet across takes about 8 cubic feet of gravel at 2 inches, which is well under $20 in bulk
- Two secondhand metal chairs plus a can of Rust-Oleum spray paint land under $60 total
- A concrete block and 4 by 4 bench seats three people for the price of the lumber
- One outdoor rug from HomeGoods or Target, usually in the $30 to $50 range, does more visual work than any single plant purchase
Keep any fire feature at least 10 feet from the house, the fence, and low branches, and check your municipal rules before you build anything permanent. Local permit and setback requirements vary a lot, and this article is general information rather than code advice for your specific lot.
Renting? Run the same order with nothing anchored. Gravel goes over landscape cloth in a defined rectangle so the whole pad lifts out cleanly on move-out day. That is the one legitimate use for fabric, by the way, under stone in an area you never intend to plant. Beds become large containers, ideally three in graduated heights rather than one of every size. String lights hang from freestanding poles set in five gallon buckets of concrete, which you keep and take with you. The whole kit moves in a single truck load and costs less than most security deposits.
Lights, because light is what actually photographs
Stage three of the order, saved for last in the build because it is the fastest to install and the most dramatic per dollar.
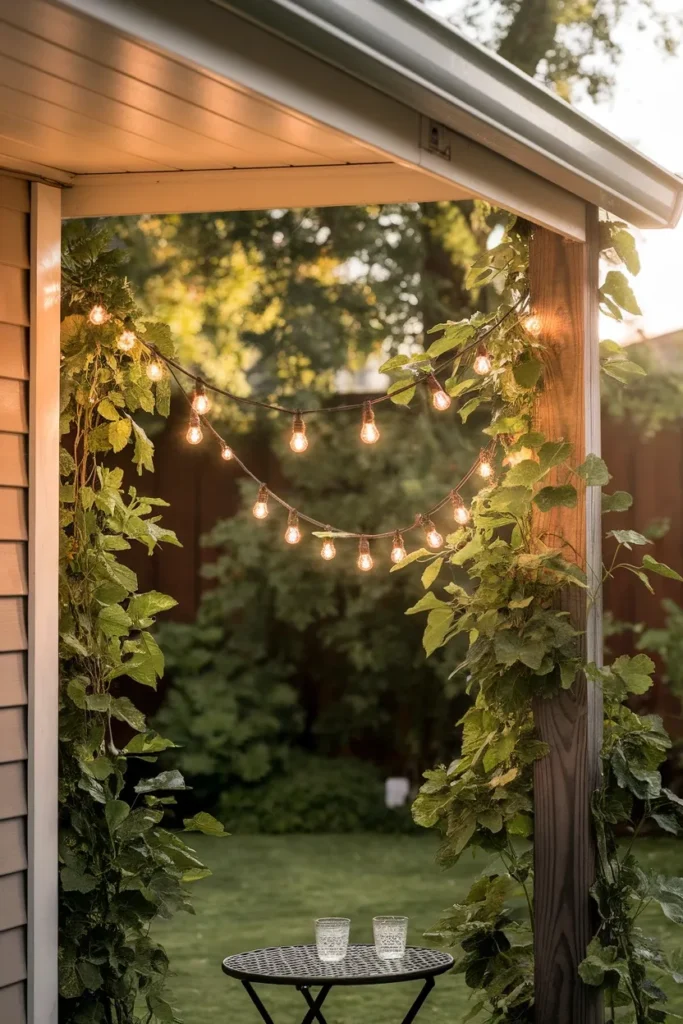
Commercial grade string lights are the workhorse. A 48 foot Brightech Ambience Pro strand with shatterproof Edison bulbs will span most patios and courtyards in a single run, and the solar version skips the extension cord entirely. Plan on the $50 to $70 range for a strand of that length and quality, less during holiday sales.
Three placement rules that separate good lighting from a strand stapled to a fence:
- Hang it overhead, not along a wall. Light above eye level creates a ceiling and makes a yard feel like a room.
- Run it in a zigzag or a single long swag rather than a rectangle. Straight rectangles read commercial.
- Add one low warm source at ground level, a lantern cluster or two solar path lights, so the space has depth instead of one flat plane of light.
Skip the cheapest solar stakes. They are the most common budget regret in this whole category, and there is a whole section on that coming up.
Six Cheap Moves That Cost More to Undo Than They Save
Nobody writes this section, which is exactly why it belongs here. Every item below saves money on day one and costs more than it saved within about three years.
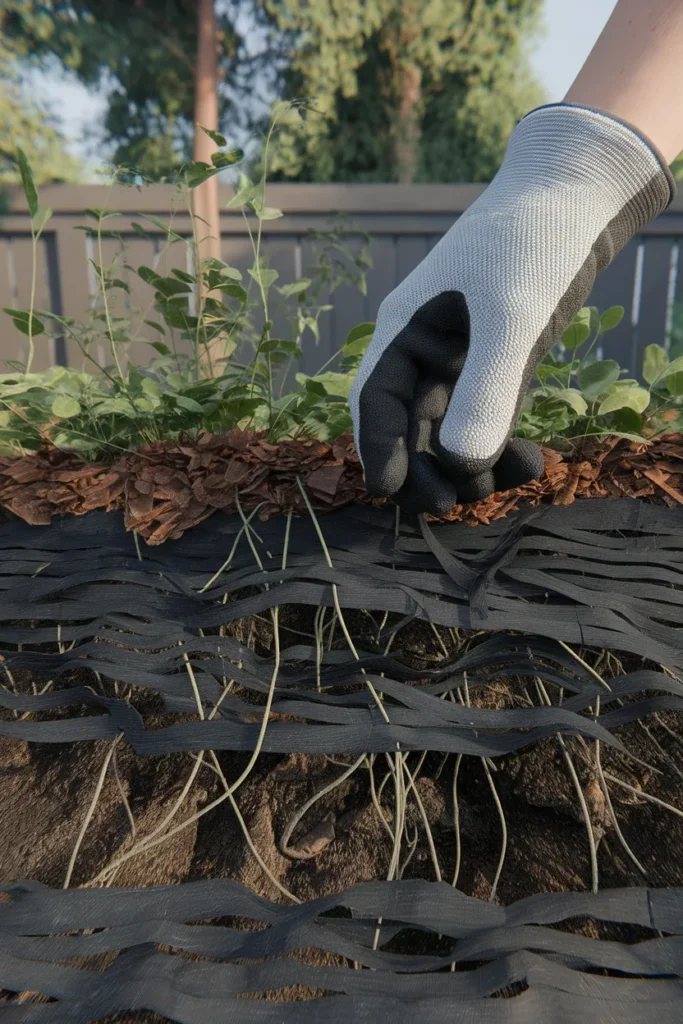
1. Landscape fabric under mulch. Weed seeds land on top of the fabric and root in the decomposing mulch, so you still weed. Meanwhile the fabric shreds into plastic confetti that tangles around every plant root you ever try to dig. Removal takes longer than the original install. Use cardboard instead. It does the same job and disappears on its own.
2. Thin plastic roll edging. It heaves out of the ground during the first freeze and thaw cycle in Zones 5 through 7, then curls at the seams and never sits flat again. A free trench edge outperforms it.
3. Rubber mulch in a planting bed. It does not break down, so it never feeds the soil, and it works its way into the top few inches permanently. Fine under a swing set. A long-term problem in anything you plan to plant.
4. Rocking the entire yard. Gravel over a large area with no planting plan absorbs heat, bakes whatever you put near it, and collects windblown soil that grows weeds you cannot pull cleanly. Removing a whole-yard rock install is a dumpster rental and a very long weekend.
5. The cheapest solar stake lights. The four dollar variety fades within a season as the batteries and the plastic lenses degrade. Two good fixtures beat twelve bad ones, and they still cost less than replacing the bad ones twice.
6. Fast-growing shade trees planted close to the house. Silver maples and similar quick growers deliver shade in five years and structural problems in fifteen. Plant slower species farther out, or accept a smaller tree in the right spot.
The pattern across all six: the cheap version buys time and sells you a removal project.
Backyard Landscaping Ideas on a Budget Questions People Actually Ask
What is the cheapest way to landscape a backyard?
Sheet mulch the areas you want out of lawn, cut your own trench edges, and buy bulk mulch or gravel instead of bags. That combination covers 200 square feet for roughly $30 to $120 in materials and takes two weekends. Plants come afterward from the fall clearance rack.
How can I make my backyard look nice cheap?
Fix the ground plane first. Fresh mulch with a clean cut edge changes how a yard reads more than any plant purchase, and it costs under $100 for a good sized bed. Then add overhead string lights. Those two moves alone account for most of the “before and after” effect you see in budget makeover photos.
Is it better to use rocks or mulch around a house?
Mulch, in almost every planting situation. It feeds the soil as it breaks down, moderates soil temperature, and can be refreshed cheaply. Rock is better for drainage strips, dry creek beds, and areas you never intend to plant. Rock near a foundation also radiates heat back at the house through summer.
How much does it cost to landscape a backyard?
A full professional installation runs $3,000 to $16,000, and basic landscaping services bill $4 to $12 per square foot. Doing the ground plane and edging yourself typically brings a small to medium yard into the $200 to $600 range for materials, with lighting and plants layered in over following seasons.
What is the cheapest ground cover instead of grass?
Mulch is cheapest to install. For living cover, creeping thyme, clover, and low sedum are the value options, especially from seed or by dividing existing plants. Check your USDA zone before committing, since cold hardiness varies significantly across the Zone 5 to Zone 9 band.
How do I landscape my backyard myself with no experience?
Follow one sequence and finish each stage before starting the next: kill the grass you do not want, cover the ground, cut an edge, add light, then plant. Start with a single bed rather than the whole yard. A finished 100 square foot corner looks better than an entire yard that is half done.
When is the best time to buy plants on a budget?
Late September through October. Garden centers discount perennials and shrubs 50 to 75 percent to avoid overwintering stock, and fall planting gives roots a full season to establish before summer heat. Spring is the worst time to buy and the best time to plan.
Start With One Bed, Not the Whole Yard
The Dirt, Edge, Light Order works because it front-loads the changes with the highest visual return per dollar. Ground plane, then edge, then light, then plants. Run it on one bed this month and you will see the effect before you have spent $150.
Which stage is your yard stuck on right now? Most people are stuck on dirt and think they are stuck on plants.
Grab a tape measure, figure out the square footage of the one area that bothers you most, and price the mulch. That number is usually smaller than expected, and it is the whole reason budget backyard garden ideas work better in sequence than in a shopping cart.