
Garden Edging Ideas That Make a Messy Bed Look Deliberate

Most beds do not look rough because the plants are wrong. They look rough because the line where mulch meets grass has gone fuzzy. That one blurry edge is why a weeded, watered, perfectly healthy bed still reads as unfinished from the sidewalk. The garden edging ideas below fix it in an afternoon, and two of them cost nothing at all.
I have cut, buried, staked, and re-staked most of these in my own yard. So I can tell you which ones hold through winter and which ones lift out of the ground like a ribbon by February.
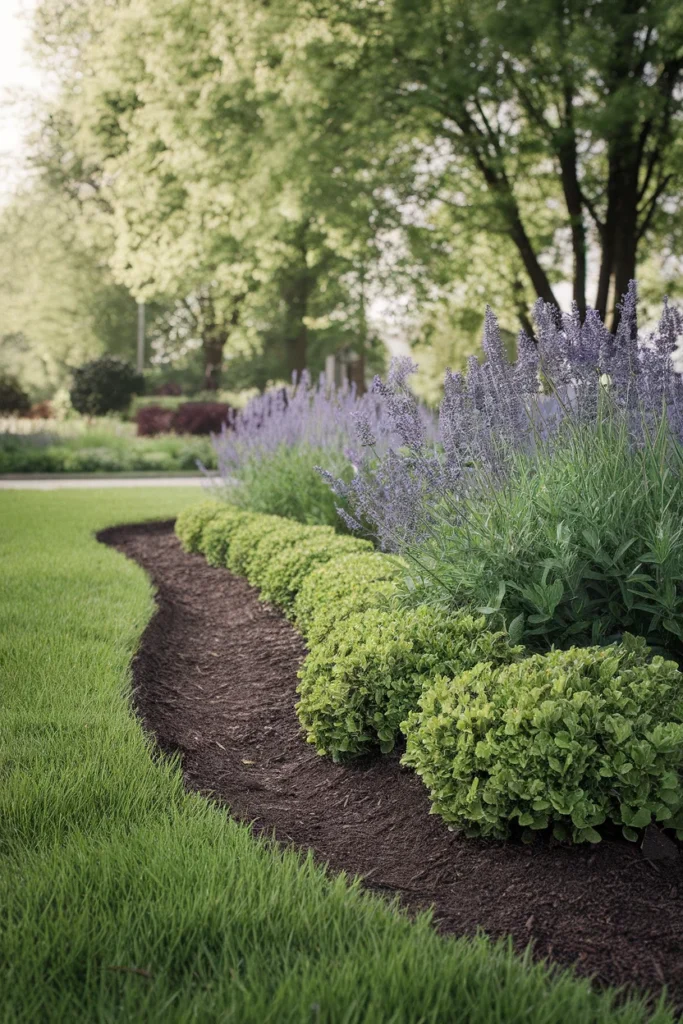
Here is the part nobody says out loud. Edging is the cheapest curb appeal upgrade in the entire yard. Cheaper than new plants. Cheaper than a fresh load of mulch, honestly. It is also one of the rare projects that makes a low maintenance backyard easier instead of adding one more chore to the pile.
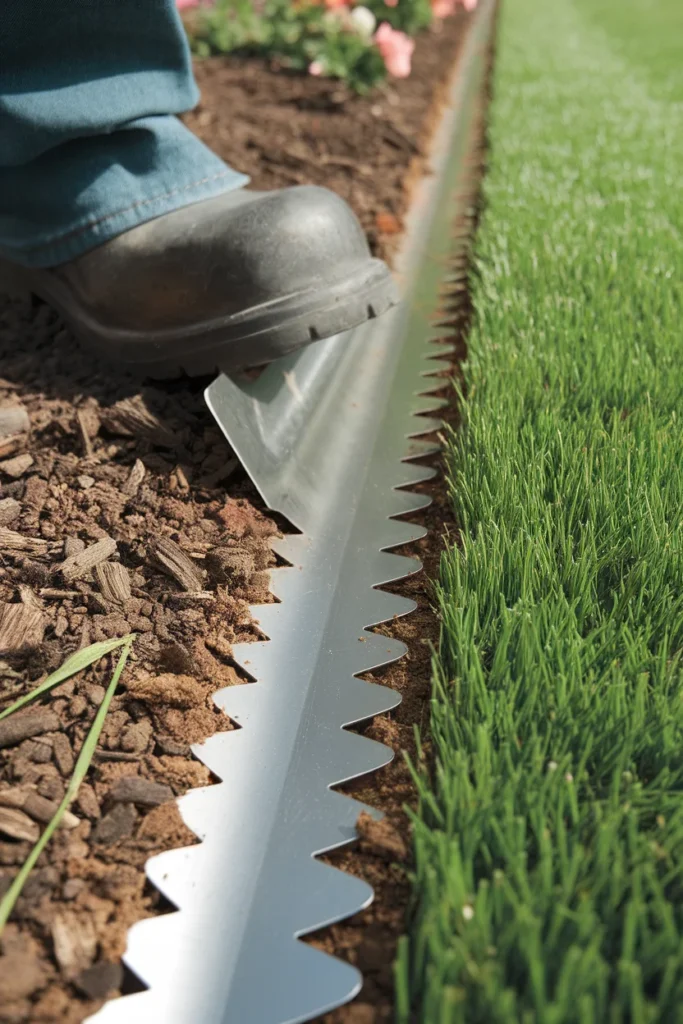
Start With the 3-Line Edge Rule
Before you buy a single stake, run the garden edging ideas below through this filter. I call it the 3-Line Edge Rule, and it is the whole reason some borders look sharp for six years while others look tired by August.
Every edge that genuinely works is doing three separate jobs at once:
- The cut line. The shape your eye reads from thirty feet away. This is the design.
- The hold line. The physical wall that keeps mulch, gravel, and soil inside the bed instead of washing onto the grass.
- The mow line. Somewhere for the mower wheel or the blade to go, so you are not out there with a string trimmer every Saturday.
Score any material against all three. Most cheap plastic edging nails the cut line, half-passes the hold line, and completely fails the mow line, which is exactly why it disappoints people.
| Edging type | Cut line | Hold line | Mow line | Rough cost per linear foot |
|---|---|---|---|---|
| Spade cut trench | Excellent | Fair | Good | Free |
| Thin plastic roll | Good | Fair | Poor | Under $1 |
| Steel or aluminum strip | Excellent | Excellent | Fair | $2 to $5 |
| Flush laid pavers | Good | Excellent | Excellent | $2 to $6 |
| Concrete edger stones | Good | Good | Fair | $2 to $4 |
| Log rounds or timber | Fair | Good | Poor | Free to $3 |
| Living plant border | Fair | Poor | Poor | $3 to $8 |
Screenshot that. It answers about eighty percent of the questions people ask me at the garden center.
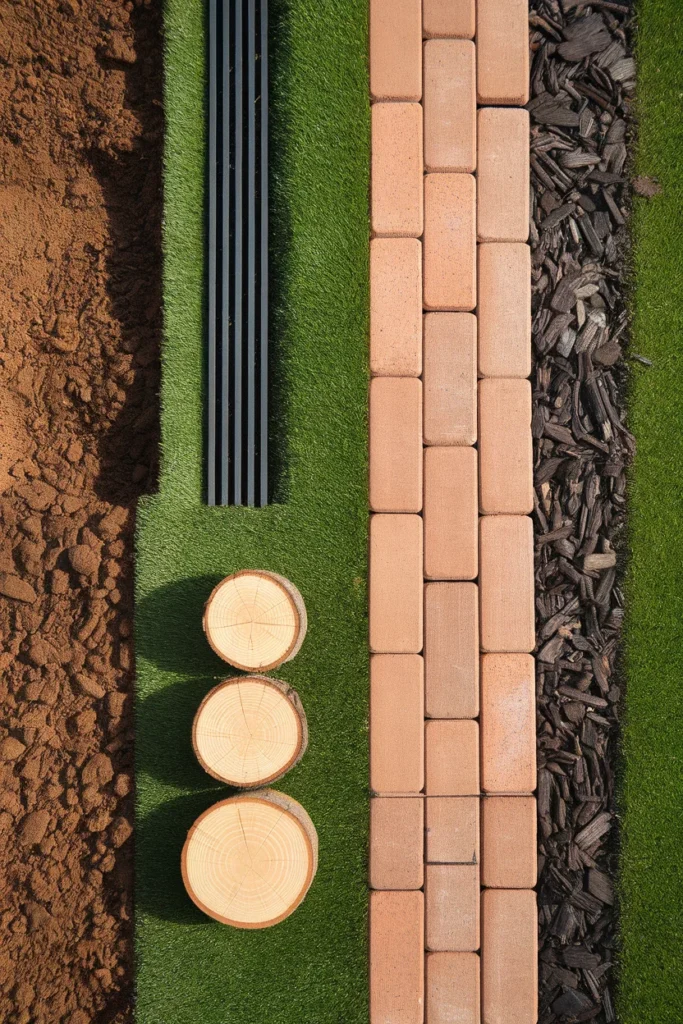
Cut a Trench Edge First, Because It Is Free
This is my contrarian take, and I will defend it. Most beds do not need permanent edging at all. A properly cut trench beats twenty dollar plastic on every one of the three lines, and it costs you an hour.
The University of Illinois Extension notes that turf creeps 3 to 4 inches into your beds every year. That is the real enemy. A trench interrupts the runners physically, no product required.
Here is the method that holds:
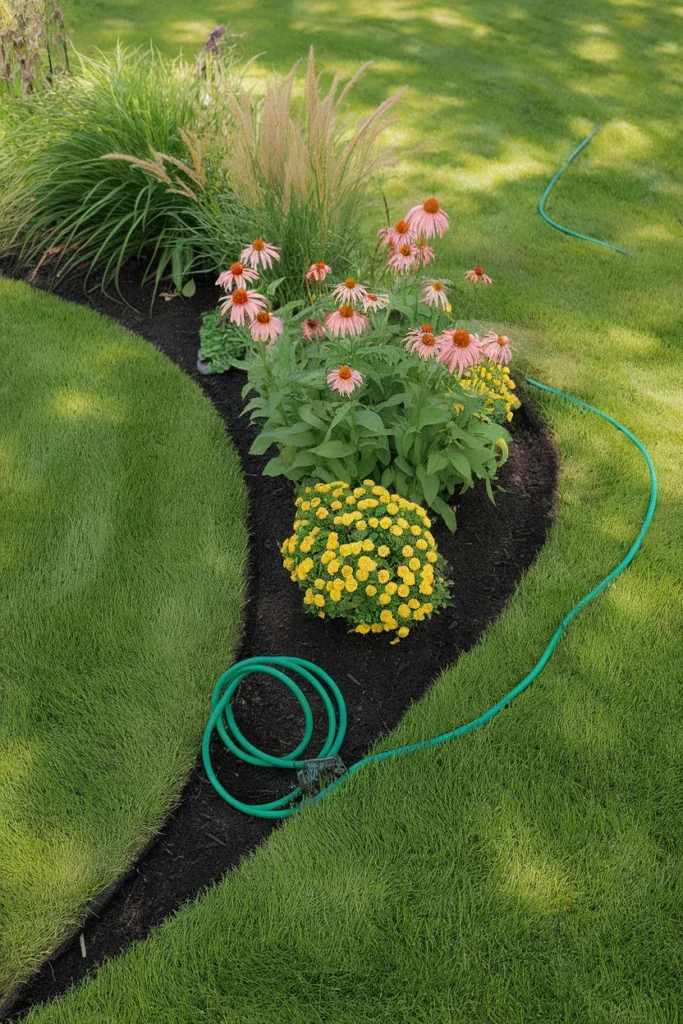
- Lay a garden hose on the lawn and adjust it until the curve looks right from your front door, not from where you are standing.
- Cut straight down along the hose with a half moon edger, roughly 4 to 6 inches deep.
- Make a second cut from inside the bed, angled back toward the plants at about forty five degrees, so you pull out a wedge of sod.
- Sweep the trench clean and let the bare soil show. That dark shadow gap is what makes the line pop.
The first bed I ever edged, I held the spade dead vertical on both cuts and the wall slumped in about three weeks. Angling the second cut back into the bed was the fix. A Fiskars half moon edger runs around $30 at most hardware stores and it has outlasted two mowers in my garage.
One honest caveat: a trench edge needs a re-cut once a season, usually in early spring before the turf wakes up.
Metal Edging for Long, Clean Curves
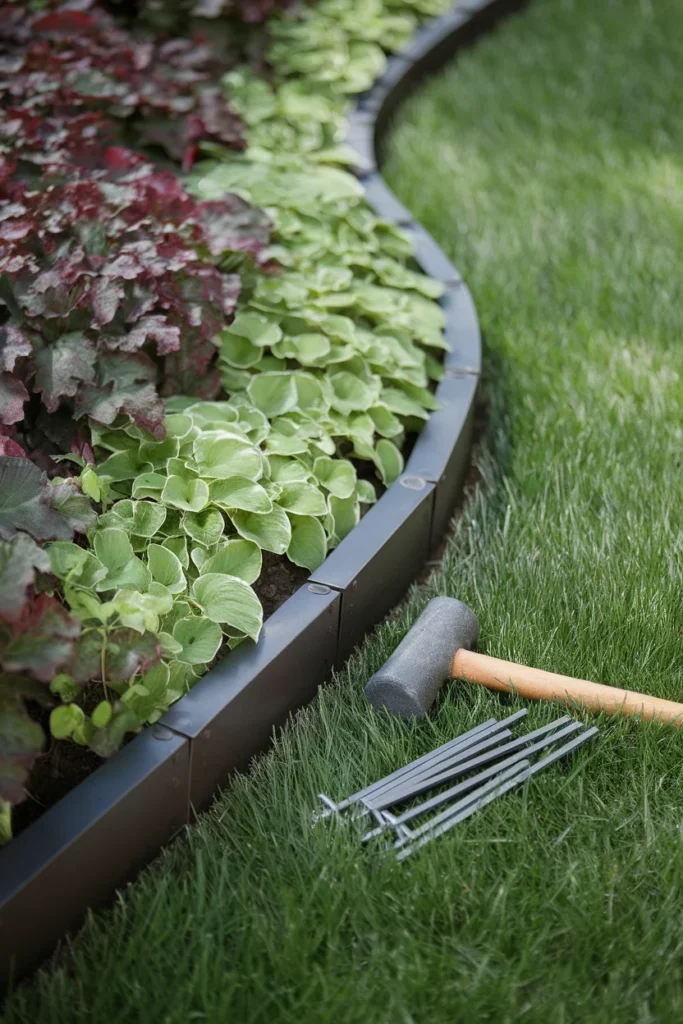
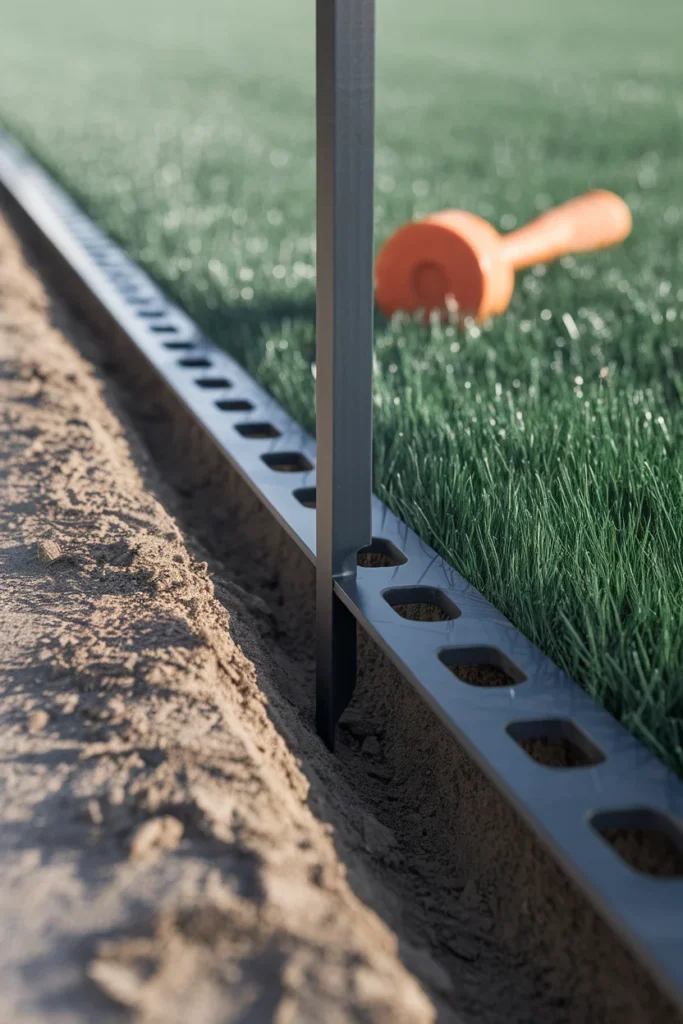
Of all the garden edging ideas on this list, metal is the one professional crews install most, and there is a reason. Steel and aluminum hold a curve that concrete blocks cannot, and the strip nearly vanishes once mulch settles against it.
Two things matter more than brand:
Gauge and height. Look for 14 gauge steel or 1/8 inch aluminum in a 4 or 5 inch profile. The flimsy 3 inch stuff bends when you lean a wheelbarrow on it.
Stake length. This is where most kits cheat you. Six inch stakes are not enough in cold zones, and I will come back to that.
Expect roughly $2 to $5 per linear foot for aluminum at Home Depot or Lowe’s, with powder coated steel coil often landing cheaper. Master Mark and EasyFlex are the two lines you will see stocked in most stores.
I bought the thin brown plastic roll my first spring because it was under twenty dollars for forty feet. By February half of it had lifted out of the soil and one run had cracked clean through where the mower clipped it. The steel that replaced it is still dead flat five seasons later.
Set the top of the metal about half an inch above grade. Flush looks great in photos and then buries itself under mulch in one year.
Brick and Paver Edging That Doubles as a Mowing Strip
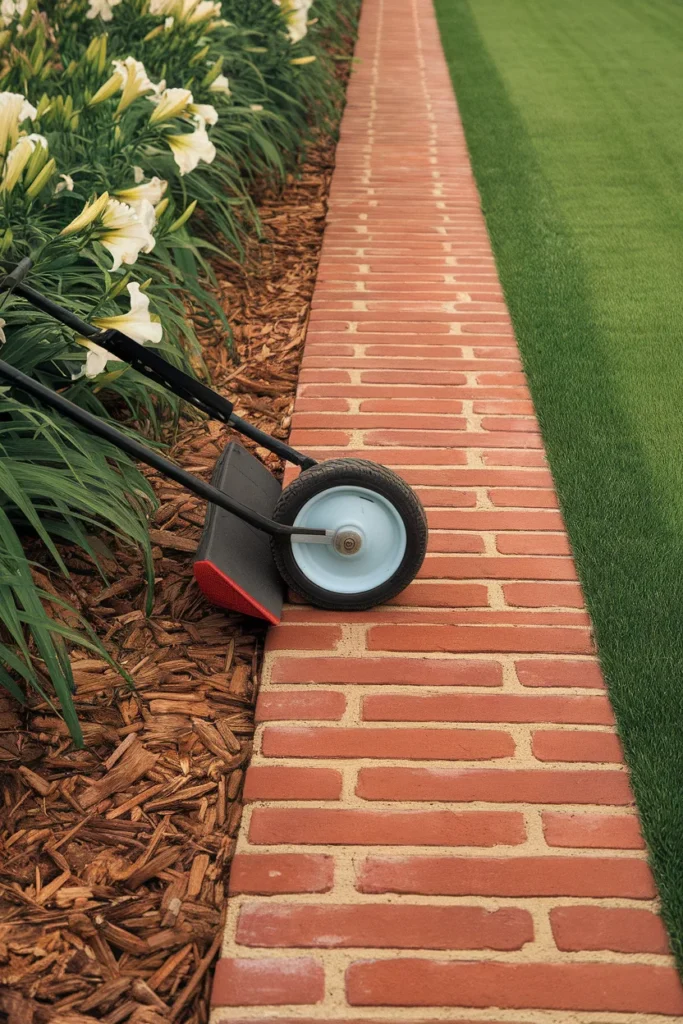
None of the big ranking guides say this plainly, so here it is. If you set your pavers flush with the turf instead of standing them up, the mower wheel rides on them and you never string trim that bed again.
That is the mow line from the 3-Line Edge Rule, solved permanently.
The build is simple:
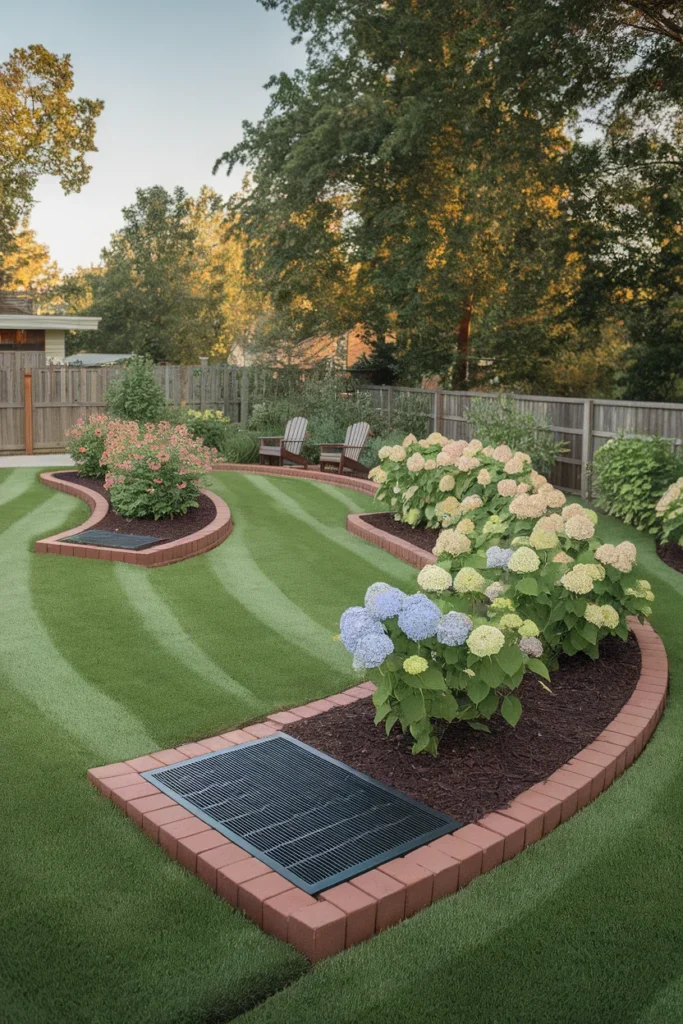
- Dig a flat trench about 4 inches deep and one paver wide.
- Add 2 inches of paver base or coarse sand and tamp it hard. Skipping compaction is why brick borders go wavy.
- Set 4 by 8 inch clay or concrete pavers flat, tight against each other, level with the grass or a hair below.
- Sweep sand into the joints and soak it in.
Standard concrete pavers run under a dollar each at most home centers, so a twenty foot run lands around $30 in materials. Clay brick costs more and looks considerably better as it weathers.
Salvaged brick is even better, and the color variation reads as intentional. If you like that weathered mixed stone look, the same joint and base logic shows up in these flagstone patio ideas, just at a bigger scale.
One warning. A mowing strip only works if it is truly level. Set it proud by even a quarter inch and the mower deck will scalp it.
Cheap Garden Edging Ideas Under $30 a Bed
Budget does not have to mean flimsy. These are ranked by how good they look per dollar, best first.
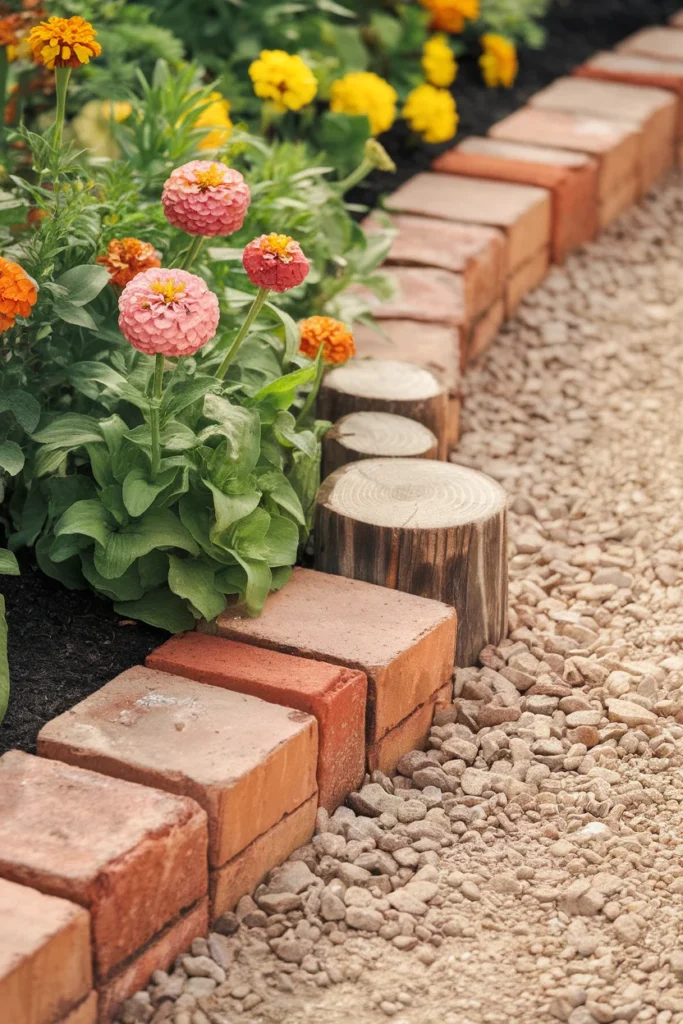
- Salvaged brick from a local listing. Free to about $0.25 each secondhand. Laid flat as a mowing strip, this is the single best value in the whole article and it ages beautifully.
- A gravel trench. Cut your trench 5 inches deep, then fill it with 3/4 inch crushed stone. Around $6 for a half cubic foot bag, and one bag covers roughly eight linear feet. It drains, it never rots, and it gives you the same clean gap logic you see in front yard landscaping with rocks.
- Cedar log rounds. If a neighbor took down a tree, cut 6 inch rounds and bury the bottom third. Free, rustic, and good for about four to six seasons before rot.
- Concrete edger stones on sale. Roughly $2 to $3 each at Lowe’s or Menards. Not exciting, but scallop-free straight profiles look far more current than the wavy ones.
- Half buried terra cotta pots. Turn them upside down, sink them to the rim, space them evenly. Costs a few dollars each and reads as deliberate cottage style.
- Landscape timbers. A 4 by 4 by 8 foot treated timber runs around $10. Good for straight runs, useless on curves.
Skip the glass bottle border. I know it shows up on every budget list. It chips, it collects water, and one hit from a mower turns it into a hazard in the grass.
Living Borders That Soften a Hard Line
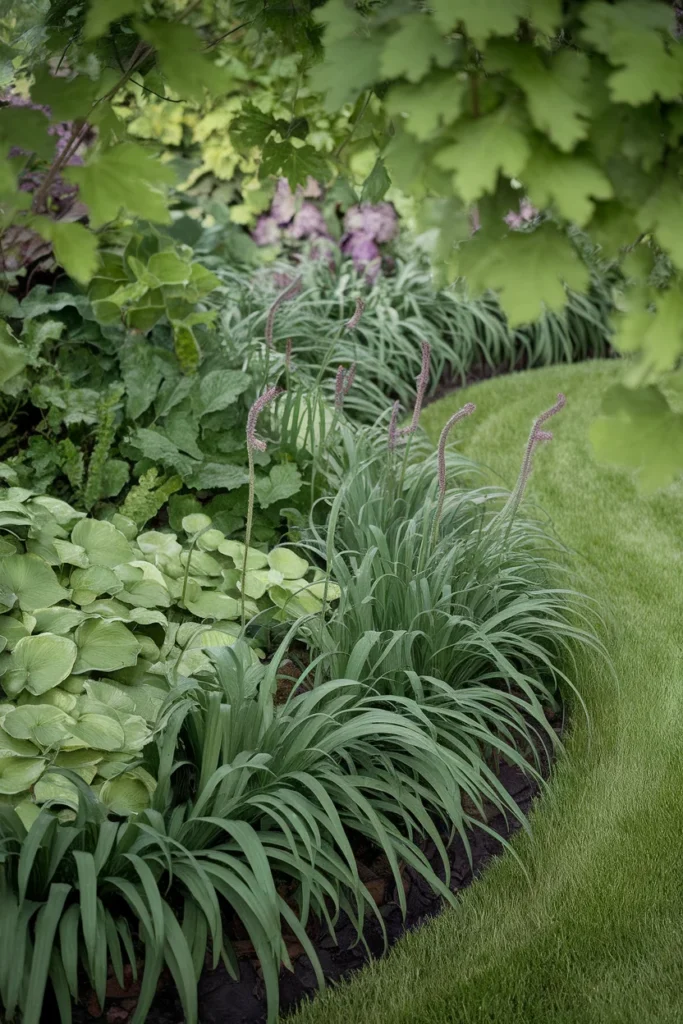
Sometimes a hard edge is the wrong answer. Cottage beds, woodland borders, and anything with a loose planting scheme look better with a living edge that blurs into the lawn on purpose. These are the softest garden edging ideas here, and the only ones that keep growing after you walk away.
These hold a line without looking installed:
- Liriope (monkey grass). Zones 5 to 10. Space plugs 8 to 12 inches apart and it knits into a continuous strap within two seasons.
- Dwarf mondo grass. Zones 6 to 11. Slower and pricier, but the tidiest looking of the group.
- Creeping thyme. Zones 4 to 9. Best along paths and gravel where it gets full sun and sharp drainage.
- Dwarf boxwood. Zones 5 to 9. Formal, evergreen, and the only one on this list that looks intentional in January.
Living borders fail the hold line badly, so pair them with a trench cut on the lawn side. Plants stop the eye. The trench stops the grass.
Feed them once in spring with a granular organic fertilizer such as Espoma Plant-tone, and skip the mulch volcano right against the crowns. Perennials grow from the crown and cannot push up through a smothering layer.
Depth, Frost, and the Mistakes That Undo All the Work
All of the garden edging ideas above assume one thing: that the border stays exactly where you put it. In cold zones, that is not a safe assumption, and none of the popular guides mention it.
Match Stake Length to Your Frost Zone
Freeze and thaw cycles push objects upward through soil. Water in the ground expands as it freezes, grabs the edging, lifts it, and then the soil collapses underneath when it thaws. Repeat that forty times over a winter and your border walks out of the ground.
Go look up your USDA hardiness zone with the zip code search, then spec accordingly:
- Zones 3 to 5. Use 10 to 12 inch stakes minimum, spaced every 2 feet. Set metal edging 5 inches deep.
- Zones 6 to 7. Use 8 to 10 inch stakes, spaced every 2.5 feet.
- Zones 8 to 10. The 6 inch stakes in the box are usually fine. Frost heave is rarely your problem.
Two winters ago I lost about eight feet of aluminum edging on the north side of a bed because I used the short stakes that came in the kit. Same product, same install day, the south facing run never budged. Only the shaded stretch heaved.
Five Fixes for the Most Common Edging Mistakes
- Curves too tight. Anything under a 3 foot radius fights both the mower and the material. Widen the sweep.
- Edging sitting too proud. More than an inch above grade turns your border into a trip hazard and a mulch dam.
- Mulch piled over the top. Illinois Extension puts flower bed mulch at about 1 inch settled, versus 2 to 3 inches in shrub and evergreen beds. Deeper than that and it spills over your edge every rain.
- No compaction under pavers. Tamp the base. Every wavy brick border you have ever seen skipped this step.
- Landscape fabric under gravel. It fails within a few years, then gravel and silt mix on top of it and weeds root in the layer above anyway. Depth of stone does the work instead.
Pick one bed. Cut the trench this weekend, live with the shape for a week, and only then decide whether it needs metal, brick, or nothing at all. That order saves people a lot of returned product.
Garden Edging Questions People Actually Ask
What is the cheapest way to edge a garden bed?
A hand cut trench, which is the only entry on this list of garden edging ideas that is genuinely free. Cut straight down along your bed line 4 to 6 inches deep, then make a second angled cut from inside the bed and lift out the wedge of sod. If you want a material edge, salvaged brick from a local listing is the best value, often free to about $0.25 a piece.
How deep should garden edging be?
Sink metal or plastic edging 4 to 5 inches into the soil and leave roughly half an inch above grade. Pavers laid flat as a mowing strip need a 4 inch trench with 2 inches of compacted base beneath them. Deeper matters more in cold zones because of frost heave.
Does garden edging really keep grass out of flower beds?
It slows the advance a great deal but nothing stops it forever. Turf pushes 3 to 4 inches into beds each year according to Illinois Extension, and creeping species like Bermuda will send runners over the top of almost anything. A trench plus a physical barrier is the strongest combination, with a quick re-cut each spring.
What is the easiest garden edging to install for a beginner?
Concrete edger stones set into a shallow trench. There is no cutting, no stakes, and no base to compact if you are only after the look. For a first material project, buy ten stones, do a short run, and see how you like the shape before committing to the whole bed.
How do you edge a curved flower bed?
Lay a garden hose on the lawn and shape it until the curve reads well from where people actually stand, usually the front door or the patio. Keep the radius above 3 feet so the mower can follow it. Then cut along the hose. Metal edging follows curves best. Rigid concrete blocks fight them.
Do you put edging in before or after mulch?
Edging first, always. Install the border, then fill the bed to about an inch of settled mulch in flower beds or 2 to 3 inches around shrubs. Mulching first means shoveling it back out of your trench.
How long does landscape edging last?
Powder coated steel and aluminum commonly go 15 to 20 years. Clay brick and stone outlive everyone. Thin plastic roll edging often shows cracking and heaving within two to three winters, and untreated wood or log rounds run about four to six seasons before rot sets in.
Where to Start This Weekend
Sharp beds are not a plant problem. They are a line problem, and a line is the one thing you can fix in an afternoon with a tool you may already own.
Run all of these garden edging ideas through the 3-Line Edge Rule before you spend anything. Cut line, hold line, mow line. If an idea only scores on one of the three, it will disappoint you by next summer.
Start with the bed people see first from the street. Cut the trench, stand back, and decide from there. Which bed are you tackling first, and are you going free-and-clean or building a permanent mowing strip? That choice shapes everything else you do out there this season.
One Comment