
Raised Garden Bed Along a Fence: The Space-Smart Layout Nobody Talks About

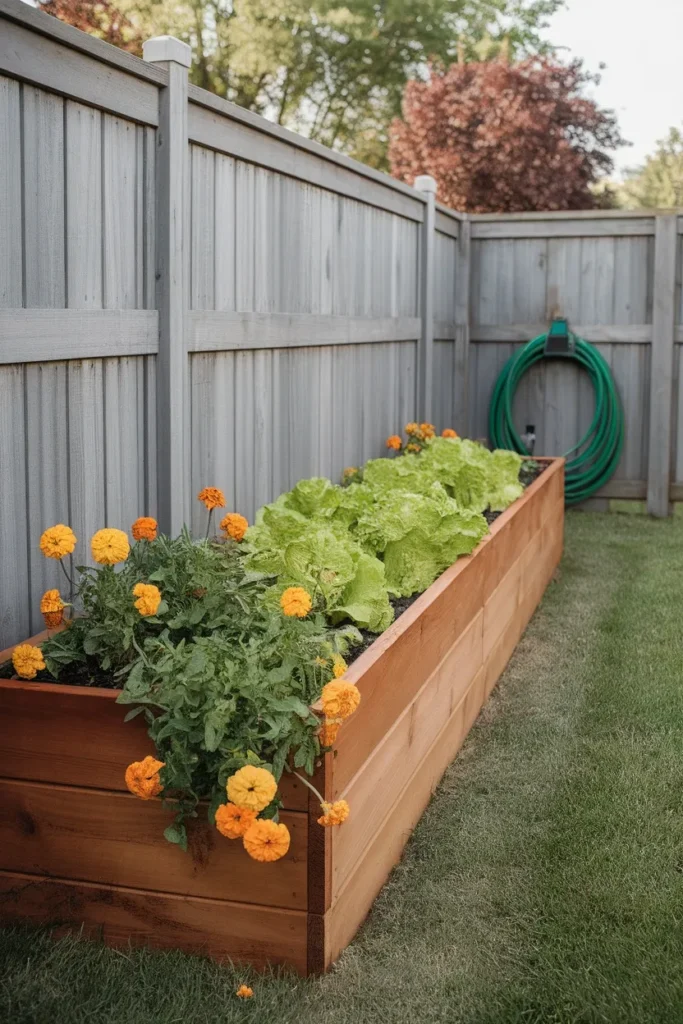
A raised garden bed along fence lines is the cheapest square footage you will ever add to a backyard. That strip is already fenced, already framed, and already doing nothing. Most people shove a bed against the boards, plant tomatoes, and wonder why they got three sad fruits by September. The problem was never the soil. It was the shadow.
Here’s what you’ll walk away with: a simple way to read your own fence line before you buy a single board, the exact gap that keeps your fence from rotting, and a plant list sorted by how far each crop sits from the pickets.
No power tools beyond a drill, no landscaping crew, and no guessing.
Let’s get into it.
Why the Fence Line Is the Most Wasted Strip in Your Yard
Walk your yard and look at the perimeter. In most suburban lots, the last 3 feet before the fence is mowed grass that nobody sits on, nobody plays on, and nobody looks at. It’s dead space with a free backdrop.
Putting a raised bed there does four things at once.
It reclaims growing area without eating into your lawn or patio. It gives climbing crops a built-in support structure, so you skip buying a freestanding trellis. It hides the ugly bottom 18 inches of a fence, which is where every fence looks worst. And it draws the eye outward, which makes the whole yard read as larger. That last one is the same trick behind most good narrow backyard makeover ideas.
There’s a fifth benefit that rarely gets mentioned. A raised garden bed along fence lines takes the mowing chore out of the hardest strip in the yard. No more wrestling a mower into a corner or running a trimmer along pickets and nicking the wood. You trade fifteen minutes of annoying maintenance a week for something that feeds you.
One honest caveat. If your fence is leaning, gray, or missing pickets, a gorgeous bed in front of it will just frame the damage. Sort that out first. Even a dark stain and a topper will do more for the view than another flat of petunias, and there are cheaper ways to fix the fence itself first than a full replacement quote.
The Shadow Band Method: Read Your Fence Line Before You Build
Here’s the framework I use on every fence-line bed now, and it takes one Saturday.
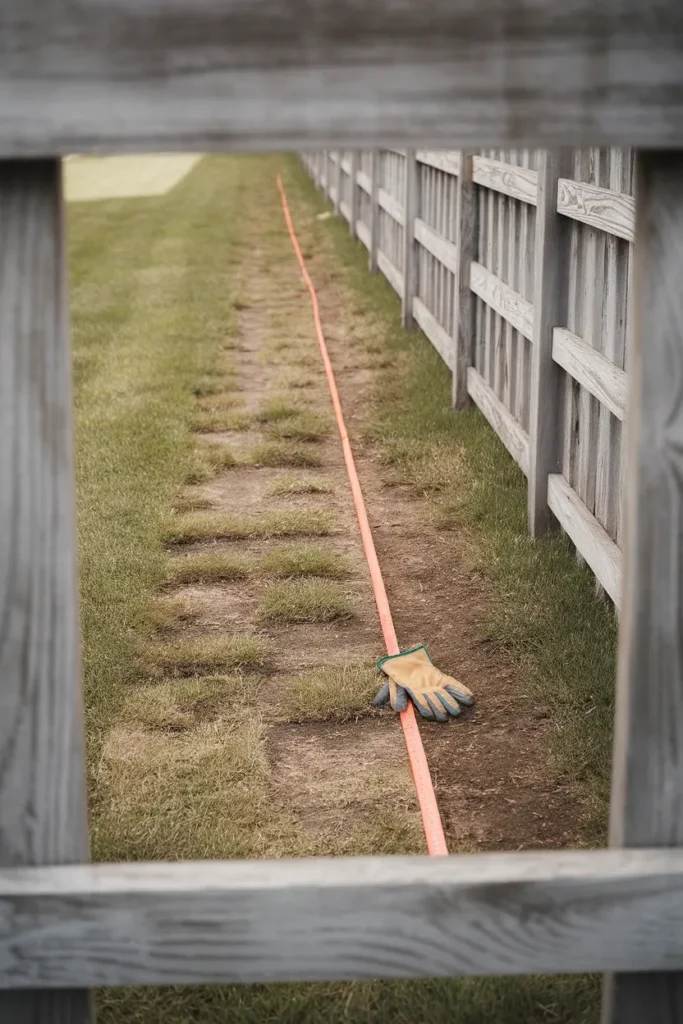
A 6-foot fence casts a moving shadow. That shadow is deep and cool right at the base, thins out a couple of feet away, and disappears entirely somewhere around the 3-foot mark on most sun-facing runs. So you don’t have one growing condition along that fence. You have three, stacked in parallel bands.
The Shadow Band Method is just this: on a clear day, photograph the fence line at 9am, 1pm, and 5pm. Lay the three photos side by side. Wherever shadow appears in two out of three photos, that’s Band A. One out of three is Band B. Never shadowed is Band C. Plant accordingly.
Screenshot this:
| Band | Distance from a 6 ft fence | Typical summer sun | Plant it with |
|---|---|---|---|
| A. Shadow Strip | 0 to 18 in | 2 to 4 hrs | Lettuce, spinach, arugula, mint, hosta, ferns, coleus |
| B. Half Sun | 18 to 36 in | 4 to 6 hrs | Carrots, beets, bush beans, radish, chives, parsley |
| C. Open Run | 36 in and beyond | 6+ hrs | Tomatoes, peppers, squash, zinnias, basil, dahlias |
Two things flip this table. A north-facing fence in the Northern Hemisphere shades far more aggressively, so Band A may run out to 30 inches. A south-facing fence does the opposite and can bounce reflected heat back at your plants, which cooks lettuce by June but makes peppers very happy.
Do the photos on a clear day in late spring or early summer, not in March. The sun sits much lower in early spring, so a March reading will show shadow everywhere and talk you out of a perfectly good spot. Mid-May through July gives you the honest picture of your growing season.
Save those three photos. When you expand the bed next year, or when a neighbor’s tree finally comes down, you’ll want the baseline to compare against.
My first fence bed was 24 inches wide and I filled the whole thing with Roma tomatoes because that’s what I wanted to eat. Zone 6b, full summer, and I got tall leggy vines with maybe eight tomatoes total. They were sitting in Band A the entire time. The plants weren’t the problem. My tape measure was.
How Far From the Fence Should the Bed Sit?
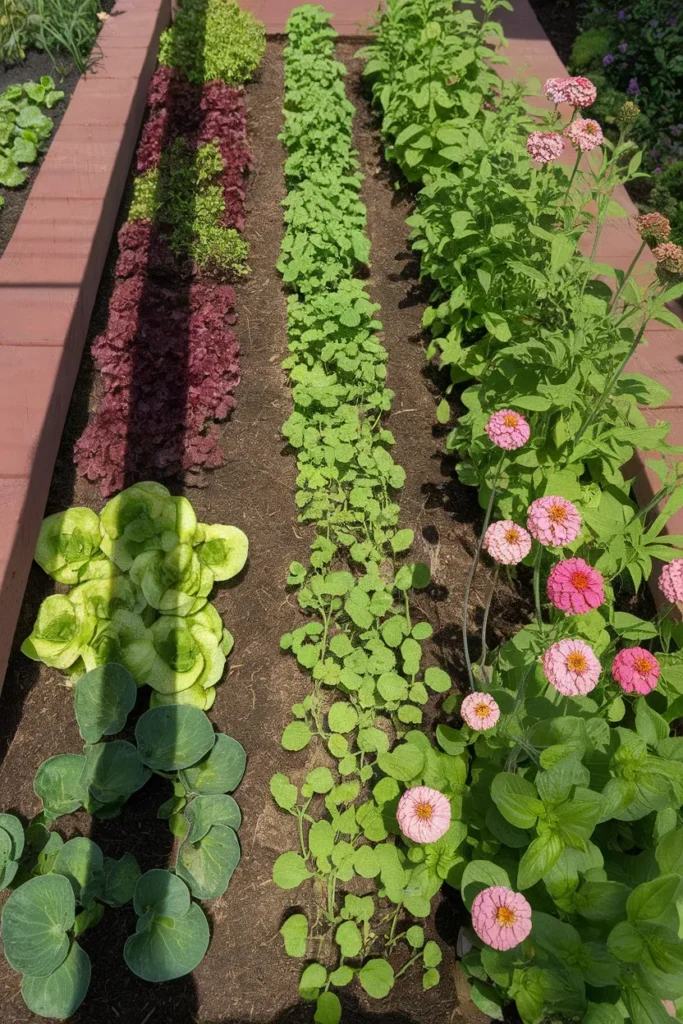
Short answer: leave a gap. Four inches minimum, 6 to 8 inches if you have the room.
Wood fences rot from sustained contact with damp soil. Push a full bed of wet garden mix flat against cedar pickets and you’ve built a permanent moisture sponge against the one side of the board that never dries out. Fungal decay follows. Two seasons of that and the bottom rail goes soft.
The gap solves three problems at once:
- Airflow dries the fence boards after every watering and every rain
- You can actually reach behind the bed to stain, repair, or replace a picket without dismantling anything
- Weeds, volunteer maples, and morning glory get a visible corridor instead of a hidden one
I learned this the expensive way. My first bed went flat against the fence because it looked tidier that way, and by the second spring the bottom rail behind it crumbled when I pressed a thumb into it. Now every bed I build gets a 6-inch alley and a strip of landscape fabric under it so nothing sprouts in the gap.
Fence type changes the math a little. Vinyl and powder-coated aluminum shrug off moisture, so you can cheat closer, though you still want reach-in room. Chain link is the easiest of all, since air moves straight through it, and a bed set 4 inches back leaves room to run a trellis panel up the links. Brick or block walls hold heat and stay dry, so contact is fine structurally, but that stored warmth will bake shallow-rooted plants in Zone 8 and 9 summers.
Old wood is the one case to be strict about. If your fence is more than about ten years old, give it the full 8 inches. The boards have already lost most of their surface protection.
One more consideration: property lines. If the fence is shared or sits on the line, check your local setback rules before you build anything permanent against it. A movable bed sidesteps the whole issue.
Bed Depth and Width for a Narrow Run
Width first, because it’s the mistake people make with almost every raised garden bed along fence lines.
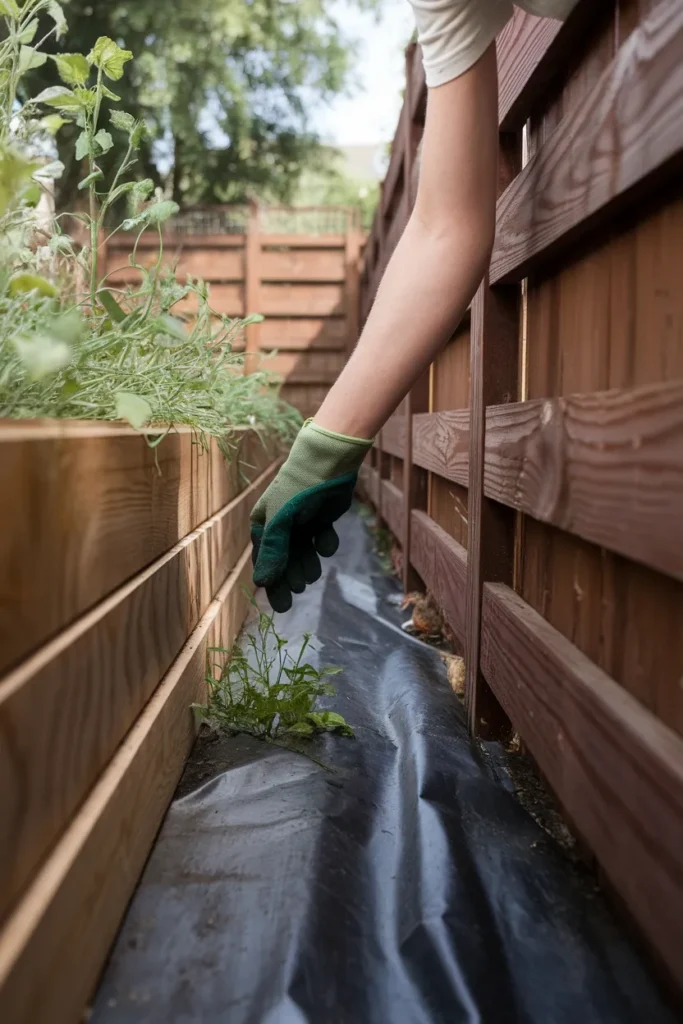
A fence-line bed should max out around 30 inches wide. You can only reach it from one side, and comfortable reach for most adults tops out near 30 inches before you’re stepping into your own soil and compacting it. A standard 4-foot bed works beautifully in open yard where you circle it. Against a fence it turns the back 18 inches into a place you can see but never weed.
Depth depends entirely on what you’re growing. University of Maryland Extension guidance on soil mix ratios for filling raised beds puts the minimum at 8 inches for leafy greens, beans, and cucumbers, and 12 to 24 inches for peppers, tomatoes, and squash. That same guidance calls for organic matter at 25 to 50 percent by volume, which is much higher than most bagged “garden soil” delivers on its own.
Practical depth cheat sheet for a fence run:
- 8 to 10 in. lettuce, spinach, herbs, annual flowers. Cheapest to fill.
- 12 in. the workhorse. Handles most vegetables and perennials comfortably.
- 18 to 24 in. root crops, tomatoes, and the height that lets you weed without kneeling.
Taller beds get expensive fast. Filling a 2 ft by 12 ft bed at 18 inches deep takes roughly 36 cubic feet, and at bagged prices that’s a real number. Bagged Miracle-Gro or Kellogg garden soil runs somewhere in the $10 to $15 range per 1.5 cubic foot bag at Home Depot or Lowe’s, so do the math before you commit to height. Bulk delivered soil is dramatically cheaper past about 2 cubic yards.
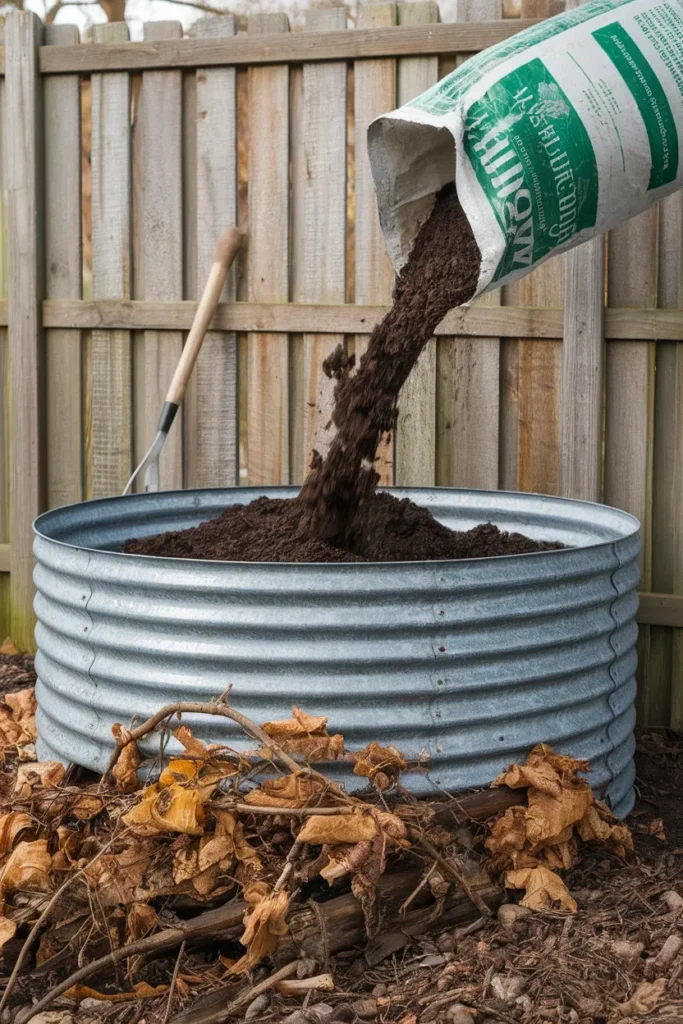
The trick that saved me the most: fill the bottom third of anything over 14 inches with branches, twigs, and last fall’s leaves before the soil goes in. Everyone calls it hugelkultur. I call it not spending an extra hundred dollars on dirt I’ll never plant into.
Materials That Survive Life Against a Fence
A raised garden bed along fence lines lives in a damper microclimate than one sitting in open yard, and every material handles that differently. Here’s the honest ranking.
Cedar is the default for good reason. Naturally rot resistant, ages to a soft silver, and a Greenes Fence cedar kit lands in the $80 to $150 range depending on size. Expect 7 to 10 years before the bottom board needs attention.
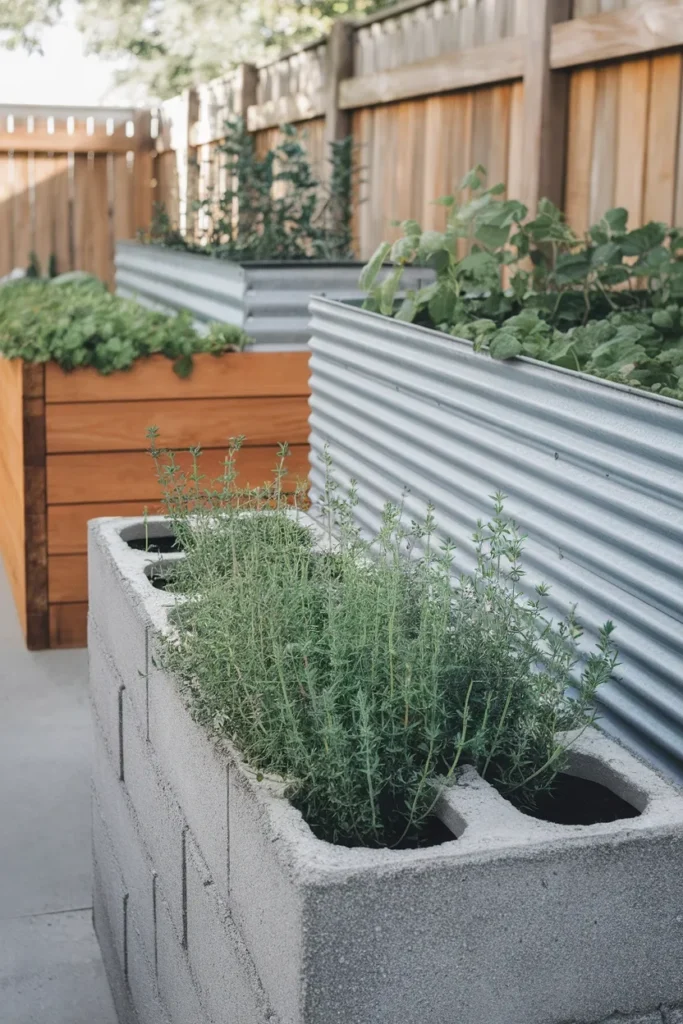
Galvanized metal has quietly taken over. Vego Garden and Birdies beds run in the $150 to $300 range for a decent size, they never rot, and the corrugated profile reads modern against a plain fence. They do heat up, which is a plus in Zone 5 and a genuine problem in Zone 9 unless the bed sits in Band A.
Concrete block is the budget king. Standard blocks are usually under $3 each at most hardware stores, they last essentially forever, and the hollow cores double as planting pockets for strawberries or thyme. They look industrial, so they work better in modern yards than cottage ones.
Composite boards cost the most upfront and outlast everything. Worth it only if you’re certain about placement, because you will not want to move them.
Pressure-treated lumber deserves a note. Modern PT lumber uses copper-based preservatives rather than the older arsenic formulations, and most extension services now consider it acceptable for vegetable beds. If it still bothers you, line the interior walls with heavy plastic and skip the bottom.
Here’s how the whole project shakes out by budget tier for a 2 ft by 12 ft run, frame plus fill:
| Tier | Frame | Fill approach | Rough total |
|---|---|---|---|
| Scrappy | Concrete block, dry stacked | Branches bottom third, bulk soil | Under $150 |
| Standard | Cedar kit or DIY cedar boards | Bagged soil plus compost | $250 to $400 |
| Built to last | Galvanized Vego or Birdies, or composite | Bulk delivered soil plus compost | $400 to $700 |
The tier that surprises people is the first one. A block bed with bulk soil genuinely performs as well as the expensive version. It just looks different.
Whatever you choose, one rule holds: the material facing the fence should be the same material facing out. Cheap plywood on the hidden side rots first, and then the whole bed racks out of square.
The Weekend Build Timeline
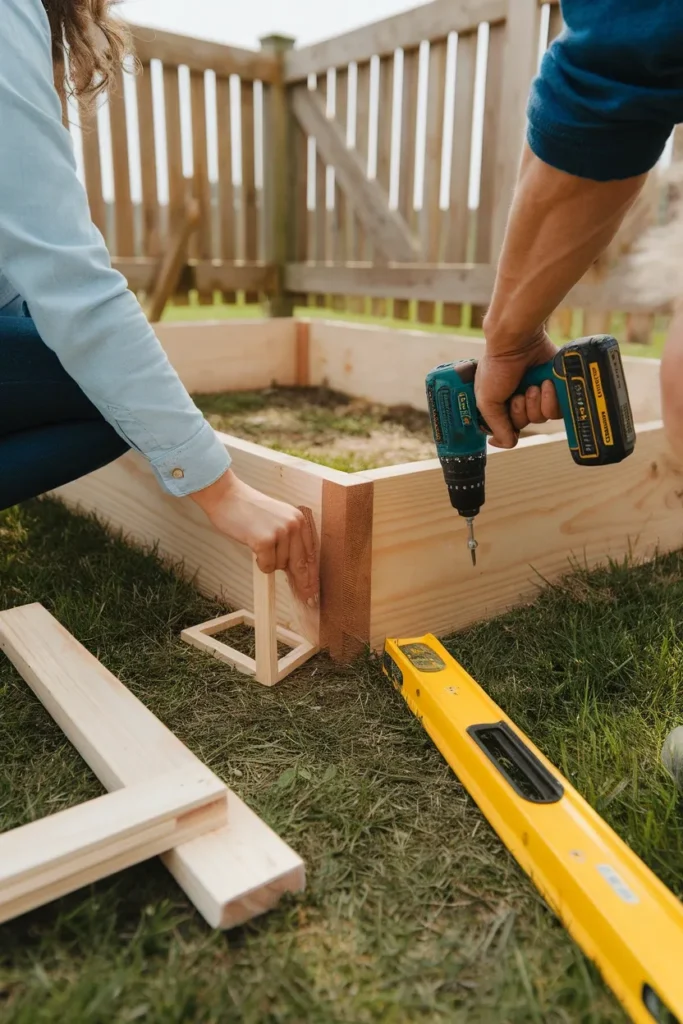
You can build a raised garden bed along fence lines in two days without power tools beyond a drill. Here’s the realistic pace.
Saturday morning. Mark the footprint with stakes and string, holding your 4 to 6 inch gap off the fence. Cut the sod inside the lines or smother it with flattened cardboard. Level the ground, because a bed that looks level on grass will not be.
Saturday afternoon. Assemble the frame. Cedar corners want pilot holes and 3-inch exterior screws. Metal kits bolt together in under an hour. Block beds just get stacked, dry, no mortar needed for one or two courses.
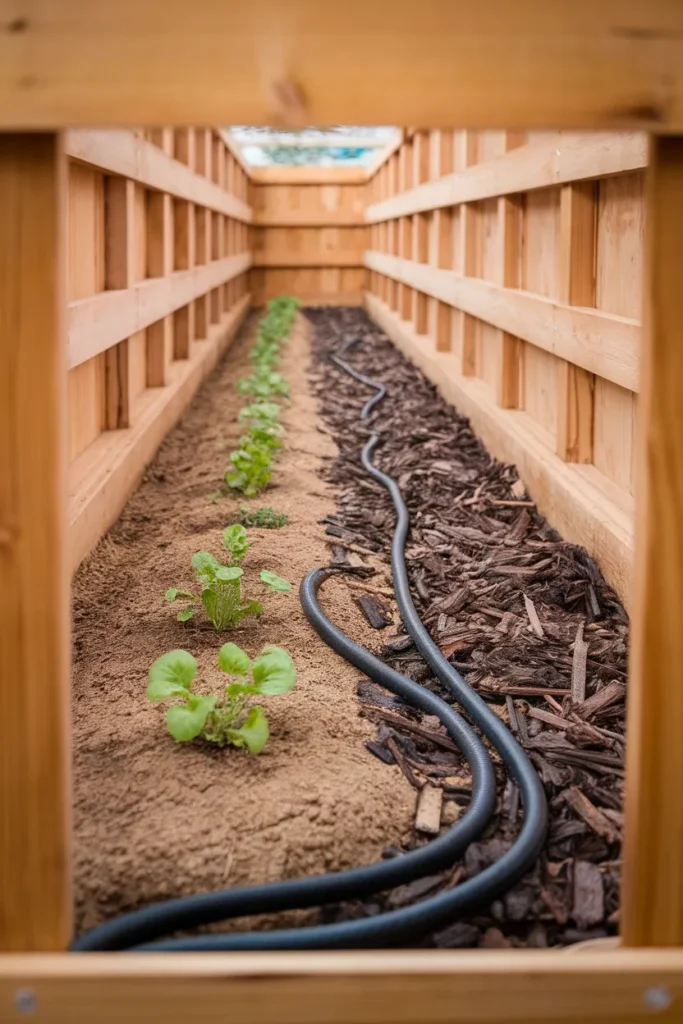
Saturday evening. Lay cardboard or hardware cloth on the bottom. Cardboard smothers grass. Quarter-inch hardware cloth stops voles and gophers, which matters more than people expect in beds that back onto a fence line where rodents travel.
Sunday morning. Fill. Branches and leaves in the bottom third if the bed is deep, then your soil and compost mix on top. Water it down and let it settle. It will drop an inch or two.
Sunday afternoon. Plant, mulch, and stake anything tall. Then sit down and look at it, which is the whole point.
Budget for a 2 ft by 12 ft cedar bed at 12 inches deep, filled: roughly $250 to $400 depending on whether you buy soil bagged or bulk. Metal runs higher on the frame and identical on the fill.
What to Plant, Band by Band
Now the fun part. Pull your Shadow Band map back out.
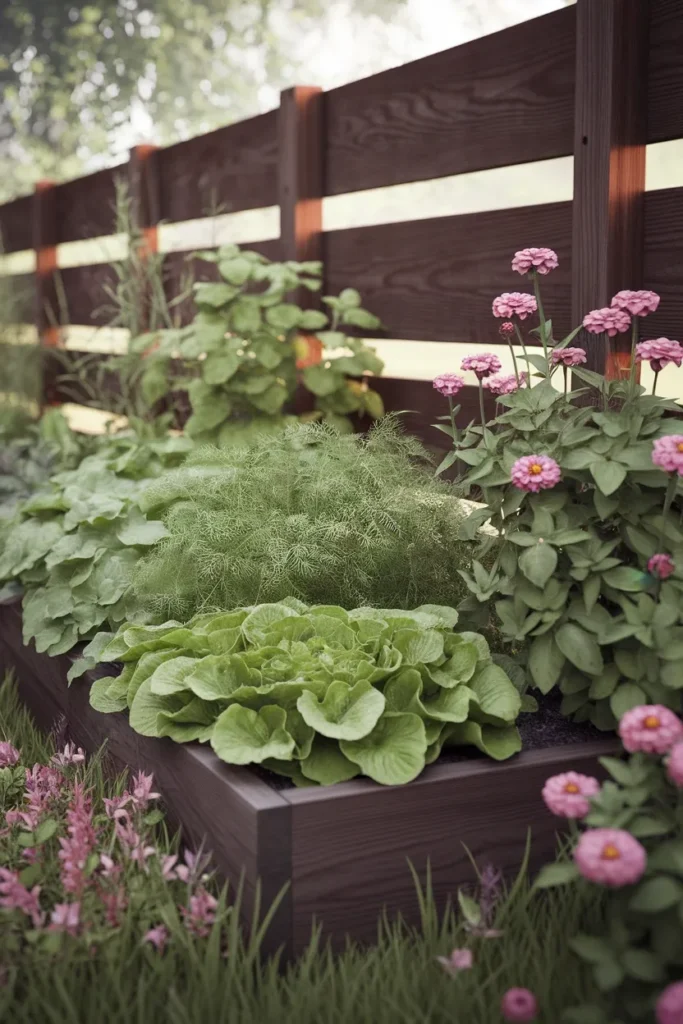
Band A, the shadow strip. This is where most people fail and then blame the soil. Lean into shade instead of fighting it. Leaf lettuce and spinach stay tender here well past the point where they bolt in full sun. Mint is happy and, contained in a bed, finally behaves. For ornamental runs, hosta, heuchera, ferns, and coleus give you texture all season without a single flower.
Give Band A one honest expectation check. Shade-tolerant does not mean shade-loving, and even lettuce wants a real 3 to 4 hours. If your band A gets under 2 hours, stop trying to grow food there and plant hosta, ferns, and sweet woodruff instead. A gorgeous shade border beats a struggling salad every time.
Band B, half sun. Root crops do fine on 4 to 6 hours. Carrots, beets, radishes, and bush beans all produce here. Chives, parsley, and cilantro too. This band is also the sweet spot for a trellis, because vines can climb up out of the shade toward Band C light while their roots stay cool.
Band C, the open run. Tomatoes, peppers, squash, and basil go here or nowhere. Same for zinnias and dahlias if you want cut flowers. If Band C is only 6 inches wide on your fence line, that’s your answer about tomatoes.
Timing matters as much as placement. In Zones 5 through 6, last frost typically lands somewhere between mid-April and late May, so warm-season transplants wait until the soil actually warms. Zones 8 and 9 often get a spring and a fall planting window with a summer gap in between. Confirm yours against the USDA Plant Hardiness Zone Map or your county extension office rather than a generic seed packet, because frost dates shift by micro-location and by year.
One more placement note that saves headaches. Put the tallest plants at the outer edge of the bed rather than at the back against the fence, which is the opposite of what most people do instinctively. Tall plants at the fence shade everything in front of them and make Band A even darker. Tall plants at the outer edge catch full sun and cast their shadow onto the lawn, where it costs you nothing.
If you’re planning several beds and want a full layout system rather than one fence run, the sunlight-first approach in this small backyard garden design guide scales the same logic across a whole yard.
Five Mistakes That Cost You a Season
Building the bed too wide. Anything past 30 inches against a fence creates a zone you can see and never reach. Two narrow beds with a gap beat one wide one.
Skipping the gap. Covered above, and it’s the single most expensive mistake because it damages something you didn’t intend to replace.
Trusting bagged “garden soil” alone. Straight bagged soil compacts and drains poorly by midsummer. Blend in compost so organic matter lands in that 25 to 50 percent range. Espoma and Kellogg both make amendments in the $12 to $20 range that do the job.
Ignoring irrigation from day one. A fence-line bed is long and skinny, which is the worst possible shape for hand watering. A basic soaker hose costs under $25 and you’ll use it every single day of July.
Forgetting the fence needs maintenance. Every wood fence eventually wants a stain coat or a picket swap. Build so you can still do that, which means the gap plus a bed light enough to slide, or short enough to step over.
Planting to the picture instead of the light. That Pinterest photo of a tomato jungle against a fence was almost certainly shot on a south-facing run in Zone 8. Copy the layout, not the plant list.
Making It Look Finished, Not Just Functional
A bed that grows food and still looks like a construction project is only half done. Three cheap moves close the gap.
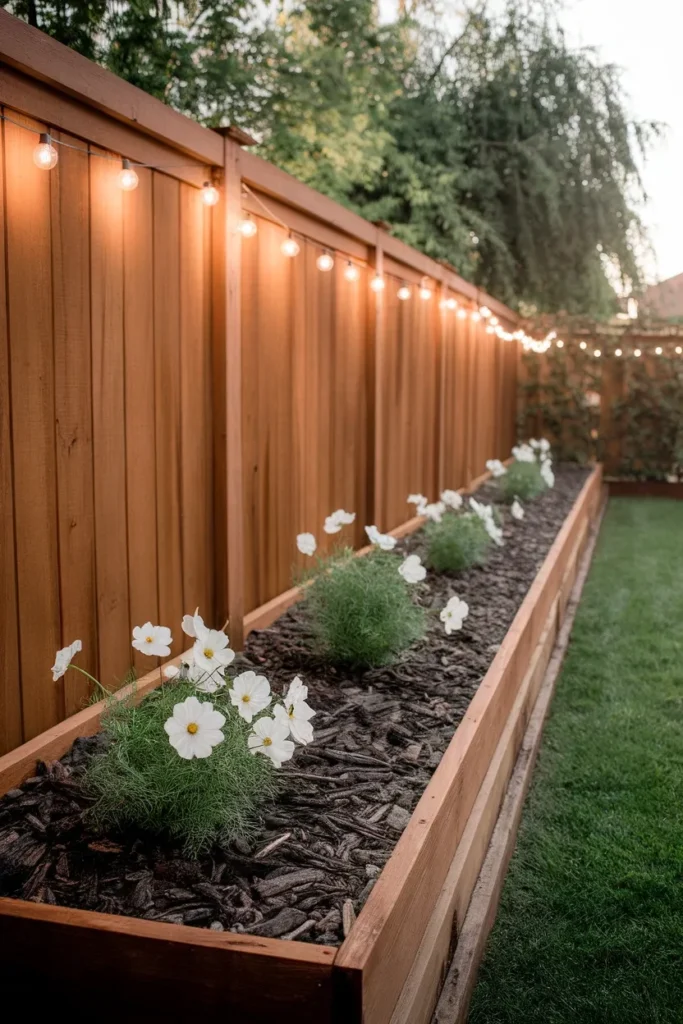
Mulch the top with shredded bark or fine wood chips. It holds moisture, blocks weeds, and instantly reads as intentional. Two or three bags will cover a 12-foot run.
Repeat one color three times along the length. Three clumps of the same white cosmos or the same silver dusty miller will tie a mixed bed together better than adding more variety. Designers call it rhythm. It just works.
Run string lights or a few solar stakes along the fence above the bed. Brightech and Feit both make weather-rated strands in the $25 to $60 range, and lighting the fence turns the bed into an evening feature rather than something that disappears at 8pm.
Add one repeated hard element too. Three matching Bloem or terracotta pots set on the lawn side, or three simple obelisks rising out of the bed, give the eye something to land on in winter when the plants are gone.
Then edge the lawn side cleanly. A crisp 3-inch spade cut between grass and bed does more visual work than any border product you can buy.
Frequently Asked Questions
Can I put a raised garden bed directly against a fence? You can, but you shouldn’t with a wood fence. Soil held against pickets keeps them permanently damp and speeds up rot. Leave 4 to 8 inches for airflow and access. Vinyl and metal fences tolerate contact better, though you still lose the ability to reach behind for repairs.
How far should a raised garden bed be from a fence? Four inches is the working minimum. Six to eight inches is better because it lets you actually get a hand or a hoe in there. If the fence is shared or sits on a property line, check your local setback rules first.
Will a raised bed rot my wooden fence? Direct soil contact will, over a few seasons. Persistent moisture against untreated or aging wood invites fungal decay, usually showing up first in the bottom rail. The gap plus a strip of landscape fabric underneath prevents nearly all of it.
How deep does a raised garden bed along a fence need to be? Eight inches handles greens and herbs. Twelve inches is the practical all-purpose depth. Go 18 to 24 inches if you want root crops or want to garden without kneeling. Deeper beds cost noticeably more to fill.
How wide should a fence-line raised bed be? Cap it at 30 inches. You can only reach it from one side, and past that you’re stepping into the soil to weed the back, which compacts it and defeats the purpose of a raised bed.
What grows well in the shady strip right by the fence? Leaf lettuce, spinach, arugula, mint, parsley, and chives on the edible side. Hosta, ferns, heuchera, and coleus if you want it ornamental. All of them prefer the cooler root conditions that a fence shadow provides.
Do I need to line the bottom of the bed? Line it with cardboard to smother grass, and with quarter-inch hardware cloth if you have voles or gophers. Never line the bottom with solid plastic, because that traps water and drowns roots.
Start With the Tape Measure, Not the Cart
The whole difference between a fence-line bed that feeds you and one that frustrates you comes down to about twenty minutes of paying attention. Photograph your fence at 9, 1, and 5. Mark your three bands. Then buy the bed.
Everything else, the cedar versus metal debate, the soil math, the trellis, all of it gets easier once you know which parts of that strip actually get sun. A raised garden bed along fence lines rewards planning far more than it rewards spending, which is unusual and kind of great.
Go take the 9am photo tomorrow. Then come back and pick your band.
One Comment