How to Build Raised Garden Beds on a Slope Without the Lean

Raised garden beds on a slope fail in a specific, predictable way. The uphill end drains dry. The downhill end sits soggy. Soil creeps toward the low corner all season until your carrots are rooting in four inches of dirt and your lettuce is drowning in twelve.
That failure is fixable. It usually takes one afternoon.
The fix is not a fancier bed kit. It starts with measuring your grade before you buy anything, then matching the build to the number you get. A yard that drops six inches over ten feet needs a completely different approach than one dropping thirty. Same lumber, same beds, entirely different plan.
Here is how to figure out which one you have. If you are also working out spacing and sun angles, our small backyard garden design guide covers the planting side.
Do Raised Garden Beds Need to Be Level?
The bed itself, yes. The ground underneath it, no.
This is the single most useful distinction in the whole project, and it saves people from re-grading an entire yard for no reason. Your soil sits at whatever angle the box holds it at. If the top rails of the box are level, the soil surface inside is level, and water spreads evenly across every plant instead of pooling at one end.
If the frame tilts even two inches across an eight-foot run, gravity takes over. Water sheets to the low side. Fertilizer follows it. Within a season you have a rich, wet quarter of the bed and a starved, dry one. Then you water the whole thing to keep the dry end alive, which drowns the wet end.
That is why raised garden beds on a slope are really a leveling project wearing a gardening costume.
So the goal is a level box, not a level yard. That is a much smaller job.

Measure the Slope Before You Buy Anything
You need one number: how many inches your yard drops over ten feet. Everything downstream depends on it.
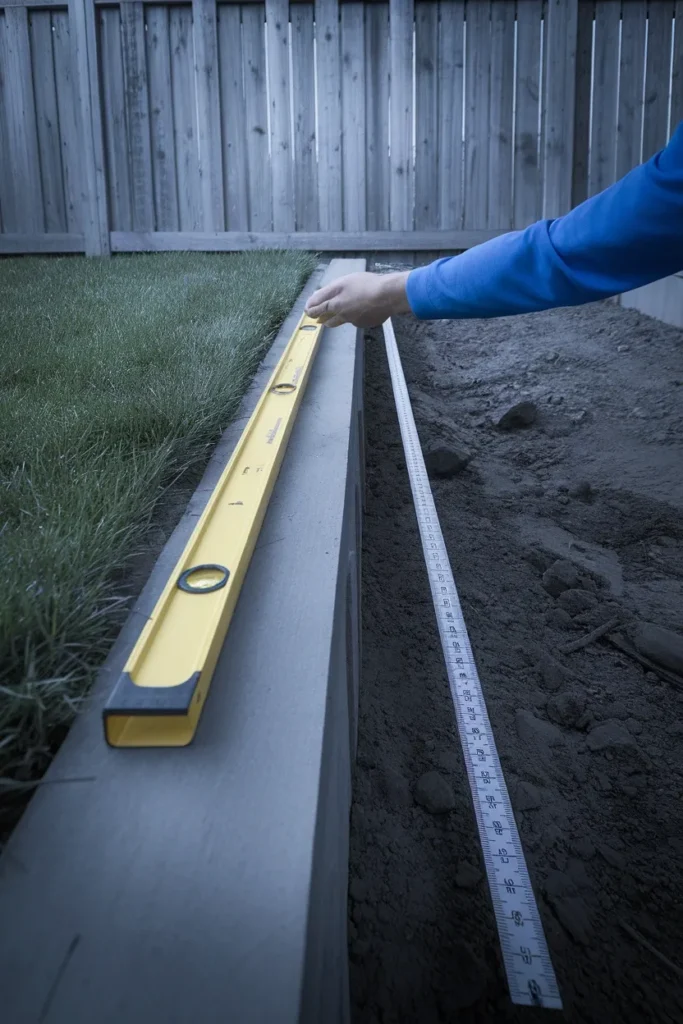
Grab a ten-foot 2×4 (or a taut mason line), a string level from Ace Hardware or Home Depot for under five dollars, and a tape measure. Set one end of the board on the uphill ground. Lift the downhill end until the bubble centers. Measure straight down from the raised end to the dirt. That measurement, in inches, is your rise over ten feet.
Write it on your hand. It decides the rest.
The Three-Grade Slope Test
Most slope advice online treats every hill the same, which is why so many builds go wrong. This is the sorting rule we use instead. Take your rise-over-ten-feet number, find your row, and build only what that row tells you to build.
| Rise over 10 feet | Grade | What to build |
|---|---|---|
| Under 6 inches | Under 5 percent | Dig and shim. Standard bed, minor cut and fill. |
| 6 to 12 inches | 5 to 10 percent | Tapered side panels to close the downhill gap. |
| 12 to 24 inches | 10 to 20 percent | Stepped beds, each one its own level pad. |
| Over 24 inches | Over 20 percent | Terrace with short retaining walls first. |
Two things this table saves you from. Buying a 17-inch-tall bed for a grade that needed a 30-inch one. And building a single tall wall where four short ones would have been safer and cheaper.
Screenshot it. You will want it at the hardware store.
Gentle Grade: Dig High, Fill Low
Under six inches of drop, you barely have a slope problem. You have a shovel problem, and it takes about forty minutes.
Mark your bed footprint with landscape paint or four stakes and a string. Then cut and fill: dig soil off the uphill half of the footprint and move it to the downhill half. Do not add soil from a bag for this. You want the same native dirt, because bagged mix settles at a different rate and your level pad will sag unevenly by midsummer.
Tamp the filled side hard. A hand tamper works, and so does the flat back of a garden rake plus your body weight. Loose fill compresses under a full bed. A 4×8 bed holding a cubic yard of wet soil weighs well over a thousand pounds, and all of it presses down on the side you just built up.
Set the bed. Check with a four-foot level in both directions. Adjust with a trowel, not by wedging rocks under the corners.
A quick note on the shortcut everyone tries first: propping the low end on cinder blocks or paver scraps. It looks level on day one. Then the blocks settle at different rates, the frame racks, and by the second heavy rain the bed has a visible twist in it. If you must use blocks, set them on a tamped gravel pad, not on turf.
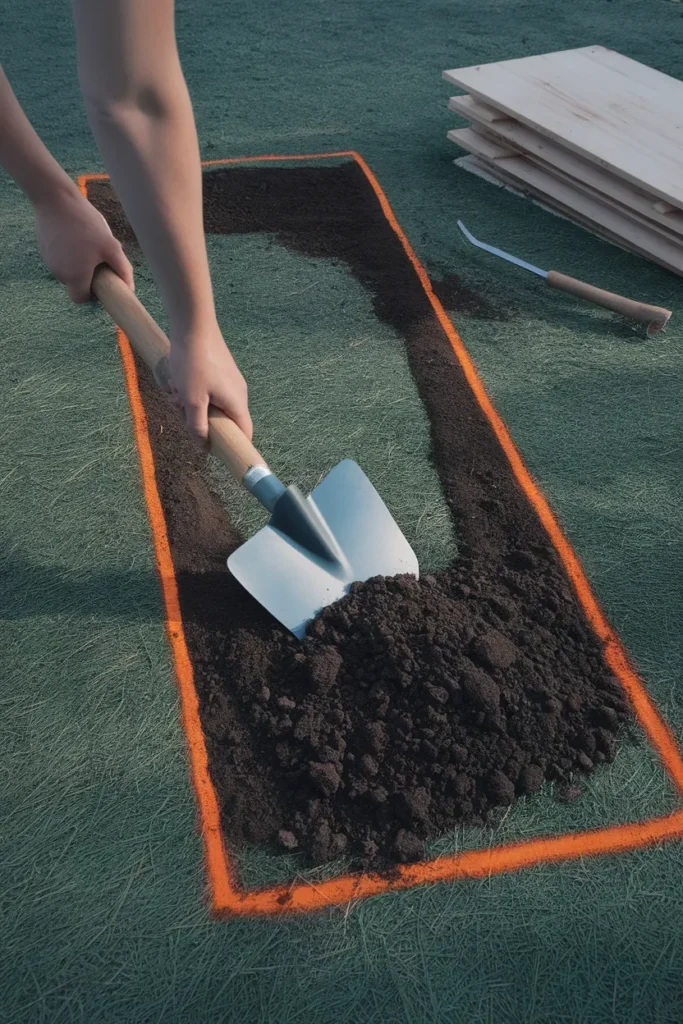
Moderate Grade: Tapered Sides Close the Gap
Between six and twelve inches of drop, cut and fill alone leaves you with an awkward gap under the downhill end of the frame. Soil pours out of it. This is the stage where most DIY builds start losing dirt.
The fix is a tapered infill panel, and it is easier than it sounds.
- Build the box level first. Assemble a standard rectangular bed on flat ground, or square it up in place. A Greenes Fence cedar 4×8 kit (around $130) or a Vego Garden 17-inch modular metal bed (in the $150 to $250 range) both work fine here.
- Set it in place and block it level. Temporary shims only. You are just holding position.
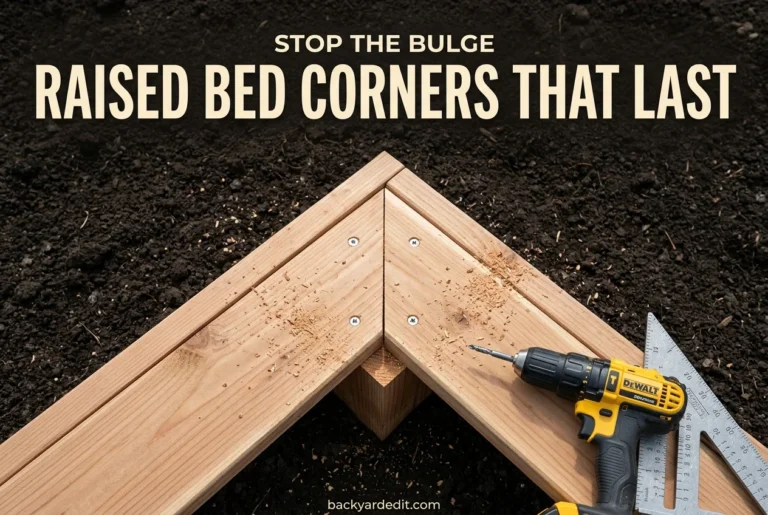
- Drive corner stakes. Two-foot lengths of 2×2, hammered inside each corner and screwed through the frame. These carry the load once the temporary shims come out.
- Measure the gap at both ends of the low side. You will get two numbers, something like zero inches and seven inches.
- Cut a wedge. Mark those two measurements on a board the length of the bed side, snap a chalk line between them, and cut with a circular saw. That wedge fills the gap exactly.
- Screw the wedge to the stakes so it sits flush under the frame, then backfill behind it with native soil and tamp.
Front-load your effort on step 3. The stakes are what stop a moderate-grade bed from sliding downhill over a wet winter, and they are the step people skip.
For beds longer than six feet, add a cross-spanner: a single board screwed across the middle of the bed, top edge flush, tying the two long sides together. Soil pressure bows long walls outward, and on a slope it bows the downhill wall hardest.
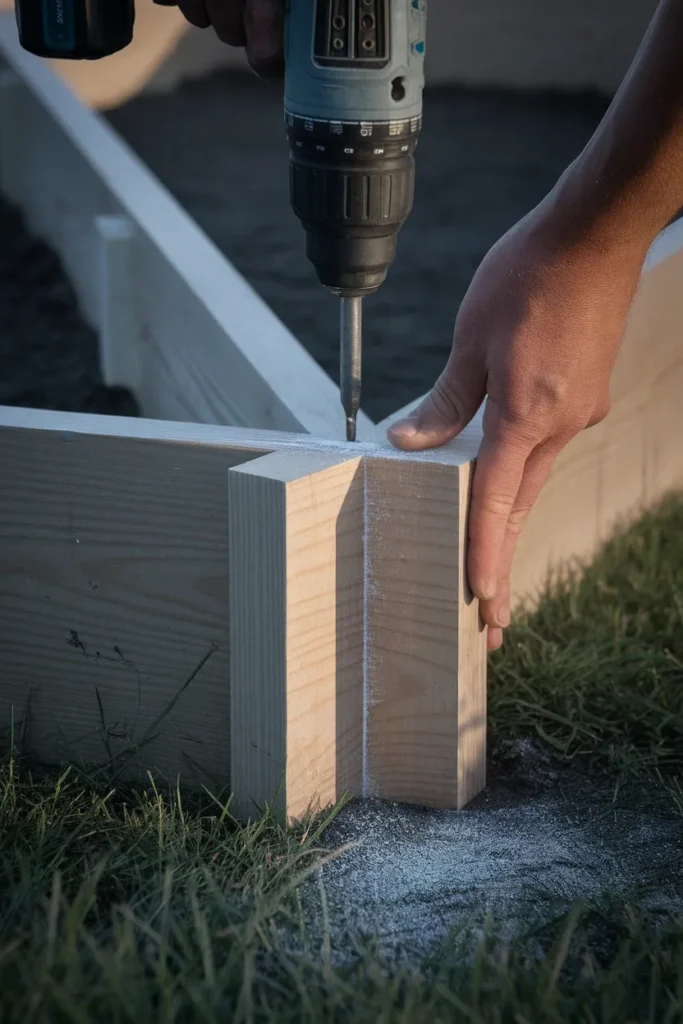
Steep Grade: Short Terraces Beat One Tall Wall
Past twenty-four inches of drop over ten feet, you have crossed into what Mississippi State University Extension defines as a steep slope. That means a rise greater than twenty percent, or two feet of elevation for every ten feet you walk. Their guidance on gardening on steep slopes is blunt about the DIY limit: keep homeowner-built wall heights to a foot or two, and bring in a professional above that.
That advice is worth taking seriously. Water pressure behind a retaining wall is the reason walls fail, and it builds quietly for years before anything visibly moves.
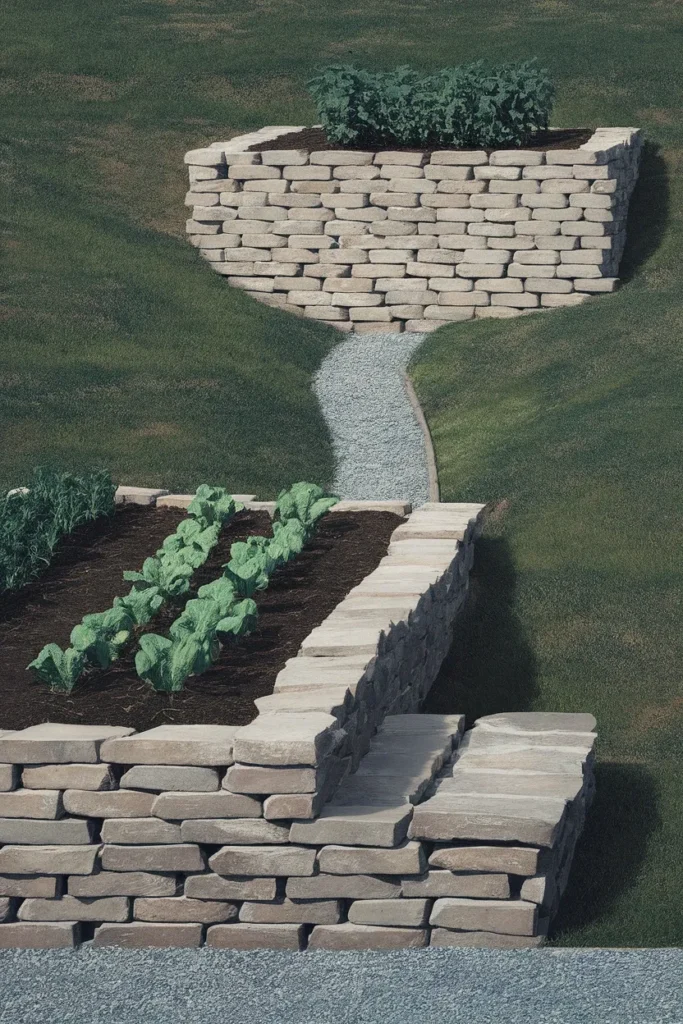
So the play on a steep grade is more terraces, each one short, rather than one dramatic wall.
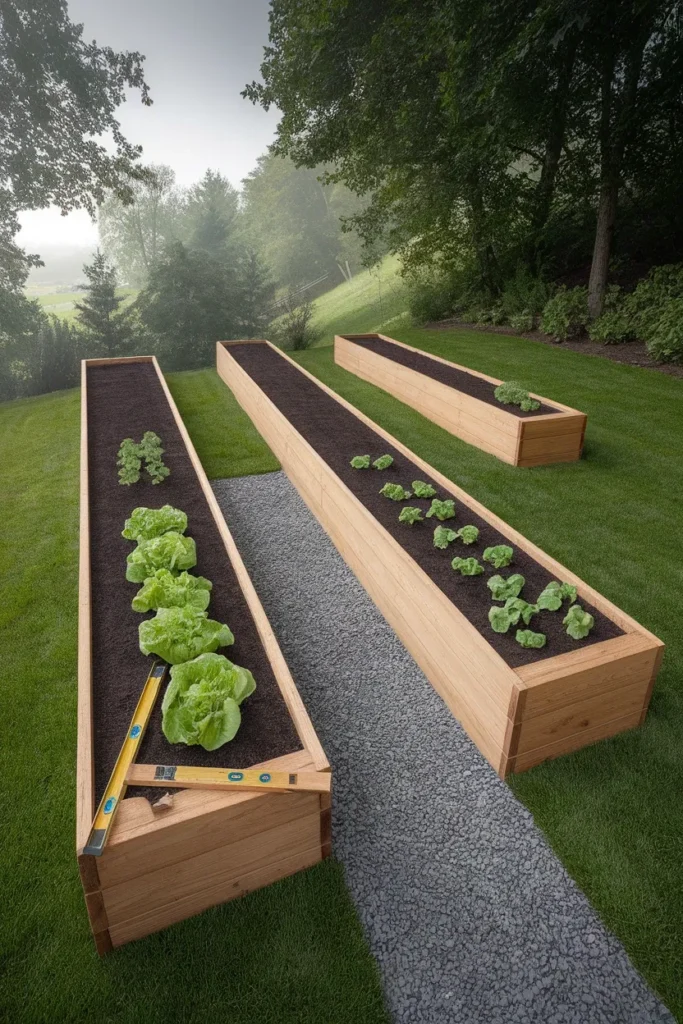
Run your terraces across the slope, following the contour, never up and down it. A bed oriented up and down a hill becomes a chute. Every rainfall pushes soil out the low end. Turn the same bed ninety degrees and it becomes a small check dam that catches water instead of channeling it.
Build from the bottom up. The lowest terrace supports everything above it, so it goes in first, gets the deepest gravel base, and gets checked twice for level. Then step back and up, leaving at least two feet of walking room between the face of one wall and the front of the next bed. Eighteen inches feels fine when you are staking it out and miserable when you are carrying a full harvest basket.
For the wall itself, dry-stacked concrete block, natural stone, or 6×6 timbers all hold a one to two foot terrace well. Whatever you pick, put four to six inches of compacted gravel under the first course and a gravel drainage strip behind the wall face. Our garden wall ideas that hold back soil post walks through the base prep and drainage detail in more depth.
Check your local code before you start. Many US municipalities require a permit for retaining walls over three or four feet, and some have setback rules near property lines. This is general information rather than legal advice, so confirm with your local building department.
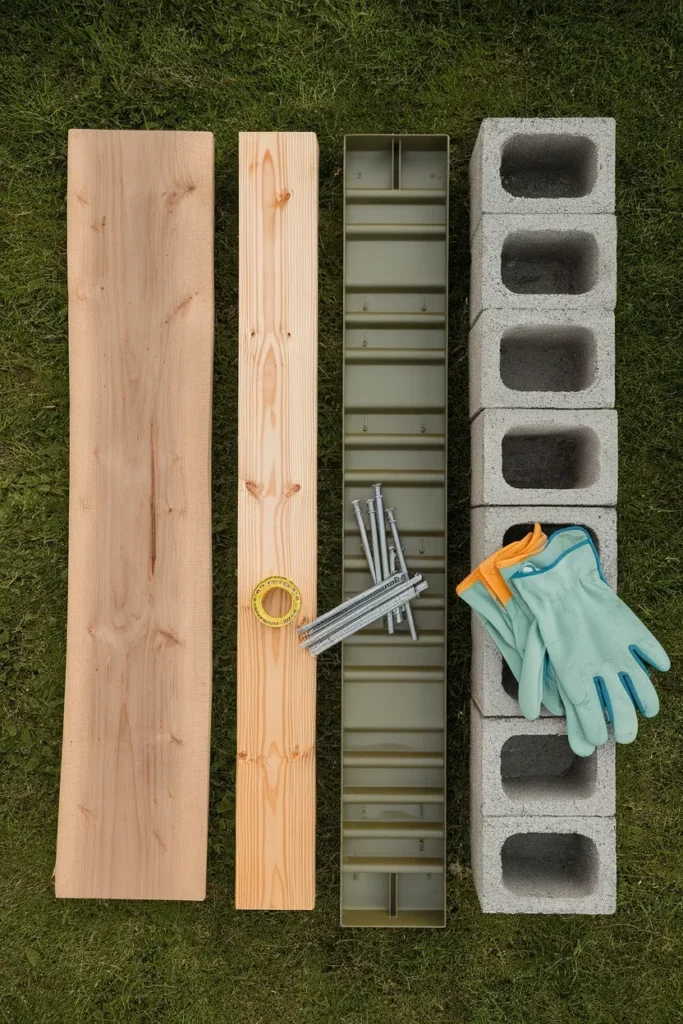
Best Materials for Raised Garden Beds on a Slope
Grade changes the material math, because a bed on a hill carries uneven side loading that a flat-yard bed never sees.
Cedar. Naturally rot resistant, easy to cut for tapered infill, and forgiving if your measurements are slightly off. A Greenes Fence 4×8 kit runs around $130. Expect eight to twelve years outdoors before the ground-contact boards go soft.
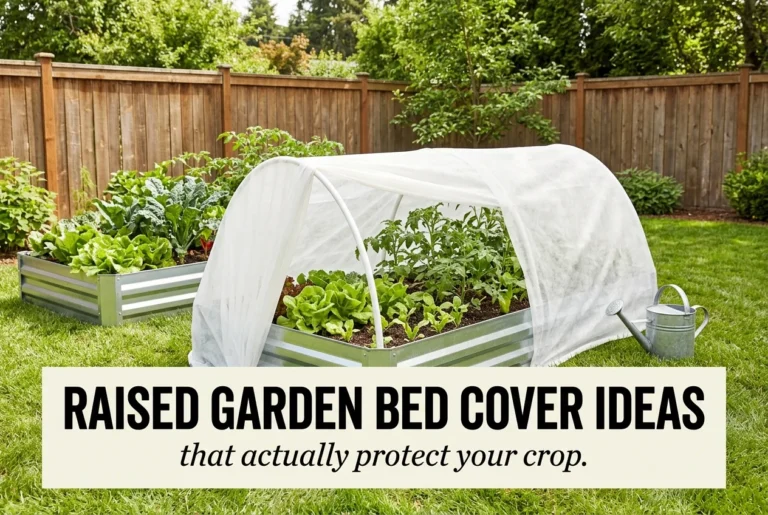
Galvanized steel. Vego Garden and Birdies modular beds resist rot entirely and shrug off the moisture that collects along a downhill wall. The tradeoff: you cannot cut a tapered wedge from sheet metal on a Saturday, so steel beds want a properly leveled pad underneath rather than an infill panel. Budget in the $150 to $250 range for a 17-inch bed.
Pressure-treated lumber. Cheapest per linear foot, usually under $25 a board for a 2×10 at Lowe’s or Menards, and the current copper azole treatments are approved for residential ground contact. Heavier boards resist bowing better, which matters on the downhill wall.
Concrete block or stone. Slow to build, effectively permanent, and the only sensible option once you are terracing. It also stores daytime heat, which is a small bonus on a north-facing bank.
Skip thin composite edging and skip anything under one inch thick for the downhill side. Soil pressure on a slope is not evenly distributed, and the low wall takes most of it.
One depth note that holds regardless of material: eight inches is enough for lettuce, beans, and radishes. Tomatoes, peppers, and squash want twelve to twenty-four. On a slope, measure that depth at the uphill end, because that is where soil is shallowest once everything settles.
Where the Water Actually Goes
Here is the part almost nobody covers, and it is the reason slope gardens fail in year two rather than year one.
Your level beds are now a row of small dams. Rain that used to run smoothly down the bank hits the uphill wall of each bed, pools, then routes around the ends. Over a few storms it carves channels beside your beds, undercuts the corners, and dumps your topsoil onto the patio or into the neighbor’s yard.
Three things fix it.
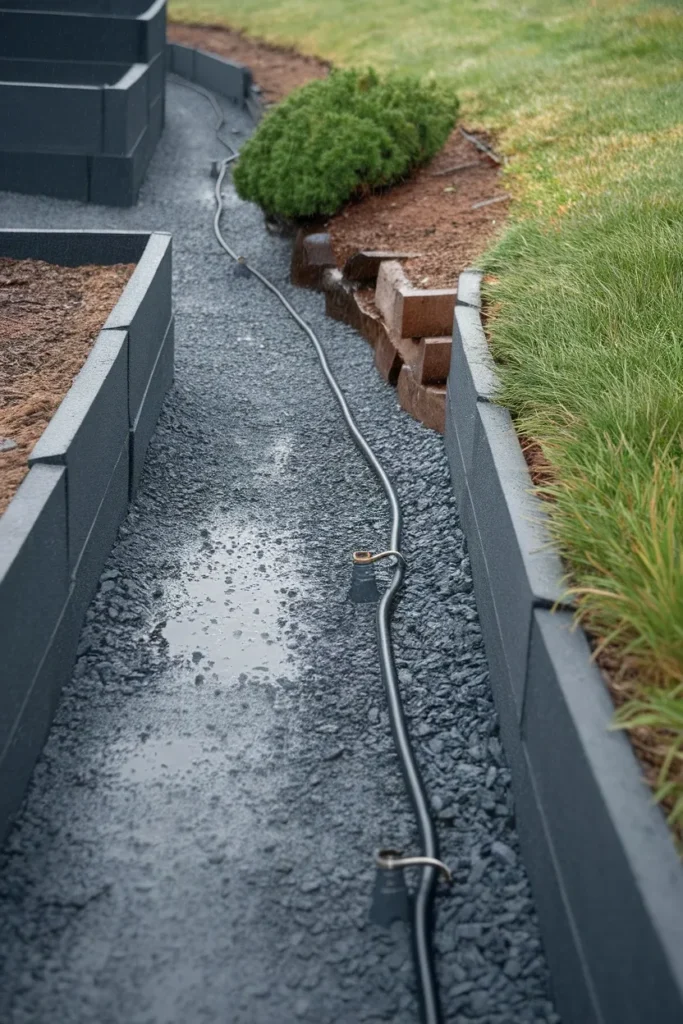
Gravel the paths, do not grass them. Turf on a slope path gets walked into mud, and mud moves. Four inches of compacted three-quarter-inch crushed stone over landscape fabric drains straight down instead of running sideways. It also stops the mowing problem on ground you cannot safely mow.
Leave a deliberate gap at the ends. Do not butt bed ends against fences or walls. Leave twelve to eighteen inches so water has a planned route instead of an improvised one.
Plant the bank between terraces. Bare soil on a slope erodes fast, and mulch alone slides. Creeping juniper, sedum, or a wildflower mix knits roots into the bank and holds it. This is the same principle extension services recommend for hillside erosion control, and it works at backyard scale.
For irrigation, drip beats overhead sprinkling on a grade by a wide margin. A sprinkler throws water into the air where wind and slope both push it downhill before it lands. Drip line puts it at the root zone. Run a single line per bed with the supply tubing coming from the uphill side, because gravity will otherwise starve your top bed and flood the bottom one.
Access, Steps, and the Soil-Hauling Problem
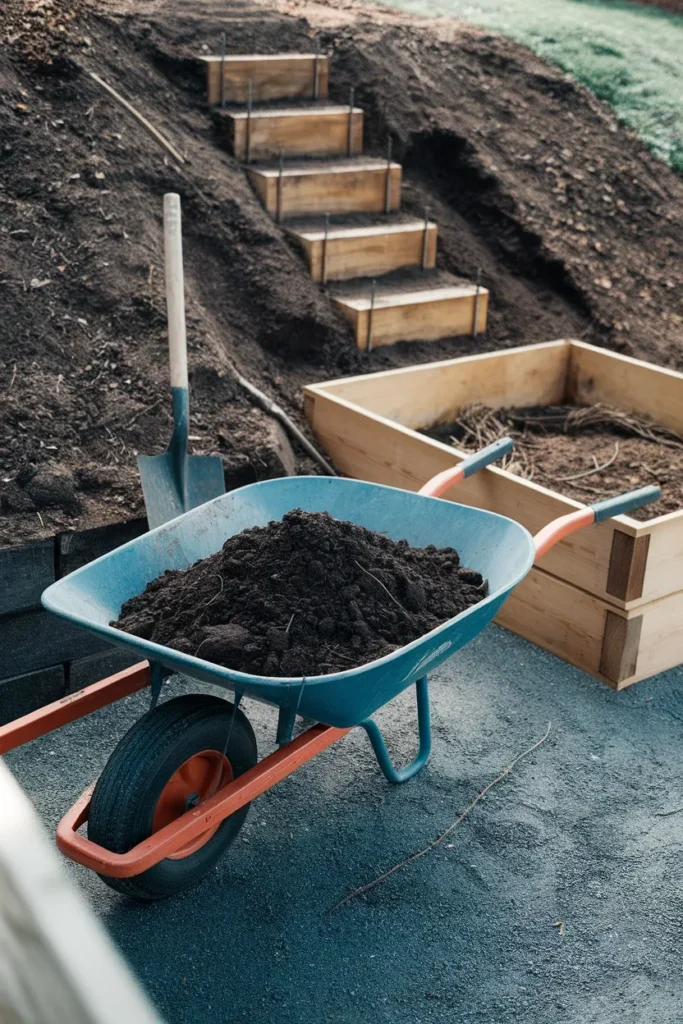
Filling a 4×8 bed to twelve inches takes roughly one cubic yard of soil. That is about twenty-seven bags, or nine to twelve wheelbarrow loads if you buy in bulk. Now push all of that uphill.
Plan the route before you plan the beds. Seriously.
If a truck can dump bulk soil at the top of your slope, you are moving material downhill with gravity helping, and the whole job takes a morning. If the only dump spot is the bottom, budget two to three times the labor and rent a powered wheelbarrow for the day. Bulk soil from a landscape supplier typically runs a fraction of bagged cost per cubic yard, so the delivery position is worth calling about before you order.
Cut real steps into any path steeper than about fifteen percent. Loose gravel on a steep run slides underfoot when you are carrying anything. Two 6×6 timbers pinned with rebar make a solid step, and a seven-inch rise with a twelve-inch tread walks comfortably for most people.
Also worth knowing before the shovel comes out: slopes are frequently rocky, because that is where erosion has stripped the fine soil away and left the coarse material behind. If your first test hole stops cold at eight inches, that changes your plan, and working with a rocky backyard is its own project.
Fill smart to cut the soil bill. The bottom third of a deep bed can be branches, small logs, and leaves, topped with a bagged raised bed mix like Miracle-Gro or Kellogg in the upper eight to twelve inches. On a tall downhill wall that lower fill saves real money, though plan on topping the bed off after the first season as the woody layer breaks down.
The Frost Pocket at the Bottom of Your Slope
Cold air is denser than warm air, so it flows downhill and settles at the lowest point it can reach. If your yard drops toward a fence, a wall, or a hedge, that barrier traps the cold and creates a frost pocket.
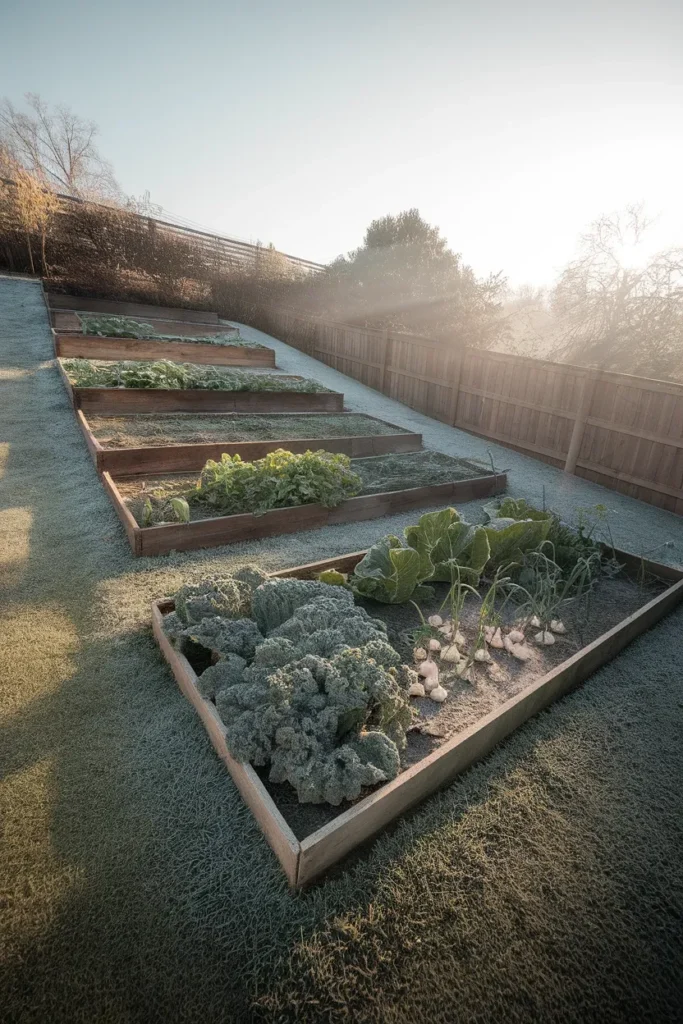
The practical effect is real. The bottom bed on a slope can run several degrees colder on a clear still night than the bed twenty feet above it, which means it frosts first in fall and thaws last in spring. Gardeners in Zones 5 through 7 notice this most, because the swing sits right around the freezing line.
Use it deliberately.
- Bottom bed: cold-tolerant crops. Kale, spinach, garlic, carrots. Plant it last in spring.
- Middle bed: the sweet spot. Cold air passes through instead of settling. This is where tomatoes and peppers go.
- Top bed: driest and windiest. Great for herbs, and for anything you want to harvest without walking far.
Last frost dates run roughly mid-April in Zone 5, late March to early April in Zone 6, and mid-March in Zone 7, though they shift year to year and by micro-location. On a slope, add a week to whatever your area’s date is before planting the bottom bed. You can check your USDA plant hardiness zone by ZIP code, and your county extension office will have the frost dates that actually apply to your street.
One more small thing: a south-facing slope warms noticeably earlier in spring than flat ground, because it catches sun at a steeper angle. If your bank faces south, you may be planting one to two weeks ahead of your neighbors on level lots. That is a genuine advantage most slope gardeners never realize they have.
Frequently Asked Questions
Do raised garden beds need to be level?
The frame does. The ground under it does not. A level frame holds a level soil surface, which spreads water evenly across every plant. Tilt the frame and water runs to the low end, taking nutrients with it.
What is the easiest way to level ground for a raised bed?
Cut and fill. Dig soil off the high side of your bed footprint and move it to the low side, then tamp the filled area firmly. Use the native soil rather than bagged mix, because bagged material settles at a different rate and your pad will sag unevenly.
How steep is too steep for raised garden beds?
Above roughly twenty percent, meaning more than two feet of drop over ten feet, you need terracing rather than a single bed on a leveled pad. Extension guidance recommends homeowners keep DIY retaining wall heights to one or two feet and consult a professional above that.
Should raised beds run across the slope or up and down it?
Across, following the contour. A bed running up and down a slope channels water out its low end and loses soil with every storm. Turned sideways, the same bed slows runoff instead.
What is the hardest part of building a garden bed on a slope?
Getting the frame truly level and keeping it there. Temporary shims are easy. Corner stakes driven two feet into the ground are what actually hold the bed in position through a wet winter, and that is the step most people skip.
How do you keep soil from washing out of a raised bed on a hill?
Close the gap under the downhill wall with a tapered infill board. Gravel the paths instead of grassing them, and leave a deliberate drainage gap at the bed ends. Then plant the exposed bank between terraces so roots hold the soil in place.
Do you need a retaining wall for raised beds on a slope?
Only above about twelve inches of drop over ten feet. Below that, cut and fill plus a tapered side panel handles it. Above twenty-four inches, short stepped walls are safer and cheaper than one tall one.
Start With the Number
Everything in this guide comes back to one measurement: your rise over ten feet.
Take five minutes this weekend with a board, a string level, and a tape measure. Get the number. Then look at the Three-Grade Slope Test table, find your row, and build only what that row calls for. Under six inches, dig and shim. Six to twelve, add a tapered panel. Twelve to twenty-four, step your beds. Over twenty-four, terrace it.
A sloped yard is not a worse garden. Better drainage, warmer south-facing banks, and a growing area you can actually see all of from the house. Those are advantages flat lots do not get. Built properly, raised garden beds on a slope outperform the same beds on level ground.
Measure yours, then come back and tell us what number you got. We would love to know what you are building on it.