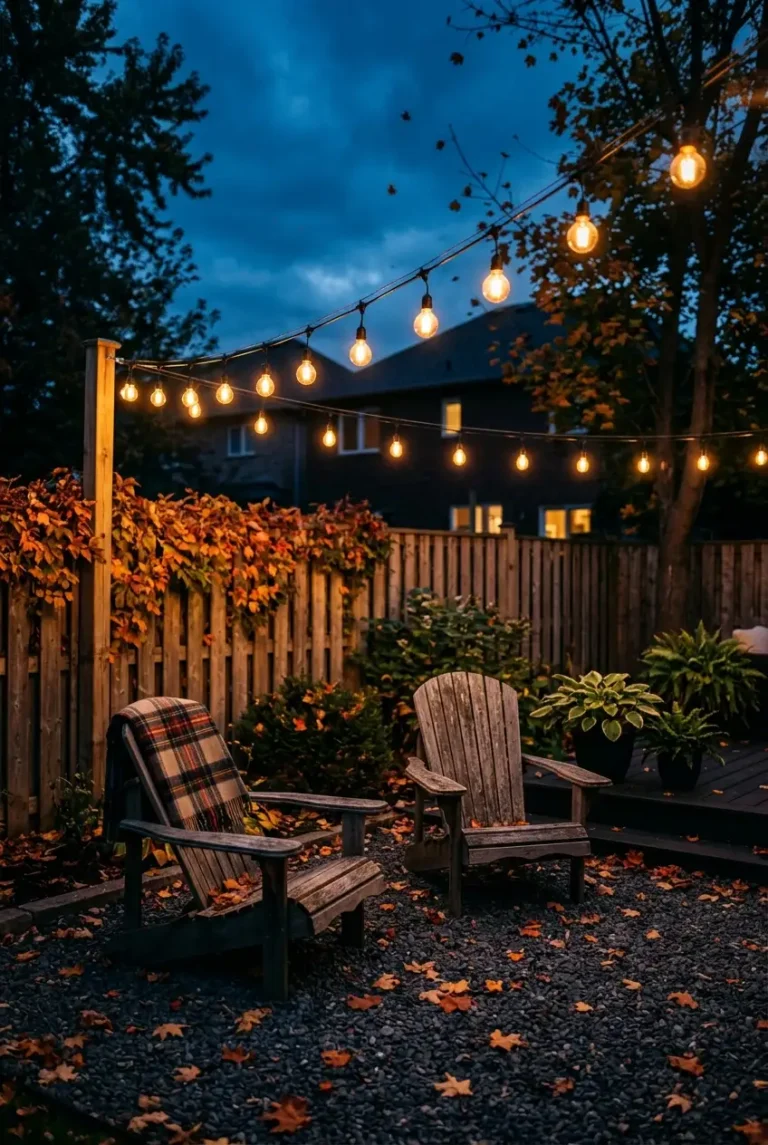
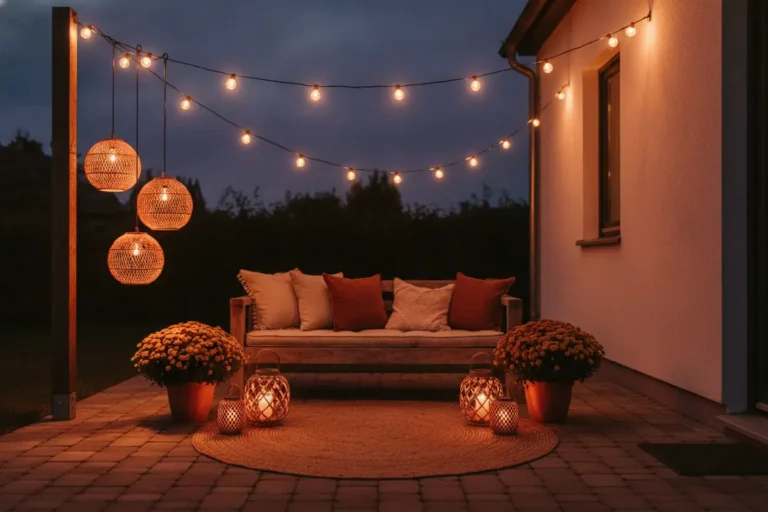
The Complete Backyard Bar Lighting Guide

Your backyard bar works beautifully right up until the sun goes down. Then somebody is pouring by phone flashlight, the ice bucket has vanished into shadow, and everyone drifts back toward the kitchen. Backyard bar lighting is the cheapest fix in the whole yard, and it is the one most people get wrong, because they buy fixtures before they decide what the light is supposed to do.
Here is what this guide does differently. Instead of handing you another shopping list of pendants and neon signs, it gives you heights. Where the glow goes, where the task light goes, and which band of air you keep completely clear so a seated guest is not staring straight into a filament. There is a wiring section too, because most backyards have exactly one outlet near the bar and there is a real limit to what it will carry.
Bulbs, spacing, ratings, cords, and a plan for putting it all away in October. Let’s get into the heights.
Your bar has two sides, light them differently
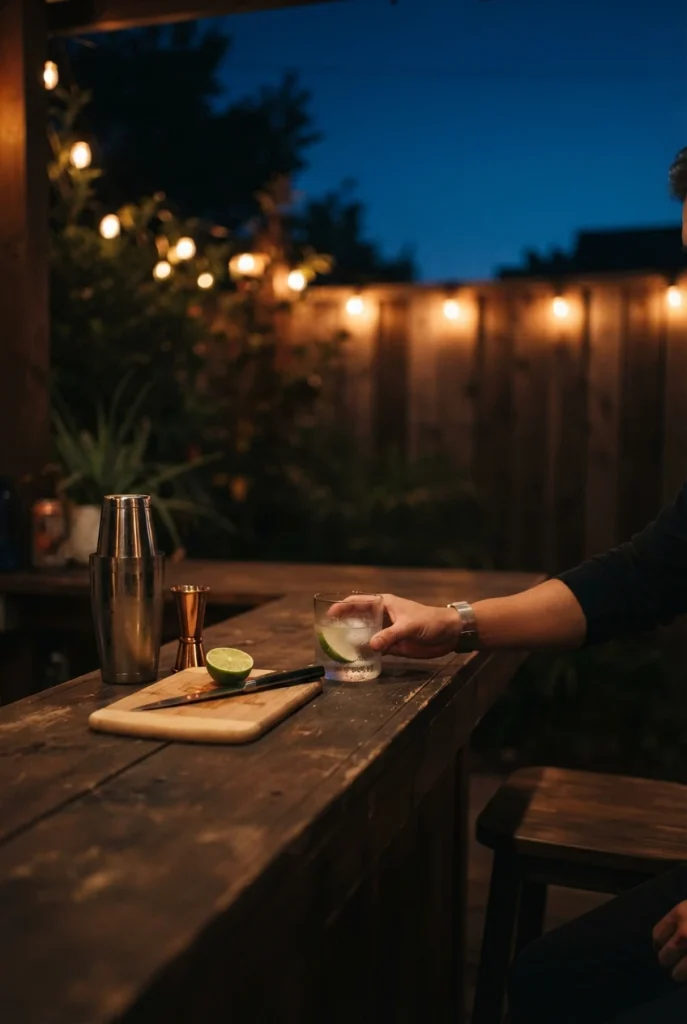
Stand behind your bar for a second and then go sit on the stool. Two completely different jobs.
Behind the counter, somebody is measuring, cutting, opening, and pouring into a dark glass. That is task work, and it wants light coming down onto the surface from close range. On the guest side, nobody is doing anything precise. They are talking, holding a drink, looking at each other. That side wants soft light from above and behind them, at a level that flatters faces instead of flattening them.
Mix those two jobs into one bright fixture in the middle and you get the worst of both. Too dim to pour, too harsh to sit under. Almost every ranking list on this topic treats the bar as a single surface to brighten, which is exactly why so many finished builds feel like a garage with bottles in it. If you are still deciding where the bar itself lands, work out the patio layout worth lighting first, because the light plan follows the seating, not the other way around.
Three jobs, then. Pour, gather, and get there safely.
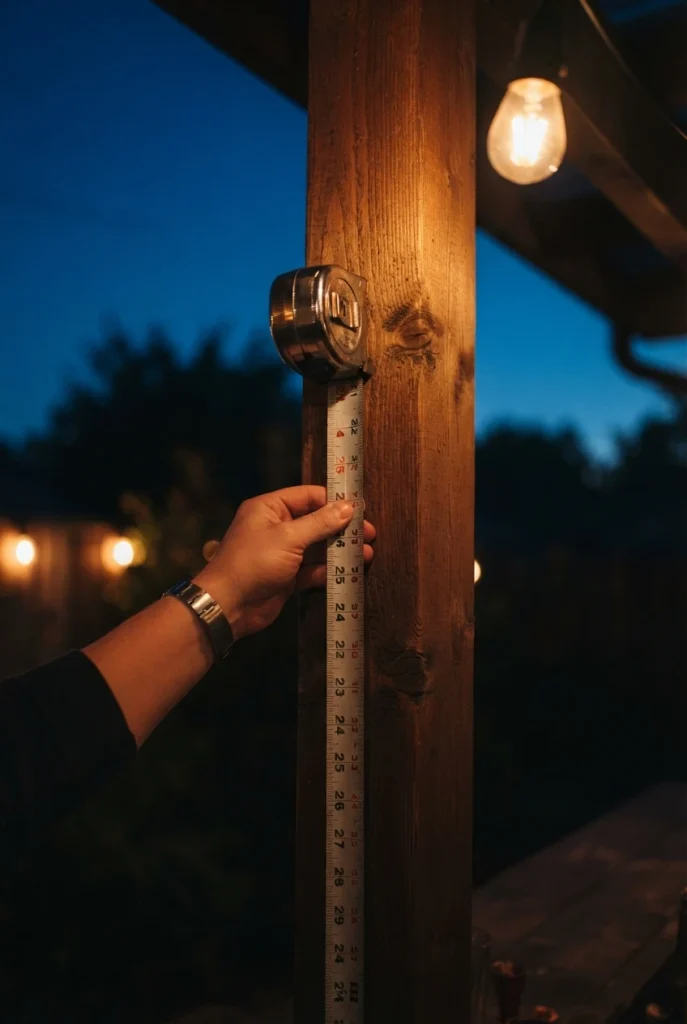
The Three-Height Rule for backyard bar lighting
This is the whole guide in one table. A standard bar counter sits at about 42 inches, a bar stool puts a seated person’s eyes somewhere around 54 to 58 inches, and a walkway needs 7 feet of clear headroom. Those three numbers do all the work.
Light lands in three bands, and one band stays empty.
| Band and height | What goes there, and why |
|---|---|
| High: 84 in and up 7 feet of clearance |
String lights and pergola fixtures. Above every head, so nobody ducks and nobody stares into a bulb. Keep spans over a walk zone at this height or higher. |
| Counter: 72 to 78 in 30 to 36 in above a 42 in bar top |
Pendant bottoms. Close enough to light a jigger, high enough to see the person across from you. Only over the work end, never over the middle of the guest run. |
| Keep clear: 54 to 58 in seated eye level |
Nothing bare. No exposed filament, no unshielded LED, no candle flame at eye height. This is the band everyone gets wrong. |
| Low: under 40 in counter lip down to grade |
Under counter strip, step lights, paver or path lights, lanterns on the ground. Light without glare, because the source is below the eye. |
Call it the Three-Height Rule and keep it in your head while you shop. It rules out about half of what shows up in a search for outdoor bar lights, which is the point. The rest of this guide walks the bands from the top down.
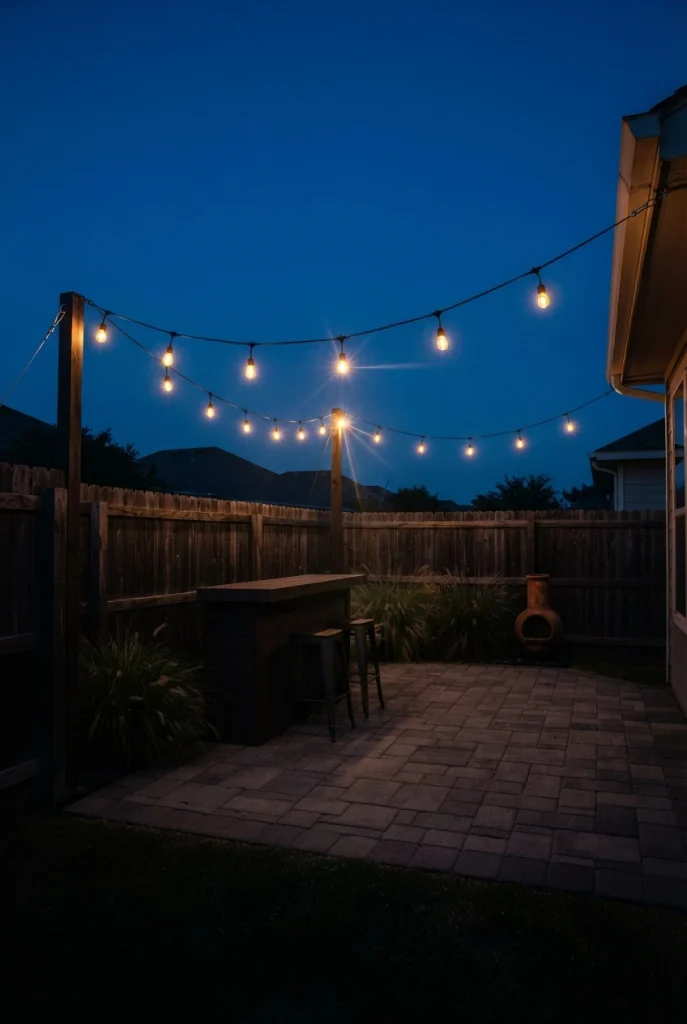
The high band: string lights that survive a season
String lights are the ambient layer, and they are the layer people replace every single year because they hang them straight off the strand. Do not do that. The strand’s wire is not structural, and one wet snow or a summer storm will stretch it until the sockets pull sideways.
Run a steel guide wire first, then zip tie the strand to it. Commercial grade 48 foot sets are the ones worth buying: Brightech Ambience Pro in the dimmable 2W LED version at 2700K, or the Feit Electric 48 foot S14 weatherproof strand that shows up at Home Depot and Costco. Budget in the $40 to $80 range per 48 foot set depending on whether you want LED or true filament. A 50 foot spool of coated aircraft cable plus two turnbuckles and a few eye hooks from Ace Hardware runs under $30 and outlasts three sets of lights.
One more detail that decides everything: check the rating on the box. Damp rated is fine under a solid pergola roof or a covered porch. Fully exposed spans over open patio need wet rated, because damp rated only means protected from indirect moisture, not rain landing on the socket.
Pick two solid anchor points at 96 in or higher, so the sagging middle still clears 84 in. House eave, fence post set in concrete, or a 4×4 you sink yourself.
Screw an eye hook into each anchor, run the cable through, and clamp it back on itself with cable clamps.
Add a turnbuckle at one end and tighten until the cable is taut with only a slight curve.
Zip tie the strand to the cable at every socket, cutting the tails flush so they do not catch the light.
Run two parallel spans rather than one. Two lines of bulbs read as a ceiling; a single line reads as a clothesline.
We learned the hard way that a strand hung with nothing but its own wire will not make it through a season. The first set we put over a bar, a 48 foot Brightech run, sagged about six inches by August and two sockets had filled with water by the first October rain. The guide wire version has been up through three summers since, same bulbs. If your bar backs onto a fence you are also screening for privacy, plan the screening behind the bar at the same time, because a lattice panel or a slat screen doubles as a second anchor point.
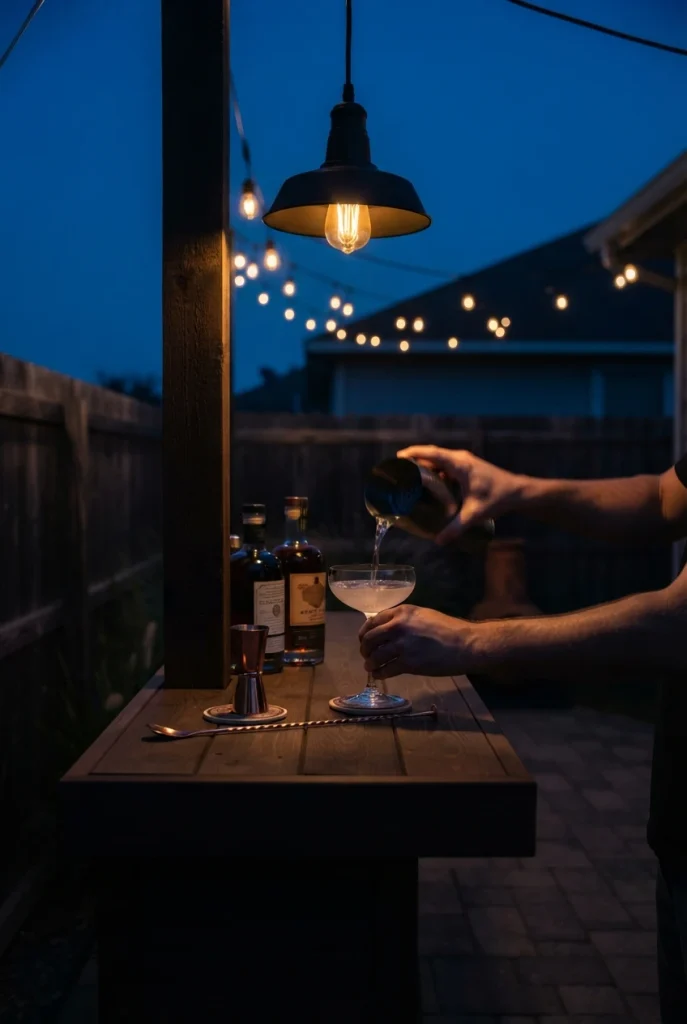
The counter band: light the pour, not the whole rail
Pendants are the fixture the product blogs push hardest, and they are right about the fixture and wrong about the placement. A pendant is task lighting. It belongs over the two or three feet where you actually work, not spaced evenly down the whole counter like a restaurant.
Hang the bottom of the shade 30 to 36 inches above the bar top. On a 42 inch counter that puts the bottom edge at roughly 72 to 78 inches, which is the counter band from the Three-Height Rule. High enough to see across, low enough that the pool of light lands where the jigger is. If the bar is under a pergola with a solid roof you have more freedom on fixture choice, since damp rated fixtures become an option; on an open bar, wet rated only.
Shade shape matters more than finish here. An open bottom cone or barn shade drops light down and keeps the bulb out of the sightline. A bare cage or an exposed globe puts a filament right around eye level for anyone standing, and that is the glare band you are supposed to protect.
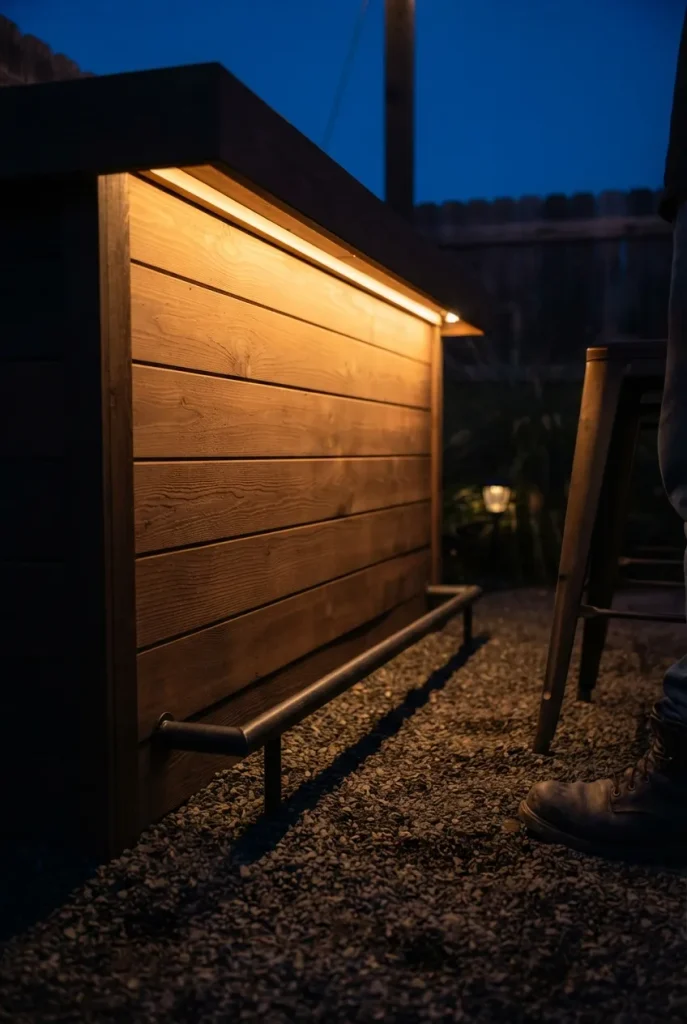
The low band: the layer that makes it look built in
Here is the layer that separates a bar that looks finished from one that looks decorated. Light coming from below the counter lip.
A warm white LED strip tucked up under the overhang does three things at once. It washes the front of the bar so the structure reads as intentional, it lights the footrest so nobody kicks a stool leg, and it throws zero glare because the source sits well under the eye. Buy an outdoor rated strip, not the indoor kind in the same aisle; Govee and Feit both sell exposed-location versions, and expect to pay more than the indoor equivalent. Mount it on the inside face of the lip, aimed down, so the diodes are invisible and only the wash shows.
Then finish the walk. Paver or step lights along the approach, a lantern on the ground at the corner, and you have covered the third job from the top of this guide.
Now the part that will annoy half the internet: skip solar for anything that matters. Solar path lights get recommended on every list on this topic, and for a bar they are the wrong tool. Their output collapses in the second half of the evening, which is precisely when your party is still going, and they collapse hardest after the overcast days when you most want the yard lit.
Use solar as a nice-to-have on a far fence line. Never for the pour zone, the footrest, or the steps. Anything with a safety job gets wired power. For the decorative odds and ends around the low band, cheap decor that holds up outside is genuinely fine, since nothing down there is load bearing.
The low band shopping list
We ran the first strip on the outside face of the bar where it looked fine by day and turned into a glare bar at night, visible from every stool. Moving it two inches back under the lip took ten minutes and fixed it completely. That is the whole trick: hide the diode, keep the glow.
Bulb color: 2200K, 2700K, and what it does to a drink
Color temperature is the cheapest upgrade in this entire guide, because it costs nothing extra at the shelf. You simply pick the right number.
For a backyard bar, stay between 2200K and 2700K. The 2200K amber filament look is the moodiest and the most forgiving on skin; 2700K soft white is a touch cleaner and slightly better for actually seeing what you are doing. Anything at 3000K and up starts to read as a porch light, and 4000K or 5000K turns the whole thing into a work site. Keep every bulb in the bar zone within one step of its neighbors, because two different whites in one sightline is more obvious outdoors than in.
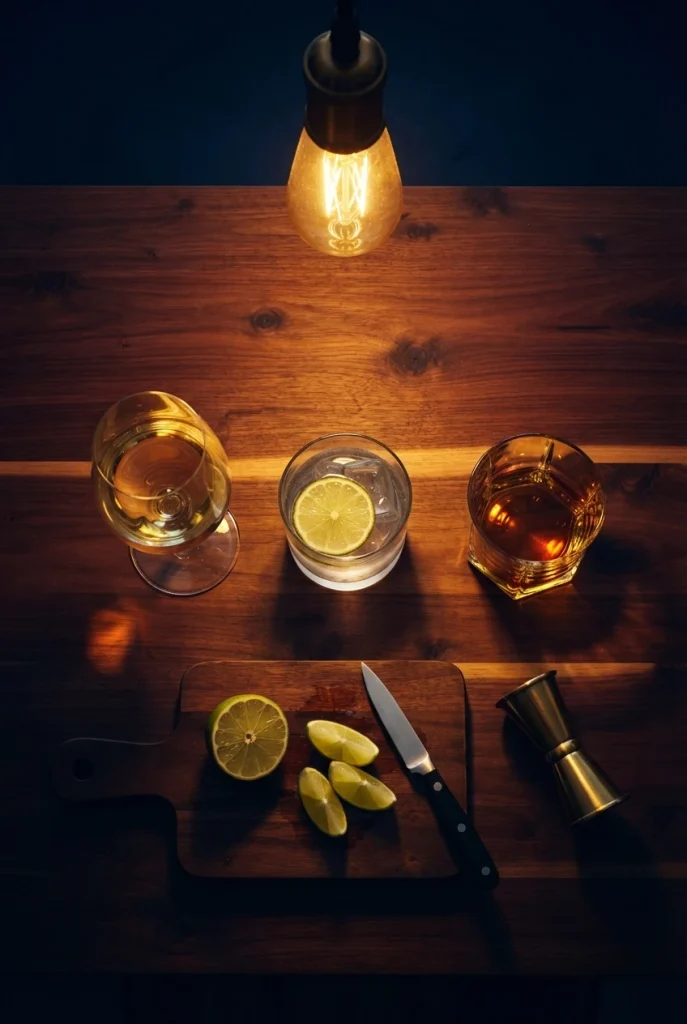
Now the part the fixture blogs never mention: warm light changes how the drinks look. At 2200K a white wine skews gold and a clear gin and tonic loses its brightness, while whiskey, amber beer, and anything citrus looks better than it does indoors. If your bar mostly pours dark spirits, lean amber. If it pours a lot of white wine and clear highballs, 2700K is the safer call. This is also the reason to leave the color-changing RGB bulbs out of the bar zone entirely; saturated blue or green light makes both the drinks and the food look genuinely off.
Choose LED over filament for anything left up all season. The efficiency gap is not small, and if you want the actual numbers, the Department of Energy’s breakdown of how LED bulbs compare on energy and lifespan is the reference worth reading before you buy a case of bulbs. It also tells you to read the Lighting Facts label, which is where the lumen and Kelvin figures on your specific strand live.
Keep every bulb in the bar zone between 2200K and 2700K.
Put the strands on a dimmer so you can drop them once people sit down.
Buy one spare box of matching bulbs now, while the batch still matches.
Daylight bulbs at 4000K and up anywhere near the counter.
Saturated RGB color cycling over the bar top and the food.
Mixing two color temperatures in one sightline.
The one-outlet problem
Almost every backyard bar in America sits near exactly one exterior outlet. Nobody writing about outdoor bar lights seems to have noticed.
Start by finding the box’s limit rather than guessing. Every strand has a maximum number of connected sets printed on its tag or in the manual, usually because of the total wattage the plug and wire can carry, and LED sets allow far more end-to-end runs than filament sets do. Add up what you actually plan to plug in: two overhead spans, a strip, a pendant if it is plug-in, maybe a small speaker. Then check that against the strand’s stated limit, not against how many free sockets your power strip has.
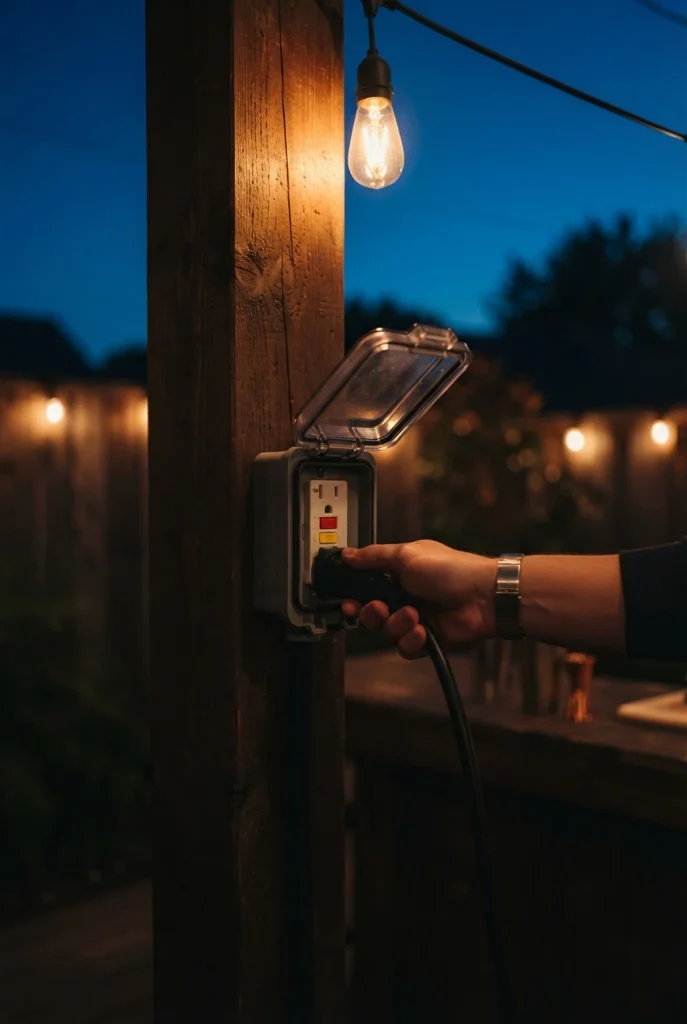
Cords are the other half. Use outdoor rated extension cords only, sized for the run rather than whatever is in the garage, and remember a longer cord needs a thicker gauge to avoid voltage drop at the far end. That exterior outlet should be GFCI protected; ESFI notes that the National Electrical Code requires GFCI protection wherever water meets electricity, outdoors included. Press the test button before the season starts. If it does not trip, it is not protecting anything.
Keep every connection off the ground. A cord coupling lying in a low spot is the single most common failure point in a backyard setup, because that low spot is a puddle three times a summer.
⚠️ Watch Out
Use outdoor-rated, UL-listed lights and cords on a GFCI outlet. Anything beyond plugging into an existing outlet is a job for a licensed electrician.
Weatherproofing, and putting the bar to bed
Wet rated hardware is not the same as maintenance free hardware. Two small habits will double how long any of this lasts.
Through the season, check the sockets rather than the bulbs. Water sitting in a socket is what kills a strand, so tip any suspect socket down and add a wrap of self-fusing silicone tape at the plug junctions where two sets connect. A dab of dielectric grease on the bulb threads keeps them from seizing into the socket by year two, which matters the first time you try to swap a dead one with cold hands.
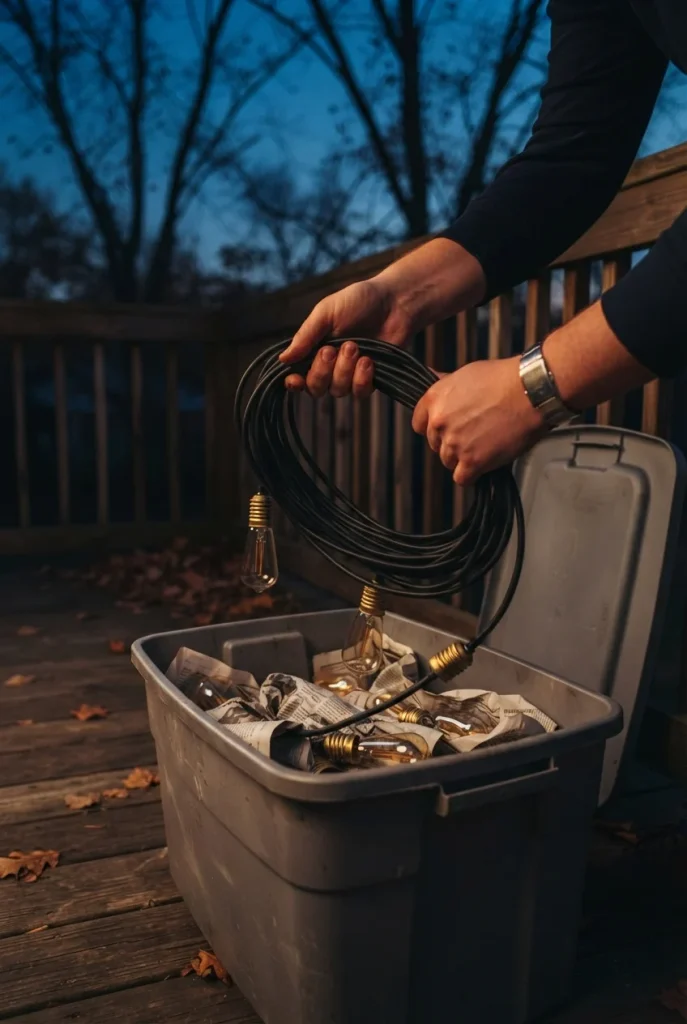
Then decide what comes down. In Zones 5 and 6 the first hard freeze usually lands somewhere between mid-October and early November, and Zones 7 through 9 can often run lights most of the winter. Wet rated LED strands can stay up year round in most of that range; filament bulbs, fabric shades, and anything plug-in that is not wet rated should come in. Coil strands in a wide loop rather than a tight one, because a tight coil stresses the wire right at the sockets.
We lost a full 48 foot set to exactly one mistake: stored it damp in a sealed bin in November, opened it in April to green corrosion on half the socket contacts. Now every strand gets an hour in the sun before it goes into the bin, and the bin gets left unlatched in the garage.
- ▸Tip standing water out of sockets after heavy rain, before the next cold night.
- ▸Wrap set-to-set plug junctions in self-fusing silicone tape, not electrical tape.
- ▸Dielectric grease on bulb threads once a season keeps them turning.
- ▸Dry every strand fully before storage, and store it loosely coiled.
- ▸Leave the guide wire and turnbuckles up. They are the part that does not mind winter.
Frequently asked questions
What is the most budget-friendly backyard bar lighting option?
One 48 foot commercial grade LED strand hung on a guide wire, in the $40 to $80 range, plus under $30 of cable and hardware. That single layer covers the ambient job and reads as finished. Add the under counter strip next season. Skip the neon sign, skip the chandelier, and put the money you saved into a dimmer instead.
How do I weatherproof outdoor bar lighting?
Buy wet rated hardware for anything exposed and damp rated only under a solid roof. Then handle the two failure points: keep water out of sockets by tipping them down after storms, and wrap the plug junctions between sets in self-fusing silicone tape. Keep every cord coupling off the ground so it never sits in a puddle.
What lighting color temperature works best for an outdoor bar?
Stay between 2200K and 2700K. The 2200K amber filament look is warmest and most flattering; 2700K soft white makes it easier to see what you are pouring. Keep every bulb in one sightline within a single step of the others, and leave anything 4000K or higher for the garage, where it belongs.
Can I install backyard bar lighting myself?
Plugging wet rated strands and fixtures into an existing GFCI protected outdoor outlet is a normal weekend job. Adding a new exterior receptacle, running buried cable, or hardwiring a pendant is not; that is licensed electrician work in most places and often needs a permit. The dividing line is simple: if it ends in a plug, it is yours.
How many lumens do I need for backyard bar lighting?
Think in layers rather than a single number. Ambient strands are meant to be dim, in the glow range, while the work surface needs a brighter pool from a pendant close overhead. Read the Lighting Facts label on the box for the real lumen figure per bulb, then put the strands on a dimmer, which is more useful than getting the number right on the first try.
Should all my outdoor bar light fixtures match?
Finishes do not need to match; color temperature does. Mixed metals across a pendant, a lantern, and a wall fixture look collected rather than sloppy. Two different whites in one sightline, on the other hand, is the thing guests notice without being able to say why. Match the Kelvin, vary the rest.
Where to start tonight
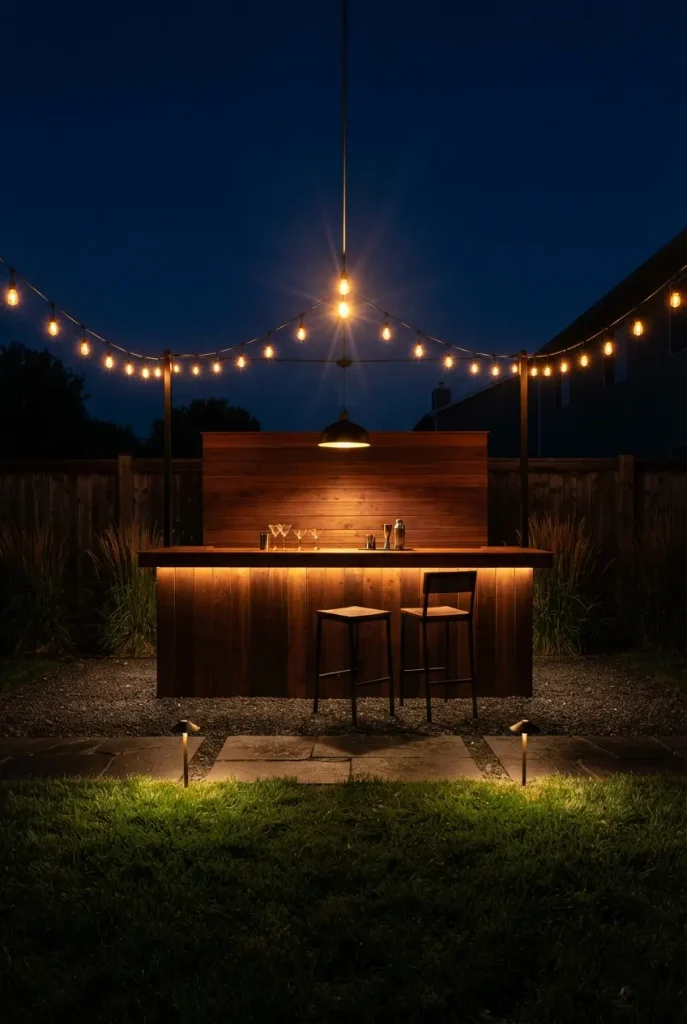
If you do exactly one thing this weekend, hang a guide wire and one 48 foot strand at 84 inches or higher. That single move does more for a backyard bar than any fixture purchase, and everything else in this guide layers onto it later. Then walk out at dusk and sit on the stool before you call it done, because the seated view is the only one that tells the truth about glare. Save this to your backyard lighting board so the heights are there when the ladder comes out.
Three bands of light, one band left empty. Glow above 84 inches, task light 30 to 36 inches over the counter, wash below 40 inches, and nothing bare at seated eye level.