How to Build a Small Fire Pit, Step by Step

Most fire pit articles hand you sixty photos and zero numbers. You finish scrolling, you still do not know how many blocks to buy, and you are no closer to having a fire on Saturday. So this one runs the other direction. Small fire pit ideas are easy to find, but a small fire pit you can actually build in an afternoon needs three things nobody puts in writing: a clearance number that decides your location, a block count that decides your budget, and a build order that keeps the ring level.
You will get all three here. A 40 inch ring, three courses tall, came to roughly $117 in materials at current Home Depot listed prices. It takes one afternoon. And there is one step almost every guide tells you to do that you should skip.
The 3-Course Circle Formula
Everything below runs on one piece of math. Ring diameter tells you block count, block count tells you cost, and cost tells you whether this is a Saturday or a someday. Learn it once and you can price any size in about ten seconds. Two sections later you will use it to fill a cart.
What counts as a small fire pit
Small is not a feeling. It is a footprint.
For most US backyards, a small fire pit means an outside diameter between 36 and 48 inches, with the fire chamber itself sitting around 24 to 30 inches across. Go under 36 inches and the ring gets awkward to load with anything but kindling. Go over 48 and you have eaten the seating clearance you need on all sides, which is the actual limit in a small yard.
Height matters more than people expect. Three courses of standard 4 inch retaining wall block puts the rim at 12 inches. That is high enough to hold a fire safely and low enough to see over from a seated chair. Four courses looks better in photos and worse in person, because you end up staring at a wall instead of the flames.
Pick the spot before you pick the pit
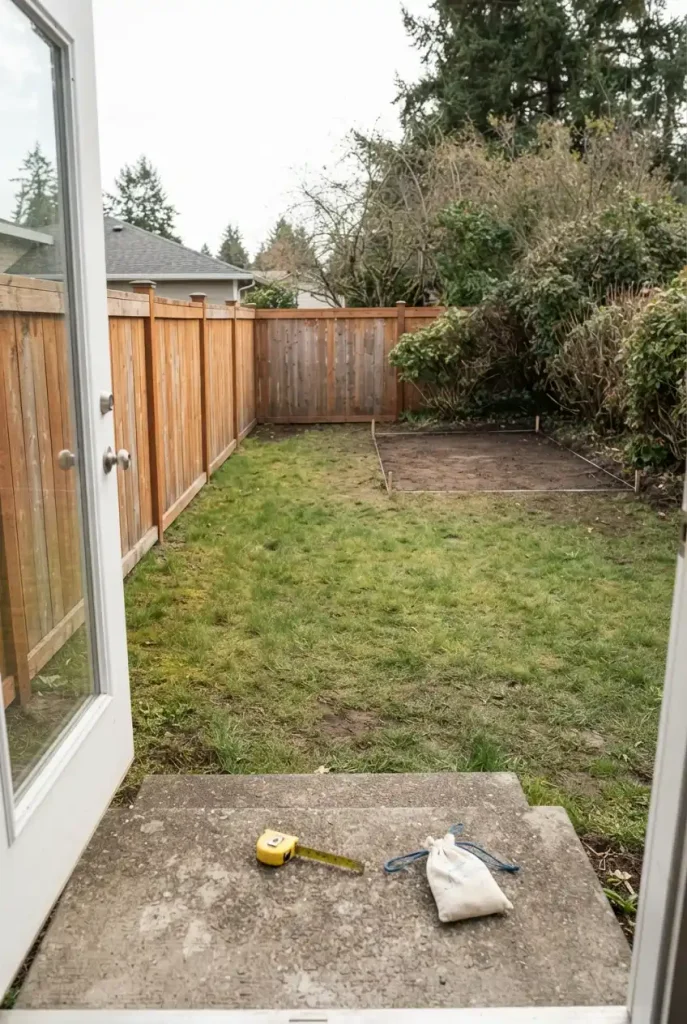
Here is the number that outranks every design decision you are about to make. The U.S. Fire Administration says to use fire pits outdoors at least 10 feet away from your home or anything that can burn. Ten feet. From the house, from the fence, from the shed, from the deck.
Walk your yard with a tape before you buy anything. In a lot of small yards that single rule erases three quarters of the candidate spots, and it is much better to learn that now than after thirty blocks are stacked.
What survives the ten foot test usually has these in common: it is roughly level, it is not under a tree, it is not the low corner where water collects after rain, and it is not directly downwind of the patio door.
⚠️ Watch Out
Check your city’s burn rules before you light anything, keep the clearance from structures and branches that your fire pit’s manual and local code call for, and never leave a fire unattended.
Skip the hole
Almost every build guide online opens the same way: dig down six to twelve inches. For a small yard, that is usually the wrong first move, and here is the reasoning nobody bothers to print.
A dug pit is a bowl. In clay soil, which is most of the eastern and midwestern US, that bowl holds water for days after a storm, and a wet fire chamber means a smoky fire and a rusted ring. A dug pit is also permanent in a way that matters if you rent or if you ever sell. And digging is the single hardest hour of the whole project, done first, when your enthusiasm is highest and your back is freshest.
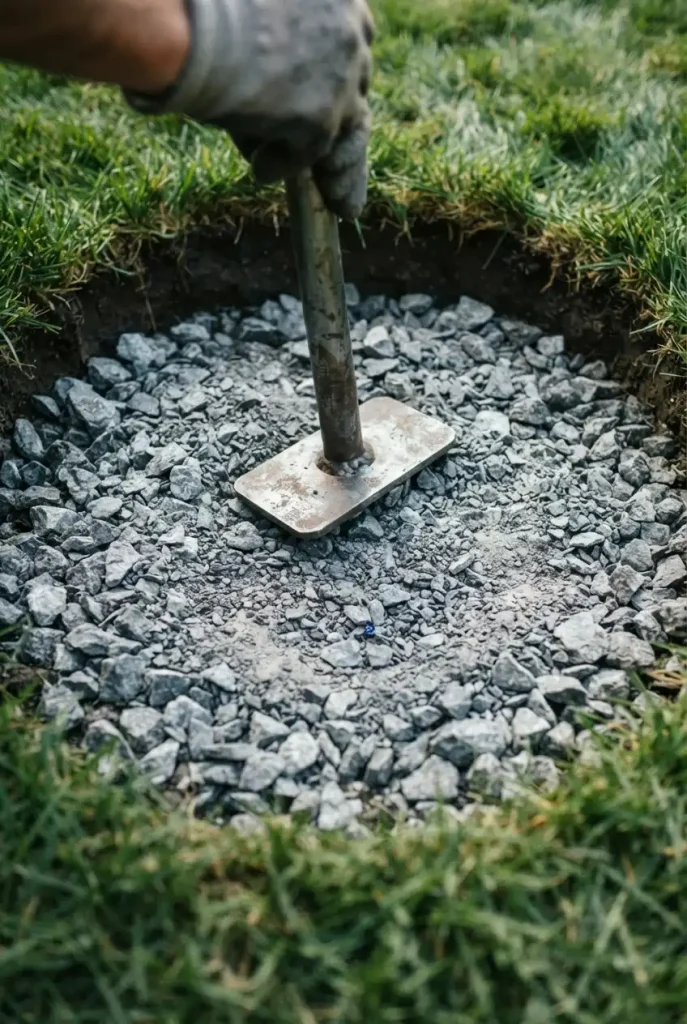
An above-ground ring on a 3 inch compacted gravel pad drains on its own, sits level with less fuss, and can be taken apart in twenty minutes. You lose almost nothing. The fire does not care that it is eight inches higher.
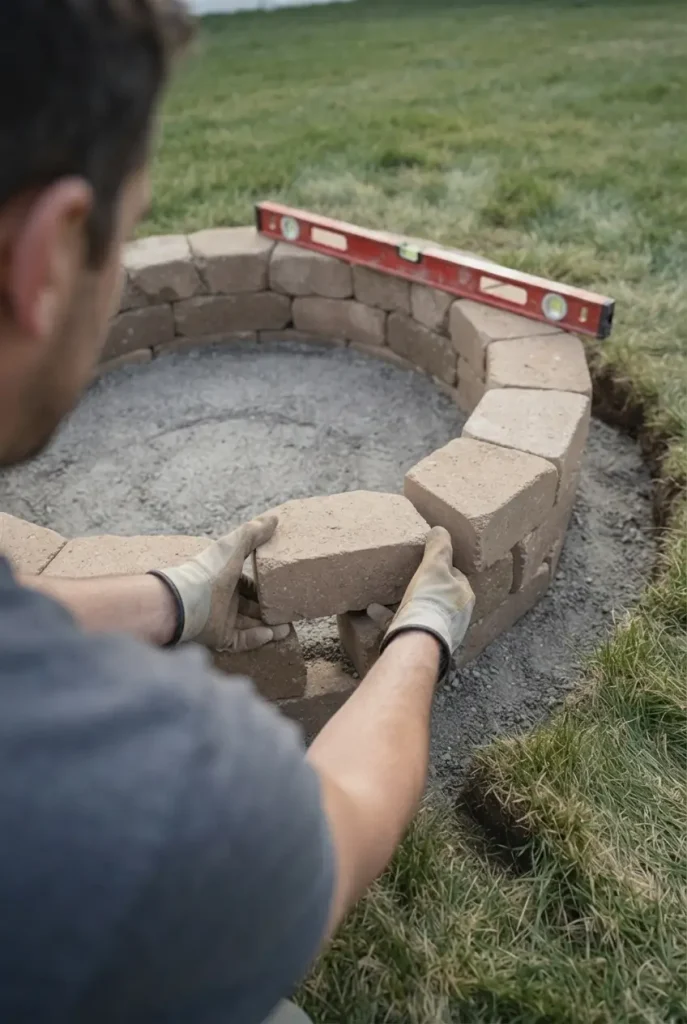
Strip the sod and set a 3 inch compacted gravel pad.
Build the ring up from grade so water runs out, not in.
Digging a deep bowl in clay that fills after every storm.
Setting block straight onto bare soil with no base.
The 3-Course Circle Formula
This is the part the other guides leave out. Blocks per course is just circumference divided by block face:
(diameter in inches x 3.14) ÷ 11.75 = blocks per course, rounded up.
The 11.75 is the face length of the standard concrete retaining wall block sold at Home Depot and Lowe’s, the one that has been the default for twenty years. Three courses gives you a 12 inch rim. Run the numbers at four real sizes and the whole project stops being abstract.
| Ring diameter | Blocks per course | Total, 3 courses | Block cost |
|---|---|---|---|
| 36 in | 10 | 30 | $71.10 |
| 40 in | 11 | 33 | $78.21 |
| 44 in | 12 | 36 | $85.32 |
| 48 in | 13 | 39 | $92.43 |
Block cost above runs on the Pavestone 4 in. x 11.75 in. x 6.75 in. Pewter Concrete Retaining Wall Block, model 81100, listed at $2.37 each on homedepot.com on September 21, 2026. Home Depot prices are set by store and do vary, so treat these as a close planning figure, not a quote.
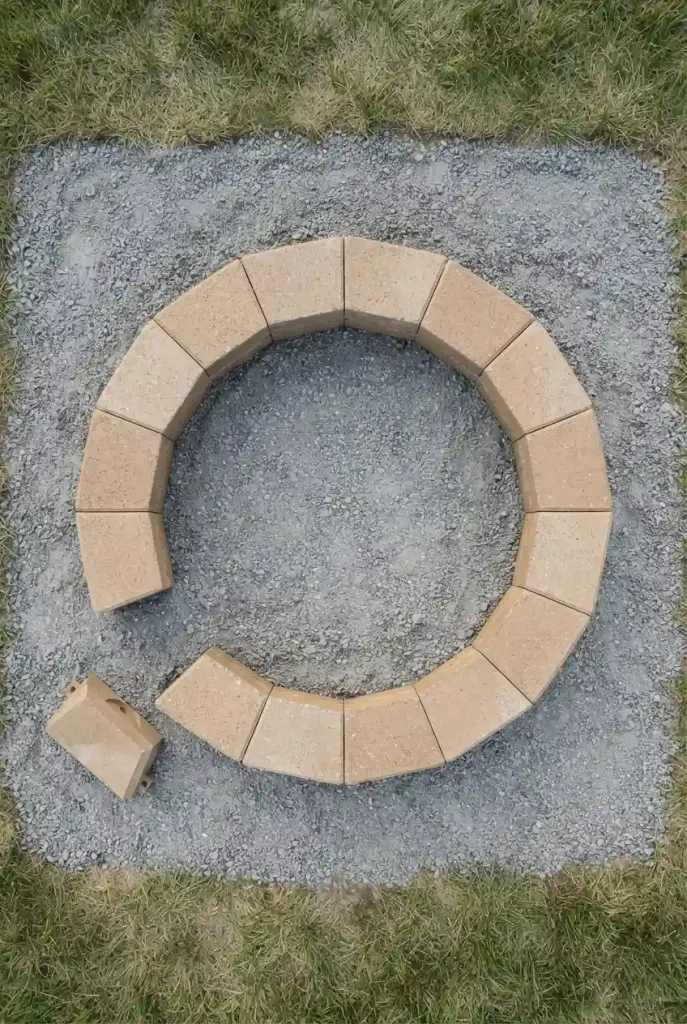
One honest caveat on the formula. Retaining wall blocks are tapered, so the back face is shorter than the front. Dry fit one full course on the gravel before you buy the other two, and nudge your diameter an inch either way until the circle closes clean with no wedge gap.
What to buy, and what it actually costs
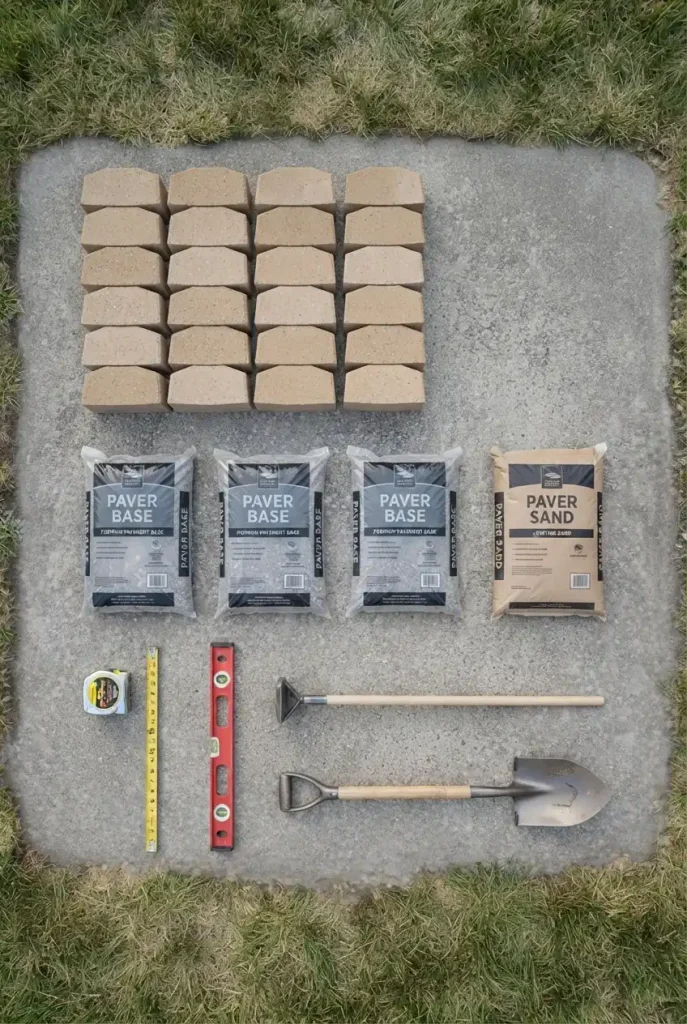
Take the 40 inch row from the formula and turn it into a cart. Everything below was listed on homedepot.com on September 21, 2026.
The 40 inch cart, about $117
That lands at $116.53 before tax. If you pass six bags of base on a wider ring, price a half yard of crushed stone from a local landscape yard instead, because bagged base stops making sense fast.
Want the shortcut instead of the build? Prebuilt kits are real and they are not cheap. The Oldcastle Hudson Stone 40 in. Round Fire Pit Kit was listed at $443.21, and the Necessories Grand 48 in. Fire Pit Kit in Bluestone at $689.00. You are paying roughly four to six times the loose-block price for matched stone and a delivered pallet. Worth it for some people. Worth knowing either way.
Build it, step by step
Four hours, start to fire. Work in this order and the ring comes out level without a fight.
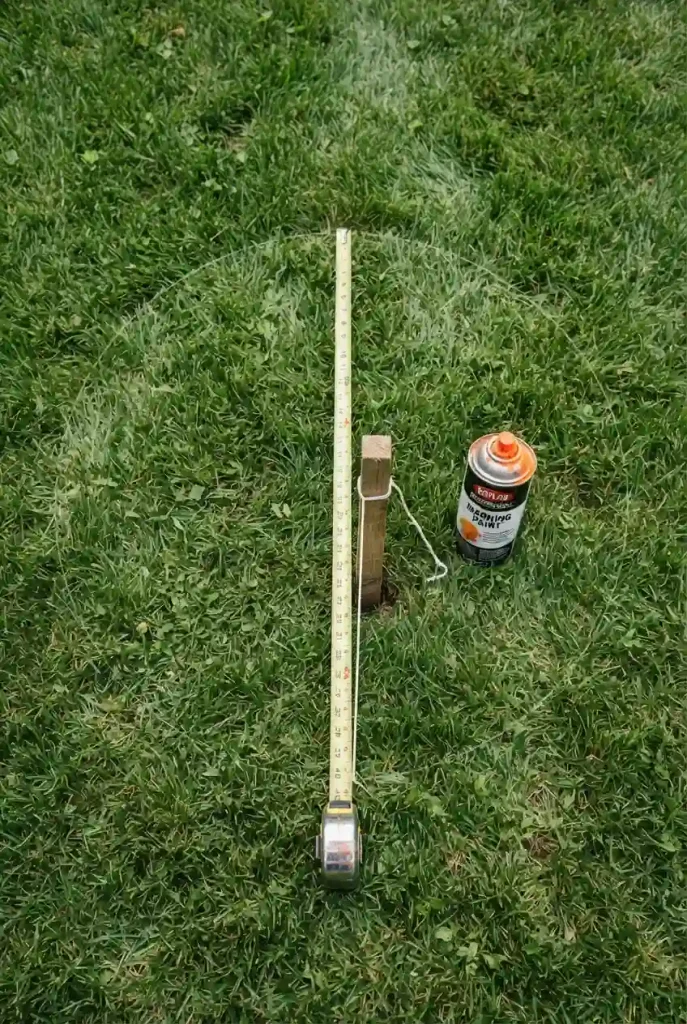
Stake the center, tie mason line at half your diameter, and swing a circle. Mark it with marking paint.
Cut and lift the sod 4 inches past your line on all sides. You want a shelf, not a bowl.
Pour paver base 3 inches deep. Rake it flat, then tamp it hard. Tamp more than feels necessary.
Screed a thin sand layer on top, no more than half an inch. This is your leveling shim.
Dry fit course one all the way around. Level every single block against its neighbor before moving on.
Stack courses two and three with the seams staggered, each block bridging the joint below it.
Drop in the steel liner if you are using one, spread a thin layer of gravel inside, and you are done.
Course one takes the longest and it should. Every fraction of an inch you leave crooked at the bottom becomes a visible lean by course three, and you cannot fix it from the top.
Leave the blocks dry stacked. No mortar, no construction adhesive. Concrete block expands and contracts hard through heat cycles, and a glued ring cracks where a dry stacked one just shifts and settles. Dry stacking also means you can move the whole thing next spring if the spot turns out to be wrong. Once the ring is up, a simple paver or gravel apron around it keeps chair legs from sinking and stops the lawn from scorching at the edges.
📌 Good To Know
Most permanent structures need a permit and have setback rules. Call your city building department before you dig footings or attach anything to the house.
Small fire pit ideas for yards you cannot dig
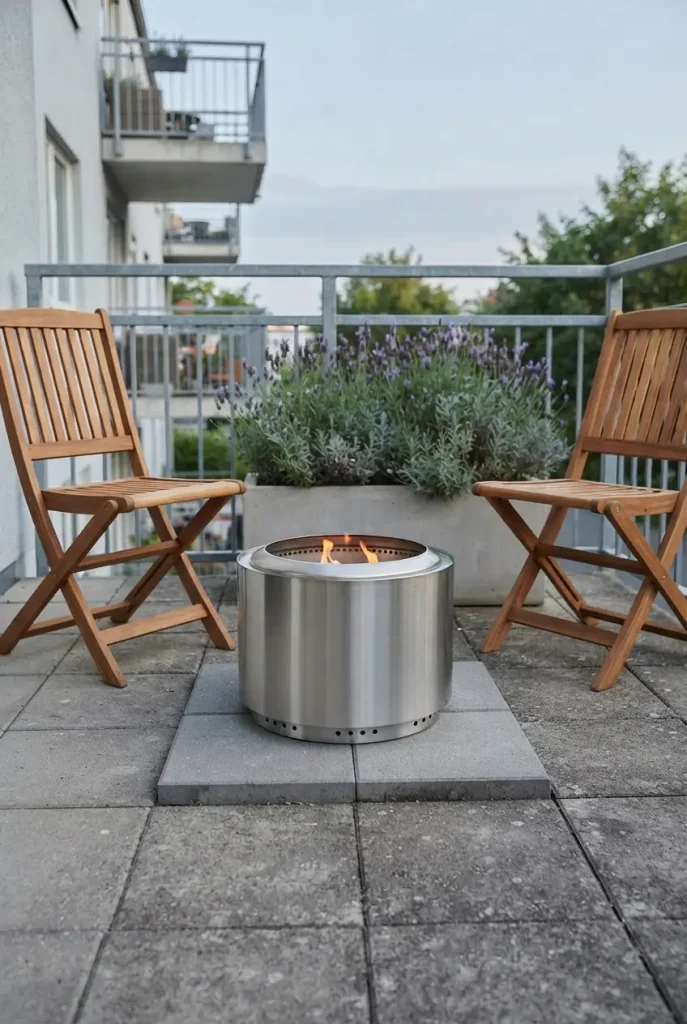
Renting, or working with a slab, a deck, or a balcony? The build above does not apply, but a fire still does. These four hold up.
The dry stack on an existing slab is the underrated one. If you already have a concrete patio, you skip steps 2, 3 and 4 entirely, and a ring of Oldcastle Mini Beltis block at $1.97 each builds a low surround for well under fifty dollars. Do keep the fire in a steel bowl rather than straight on the concrete, because direct heat on a slab causes spalling over time.
A smokeless steel bowl on a single 24 inch paver square is the move for renters. Nothing is fixed, nothing is dug, and the whole setup goes in the trunk when the lease ends. Pair it with a few cheap screening ideas along the fence line and a bare rental yard starts to feel finished.
Seating that fits around a small pit
The Pinterest data is blunt about this: pins showing a fire pit with a seating layout get saved far more than pins showing a bare pit. Readers are not shopping for a ring. They are shopping for the evening.
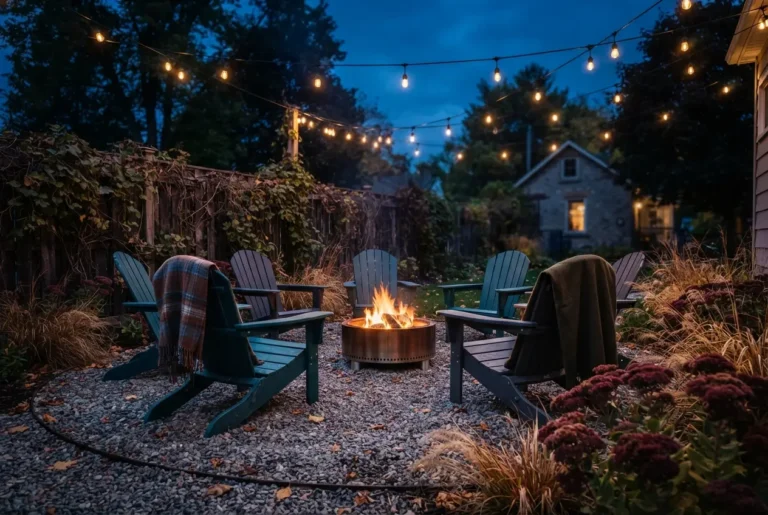
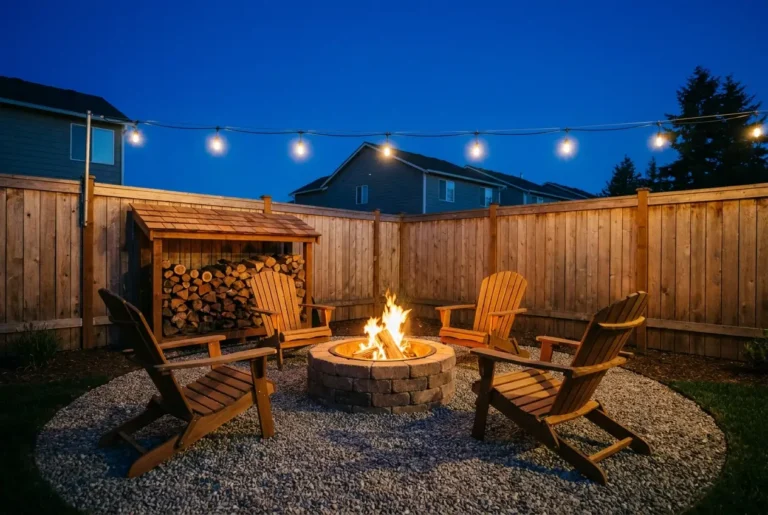
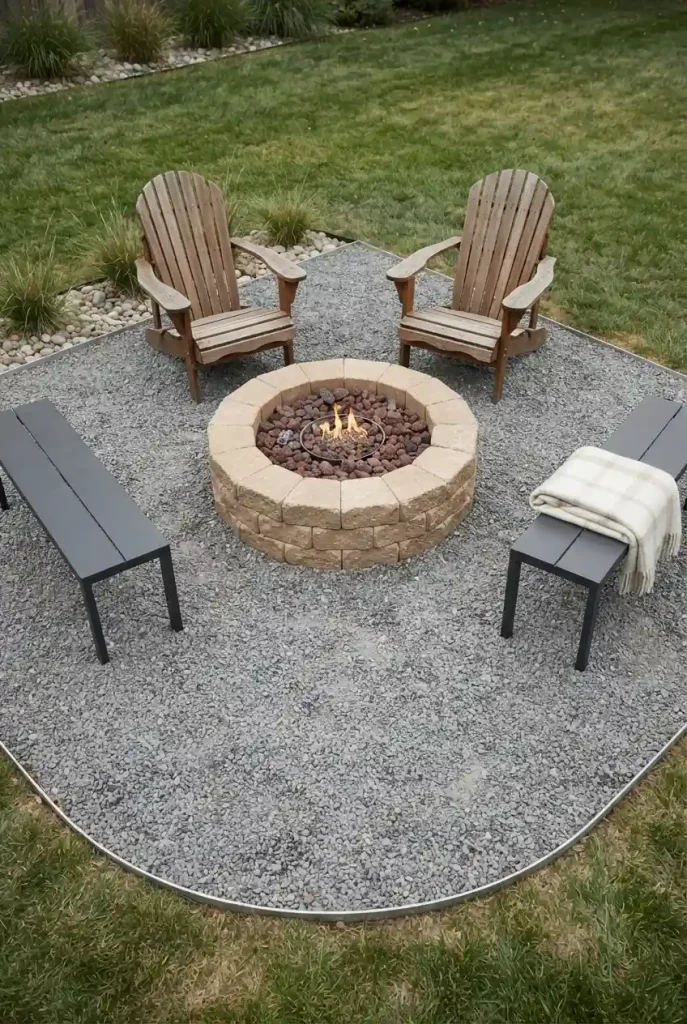
Leave 30 to 36 inches of open ground between the rim of the pit and the front edge of each chair. That is close enough to feel the heat and far enough to swing your feet without contact. Four chairs is the ceiling for a 40 inch ring in a small yard. Six crowds the circle and kills the walkway behind it.
Skip the matching six piece set. Two real chairs you like plus a simple bench or two stools reads better in a small space and photographs better too, because the eye has something to land on. Mix the materials on purpose. A pair of wood Adirondacks against one metal bench looks considered. Six identical resin chairs looks like a rental.
- ▸30 to 36 inches from rim to chair front, every side.
- ▸Four seats maximum around a 40 inch ring.
- ▸Leave one side open as the walk-in, do not close the circle.
- ▸Two chair types beat one matched set in a small yard.
Finish with light that is not the fire. A string of café bulbs overhead or two lanterns on the ground does more for the look than any upgrade to the pit itself, and cheap seasonal finds like budget outdoor decor from a dollar store run fill in the rest for almost nothing.
What you burn decides how the evening goes
A smoky fire is almost never the pit’s fault. It is the wood.
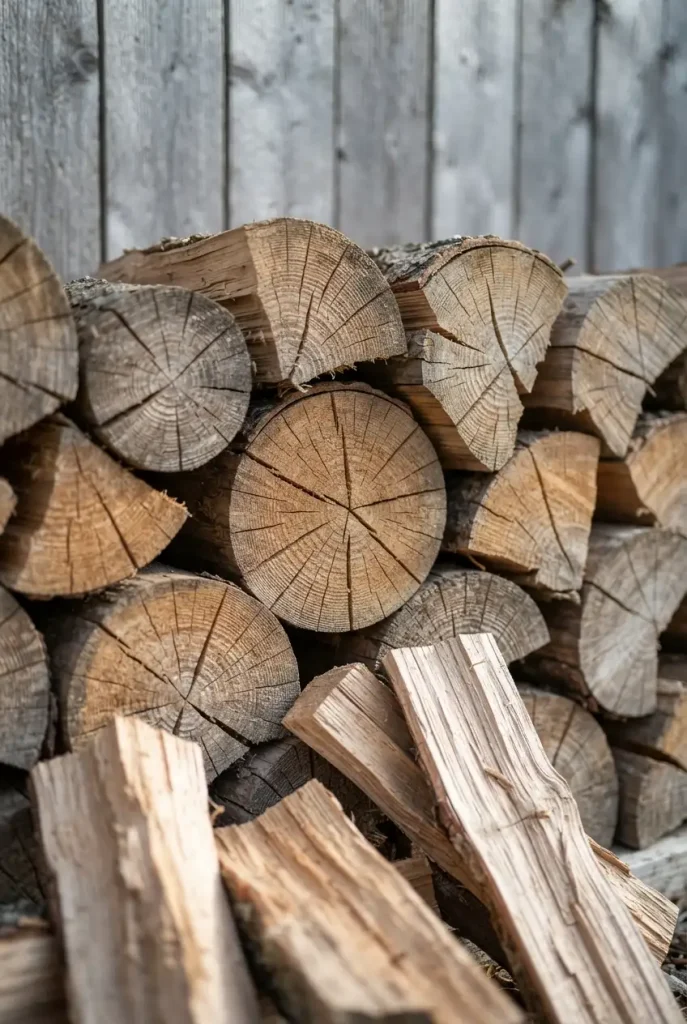
University of Illinois Extension puts the target plainly: firewood moisture content should be below 20 percent, and it usually takes at least six to nine months of drying after cutting to get there. Burn wetter wood than that and you get more smoke and less heat. That is the whole mechanism. No accessory fixes it.
Two field tests take about four seconds each. Look at the cut ends, because small splits across the end grain mean the moisture is low. Then knock two pieces together, since dry wood gives a distinct clinking sound while green wood sounds subdued and dull.
Species matters more than people think in a small yard where everyone sits close. Red and black oak run about 24.4 million BTUs per cord and throw few sparks. Osage orange is the heat king at 30.7 million BTUs per cord, but it is the one species on the Extension’s list flagged as generating many sparks, which is exactly what you do not want four feet from a chair. Cottonwood lights easily at 16.1 million BTUs and burns through fast.
And the never list, straight from state burn guidance: no garbage, plastics, shingles, foam, furniture, wire, metal, electronics, vinyl, rubber, oil-based products, or painted, stained, or treated wood. Treated lumber is the one that catches people, because a scrap pile from a deck project looks like free firewood and is not.
Dry oak under 20 percent moisture turns a smoky backyard fire into a clean one without spending a dollar on the pit.
Putting it out, and what to do with the ash
The end of the night is where most backyard fires actually go wrong, because everyone is tired and the fire looks finished.
It usually is not. State burn guidance is specific about the method: use lots of water, drown the fire, stir it, and repeat until the whole bed is cold to the touch. Then go back and check again later for remaining smoke or embers. Stirring is the step people skip, and it is the step that matters, because dry pockets survive under a wet crust for hours.
Ash handling is the other half. University of Illinois Extension says ashes belong in a metal container with a lid, and that the container should sit outdoors and not next to or on top of anything combustible. Wait for complete cooling before final disposal. If you garden, a thin scatter works as a soil amendment, but most wood ash has a very high pH, so keep it well away from anything that wants acidic soil.
Two habits keep the ring looking new. Sweep the ash out every few fires instead of letting it cake, and pull the spark screen off and store it dry over winter so the mesh does not rust through by spring.
Frequently asked questions
How far does a fire pit need to be from the house?
The U.S. Fire Administration says to use fire pits, chimneys, and outdoor fireplaces outdoors at least 10 feet away from your home or anything else that can burn. That includes fences, sheds, and deck railings, not just the house wall. Your city may require more, so check local burn rules before you build. Measure from the outside edge of the ring, not the center.
Can I build a fire pit in a small yard?
Yes, if you can find a spot that clears 10 feet from the house, fence, and any structure, plus about 3 feet of seating room on each side. That means a 40 inch ring needs roughly a 9 by 9 foot open pocket. Many small yards have exactly one spot that qualifies. Walk it with a tape before buying anything.
How many blocks do I need for a fire pit?
Multiply your ring diameter in inches by 3.14, then divide by 11.75, the face length of a standard concrete wall block. Round up. A 40 inch ring needs 11 blocks per course, so 33 blocks for a 12 inch tall three course pit. Dry fit the first course before buying the rest, since block taper varies by model.
What is the best shape for a fire pit in a small space?
Round wins in tight yards. A circle has no corners to eat clearance, it seats people evenly at equal distance from the heat, and it lets you leave one side open as a walk-in. Square pits look sharper against a rectangular patio but waste corner space. If your patio is small and square, round softens it.
How do I make a cheap fire pit look expensive?
Three things do the heavy lifting: a clean gravel or paver apron around the base, a dry stacked ring with tight even joints, and lighting that is not the fire. Mixed seating beats a matched budget set. Skip the painted finish, since heat and weather will flake it within one season.
Can fire pits be added to an existing patio?
They can, with a steel fire bowl or liner between the fire and the slab. Direct heat on concrete or pavers causes spalling, where the surface flakes and pops over repeated heat cycles. A dry stacked block surround on a slab needs no base prep at all, which makes it the fastest version of this whole project.
How much space does a small fire pit area need?
Plan on the ring diameter plus about 6 feet total, since you need 30 to 36 inches of clearance between the rim and the front of each chair on every side. For a 40 inch pit that is roughly 9 by 9 feet of usable ground. Add a walkway behind the chairs if the pit sits along a path.
Before you light the first one
A small fire pit is the rare backyard project where the math is simple, the materials are cheap, and the payoff shows up the same evening you finish. Mark your circle, clear your 10 feet, stack three courses dry, and let the wood do the rest of the work.
Then go slow on the wood. Dry oak, no treated scraps, water and a good stir at the end of the night.
Save this one to your backyard board before you head to the store, since the block formula is much easier to pull up on your phone in the aisle than to remember from the driveway.