How to Hang Rustic Outdoor String Lights for Cozy Fall Nights

You have maybe six to eight good evenings-outside weeks left, depending on your zone. Then it gets dark at 5:30 and the patio goes unused until April.
Most rustic outdoor lighting ideas fall apart for one dull reason. People buy the strand first and figure out the anchors later. The run ends up sagging in the wrong place, the plug lands twelve feet from the nearest outlet, and by Thanksgiving the whole thing is a knot in the garage.
We do it the other way around here. Anchors, then wire, then bulbs, then the strand. It takes one Saturday, most of the hardware costs less than a tank of gas, and the result looks like it was planned instead of improvised.
Below: what actually makes light read as rustic, the drape number nobody publishes, three ways to anchor a run with no trees and no drilling, and how to keep it all up through October wind.
1. What makes light read as rustic, and what just makes it dim
Rustic is not a fixture. It’s a temperature, a bulb shape and a material.
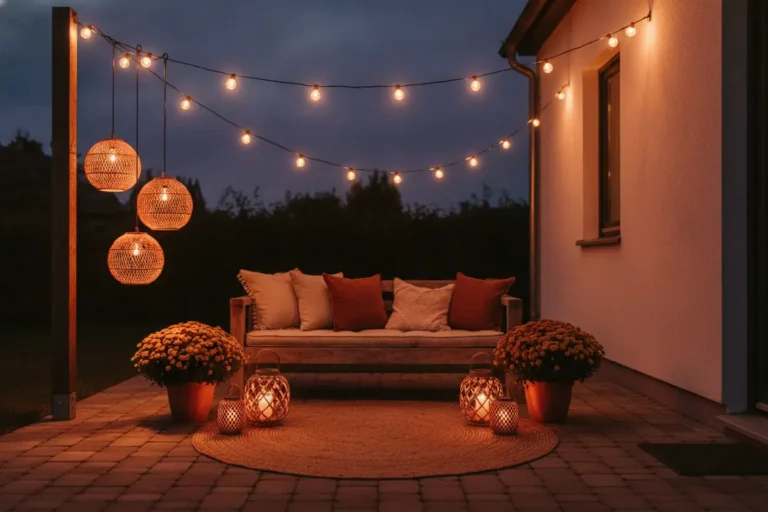
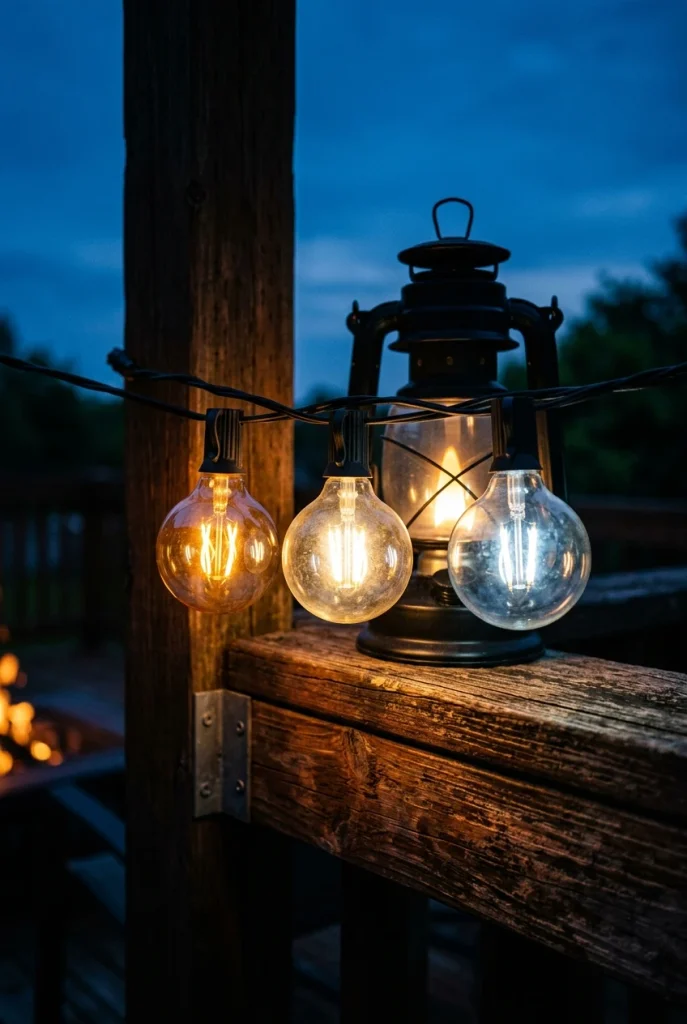
Warm amber light at roughly 2200K reads like firelight. Push to 3000K and the same strand starts looking like a garage. Big round glass beats tiny fairy wire, because a visible filament is the whole point. And whatever holds the light should look like it came off a farm: black iron, galvanized steel, raw cedar, weathered rope.
Skip anything glossy, anything chrome, anything with a solar panel that glows blue.
2. Run the Four-Corner Anchor Audit before you buy anything
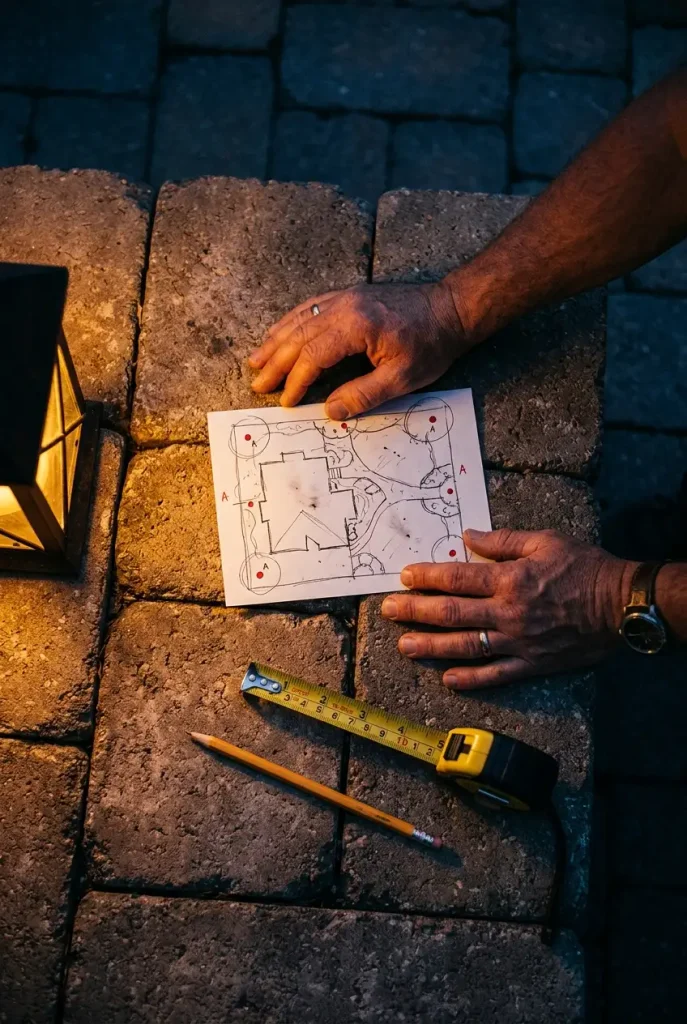
This is the step that saves the return trip. Before a single strand goes in your cart, walk the yard and answer four questions. Your answers decide the method, and the method decides how much cable and how many bulbs you need.
Stand where you’ll actually sit. Look up. Then work through these in order.
Do you have two solid points roughly 20 to 40 feet apart, at least 9 feet up? House wall, garage, mature tree trunk, fence post set in concrete. Two yes means you can run a straight span.
Can you put screws into them? Renting, or working with vinyl siding and stucco, means no. That sends you to poles or clamps instead.
Where is the nearest outdoor outlet, and is it on a GFCI? Measure the real distance, not the straight line. Cord length is the constraint people forget.
Does anything need to pass underneath? A gate swing, a grill lid, a basketball hoop, a moving truck. That sets your minimum height and can rule out a whole direction.
Four yeses and you’re running a simple span, which is covered in more depth in our step by step on hanging string lights. Any no, and you skip ahead to the anchor workarounds further down.
3. Pick the bulb before you pick the strand
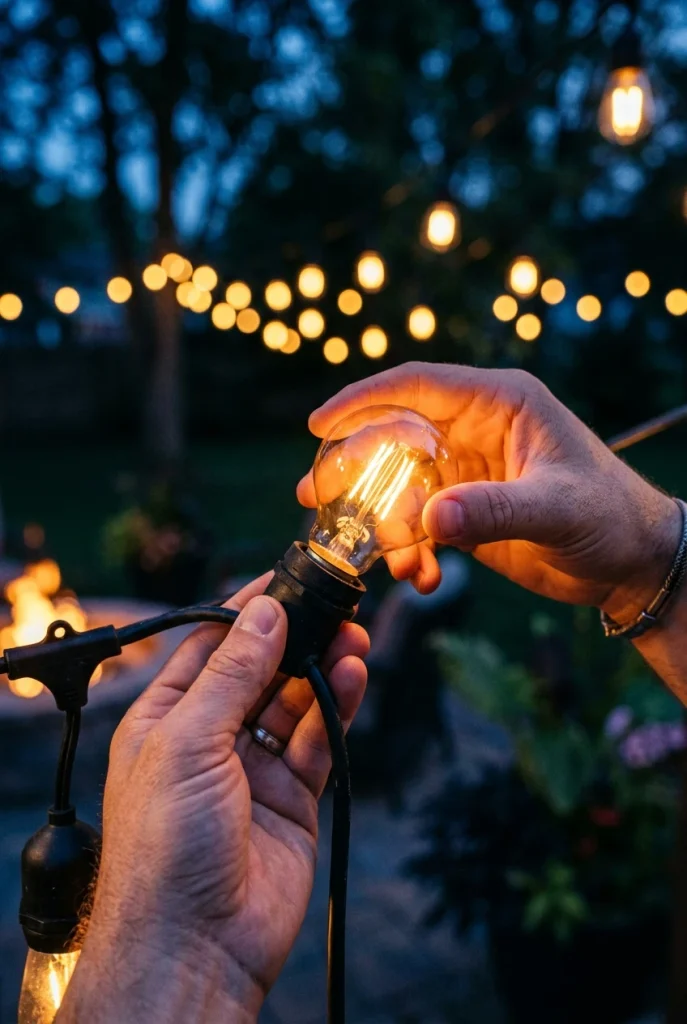
Every strand is sold on length and bulb count. Neither matters as much as what’s screwing into the socket.
Buy the strand as a socket system, then choose bulbs separately if the kit lets you. Shatterproof plastic globes survive a hail night and a dropped ladder; real glass looks better and costs more to replace. Most people land on plastic for the high runs and glass for the low, visible ones near seating.
| Warm amber, around 2200K | Soft white, 2700K to 3000K |
|---|---|
| Reads as firelight and candle glow | Reads as porch light and driveway |
| Flatters cedar, brick, terracotta, rust | Flatters white trim and gray composite |
| Dim enough to see stars through | Bright enough to read and cook by |
| Best over seating and dining | Best over steps, grills and work zones |
Filament LEDs in the G40 size pull well under a watt each, so a 48-foot run costs almost nothing to leave on every evening. Brightech and Feit both sell dimmable amber versions at Home Depot and on Amazon, generally in the $30 to $60 range for a 48-foot kit. Treat those as 2026 ballparks, because lighting prices move fast.
4. Hang the guide wire first, always
Here’s the part almost everyone skips, and it’s the difference between a clean line and a droopy mess. String light cord is not structural. Hang it alone across 30 feet and it will stretch, sag unevenly, and eventually pull a socket apart.
So you hang steel first and the lights second.
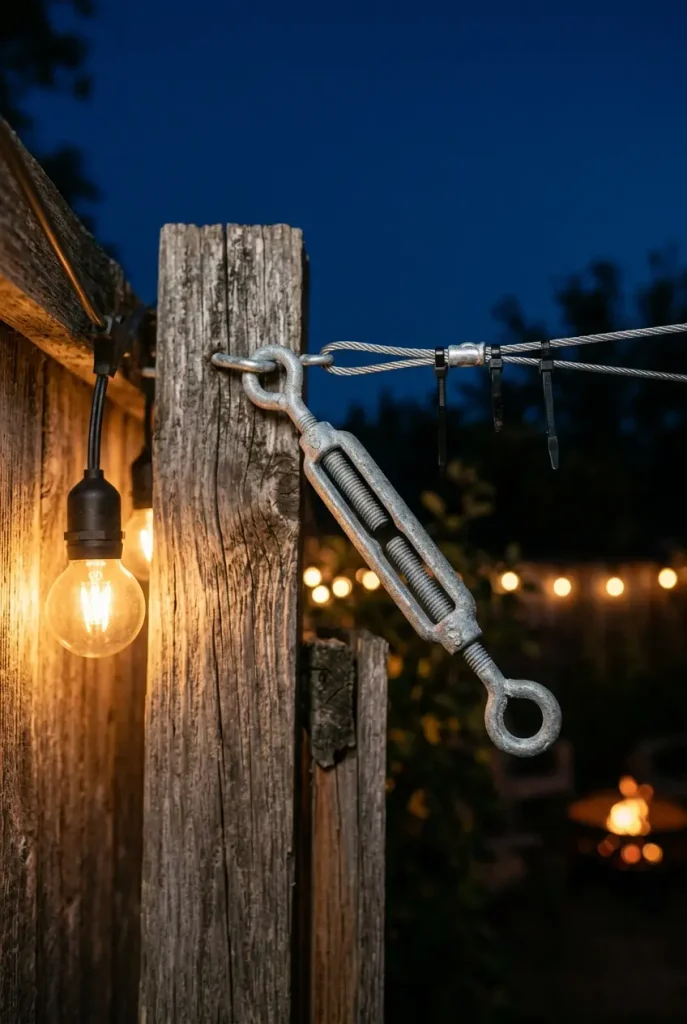
Run 1/8 inch galvanized aircraft cable between your two anchors. Screw eyes at each end, a turnbuckle at one end to tension it, cable clamps to finish. Tighten the turnbuckle until the cable is firm but still has a little give. Then zip-tie the strand to the cable every 18 inches or so, using black ties so they disappear.
A cable kit with turnbuckle and clamps runs around $20 to $35 at Lowe’s or Ace Hardware. It is the cheapest part of the job and it does all the work.
⚠️ Watch Out
Use outdoor-rated, UL-listed lights and cords on a GFCI outlet. Anything beyond plugging into an existing outlet is a job for a licensed electrician.
That is not boilerplate. The CPSC publishes federal safety guidance on seasonal lighting and extension cords specifically because undersized wiring and missing strain relief in decorative light sets injure people every year. Check the box for an outdoor certification mark before it goes up, not after.
5. The drape rule: about 15 inches, every span
Nobody publishes this number, and it is the single thing that makes a home install look professional.
A string light run should not be tight. A tight run looks like a clothesline for power tools. It should hang in a shallow curve, and across a normal 20 to 30 foot span, the lowest point wants to sit roughly 12 to 18 inches below the anchor height. Fifteen is a good default.
We hung our first run tight as a clothesline and it looked like a utility job. Letting each span drop about 15 inches fixed it in one afternoon.
Two more numbers that go with it. Keep the lowest bulb at 9 feet minimum over walking areas, 8 feet over a table you’ll sit at. And keep every span in a run at the same drape, because uneven sag is what the eye actually reads as sloppy.
A matching curve on every span tells the eye the whole thing was measured. Straight lines read as utility. Random sag reads as an accident. A repeated 15 inch drape reads as design.
6. Crisscross over the seating, do not line the fence
The most-saved layout on Pinterest is also the one that disappoints people most: a single run following the fence line around the perimeter.
It looks good in a photo taken from the house. It is useless to sit under. Perimeter lighting illuminates the fence, throws everything inward into shadow, and leaves the middle of the yard darker than before. You lit the boundary of your yard instead of the part you use.
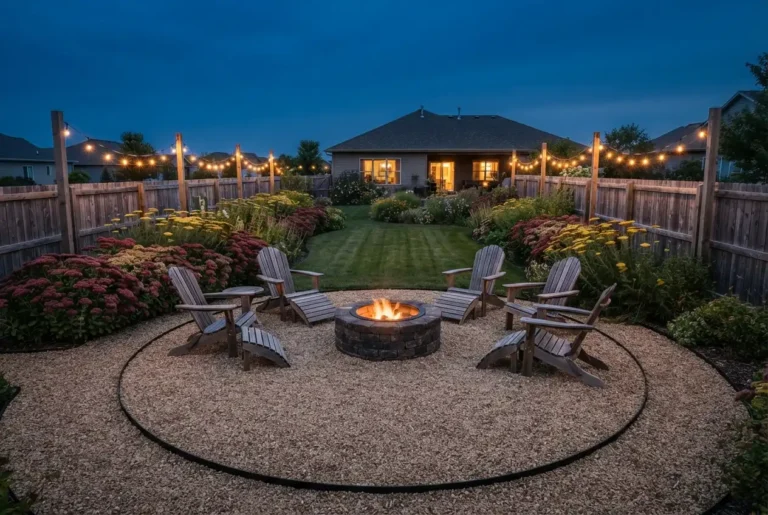
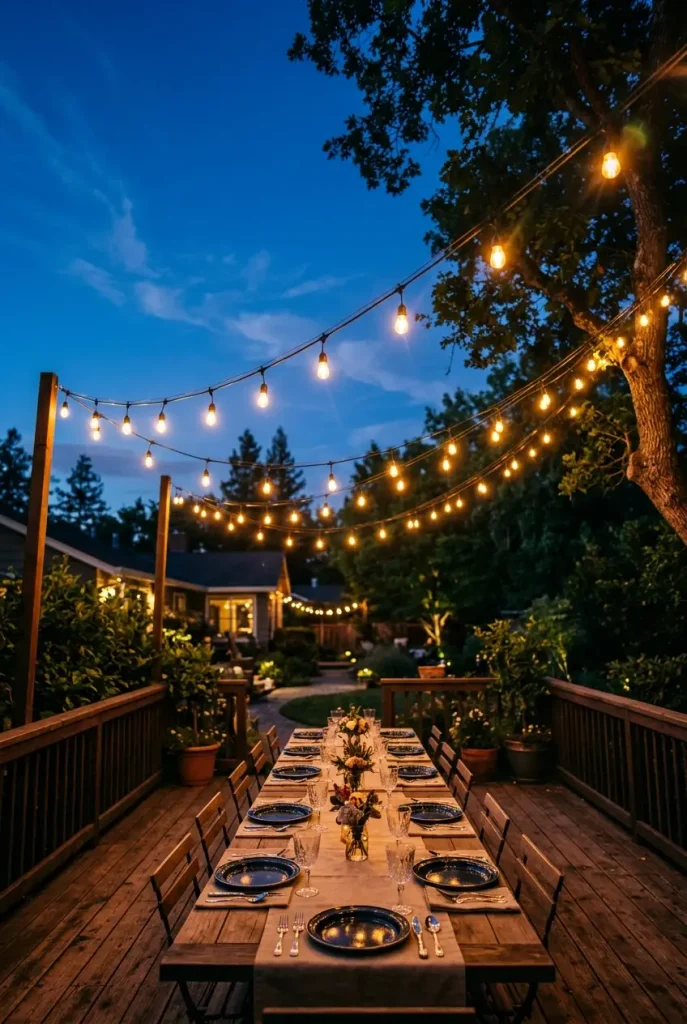
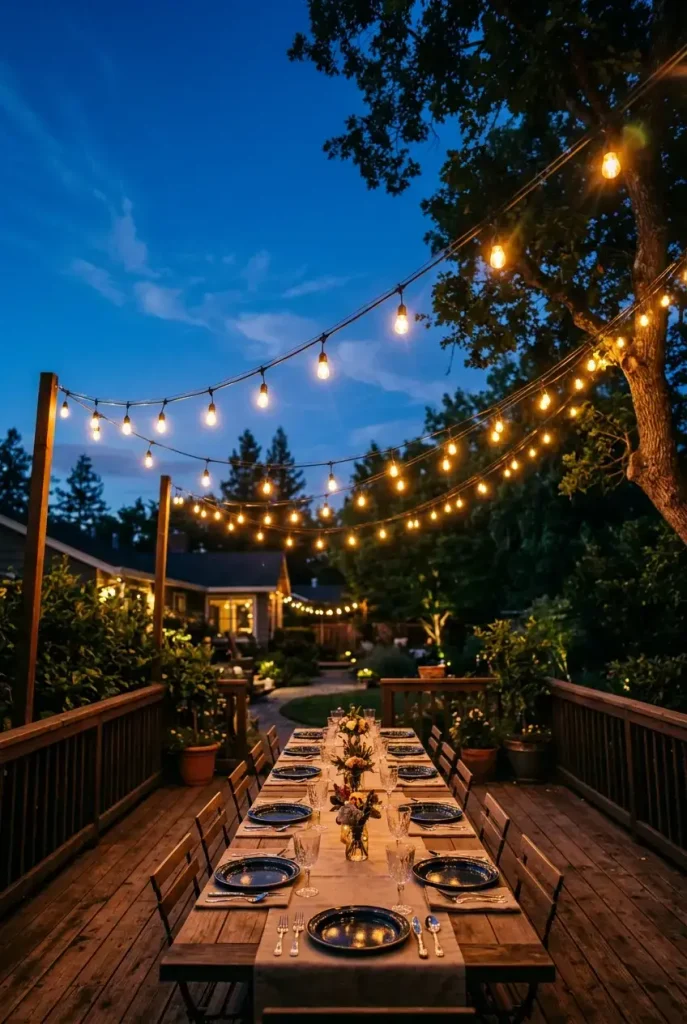
Cross the open space instead. Two runs forming an X over the seating area, or three parallel runs making a ceiling, both put the light where people’s faces are. Small yard, one diagonal is plenty.
Cross the open space so light lands on the table and the chairs.
Anchor high on the house and lower on the far post, so the run tilts slightly toward the yard.
Leave the corners dark on purpose. Contrast is what makes the lit part feel warm.
Tracing the fence line with one long perimeter run.
Stapling the strand flat along the top of the fence boards.
Lighting every square foot evenly. That is a parking lot, not an evening.
7. Anchors for renters, vinyl siding and yards with no trees
Four of the most common searches on this topic are some version of how do I do this without drilling. Fair question, and there are three answers that hold up.
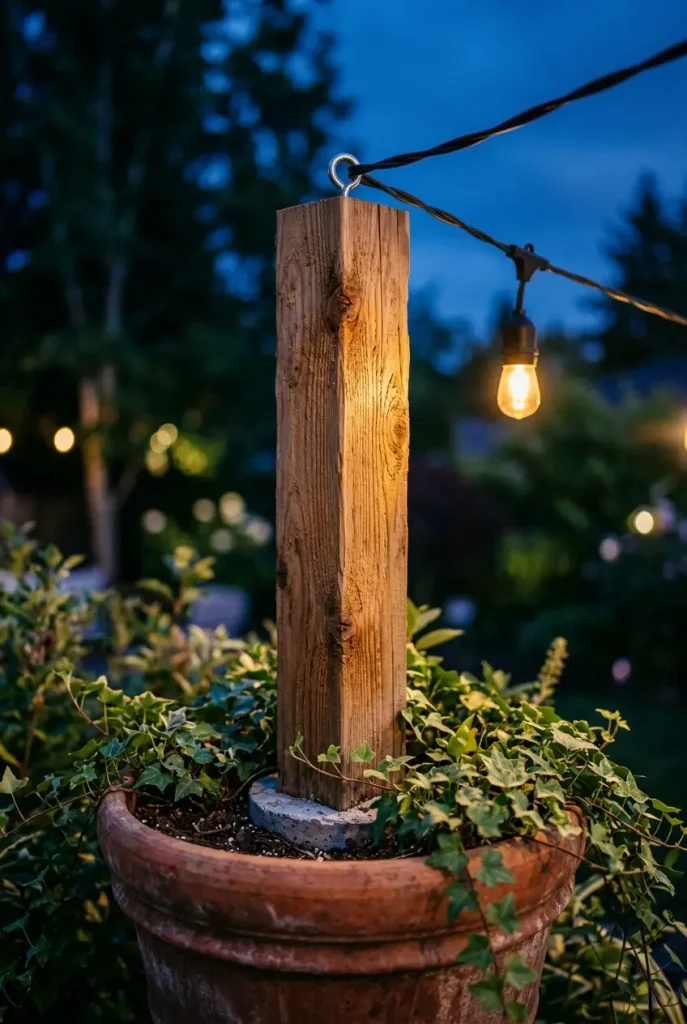
Freestanding posts. An 8-foot 4×4 or a length of galvanized fence pipe, set into a 5-gallon bucket of concrete, gives you an anchor anywhere in the yard. Two 8-foot 4x4s set in buckets of concrete have held our back run through three seasons, and they cost less than one store-bought light pole. Fill planters over the buckets and nobody knows. We walk through the whole build in building your own string light poles.
Clamp-on mounts. Deck rail clamps, gutter hooks and pergola brackets all carry a run with zero holes. Gutter hooks are the renter’s friend and cost a few dollars for a pack of 25.
Existing structure. Pergola beams, carport posts, a sturdy tree limb at least 4 inches thick. Wrap the limb with rubber-coated hooks rather than screwing into living wood.
8. Add two more layers at ground level
Overhead light alone flattens a yard. It gives you a bright ceiling and a dark floor, which is why so many finished installs still feel unfinished.
Fix it with two more layers, both cheap:
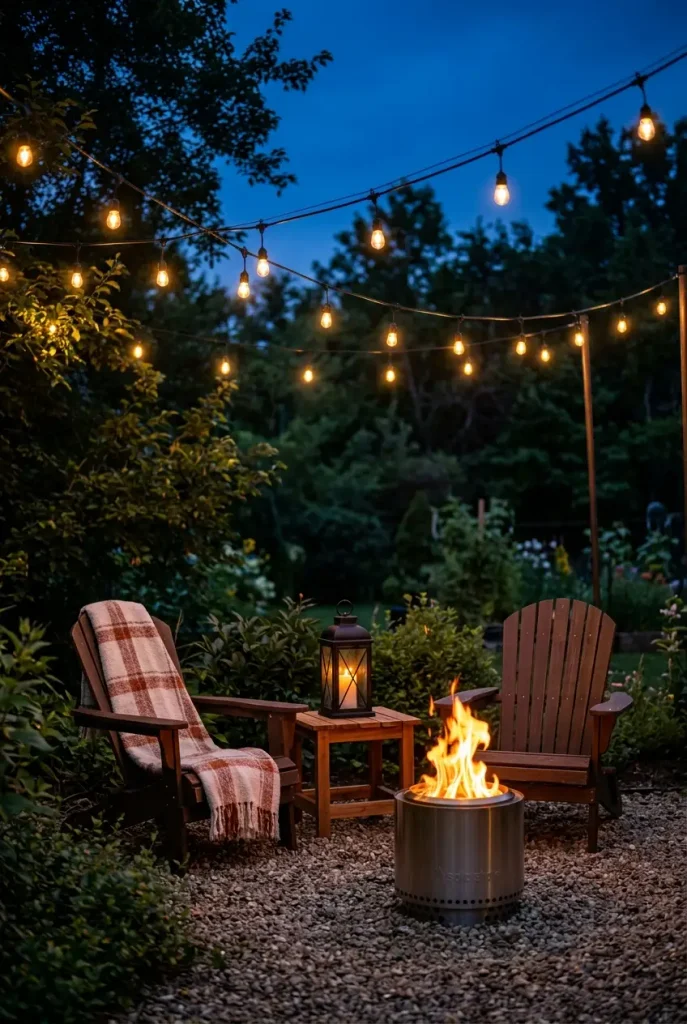
- ▸Low and warm: black iron lanterns with flameless candles on the table and on the steps, or a pair on the ground beside the chairs. Dollar Tree and World Market both carry usable ones under $15.
- ▸Mid and moving: a smokeless fire pit like a Solo Stove, or a cluster of TIKI torches along the edge of a gravel area. Moving flame is what overhead LEDs cannot fake.
- ▸Edges, quietly: a few low path lights aimed down, never up. Uplighting a suburban fence looks like a car dealership.
Three layers at three heights is the whole trick. More rustic backyard styling ideas build on the same principle with textiles and seating.
9. Fall-proof it, and know how many evenings you’re actually buying
Autumn is the best season for this and the hardest on the hardware. Three things change once the leaves start dropping.
Wind. Gusts move a loaded run far more than a bare cable. One October gust pulled a strand off a single screw eye and cracked two bulbs. Adding a second anchor and a turnbuckle ended that problem. Double-anchor every end point and keep the turnbuckle snug.
Wet leaves and cold sockets. Water sits in an upturned socket and freezes. Face every empty socket downward, cap the unused ones, and shake the run out after a storm.
The calendar. This is the part nobody plans for. Look up the first frost date for your ZIP code and count backward. In Zone 5 that typically lands late September to mid October. Zone 7 usually gets to early November, and Zone 9 can run into December. That number tells you whether you’re buying six more evenings outside or sixteen, which should decide how much you spend on the install.
Commercial-grade strands with rubber sockets stay up year-round in most of Zones 6 through 9. The thin seasonal kind should come down before the first hard freeze.
Before the first cold snap
Frequently asked questions
What is the rule of thumb for outdoor lighting?
Light the places people use, not the boundaries of the property. Keep the lowest bulb at 9 feet over walking paths and 8 feet over a table. Aim for warm light around 2200K to 2700K outdoors, and layer at three heights: overhead, seated eye level, and ground. Leave some areas dark on purpose, because contrast is what makes the lit areas feel warm.
How do you hang string lights outside without trees?
Set freestanding posts. An 8-foot 4×4 or a galvanized fence pipe in a 5-gallon bucket of concrete works anywhere in the yard, and a decorative planter hides the bucket. Deck rail clamps, gutter hooks and pergola brackets are the no-dig alternatives. Whichever you choose, run a steel guide cable between the anchors first and attach the light strand to that.
What is the best pattern to hang string lights in?
Cross the open space rather than tracing the perimeter. Two runs forming an X over the seating area, or three to five parallel runs forming a ceiling, both put light on faces and tables. A single diagonal is enough for a small patio. A zigzag between one wall and a row of posts works well on long narrow yards, and every span should carry the same drape.
How do you properly hang outdoor string lights?
Anchor first, cable second, lights third. Install screw eyes at both ends, run 1/8 inch galvanized aircraft cable between them, tension it with a turnbuckle, then zip-tie the strand to the cable every 18 inches. Let each span sag about 12 to 18 inches at its lowest point. Plug into a GFCI outlet using outdoor-rated, UL-listed cords only.
What are some good rustic outdoor lights for a house?
Black iron or oil-rubbed bronze wall lanterns beside the door, gooseneck barn lights over a garage or shed, and G40 globe café bulbs overhead. Add lanterns with flameless candles at ground level. The unifying details are visible filaments, matte dark metal and warm amber light. Skip chrome, skip anything blue-white, and skip solar path lights that glow cool.
What are outdoor lighting trends heading into 2026?
Warmer color temperatures around 2200K, dimmable and app-controlled café bulb systems, and smokeless fire features as a light source rather than just heat. Dark-sky friendly downward-aimed fixtures continue to gain ground. The broader shift is away from bright even coverage and toward pooled, layered light that leaves parts of the yard intentionally dark.
One last thing before you buy
The order matters more than the budget. Anchors, guide wire, bulbs, strand. Get that sequence right and a $60 run looks better than a $400 one thrown up in the wrong direction.
Start with the Four-Corner Anchor Audit this weekend. It takes ten minutes and a tape measure, and it tells you exactly what to put in the cart. Then hang your first span, check the drape from where you’ll actually sit, and match every run after that to it.
If you want to come back to these rustic outdoor lighting ideas when the hardware store run happens, save this one to your backyard board.