15 Stone Fire Pit Ideas for Cozy Fall Nights

The first cold Friday of October is the real test of a backyard. Most stone fire pit ideas photograph beautifully in July and then sit unused by Halloween, because the ring is too wide, the chairs are pushed too far back, and the wall is too low to throw any heat at your knees.
Fifteen ideas follow, and every one is built around cozy fall nights instead of summer photos: heat you can feel from a seat, stone that survives a freeze, and a layout that still works when the grass goes soggy.
Some are weekend builds around a $74 steel liner. Some are boxed kits that four people can set before dinner. A few are small moves that cost nothing, like where the wood stack goes and how high the first course sits.
Every price here came off a retailer listing in September 2026, so you can cost your version before you break ground. One thing first: check your city’s burn rules before you light anything, keep the clearance from structures and branches that your fire pit’s manual and local code call for, and never leave a fire unattended.
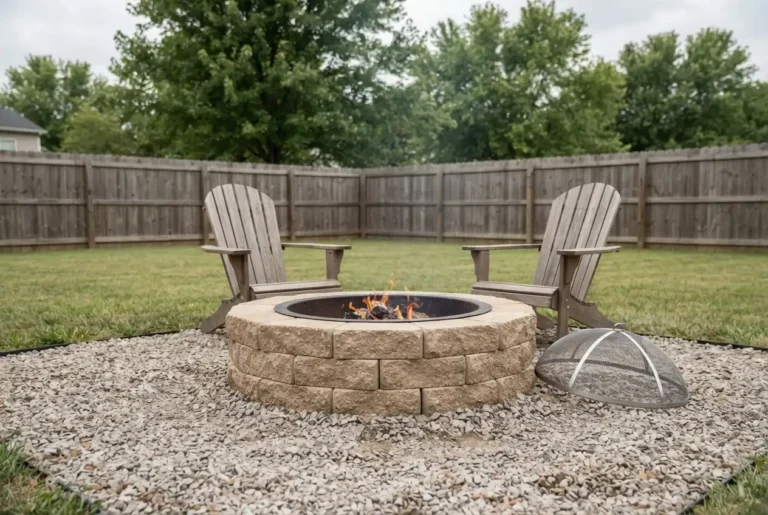
The Three-Tier Stone Pit Budget
Here is the money map behind all fifteen ideas. Tier one is a ring you stack yourself: roughly 36 beveled retaining wall blocks at $1.67 each from Menards, a GARVEE 36-inch steel liner at $73.99 from Lowe’s, and a few bags of Home Depot paver base at $6.47 each. Tier two is a boxed kit, $412 to $592 at Home Depot right now. Tier three is a built-in ring with a flagstone apron and a stone bench, and that is where you cross $1,000. Each idea below names its tier.
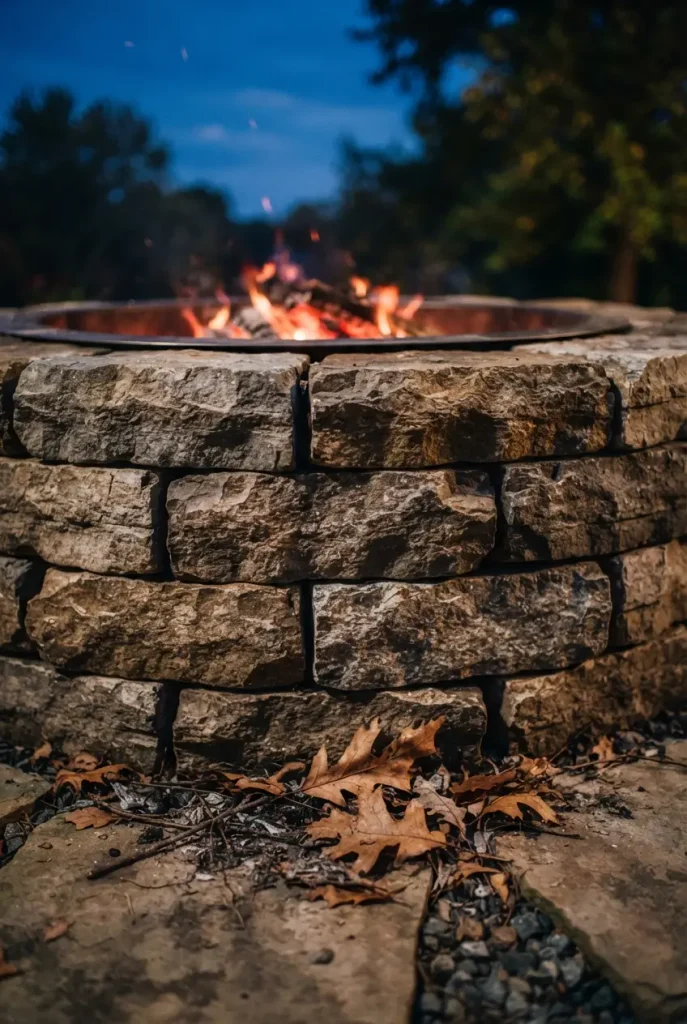
1. Dry Stack a Fieldstone Ring and Skip the Mortar
Mortar is the mistake most first builds make. Heat cycles push it one way, winter frost pushes it the other, and by the third fall you are chiseling out cracked joints instead of lighting a fire.
Dry stacking fixes that. Gravity holds the ring, and when a stone shifts you lift it back by hand in about ten minutes. Two or three courses of flat fieldstone is plenty. Break every vertical seam the way bricklayers do, and bury the widest, ugliest stones in the bottom course where nobody looks.
A ring you can repair yourself is a ring you will still be using in ten years. Tier one.
2. Spend the First Hour on 4 Inches of Tamped Base
Nothing above the base stays level if the base does not.
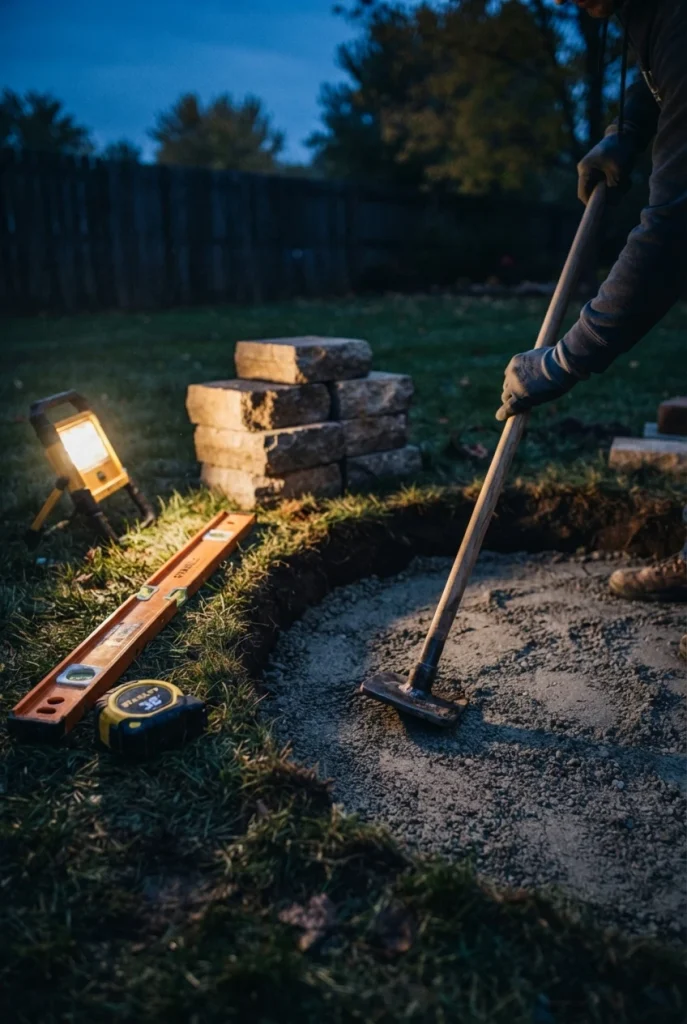
Mark the outside circle with a stake, string, and marking paint, sized to your liner plus the block depth.
Cut the sod and dig 5 to 6 inches down, keeping the floor flat rather than bowl shaped.
Pour 4 inches of paver base, dampen it lightly, and tamp in two passes until your boot leaves no print.
Lay a 4-foot level across the circle in four directions before a single block goes down.
Home Depot sells its patio paver base at $6.47 for a half cubic foot bag, so the whole base for a 40-inch ring lands near $30. Skip it on any slope and one wet spring will settle the downhill course close to an inch, enough that the ring reads crooked from the kitchen window. Tier one, and the step that makes every other tier last.
3. Drop In a Steel Liner So the Stone Stops Spalling
Limestone and concrete block both spall under direct flame, meaning the face flakes off in thin sheets and the wall starts shedding grit into the fire. A liner takes that heat instead of your stone.
The GARVEE 36-inch ring runs $73.99 at Lowe’s, the SUGIFT bolt-together kit is $90.99, and the heavy-duty Sunnydaze liner sits at $199 at Home Depot. Thicker steel warps less and outlives the cheap ones by seasons, not months.
| Stone with a steel liner | Bare stone, no liner |
|---|---|
| Flame never touches the wall | Inner faces flake and pit |
| Ring holds its shape when you rake coals | Stones creep outward over a season |
| $74 to $199 up front | Free now, rebuild later |
| Ash pulls out in one scoop | Ash works into the joints |
4. Set a Boxed Kit in One Afternoon for $412 to $592
Four people, one afternoon, no cutting. Boxed kits arrive as pre-shaped block that only stacks one way, which is exactly what you want if a level and a rubber mallet are the extent of your tool collection.
Real Home Depot prices this month: the Oldcastle Hudson Stone 40-inch kit at $412.19, the Nantucket Pavers Ledgestone 47-inch ring kit at $517.40, the Necessories Grand 48-inch at $584.45, and the Oldcastle Weston 52-inch at $589.78 with a metal liner already included. That last detail matters, since a separate liner adds $74 to $199 to the cheaper kits.
This is tier two of the Three-Tier Stone Pit Budget, and it is the tier most fall deadlines call for.
A kit trades design freedom for a guaranteed circle. On the first cold weekend of the year, a finished pit beats a better plan sitting on graph paper.
5. Ring the Pit With a Flagstone Apron So Chairs Sit Flat
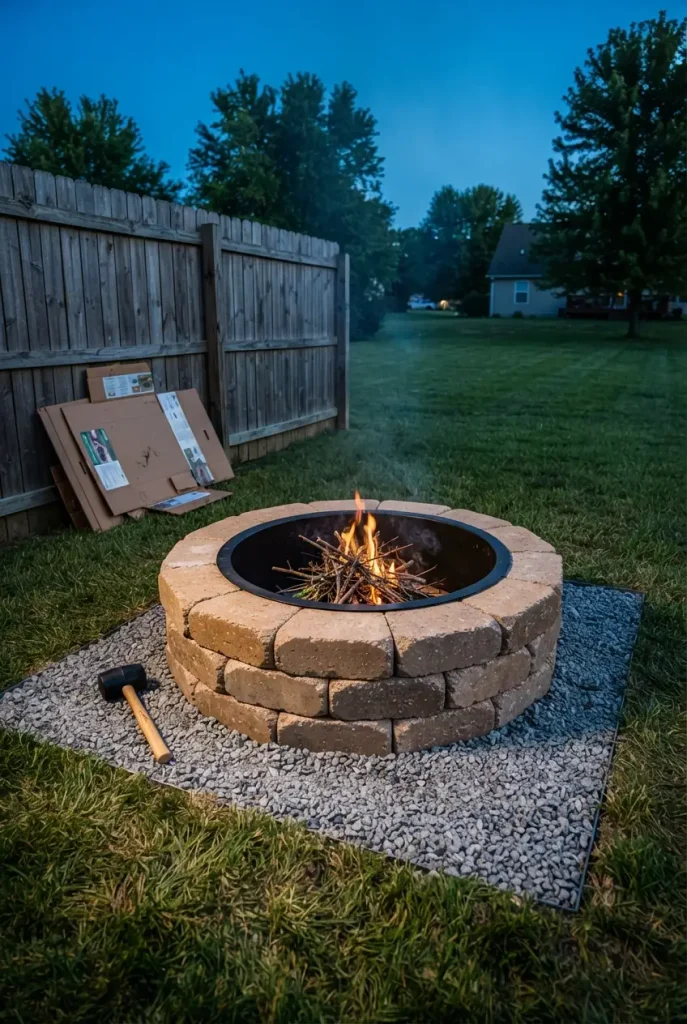
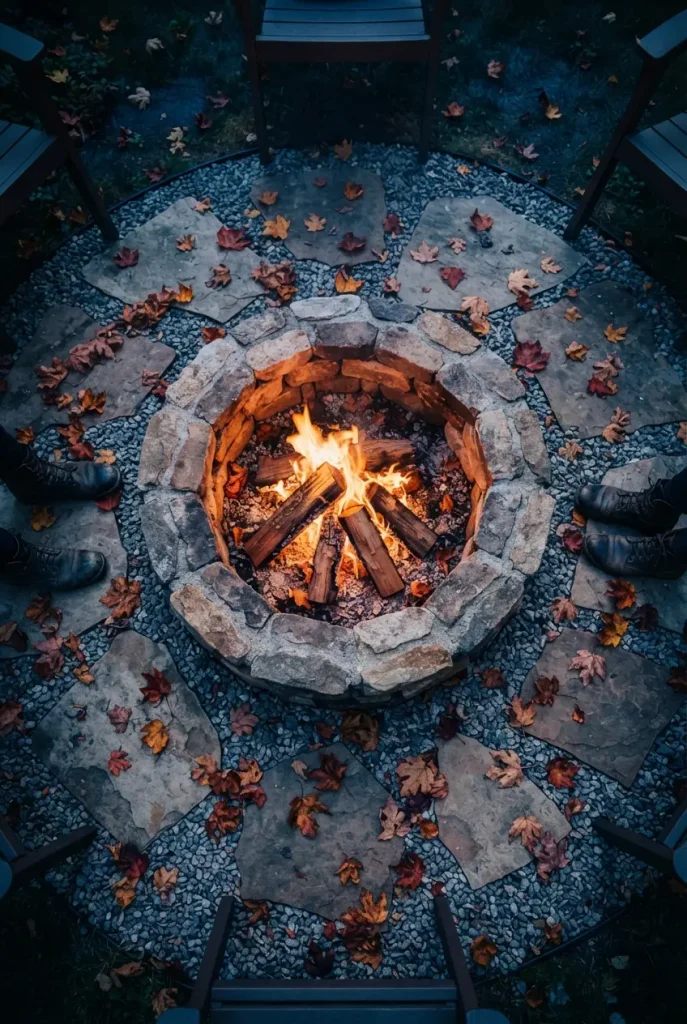
Chair legs sink in wet October grass, and a rocking Adirondack next to an open fire is a problem, not a quirk. An apron of flagstone or compacted gravel gives every seat a hard, level footing and keeps shoes out of the mud.
Three feet of clearance on all sides is the working minimum, both for footing and for stray sparks. Pea gravel runs $4.99 for a half cubic foot bag at Lowe’s, and a pea gravel patio base is the cheapest way to buy that circle of dry footing. Flagstone costs more: mesh-mounted flagstone paver pallets at Home Depot run from roughly $644 to $1,720.
Apron shopping list
6. Keep the Wall Near 12 Inches So Heat Hits Your Knees
Most people build the wall too tall. A showpiece ring at 18 or 20 inches looks impressive in daylight and then radiates most of its warmth straight up past everyone sitting around it, because radiant heat travels in a straight line from the coals to whatever it can see.
Around 12 inches is the sweet spot for fall. High enough that logs stay put and ash stays in, low enough that a seated adult catches heat at knee and shin height, which is where you actually feel cold in October.
- ▸Three courses of standard 3.5-inch wall block lands at roughly 10.5 inches, and four gets you to 14.
- ▸A 36-inch inner diameter burns warmer than a 48 for the same wood, because everyone sits a foot closer.
- ▸Bigger rings ask for bigger fires, which means more wood per night and more smoke drift.
- ▸Measure from chair seat height, not standing height, before you commit to the last course.
7. Sink the Pit and Let the Stone Hold the Slope
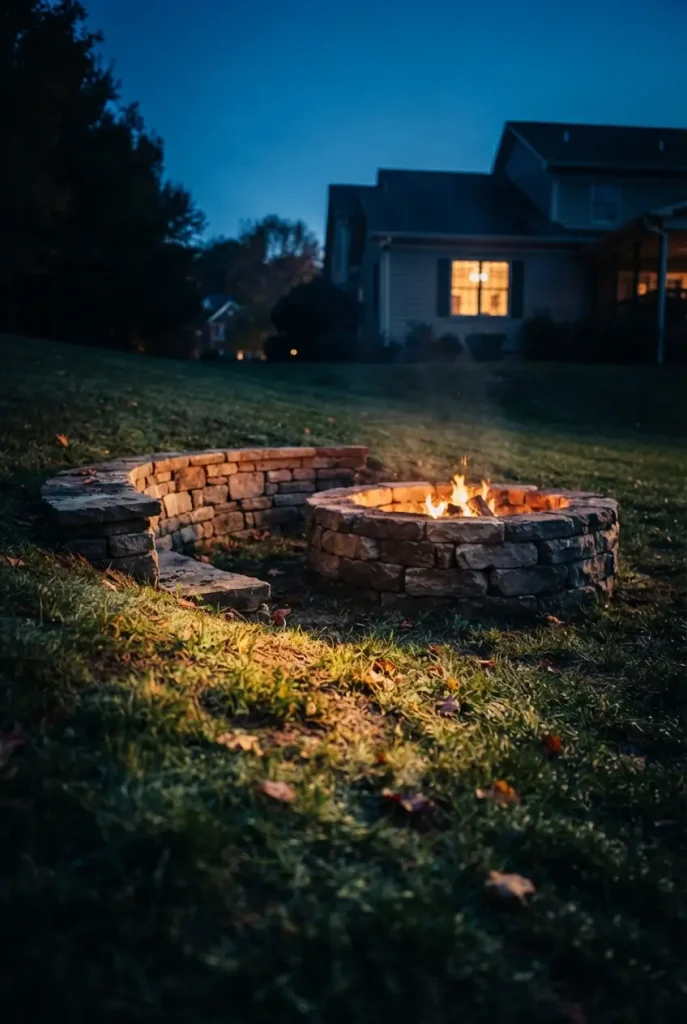
Sunken pits read like something a landscape crew built, and on a gently sloped yard they solve a real problem: the stone ring becomes a small retaining wall, so the downhill side gets a seat wall while the uphill side stays flush with the lawn.
Drainage is the whole game. A sunken bowl in clay soil fills with water, and a pit that holds water in November is a pit that cracks in January.
Dig 8 inches below the liner and backfill with clean crushed stone so water keeps moving down.
Step the ring so the low side gains a course and the high side loses one.
Digging a bowl in heavy clay and calling it done. It becomes a pond with a fire ring in it.
Sinking a pit at the bottom of a yard where all the runoff already collects.
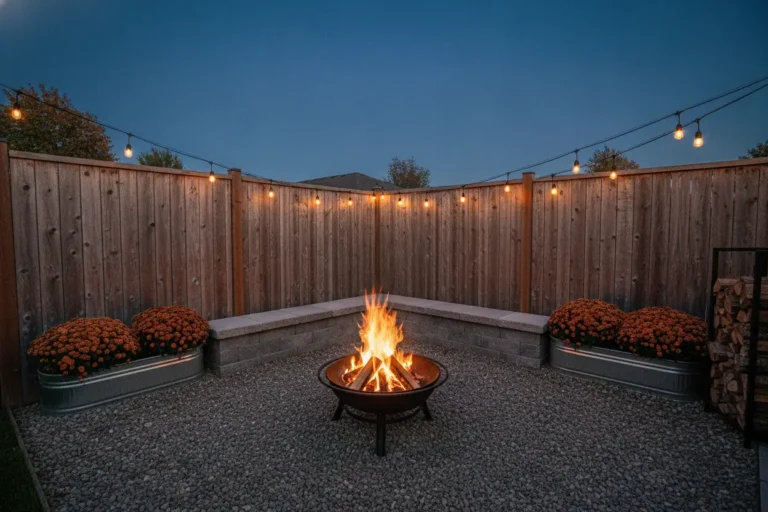
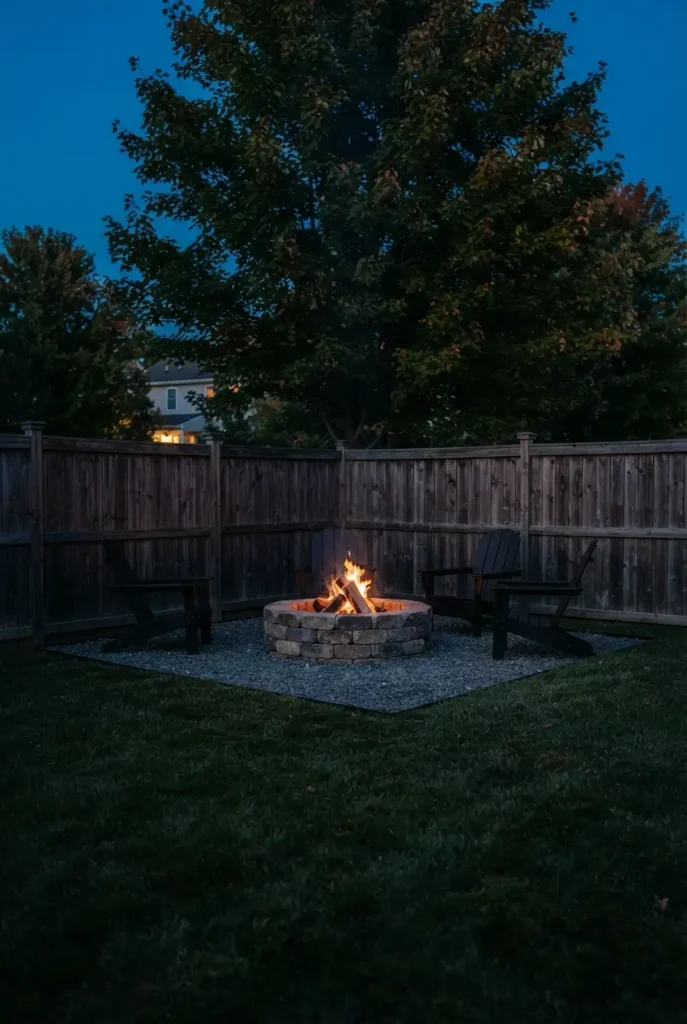
8. Push the Ring Into a Corner, 10 Feet Off the House
Small yards get this wrong by centering the pit, which chops the usable lawn into four useless strips. Tuck the ring into a back corner instead and the rest of the yard stays whole.
Distance is not a style choice here. The U.S. Fire Administration outdoor fire safety guidance puts fire pits at least 10 feet from your home or anything else that can burn, and it recommends a metal screen over wood fires to keep sparks from floating out. Pace it off before you dig, then look up: low branches count too.
9. Hide a Smokeless Insert Inside a Stone Surround
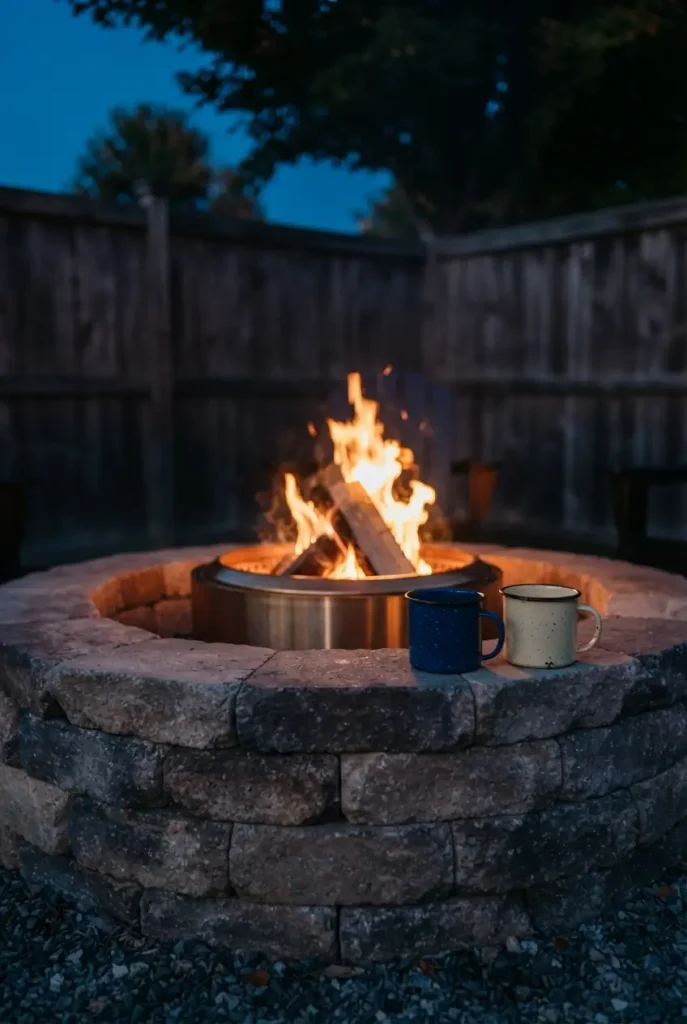
Smoke chasing you around the circle is the fastest way to end an October evening early. A double-wall smokeless unit fixes that, and a low stone collar around it makes the metal read like a built-in feature instead of a bucket on the patio.
Solo Stove’s own Bonfire 2.0 sits at $289.99 direct, $299.99 with a stand at Dick’s Sporting Goods, and $329.99 at Academy. The branded surround alone is $349.99, and the bundled version runs $649.99. Stack your own collar out of leftover wall block for a fraction of that, leaving a 2-inch air gap all the way around so the unit can still pull air from underneath.
A shiny steel barrel parked on the patio, obviously portable, obviously temporary.
The same unit sunk inside a knee-high stone collar, reading as one built piece with a ledge for mugs.
10. Stack the Wood Where It Actually Dries
Wet wood is why a fire smokes, spits, and refuses to throw heat. According to firewood moisture guidance from Illinois Extension, moisture content should sit below 20 percent, and fresh-cut wood usually needs at least six to nine months of drying to get there. Wetter wood makes more smoke and less heat, which is the opposite of what a cold night needs.
Keep the stack off the ground, covered on top, and open on the sides. Buy in spring, burn in fall. The dry test takes two seconds: knock two splits together and listen for a clean clink instead of a dull thud.
💡 Quick Tip
Split ends that show small radiating cracks are dry. Smooth, tight end grain means the wood came off the tree too recently to burn well tonight.
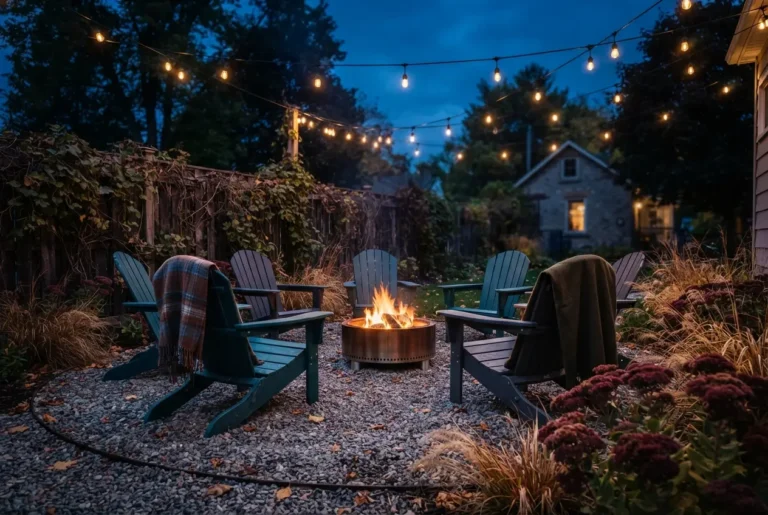
11. Run Bulbs Overhead So the Circle Reads After Dark
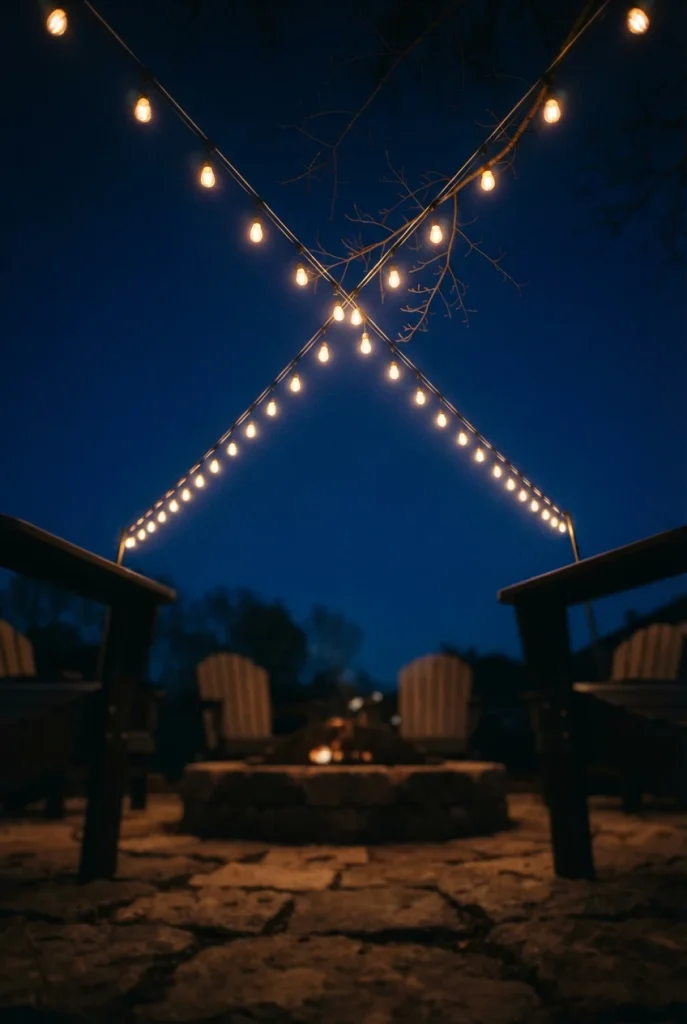
Firelight only lights faces from the chin up. A single strand of warm bulbs crossing above the ring gives the space an edge, so the seating area feels like a room instead of a glow in a dark yard.
Run a stainless guide wire between two anchor points first, then clip the strand to the wire so it never sags into the smoke column.
Keep the lowest bulb at least 8 feet up and well outside the ring, since heat rising off a fire will cook a plastic socket.
Put the whole run on a smart plug so one tap lights the yard as the sun drops at 6:30.
Use outdoor-rated, UL-listed lights and cords on a GFCI outlet. Anything beyond plugging into an existing outlet is a job for a licensed electrician. For pole placement and no-tree workarounds, our outdoor lighting ideas for fall evenings goes deeper than this entry can.
12. Keep a Blanket Basket Within Arm’s Reach
Nobody goes inside for a blanket. They go inside and stay there, and the evening is over by 8:15.
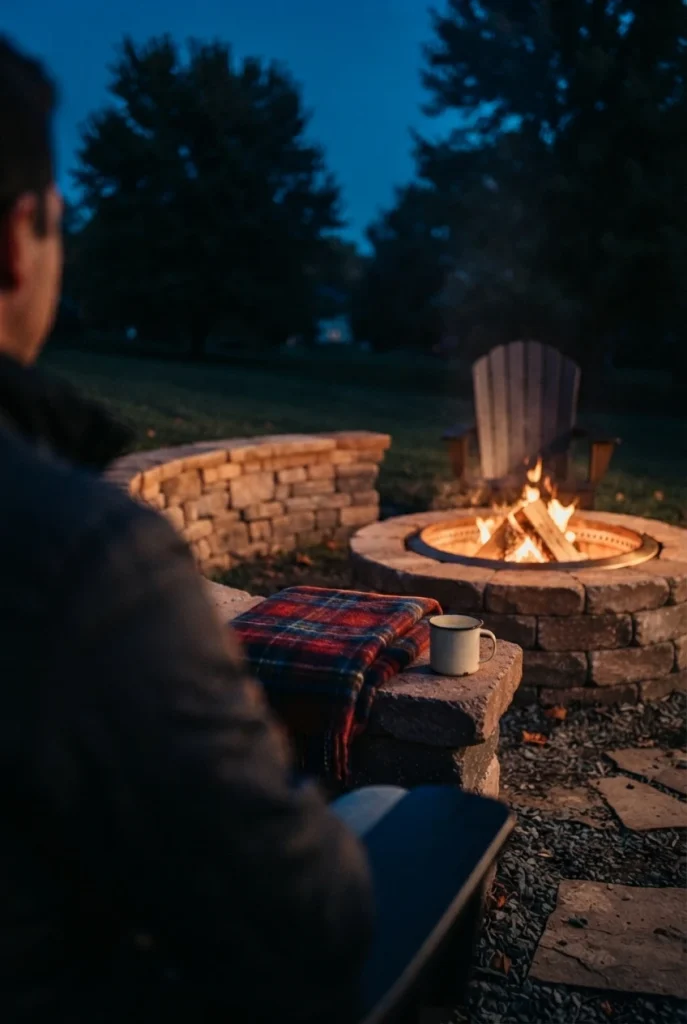
Park a galvanized tub or a lidded deck box beside the seating so wool throws sit within reach of a chair. Add a tray for mugs, because balancing cider on a gravel apron does not work. Two or three folded blankets and a small stack of kindling in the same tub means the ring is ready any night you decide to use it, with no trip back to the house.
Fall nights end because of friction, not temperature. Remove every reason to stand up and the fire gets used three times as often.
13. Build One Stone Bench, Then Buy Two Chairs
All-bench seating looks architectural and sits terribly for two hours. All-chair seating gets blown around and leaves nowhere to set a plate. A single curved stone bench on the windward side, plus two movable chairs, covers both.
Chairs stay cheap if you want them to. The Keter modern resin Adirondack is $89.32 at Home Depot, the Upland HDPE version is $105.90, and POLYWOOD’s Grant Park runs $179 for something that will outlast the bench mortar. Our DIY fire pit seating area breakdown covers the budget build in more detail.
| Stone bench | Movable chairs |
|---|---|
| Blocks wind and never blows over | Follows the heat and the smoke |
| Seats three in the space of two chairs | Reclines, so people stay longer |
| Wants a cushion by late October | $89 to $179 each at Home Depot |
| Permanent, so place it last | Stacks in the garage for winter |
14. Move the Planters Outside the Three-Foot Zone
Fall containers belong near the fire, not next to it. Dried grass plumes, cornstalks, straw bales, and crisp mum foliage are all fuel, and a spark travels farther than people expect on a breezy night.
Set the planters at the outer edge of the apron and let them frame the circle from a safe distance. Ornamental grasses in the Zone 5 to 9 band, like little bluestem or switchgrass, hold their shape into November and catch firelight beautifully from three feet out. Terracotta cracks in a hard freeze, so resin or concrete planters earn their keep here.
Frame the ring, do not feed it
15. Close the Pit Before the First Hard Freeze
Here is the step almost nobody writes about, and it decides whether your ring looks the same next October.
Water is what breaks stone pits. Rain and snowmelt sit in the bottom, freeze, expand, and pop the face off concrete block, and wet ash turns into a caustic slurry that stains stone and eats at steel. Scoop the ash into a metal container with a lid once it has completely cooled, keep that container off anything combustible, then cover the pit or drill the liner for drainage. First frost lands anywhere from late September in Zone 5 to well into November farther south, so check your county extension office for your window rather than guessing.
⚠️ Watch Out
A snug waterproof cover with no vents traps moisture against the stone all winter. Use a breathable cover, or leave the pit open with a drain hole so it dries out between storms.
Fire Pit Ideas for Cozy Fall Nights Questions People Actually Ask
What type of stone is best for a fire pit?
Dense, dry, quarried stone handles heat best: granite, basalt, and thick fieldstone are all reliable choices. Concrete wall block works well too, as long as a steel liner keeps flame off it. Avoid river rock, sandstone, and any porous stone that has been sitting in water, because trapped moisture can turn to steam and crack the stone.
What do you put in the bottom of a stone fire pit?
A few inches of coarse sand, lava rock, or clean gravel over bare soil. That layer protects the ground, lets rain drain instead of pooling, and improves airflow under the coals. Leave the bottom breathable. Solid concrete or a sealed pan traps water, which then freezes in winter and cracks whatever is holding it.
Does a stone fire pit need a liner?
Not strictly, but a steel liner roughly doubles the life of the wall. Direct flame spalls concrete block and flakes limestone, so the inner faces shed over a season or two. Liners start near $74 at Lowe’s and run to about $199 for heavy-duty steel at Home Depot, which is cheaper than rebuilding the ring.
How do you build a stone fire pit step by step?
Mark the circle, cut the sod, dig 5 to 6 inches down, then add and tamp 4 inches of paver base until it is dead level. Set the first course and check level in four directions. Stack two or three more courses with staggered seams, drop in the steel liner, and add a few inches of gravel inside.
Can you build a stone fire pit without a ring?
Yes. A dry-stacked ring with no metal liner is the oldest version of this build and costs the least. Expect the inner faces to flake over time and the stones to creep outward as you rake coals, so plan on resetting a few stones each spring. Use thick, dense stone rather than concrete block.
What is the current trend in fire pits?
Smokeless double-wall units built into permanent stone surrounds are what keeps showing up on Pinterest right now, alongside square pits and gas fire tables that match the patio pavers. The broader shift is toward pits that read as part of the hardscape rather than a separate object dropped onto the lawn.
Ready When the Temperature Drops
A stone fire pit is one of the few backyard projects that pays you back the same weekend you build it. Start with the base, get the liner right, keep the wall near 12 inches, and put the seats close enough to feel it. The rest is blankets and wood you bought back in April.
Pick the two or three stone fire pit ideas that match your yard and your tier, then save them to your fall board so they are in front of you the next time a clear, cold weekend shows up on the forecast.