No Fuss Wood Fire Pit Ideas: The Guide to Buying, Building, or Digging Yours

Good wood fire pit ideas start with one decision, not fifty photos. You can buy a pit, build a ring, or dig one into the ground. Every other choice follows from that.
Then there’s the part most roundups skip. The pit gets the attention, but the firewood decides if your night smells like a campfire or chases everyone out of their chairs. Wet logs smoke in a pit that costs close to $400. Dry oak burns clean in a $105 cast iron bowl.
So this guide does three jobs. It prices each style with real listings from Home Depot, Sunnydaze, and TIKI, checked in mid September 2026. It shows you how to store and test firewood so it actually burns well. And it ends with a shutdown routine for embers and ash, because the fire isn’t finished when you head inside.
Start with the table in the first section. It sorts every idea by cost, smoke, and whether it moves with you, so you’ll know your lane in about a minute.
The Buy, Build, or Dig Table: Wood Burning Fire Pit Ideas for Your Backyard
Most people pick a fire pit from a photo. Pick it from three facts instead.
Think about how long you’ll live there, how much ground you can give up, and how many people sit around the fire on a normal Friday.
Renters, or anyone who might move within a couple of years, should buy. Owners with a flat patch of lawn can build a block ring over one weekend. Owners who want the fire to feel like part of the yard, not furniture parked on top of it, should dig.
Every style in the table gets its own section below with the details. For gas, tabletop, and more design looks beyond wood, browse our full roundup of backyard fire pit ideas.
Check your city’s burn rules before you light anything, keep the clearance from structures and branches that your fire pit’s manual and local code call for, and never leave a fire unattended.
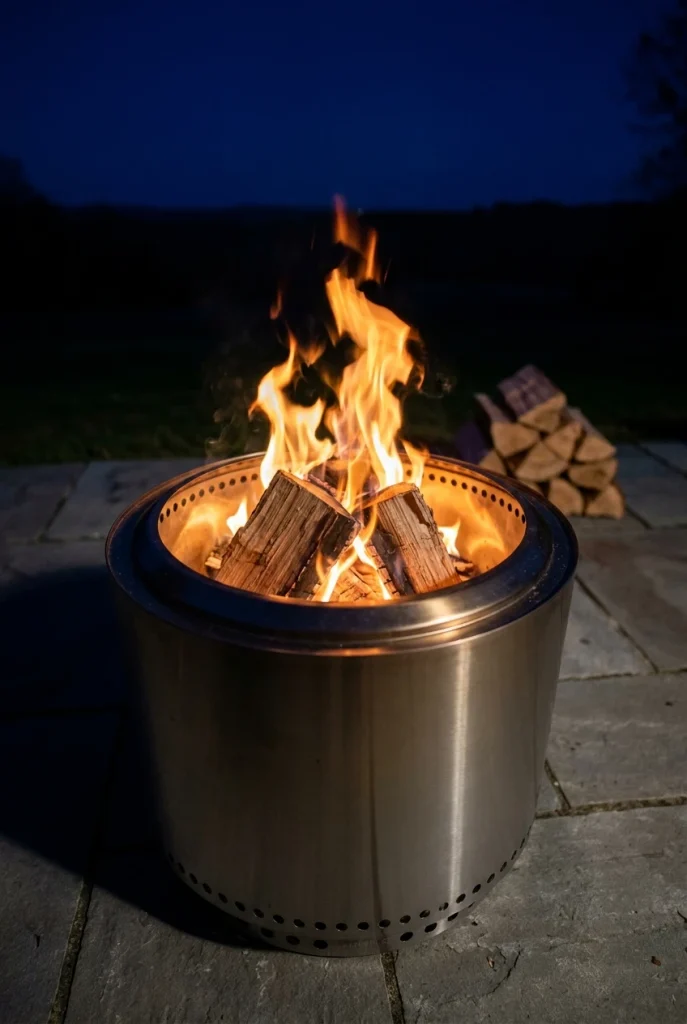
A Smokeless Steel Fire Pit for Small Patios
Smoke that follows you around the circle ends a fire pit night faster than rain.
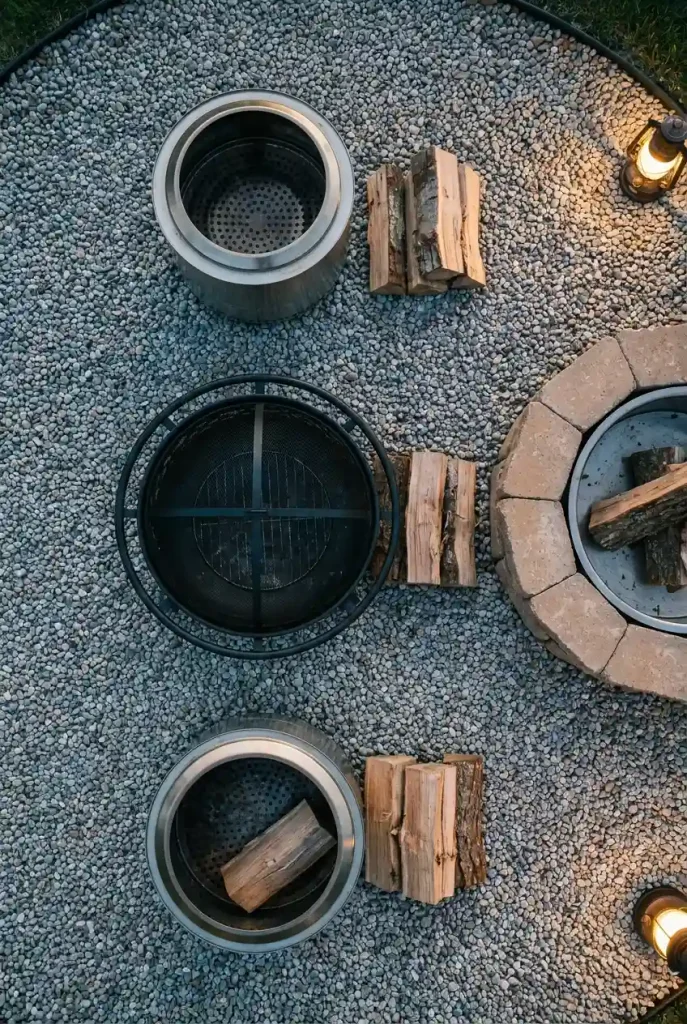
Double wall pits fix a lot of that. Air gets pulled in through low holes, heats up between the walls, and feeds back in near the top rim, where it burns off much of the smoke before it reaches your face. The Solo Stove Bonfire 2.0 is the one most people picture. It’s 19.5 inches wide and 14 inches tall, has a removable ash pan, and was listed at $249.99 at Home Depot in mid September 2026 with more than 4,700 reviews. The TIKI Brand Patio Smokeless Fire Pit is the bigger option at about 24.6 inches wide and 46 pounds, listed at $395.
Here’s the contrarian part. “Smokeless” is a promise about airflow, not about your wood. Feed a double wall pit damp logs and it smokes like any other ring.
A fire pit on a wood deck is its own Pinterest search for a reason. If you want one, start with the manual. Use the brand’s stand if it sells one, set a heat resistant ember pad like a Newtex FirePad under it, and confirm your HOA or lease allows open flame on the deck.
The DIY Cinder Block Fire Pit, Upgraded With Retaining Wall Blocks
Pinterest loves this build. Pins brag about cinder block fire pits for under $100, some for $50 in materials.
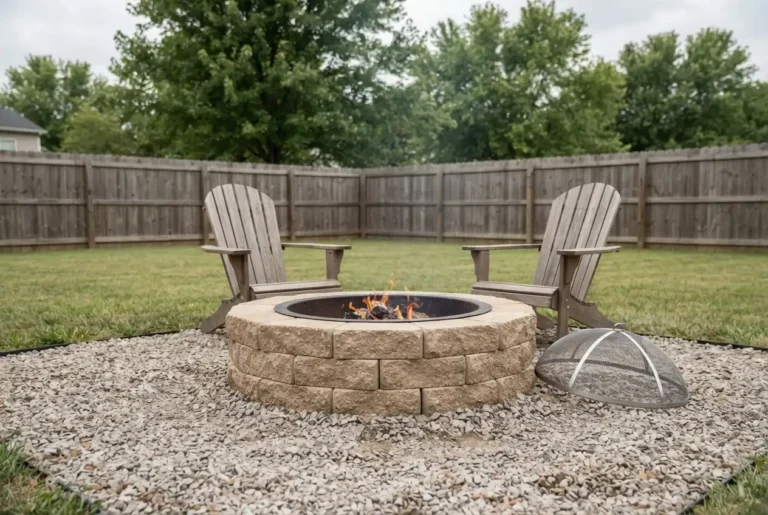
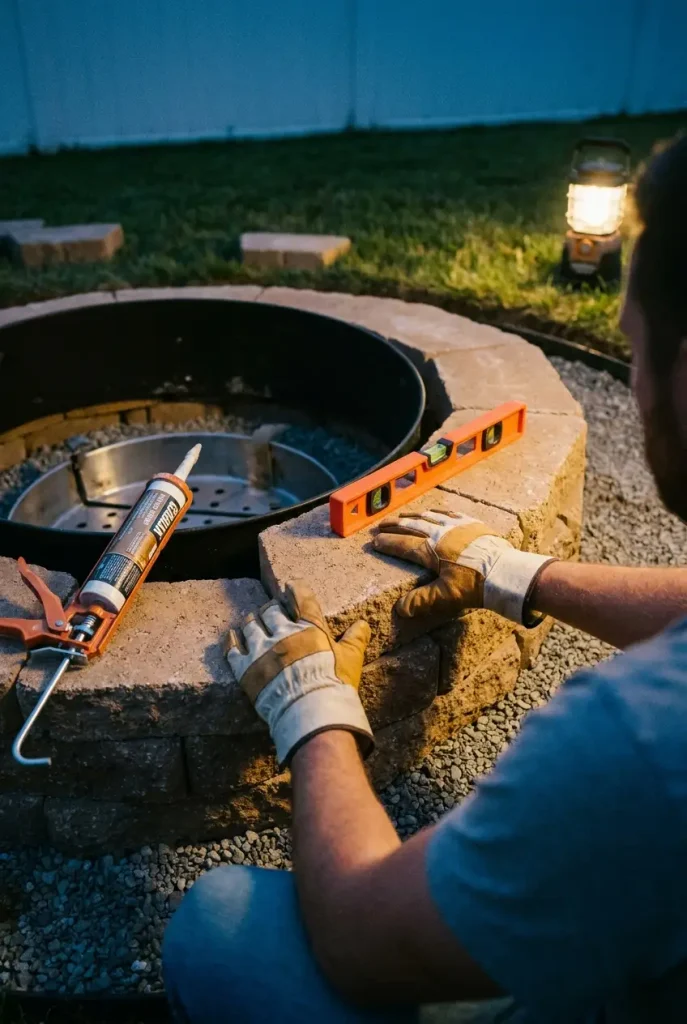
The smarter version swaps hollow cinder blocks for solid retaining wall blocks and puts a steel ring between the fire and the concrete. Concrete blocks aren’t designed to take flame directly, which is exactly why fire pit kits ship with a steel insert. One published Instructables build used blocks from Home Depot and Lowe’s to make a ring 40 inches across inside and 54 inches outside for about $110.
Want the shortcut? The Necessories Grand 48 inch kit in bluestone lists around $689 with the blocks, a 10 gauge steel insert, and adhesive included. Their 31 inch insert alone runs about $443, so the full kit is often the better deal. Buyers in the Home Depot Q&A point out that the insert’s lip pushes the outside width to about 33.5 inches. Size your ring to that number, not 31.
Pick a flat spot, then mark a circle with a stake and a string sized to your insert’s outside lip.
Cut out the sod, add a layer of gravel, and tamp it flat.
Set the steel insert, then lay the first course of blocks around it and check each one with a level.
Glue the second course with masonry adhesive, staggering the joints like brick.
Wait out the full cure time on the adhesive label before the first fire.
A Sunken In Ground Fire Pit on a Pea Gravel Pad
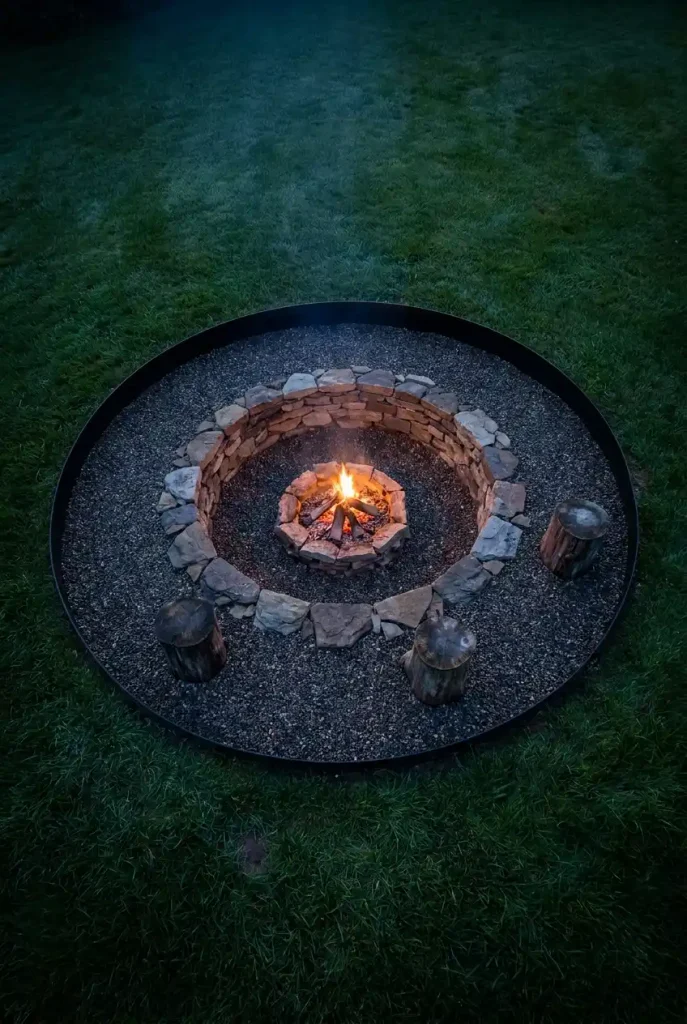
Digging down changes the whole feel. The fire sits low, the flames block less of the view, and nobody stares at a wall of blocks.
It also turns your pit into a bowl for rain. That’s the tradeoff nobody puts in the pretty photos.
Walk the yard after a heavy storm and skip any spot that holds water. Put a layer of gravel in the bottom of the hole so rain drains away. Line the walls with fire brick or natural stone, and let the rim sit a little above the ground around it so runoff doesn’t pour in.
For the surround, pea gravel feels soft underfoot and costs less than pavers, but it wanders into the lawn without steel or paver edging. Crushed stone locks together better and feels rougher. If you’re pricing a full patio around the pit, our budget backyard patio ideas show gravel and paver layouts that stretch the dollars.
Call 811 a few days before you dig so buried lines get marked.
Set a gravel layer in the bottom for drainage.
Edge the pea gravel with steel or pavers.
A low corner that puddles after storms.
River rock inside the burn area, since stones holding water can crack when heated.
A rim that sits flush or below the lawn.
A Portable Cast Iron or Steel Fire Bowl for Renters
No digging. No drilling. When the lease ends, it rides home in the car.
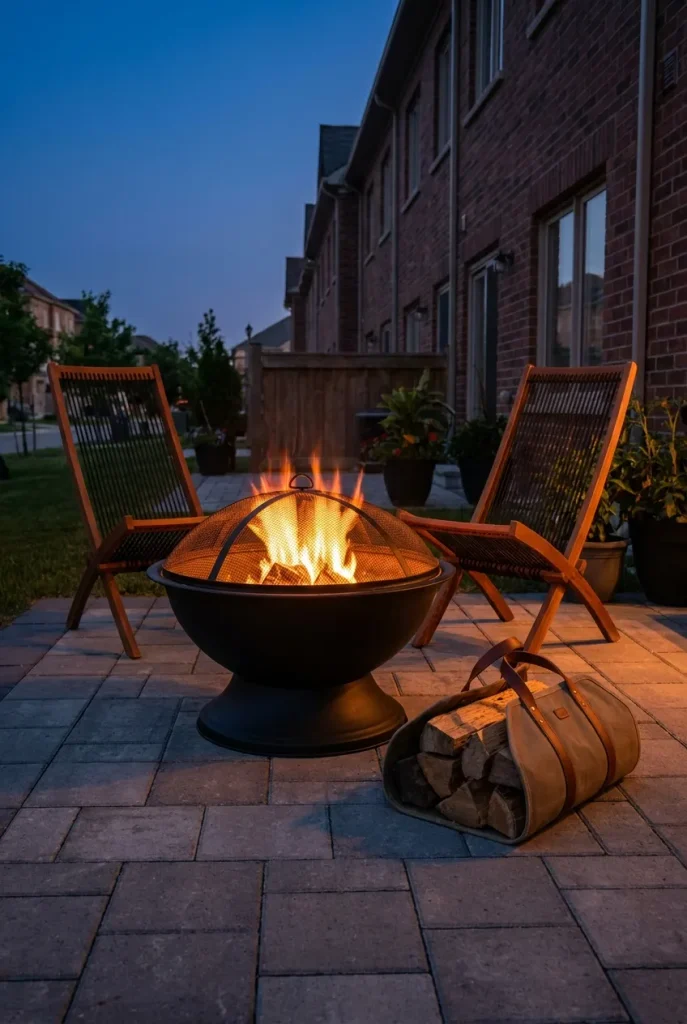
A Sunnydaze cast iron fire pit bowl in the 24 inch size lists around $105, and it holds heat after the flames drop. The Sunnydaze Crossweave steel pit is lighter, comes with a cover and a mesh spark screen, and runs about $159 for 30 inches or $199 for 36 inches.
Bigger isn’t automatically better here. A 36 inch bowl swallows more firewood every night, and on a small patio a 30 inch bowl already gathers four chairs. Put it on a square of patio pavers instead of the lawn so the grass underneath doesn’t cook, and slide the cover on after it cools so rain doesn’t rust the bowl.
🪑 The renter test for a fire bowl
Backyard Fire Pit and Wood Storage Ideas That Keep Logs Dry
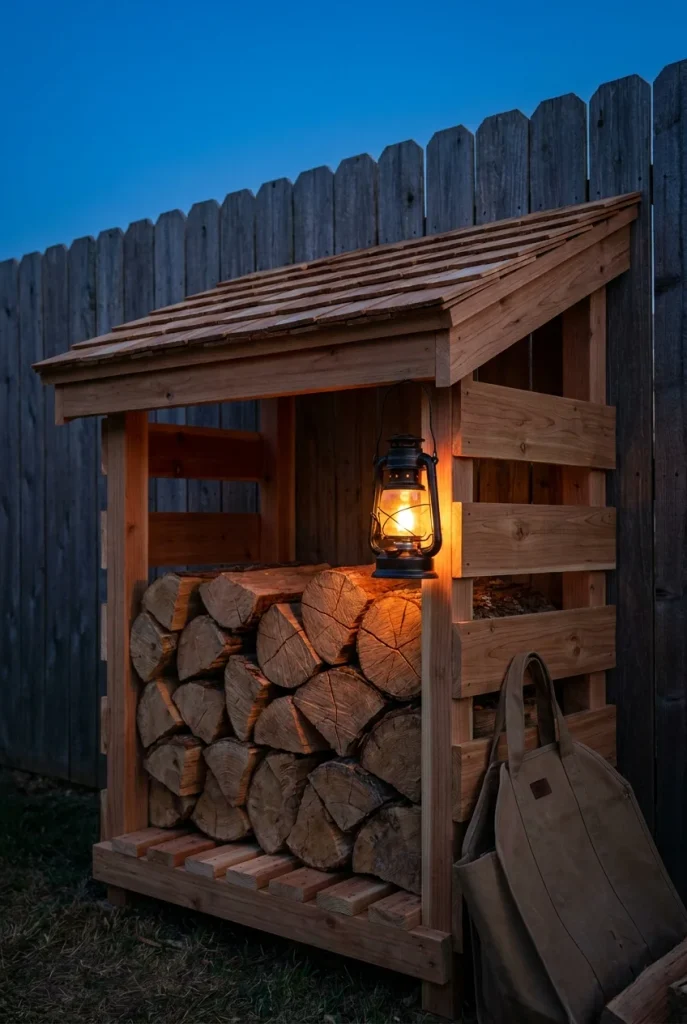
The problem: a stack of firewood sitting on the grass under a tarp. It stays damp, it rots from the bottom, and it smokes when you finally burn it.
The fix is simple. Keep firewood off the ground, cover only the top, and leave the sides open so air moves through the stack. A tarp wrapped all the way around traps moisture instead of keeping it out.
Keep the main stack a safe walk from the fire ring and off the house siding. Then bring out only what you’ll burn that night.
One more rule matters a lot. Buy firewood near where you’ll burn it, because logs hauled in from far away can carry pests like the emerald ash borer. The federal page on firewood and invasive species lists state rules and quarantine areas.
The payoff is a tidy stack that looks like it belongs in the yard.
The Dry Wood Knock Test: What to Burn and What to Skip
We’ll say it plainly. The wood matters more than the pit.
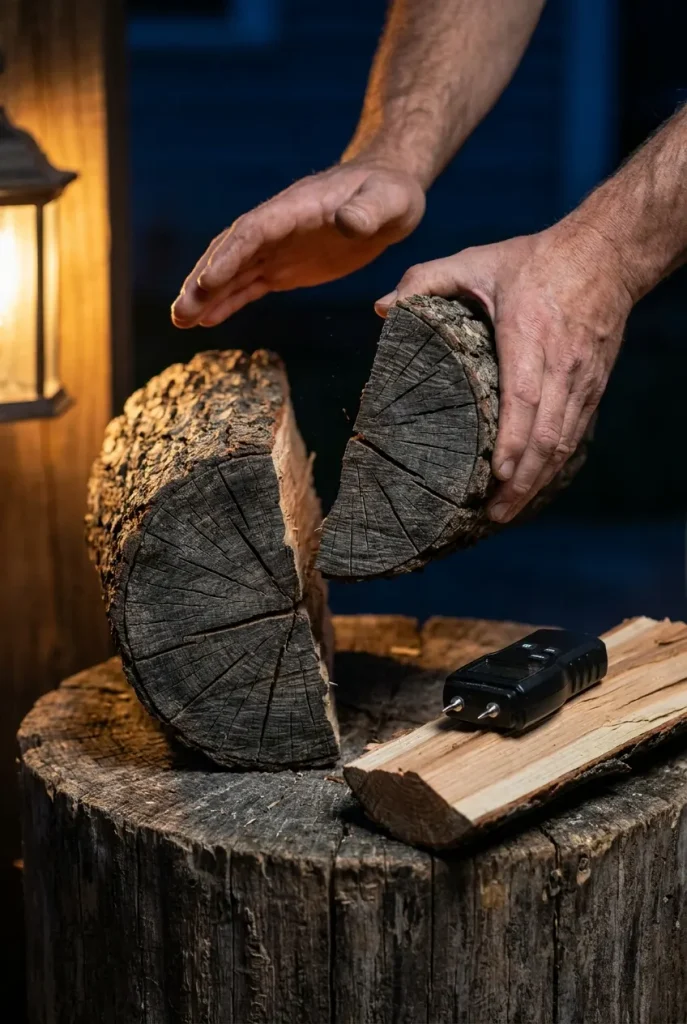
Grab two split logs and knock them together. Seasoned wood gives a hollow clack. Wet wood gives a dull thud. That sound, plus four other quick checks in the card below, tells you whether a log is ready.
Hardwoods like oak, hickory, and maple burn longer and steadier. Pine lights fast but pops and throws more sparks, so keep it for kindling if you use it at all.
Some wood never goes in a backyard fire. That includes painted or pressure treated lumber, plywood and particle board, anything with glue in it, ocean driftwood, trash, and yard waste. Start the fire with newspaper, dry kindling, or natural fire starters, never gasoline or charcoal lighter fluid. The EPA’s guide to best wood burning practices covers the full list.
Seating and String Lights Around a Wood Burning Fire Pit
Built in stone benches look great in photos. Smoke doesn’t read the plans, though.
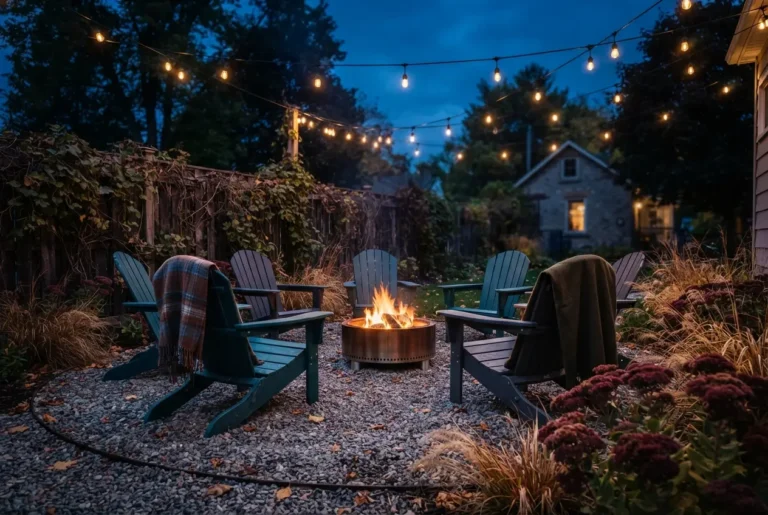
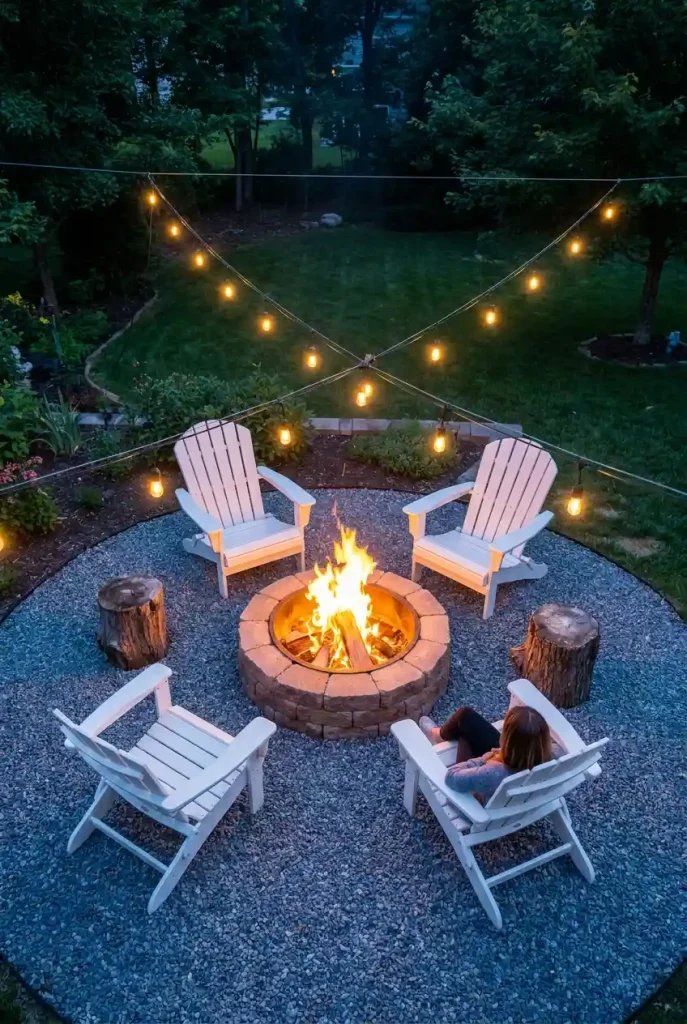
Wind shifts during the night, and when it does, people in movable chairs just scoot over. People on a fixed bench sit and cough. So in a yard with changing wind, movable Adirondack chairs beat a built in bench almost every time. Leave one side of the circle open as an escape route for smoke and for walking in and out.
Stump seats are the cheap middle ground, and you can roll them back when the breeze turns. Keep every chair at the distance your fire pit manual recommends.
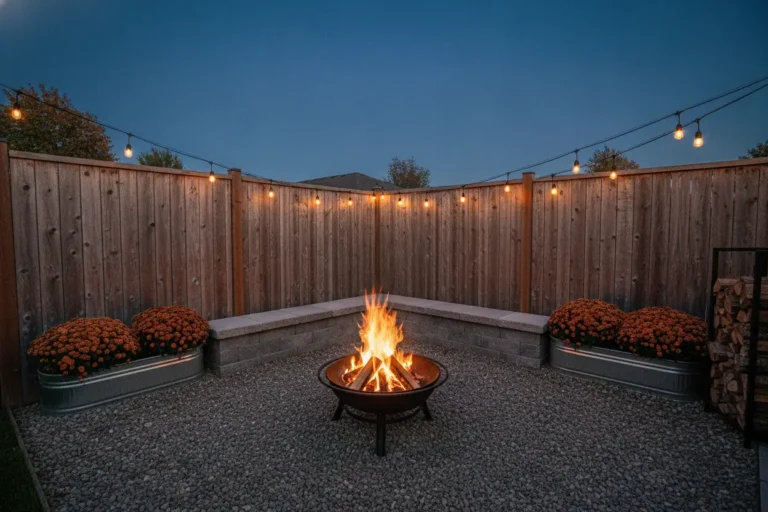
String lights finish the space. Hang cafe bulbs on a guide wire high above the circle and away from where sparks rise, not draped low over the flame. Use outdoor rated, UL listed lights and cords on a GFCI outlet. Anything beyond plugging into an existing outlet is a job for a licensed electrician. Our warm outdoor lighting ideas show layouts that pair well with a fire pit.
| 🪑 Movable Adirondack chairs | 🧱 Built in stone bench |
|---|---|
| When smoke shifts, scoot the chair. | When smoke shifts, you stay put. |
| Cost tier: low to mid, higher for Polywood | Cost tier: high, plus labor |
| Moves with renters | Stays with the house |
| Best for: windy or changing yards | Best for: sheltered yards with steady wind |
The Ash and Ember Routine After Every Wood Fire
The fire looks out. It usually isn’t.
- Stop adding logs well before you plan to head inside, so the fire can burn down.
- Spread the remaining embers with a metal poker.
- Pour water slowly, stir the ash, then pour again.
- Hold your hand above the ash, not on it. If you feel heat, repeat step 3.
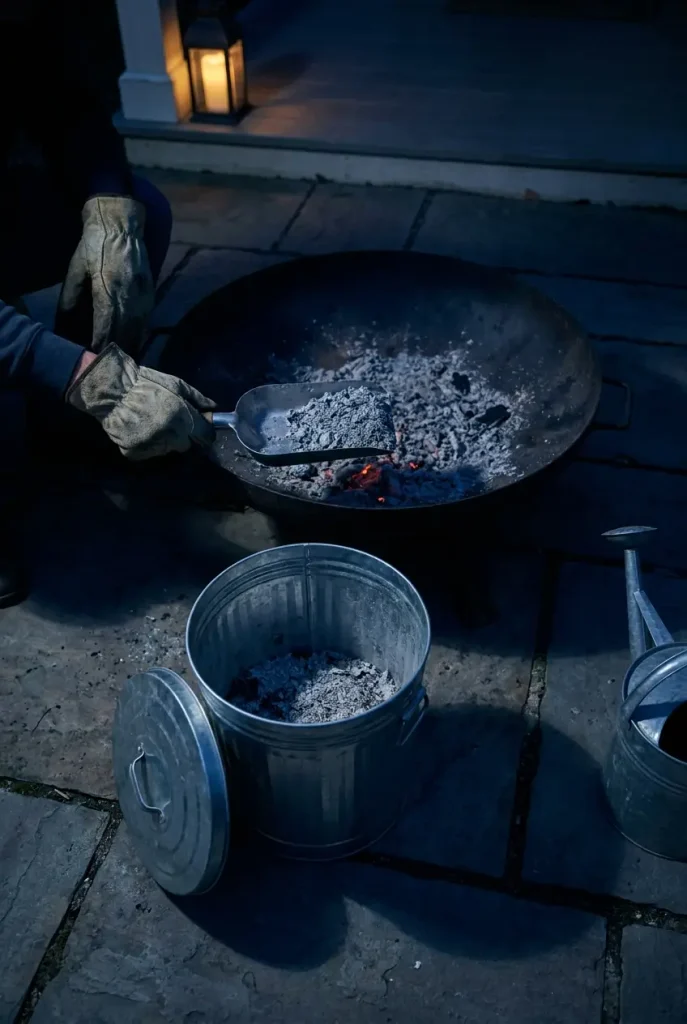
- Scoop the cold ash into a lidded metal ash can and store it outdoors, away from the deck and the house.
- Put the cover back on your pit so rain doesn’t pool in the ash.
Smokeless pits like the Solo Stove Bonfire make step 5 easier with a removable ash pan. Block rings and in ground pits need a small metal shovel. Either way, keep that galvanized can by the back door so you never grab a plastic bucket at 11 p.m.
A wood fire is done only when the ash feels cold from above and sits in a lidded metal can outside.
Frequently Asked Questions
What is the best wood to burn in a fire pit?
Dry, seasoned hardwood like oak, hickory, or maple burns longest with the least smoke. Look for logs that are split, stacked for at least six months, darker on the ends, and hollow sounding when knocked together. A moisture meter reading under 20 percent is a solid target. Save pine for kindling, since it pops and throws more sparks.
Can you put a wood fire pit on a wood deck?
Sometimes, but the manual decides, not Pinterest. Some brands sell stands made for decks and allow deck use with them. Set a heat resistant ember pad under the pit to catch popping sparks, keep a hose or extinguisher close, and check your HOA rules or lease first. If the manual says no deck use, move the pit to gravel or pavers.
What do you put under a fire pit on grass?
Don’t set a fire pit straight on the lawn, because the heat scorches the grass and embers can drop into it. Lay a pad of patio pavers, or cut out the sod and build a pea gravel circle with steel or paver edging. A gravel pad also drains well and gives chairs a stable, level base.
How far should a fire pit be from the house?
There isn’t one national number. The right distance comes from your fire pit’s manual and your local fire code, and some cities add their own rules for recreational fires. Call your local fire department or check the city website before you pick a spot. Also look up for overhanging branches and away from fences and sheds.
Is a smokeless fire pit really smokeless?
Not completely. Double wall pits pull air in low and feed it back in near the rim, which burns off much of the smoke once the fire is hot. They still smoke while lighting, when you add a big log, and whenever the wood is damp. Dry, split hardwood is what gets you close to the smokeless promise.
How deep should an in ground fire pit be?
Deep enough to hold the fire and ash below the rim, and shallow enough that seated guests still see the flames. Add a layer of gravel at the bottom for drainage, line the walls with fire brick or natural stone, and let the rim sit slightly above the ground around it. Call 811 before you dig.
Your Next Fire Starts With One Choice
You don’t need a designer or a big budget to get a fire pit you’ll use every week. Pick your lane from the Buy, Build, or Dig Table, then give the wood as much attention as the pit.
Stack logs off the ground with the sides open. Run the knock test before you light anything. And end every night with cold ash in a lidded metal can.
Do those three things and almost any of these wood fire pit ideas will give you clean flames and a circle of chairs people don’t want to leave. Save this guide to your backyard board so the table and the knock test are there when you’re standing in the store aisle.