Builder Grade Backyard Makeover: From Blank to Beautiful

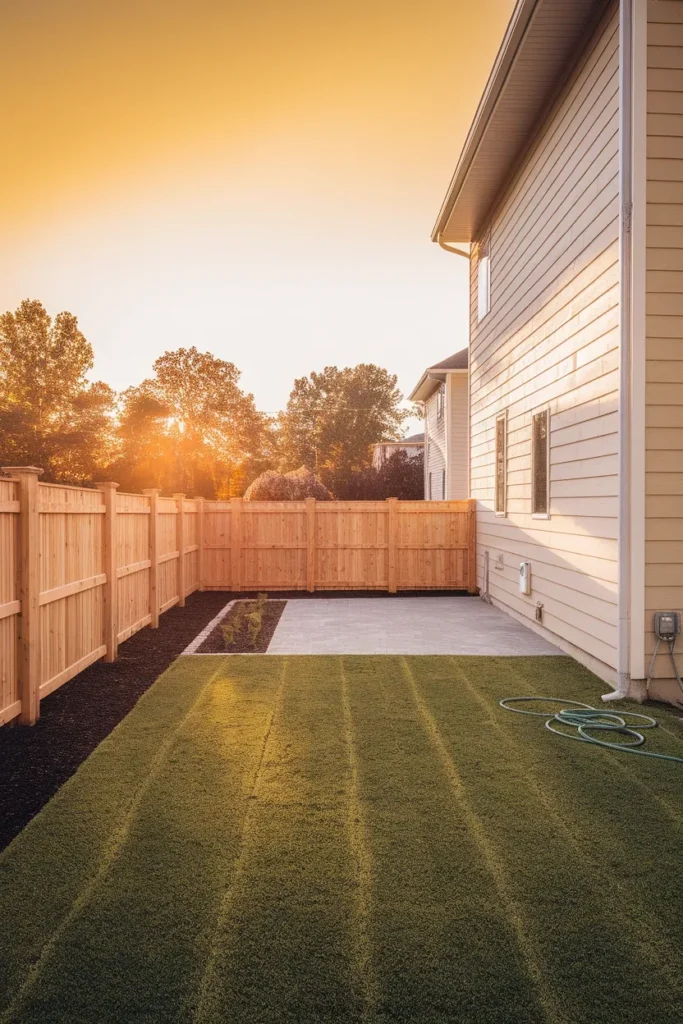
You slide open the back door of a brand new house and there it is. Flat sod running edge to edge, a gray concrete rectangle the builder calls a patio, six feet of bare dirt against a fence that still smells like the lumber yard. Nothing is broken. That is the strange part. A builder grade backyard makeover is not a repair job, it is an addition job, because the builder installed the absolute minimum that would pass final inspection and then handed you the keys.
Good news: this is the easiest kind of yard to fix. You are not tearing anything out. You are adding the three things the builder skipped, in the right order, and the order matters more than the budget. If you are still at the bare dirt stage, our new build garden ideas guide walks the same ground from the soil up.
Here is the plan. Why these yards all look identical, the ground work nobody talks about, and a three move method you can screenshot. Then real 2026 costs and the first year timeline that keeps you from wasting money.
Why Every Builder Grade Backyard Looks Exactly the Same
Walk any new subdivision in July. Every yard is the same yard.
That is not laziness on the builder’s part, it is a spec sheet. Production builders work from a landscape allowance, usually a few thousand dollars per lot, and that allowance has to cover grading, sod, a slab, and whatever the municipality requires for erosion control. Style is not on the list.
Five shortcuts show up on almost every lot:
- Sod runs straight to the fence. No bed lines, no border, no separation between lawn and structure. Your eye reads the whole yard as one flat plane, so the space looks smaller than it measures.
- The topsoil is a costume. Two to three inches of screened soil raked over subsoil that has been driven on by loaders and lifts for six months.
- There is exactly one hard surface. A 10 by 12 slab off the back door, poured at the same time as the driveway, with a broom finish and no border.
- Nothing is taller than four feet. No trees, no pergola, no screening. Every neighbor’s second story window looks down into your yard.
- Zero lighting. One fixture by the door, on the same switch as the garage.
Fix those five and the yard stops reading as builder grade. You do not need a designer. Every successful builder grade backyard makeover we have seen comes down to the same short list: bed lines, one destination, and something vertical. That is the whole trick.
Start With the Dirt, Not the Decor
This is the part the pretty before and after galleries skip, and it is the reason most first year plantings die.
Our first spring in a new build, I spent about $340 on flats of annuals and shrubs at Lowe’s and planted every one of them straight into the builder’s dirt. By late July, most of them had cooked. Water was not soaking in, it was sheeting off toward the corner of the lot and pooling. I had bought plants for soil that did not exist yet.
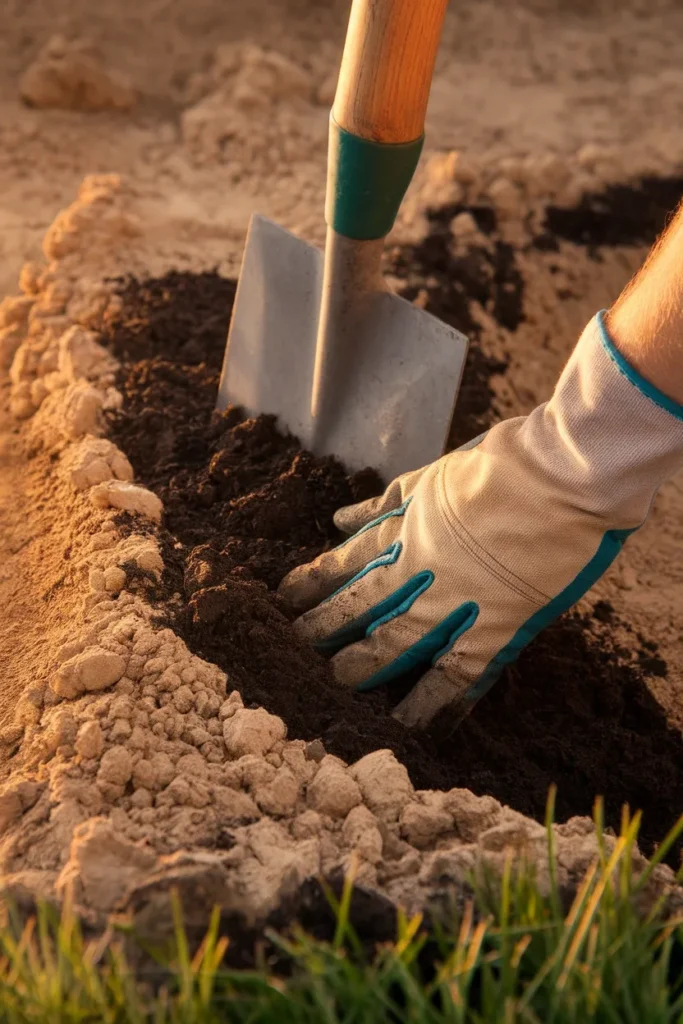
Construction equipment compacts a lot for months. Then a crew raked a thin blanket of screened topsoil over the top so the sod would knit. Underneath, it is often subsoil packed close to the density of a gravel road. Roots cannot push into it and water cannot drain through it.
Three things to do before you spend a dollar on plants:
Test the drainage yourself. Dig a hole about 12 inches deep and 12 inches wide, fill it with water, let it drain, then fill it again. If the second fill has not drained in four hours, you have a compaction problem, not a plant problem.
Amend by the bed, not by the yard. Blanket amending an entire lot is expensive and mostly wasted. Dig your beds 12 to 18 inches deep and backfill with a real compost blend. Kellogg Garden Organics and Espoma both make bagged compost that runs a few dollars a bag at most big box stores, and a modest bed takes less than you think.
Leave the swale alone. Most new build lots have a shallow graded channel running along the rear or side property line. That swale carries stormwater away from your foundation and your neighbor’s. It was engineered by the developer. Filling it in is a fast way to void a builder warranty and collect a letter from your HOA. Plant in it if you like, using species that tolerate wet feet. Do not regrade it.
While you are at this stage, check your USDA plant hardiness zone with your zip code. It takes ten seconds and it decides every plant purchase you make for the next decade. In Zone 6, for example, last frost usually lands somewhere in mid to late April, so early April planting is a gamble. Confirm the timing for your specific area with your local extension office, because frost dates shift year to year and microclimates are real.
The Edge, Anchor, Lift Method
Here is the framework we come back to on every flat new build yard. Three moves. In this order, every time. Run a builder grade backyard makeover through these and the sequencing decides itself.
Edge means giving the yard defined lines: bed borders, a cut edge, a change of material where lawn meets planting. Anchor means building one destination worth walking to, so the yard has a reason to exist beyond the back door. Lift means adding height, because a yard where nothing rises above the fence will always read as unfinished.
Do them out of order and you will feel it. Buy the pergola before you cut bed lines and the pergola looks like it landed in a soccer field.
| Move | What it does | Weekend cost range | Do it in |
|---|---|---|---|
| Edge | Defines space, makes the yard read larger, stops mulch migration | $150 to $600 | Spring, season one |
| Anchor | Creates a destination, holds furniture, pulls people off the slab | $400 to $3,500 | Summer, season one |
| Lift | Adds privacy and scale, blocks second story sightlines | $200 to $2,000 | Fall, season one to two |
Screenshot that. It is the whole plan on one card.
Edge: Cut Real Bed Lines Before You Buy a Single Plant
Cheapest high impact move in this entire article. A defined bed line does more for a flat yard than $600 of plants.
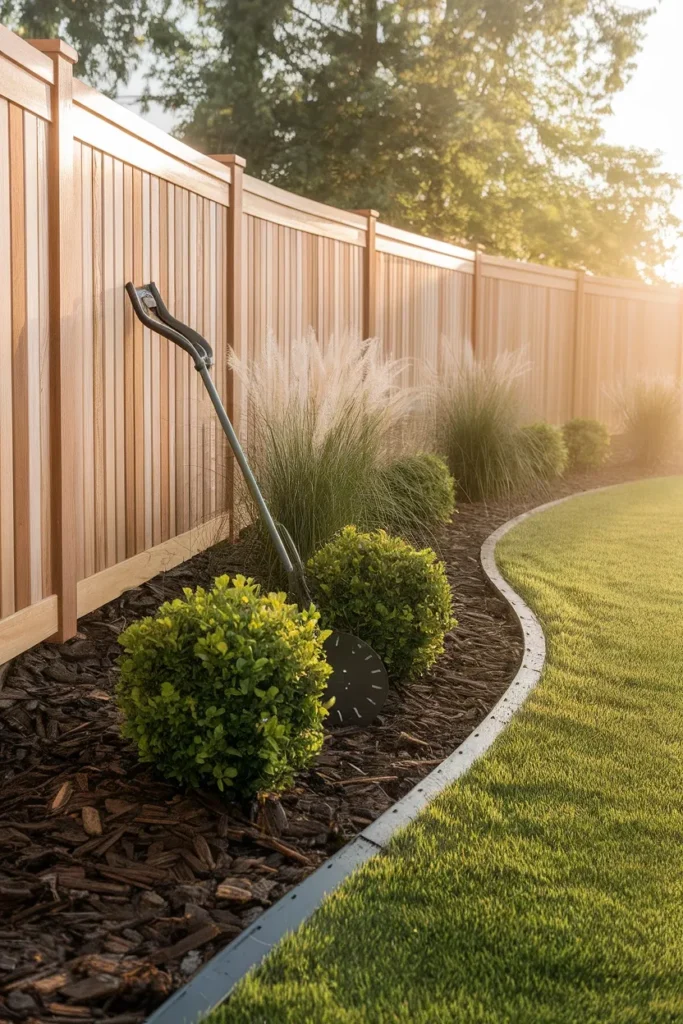
Lay a garden hose on the grass and shape a curve. Live with it for two days. Look at it from the kitchen window, from the far corner, from the neighbor’s side. Then cut it with a half moon edger and strip the sod.
Depth matters more than material. A 3 to 4 inch mulch layer is what the EPA recommends for moisture retention, and it also reads as intentional from thirty feet away. Bagged mulch runs $2 to $13 a bag and covers about 10 square feet at 2 inches, so a 200 square foot bed takes roughly 20 to 40 bags depending on depth. Bulk delivery installed runs $72 to $87 per cubic yard, and one cubic yard covers about 162 square feet at that same 2 inches. Do the math before you load a cart.
For a border that survives a string trimmer, steel edging beats plastic every time. Plastic heaves in the first freeze and never sits flat again, which is honestly the thing I wish someone had told me before I bought forty feet of it. If you want the full comparison of materials, our garden edging ideas breakdown scores each option on looks, soil containment, and whether you can mow over it.
One more edge trick: run the bed along the fence at a minimum depth of four feet. Anything shallower looks like a moat. Four feet gives you room for a shrub layer in front of the fence and a perennial layer in front of that.
Anchor: Give the Yard One Destination Worth Walking To
A builder yard has no reason to leave the slab. That is its actual problem.
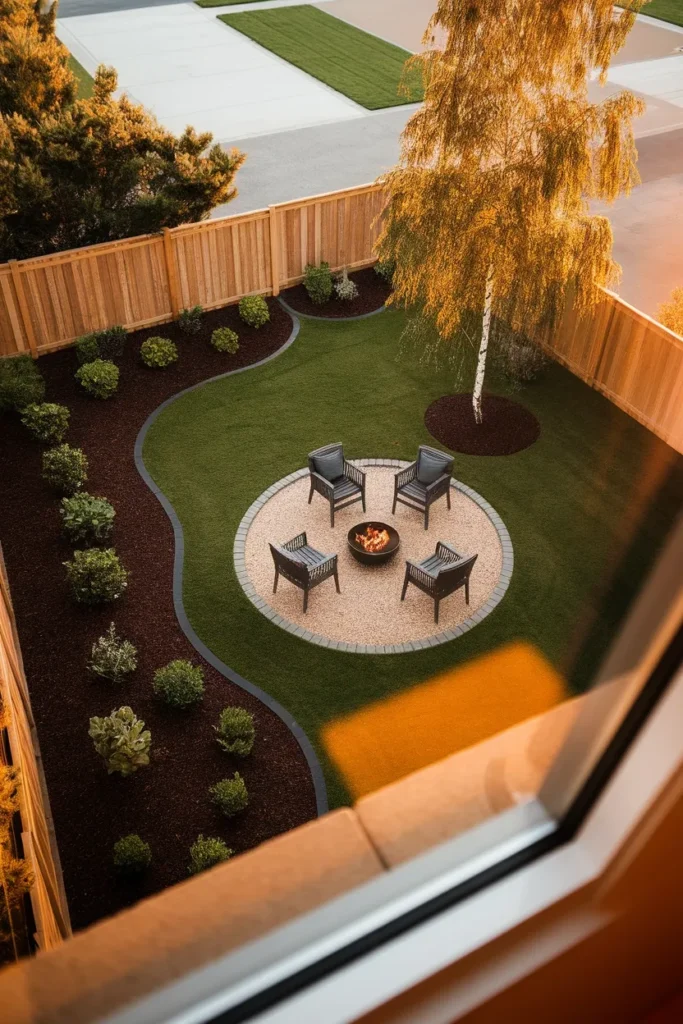
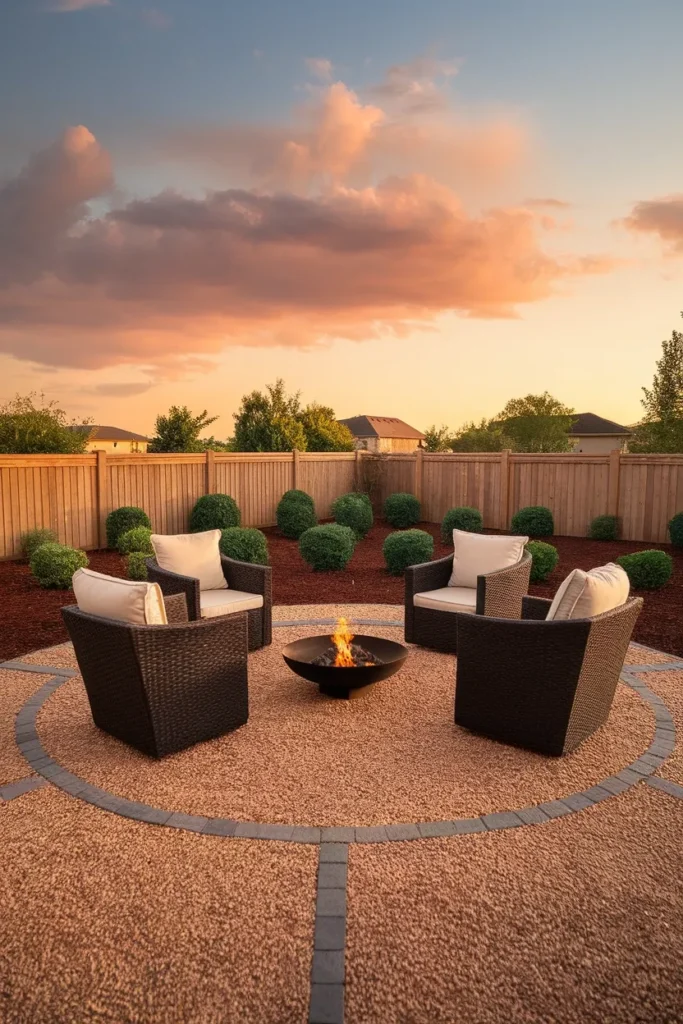
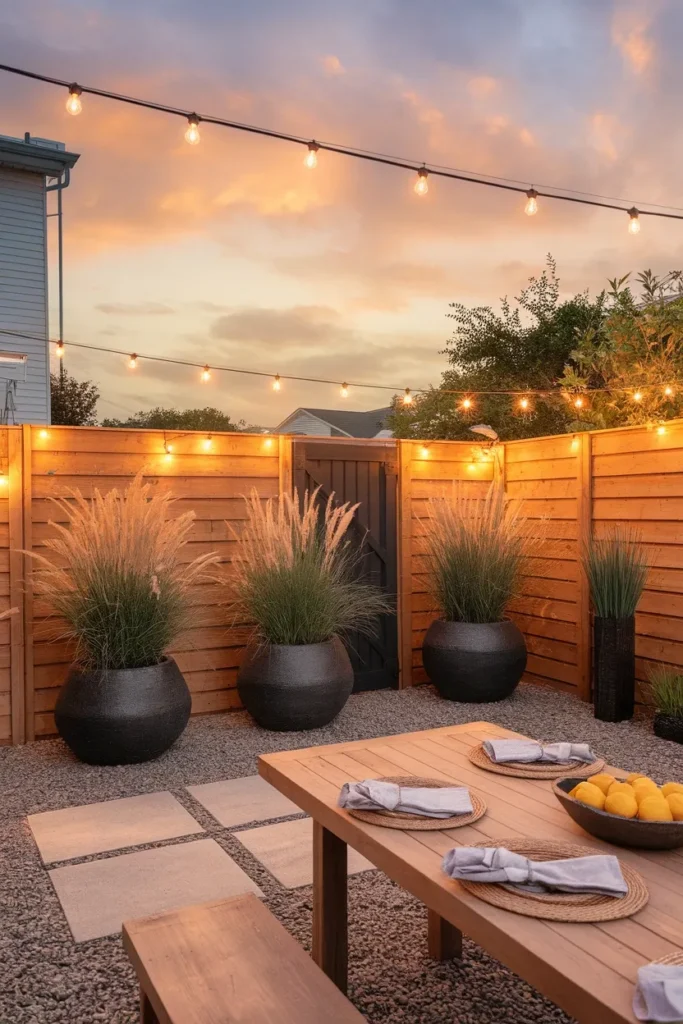
An anchor is any built element that pulls you fifteen feet into the yard and gives you a reason to sit there. Fire bowl on a gravel pad. Pergola over a dining table. A raised bed cluster. Even a single bench under a tree, placed deliberately, changes how the whole space functions.
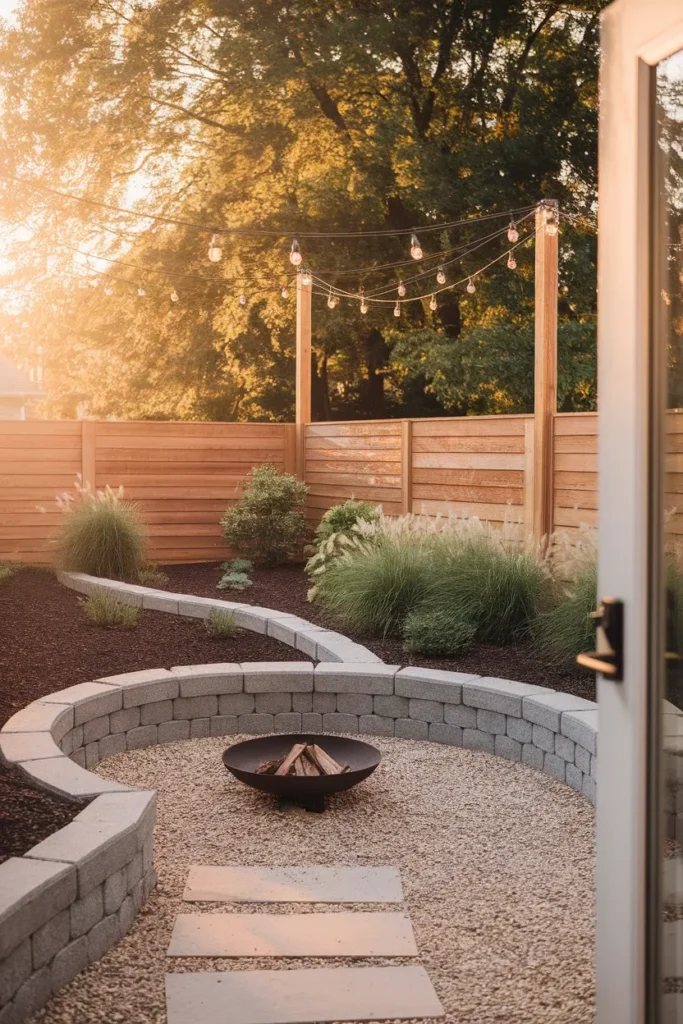
Our favorite low cost version: a round pea gravel pad, roughly 10 to 12 feet across, with a fire feature in the middle. Pea gravel material runs $30 to $55 a ton or $45 to $80 per cubic yard, and installed you are looking at $0.85 to $2.80 per square foot. A 12 foot circle is about 113 square feet, so material and spreading land in the low hundreds. Add a Solo Stove Bonfire or a Sunnydaze steel bowl and four chairs and you have a destination for well under a thousand.
Excavate 4 inches, lay landscape fabric, add a compacted base layer, then 2 to 3 inches of gravel with a steel or paver border to hold it. Skip the border and you will be raking gravel out of the lawn every spring.
If you would rather build up than out, a 4×8 Vego Garden or Birdies raised bed cluster works as an anchor too, especially in a yard where you want food production. Fill the bottom third with logs and branches before you buy soil. I filled my first bed entirely with bagged Miracle-Gro and spent close to $200 on soil alone, which still stings a little.
Lift: Get the Eye Off the Fence Line
Height is what separates a finished yard from a mowed one.
Three layers do the work. Trees give you canopy and shade in five to seven years. A pergola or arbor gives you instant architecture the same weekend. Vertical planting, meaning climbers on a trellis or tall grasses at the fence, fills the middle band.
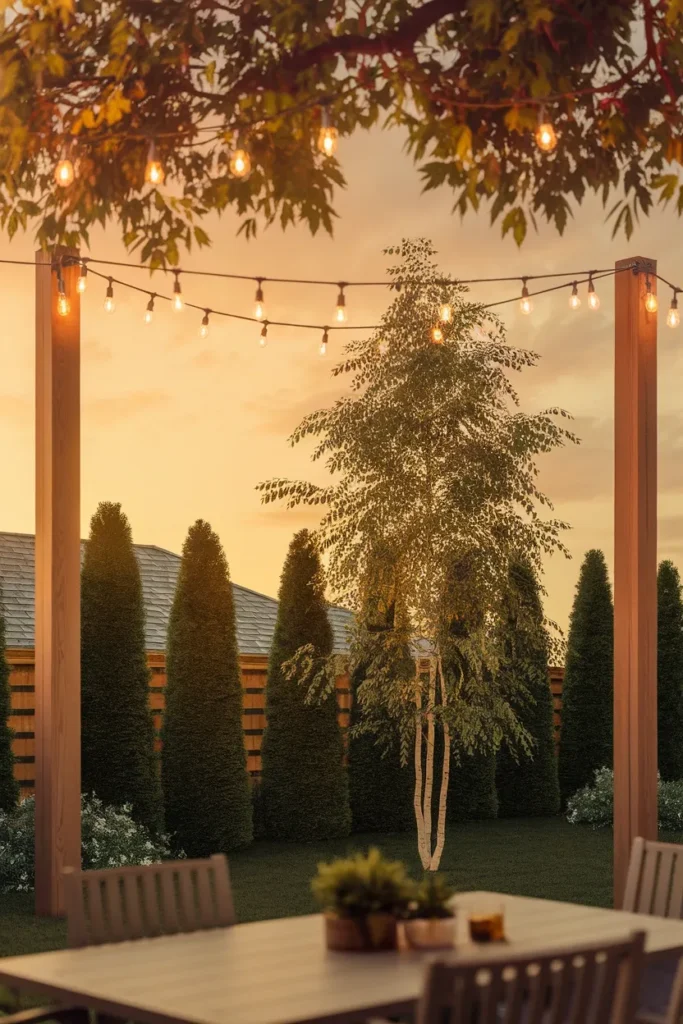
For screening a second story sightline, look for something that will reach 15 to 20 feet without spreading into the neighbor’s yard. Columnar hornbeam, skyrocket juniper, and thuja green giant all fit that brief in much of the country, but confirm against your zone before you buy. Plant screening trees in fall when soil is still warm and the plant is heading into dormancy, which reduces transplant stress compared to a June planting.
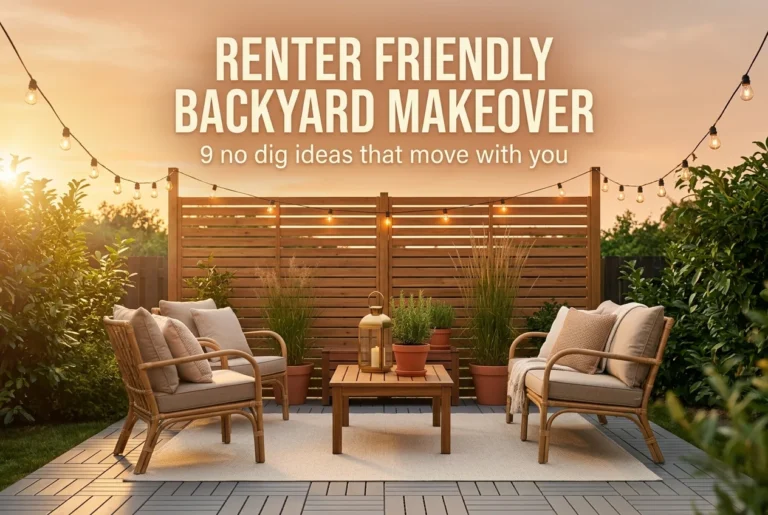
Lighting counts as lift too, and it is the cheapest of the three. Commercial grade string lights on posts read as architecture after dark. We strung our first set on shepherd hooks pushed into soft spring ground and a storm laid the entire run flat within two weeks. Now they run on 4×4 cedar posts set in concrete footings, and they have held through three seasons. Brightech Ambience Pro and the Feit Electric outdoor strings from Home Depot both hold up fine outdoors, generally somewhere in the $30 to $80 range per strand depending on length.
Group plants with similar water needs together while you are at it. That is one of the core water smart landscaping tips from the EPA, and in a yard with compacted soil it also keeps you from drowning one shrub while another goes thirsty.
What a Builder Grade Backyard Makeover Actually Costs in 2026
Real numbers now. None of the photo galleries ranking for this term publish any, so here is what a builder grade backyard makeover costs at current pricing.
| Element | 2026 cost range | Notes |
|---|---|---|
| Paver patio, professionally installed | $8 to $24 per sq ft | 280 sq ft averages $3,350 nationally, range $2,275 to $6,950 |
| Paver patio, full DIY | roughly $19 to $20 per sq ft | Materials plus tool rental for 280 sq ft runs $5,402 to $5,652 |
| Pea gravel patio, installed | $0.85 to $2.80 per sq ft | Material alone $30 to $55 per ton |
| Mulch, installed | $72 to $87 per cubic yard | Covers about 162 sq ft at 2 inches |
| Mulch, bagged DIY | $2 to $13 per bag | About 10 sq ft per bag at 2 inches |
| Steel edging | roughly $2 to $5 per linear ft | Material only, DIY install |
| String lights on posts | roughly $30 to $80 per strand | Plus lumber and concrete for posts |
Now the contrarian part. Look at those first two rows again.
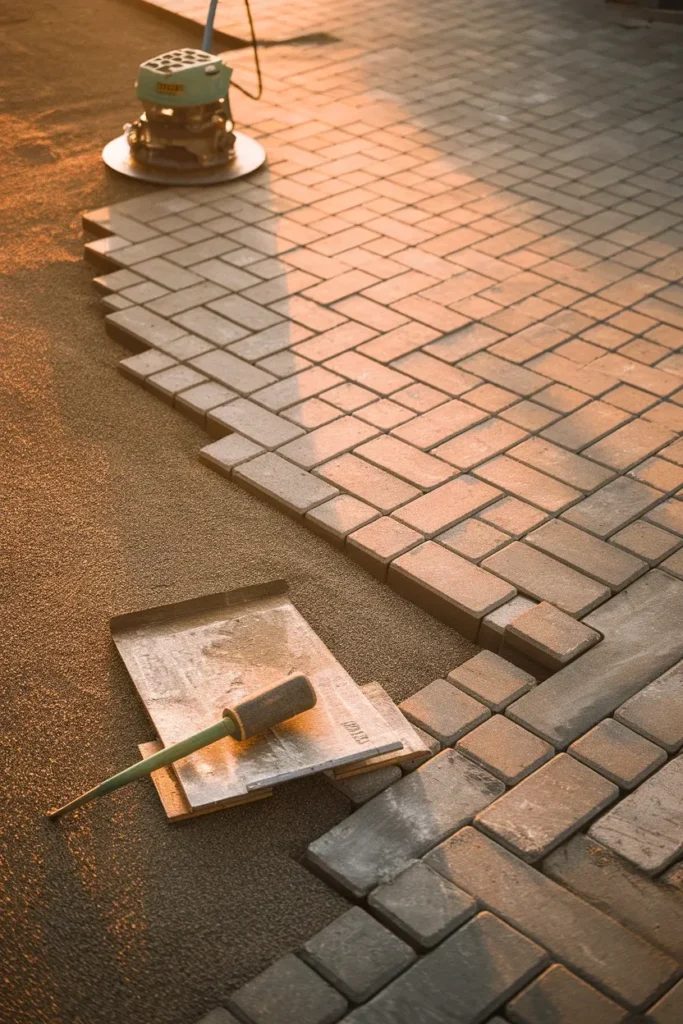
A DIY paver patio can cost you more per square foot than hiring a crew. That runs against every instinct you have. It is also a well documented pattern. Add plate compactor rental, base gravel delivery, polymeric sand, a wet saw, and the material you waste on your first bad cuts, and the savings evaporate. Labor is the one thing you are truly buying back. On a flat new build lot with easy access, that labor is comparatively cheap.
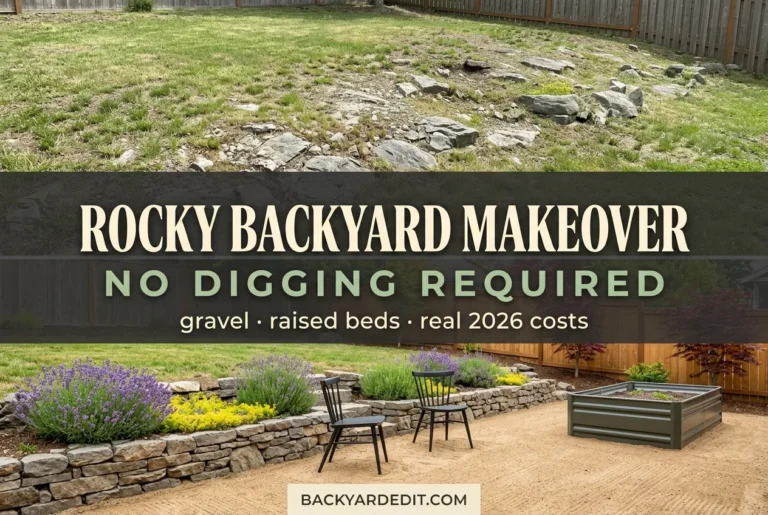
Where DIY genuinely wins is anything that does not require compaction: gravel areas, mulch, edging, planting, lighting, container groupings. That is where we would put your sweat equity. For a fuller menu of low cost floor options, our inexpensive patio ideas guide sorts them by what you can pull off in a weekend.
Rough budget bands we would plan around, assuming a standard suburban lot:
- Under $1,000: bed lines, steel edging, bulk mulch, one gravel pad, string lights, three or four containers.
- $1,000 to $3,000: all of the above plus a fire feature, real furniture, five to seven shrubs, and one screening tree.
- $3,000 to $8,000: add a paver patio or pergola, full perimeter planting, and low voltage lighting.
Prices move with region and season. Treat these as planning ranges and get two local quotes before you commit to anything with concrete in it.
The First Year Timeline That Saves You Money
Sequence beats budget. Truly. Spread a builder grade backyard makeover across four seasons and you buy better, cheaper, and fewer times. Here is the calendar we would follow on a house closed in early spring.
Spring, months one to three. Do nothing structural. Watch the yard. Note where water sits after a storm, where the afternoon sun actually lands, which fence panel catches the neighbor’s floodlight. Run the drainage test. Order bulk mulch and cut your bed lines. Buy nothing that costs more than a bag of compost.
Summer, months four to six. Build the anchor. Gravel pad, fire feature, furniture. Summer is also when you learn how you really use the space, which is different from how you imagined using it in March.
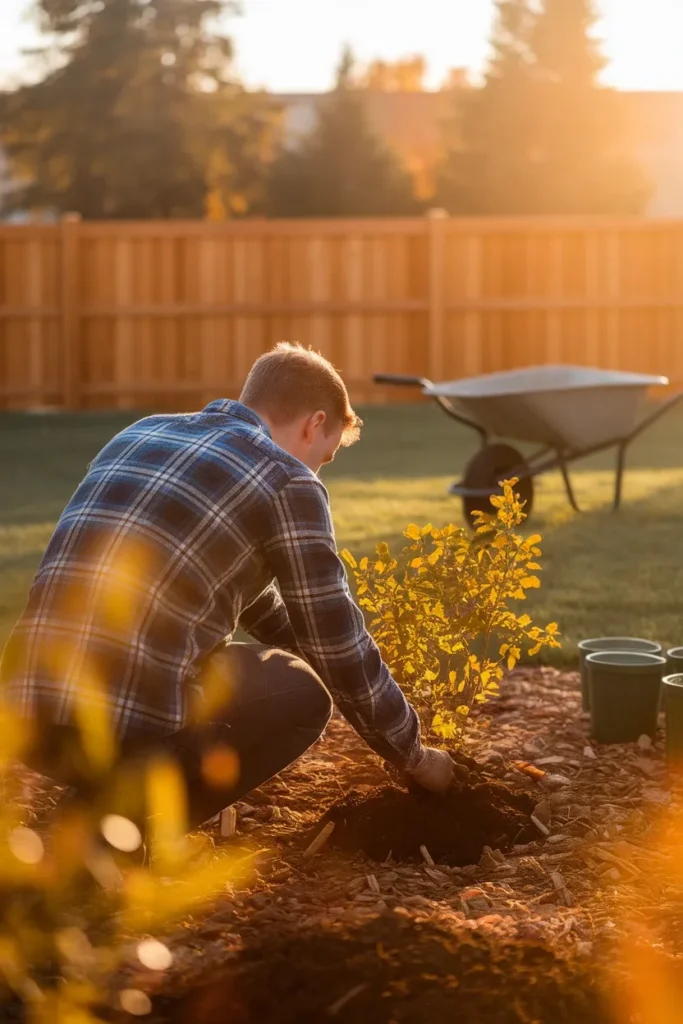
Fall, months seven to nine. Plant. Fall is the best planting window across most of the country because soil stays warm while air cools, so roots establish without heat stress. Trees, shrubs, and perennials all go in now. Overseed any thin lawn areas.
Winter, months ten to twelve. Plan and buy off season. Furniture, fire pits, and planters go on clearance from September onward at Costco, Target, and Wayfair. Hold the line and shop then.
A note on trees specifically: give a new build lot a full year before you plant anything large. Soil settles, drainage patterns reveal themselves after a few real storms, and you will site the tree far better in month twelve than in month two.
Small Upgrades That Punch Above Their Price
Five things that cost very little and change how the yard photographs.
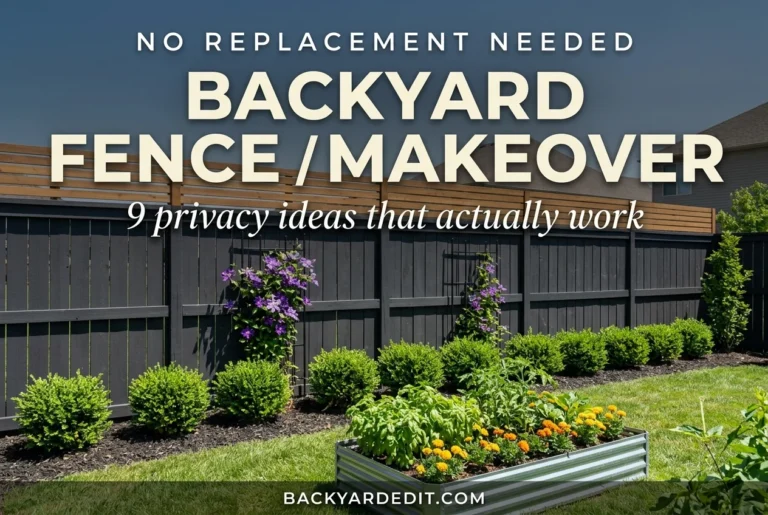
Paint the fence gate, not the fence. One accent element in a deep charcoal or black reads as designed. Painting the whole fence is a maintenance sentence you will regret.
Buy three large containers instead of nine small ones. Scale is what makes containers look expensive. Bloem and Bloem style resin planters in the 20 inch and up range hold moisture better and cost less than the equivalent volume in small pots.
Add a gravel path, even a short one. Six feet of gravel between the slab and the fire pit tells the eye that the yard has a plan.
Group your furniture tighter than feels right. Builder yards tempt you to spread out. Pull chairs into a conversation circle no more than eight feet across.
Uplight one tree. A single well light aimed up through a canopy does more after dark than six path lights ever will.
Honestly, the gate paint and the container scale are the two we would do first in any yard, and together they run under $150.
Frequently Asked Questions
How much does a builder grade backyard makeover cost? Plan on $1,000 to $3,000 for a yard that reads as finished, and $3,000 to $8,000 if you are adding a paver patio or pergola. Professionally installed pavers run $8 to $24 per square foot in 2026, with a 280 square foot patio averaging $3,350 nationally. Gravel, mulch, edging, and lighting are where a small budget stretches furthest.
What should I do first in a brand new backyard? Test your drainage and cut your bed lines. Both cost almost nothing and both change every decision that follows. Buying plants before you know how water moves through the lot is the most common and most expensive mistake in a new build.
Why is the soil in my new construction yard so bad? Heavy equipment compacted the lot for months during the build, and crews typically spread only two to three inches of screened topsoil over that compacted subsoil so the sod would take root. Roots and water both struggle to get through the layer underneath. Amend your beds deeply rather than trying to improve the whole yard at once.
Can I change the grading or drainage in a new build backyard? Usually not without approval. The shallow swale along the rear or side of most new lots is an engineered stormwater feature, and altering it can void a builder warranty and violate HOA or municipal rules. You can plant in it with water tolerant species. Regrading it is a different conversation, and one to have with your HOA and city first.
How long should I wait before planting trees in a new build? Give the lot a full year. Soil settles, drainage patterns become obvious after a few real storms, and you will pick a far better location once you have watched the sun move through all four seasons. Fall of year one or spring of year two is a reasonable window.
What is the cheapest way to make a builder grade backyard look expensive? Bed lines plus mulch plus one gravel seating area. Under $600 in most markets. Definition and a destination read as design far more than any single object you can buy.
Do I need HOA approval for a backyard makeover? Frequently, yes, especially for fences, pergolas, permanent structures, and anything that changes drainage. Plants, mulch, containers, and freestanding furniture rarely require it. Check your covenants before you order materials, not after.
Your Yard Is Not Behind, It Is Just New
Every builder grade backyard starts at exactly the same place. The yards that end up beautiful are almost never the ones with the biggest budget. They are the ones where somebody cut a bed line in April, built a gravel pad in July, and planted in October, in that order. A builder grade backyard makeover is a sequence, not a shopping trip.
Pick one move this weekend. Lay a hose on the grass and shape a bed line. That is it. Look at it Monday morning with your coffee and you will already see the yard differently.
If you have a builder yard you are working on right now, we would love to hear which of the three moves you started with, and what you would do differently the second time around.