The Fire Pit Pergola Combo That Turns a Flat Patio Into an Outdoor Room
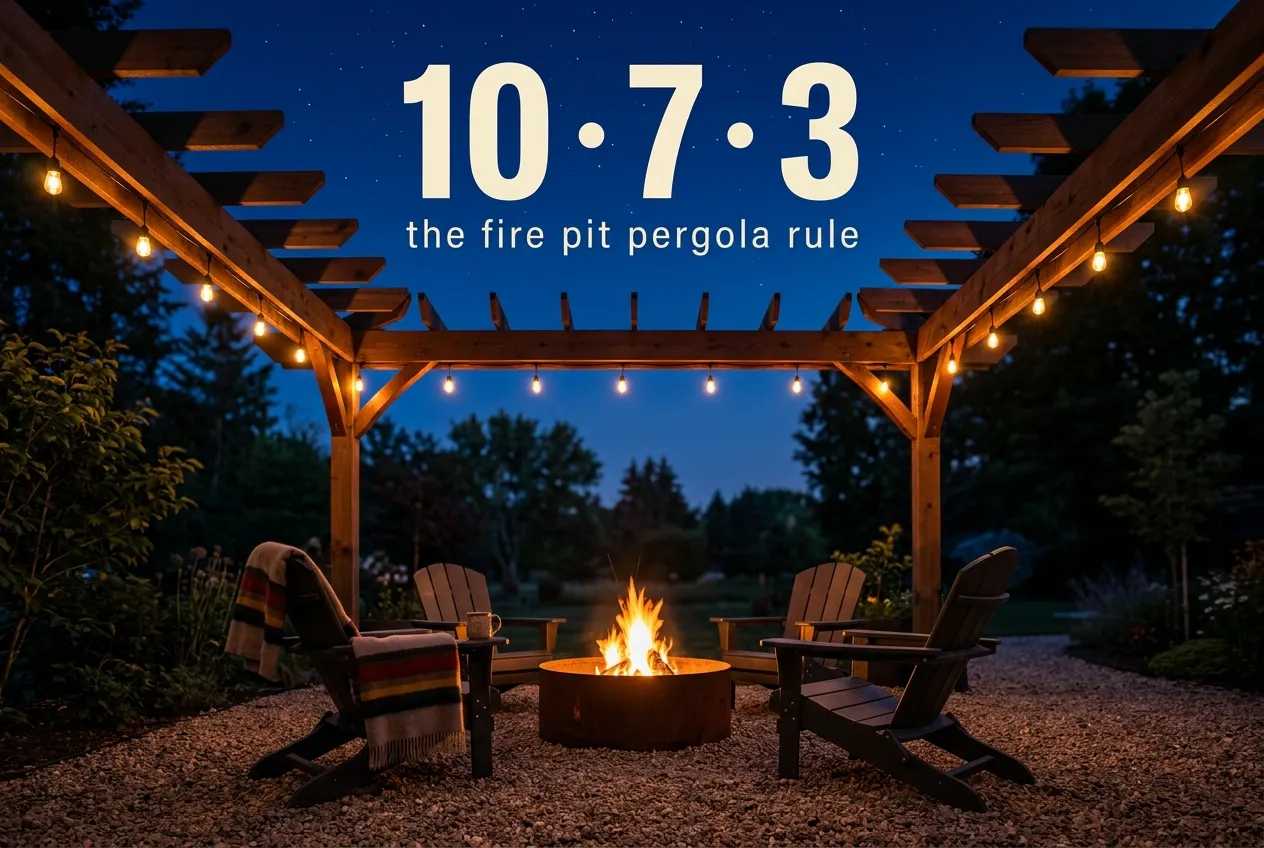
Most backyards have a dead zone. A slab, a patch of gravel, some chairs nobody sits in after Labor Day. A fire pit pergola fixes that dead zone faster than almost anything else you can build. It does two jobs at once. The fire gives you a reason to go outside in October, and the structure overhead gives the space walls it doesn’t actually have.
Here’s the promise. By the end of this you’ll know exactly how much clearance you need and which fire type your setup can handle. You’ll also know what a fire pit pergola costs at three honest budget levels, plus the one maintenance problem nobody selling pergolas will mention.
Quick note before anything else. If your instinct is to run a wood fire under a low wooden structure, pause. That’s the version that goes wrong. The good news is that propane fire pit setups solve about 80 percent of the problem on their own, and we’ll get to why.
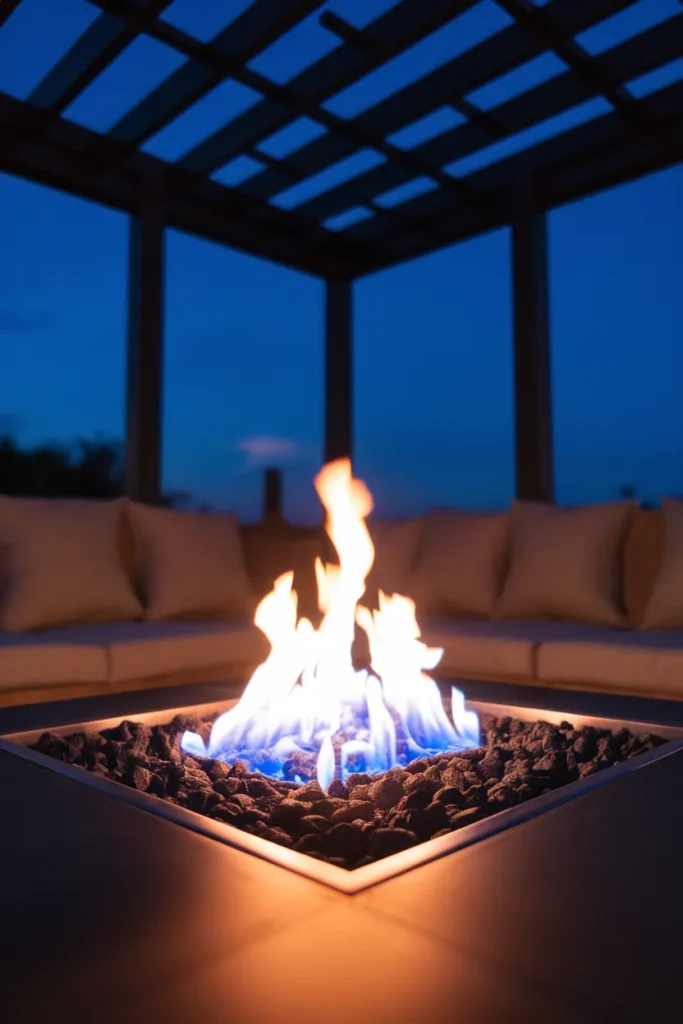
Why the Fire Pit Pergola Combo Works So Well
A pergola doesn’t do much on its own. It throws stripey shade at noon and looks nice in photos. Pair it with fire and the whole thing changes character, because now you’ve defined a room. Posts at the corners read as walls to your eye even though air passes right through them. That’s the trick.
The fire handles the other half. Warmth extends your season by weeks on both ends. In Zones 5 through 7, first frost usually lands somewhere between early October and mid November. That’s exactly when a bare patio stops getting used. Check your own band against the USDA Plant Hardiness Zone Map or your county extension office before you plan around a date, since micro location shifts things more than people expect.
There’s a third thing that gets less attention. Vertical structure gives you somewhere to hang lights, and lighting is what makes an outdoor space feel finished instead of temporary.
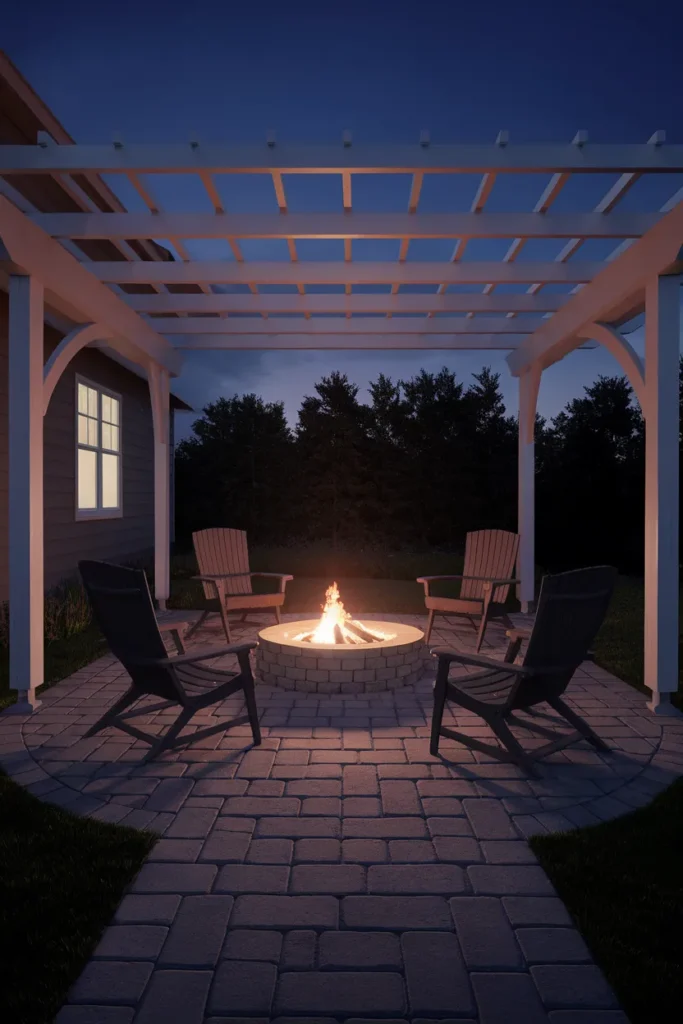
The 10-7-3 Rule: Clearance Made Simple
This is the part every homeowner gets wrong, so we built it into three numbers you can hold in your head. Screenshot this one.
The 10-7-3 Rule
| Number | What it covers | Why |
|---|---|---|
| 10 feet | Vertical clearance for a wood-burning fire | Matches the minimum in IFC 307.4 and NFPA 211. Embers rise, and wood fires throw them without warning |
| 7 feet | Vertical clearance for a gas or propane fire to a non-combustible structure | The common manufacturer floor is 84 inches. Controlled flame height, no sparks |
| 3 feet | Horizontal setback from the fire edge to furniture, posts, and anything soft | Radiant heat scorches cushions and vinyl long before anything catches |
Two footnotes that matter. Ten feet is a floor. Not a target. Twelve to 15 feet dissipates heat better and cuts down on the discoloration problem we’ll cover shortly. And the 7-foot gas figure assumes non-combustible material overhead. Put gas under wood and you want more, plus your specific unit’s spec sheet, because BTU output varies enormously between a 40,000 BTU tabletop and a 200,000 BTU custom burner.
Your fire pit also needs to sit at least 10 feet from the house, fences, and low branches. That’s straight from official outdoor fire safety guidance, which also asks you to keep a metal screen over any wood-burning fire and put it fully out before you go inside.
Before you build anything, call your fire department. Some towns ban open burning outright, some allow gas only, and some want a permit for the structure regardless of the fire. The NFPA is blunt about this in its guidance on fire pit clearance and local burn rules: provisions differ community by community, and a ten minute phone call beats tearing something out.
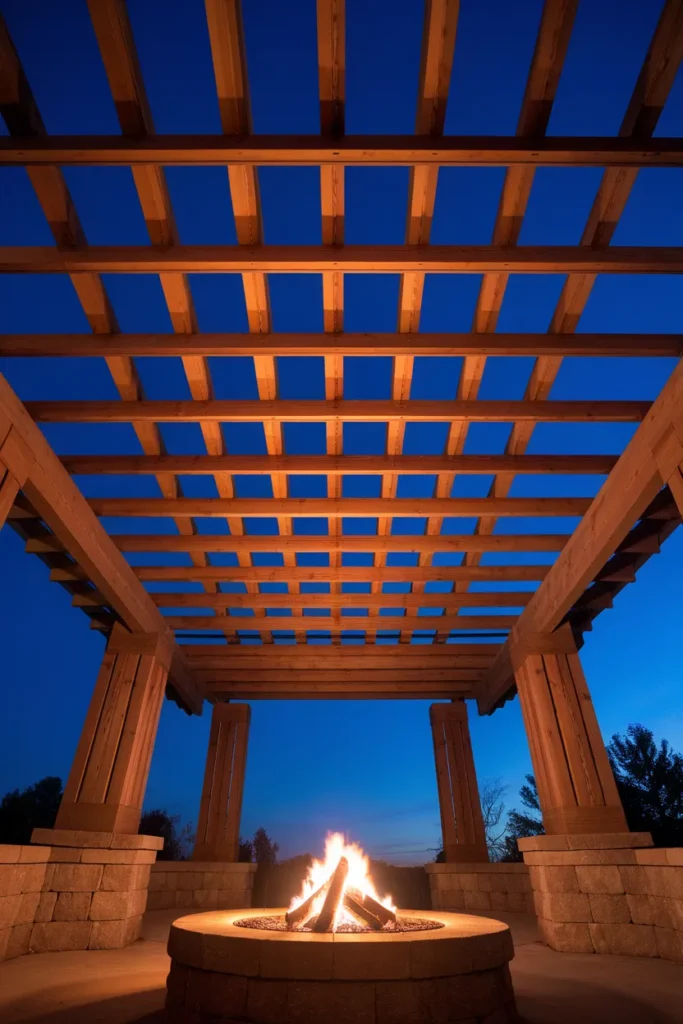
Fire Pit Pergola Planning: Choose the Fire First
Almost everyone plans a fire pit pergola backwards. They design the structure first, then wonder what fire pit fits under it. Flip the order and the decisions get easy.
Gas or propane. The straightforward answer for a covered space. No embers, no sparks, flame height you control with a knob, and you can shut it off and walk inside. A Solo Stove or Breeo smokeless unit will cut visible smoke substantially, though smokeless is a real reduction and not a literal zero.
Wood-burning. The one people want and the one that causes trouble under a structure. If you’re committed, you need maximum height, a spark screen at all times, and acceptance that you’ll be cleaning the beams. Several fire-conscious regions restrict wood burning entirely now.
Portable. Underrated. A propane bowl or fire table you can roll out from under the beams on a still night gives you both options, and it’s the only version that works for renters.
Honestly, the portable route is what we’d point most first-timers toward. It costs the least, it commits you to nothing, and after one season you’ll know whether you actually use the space enough to pour footings.
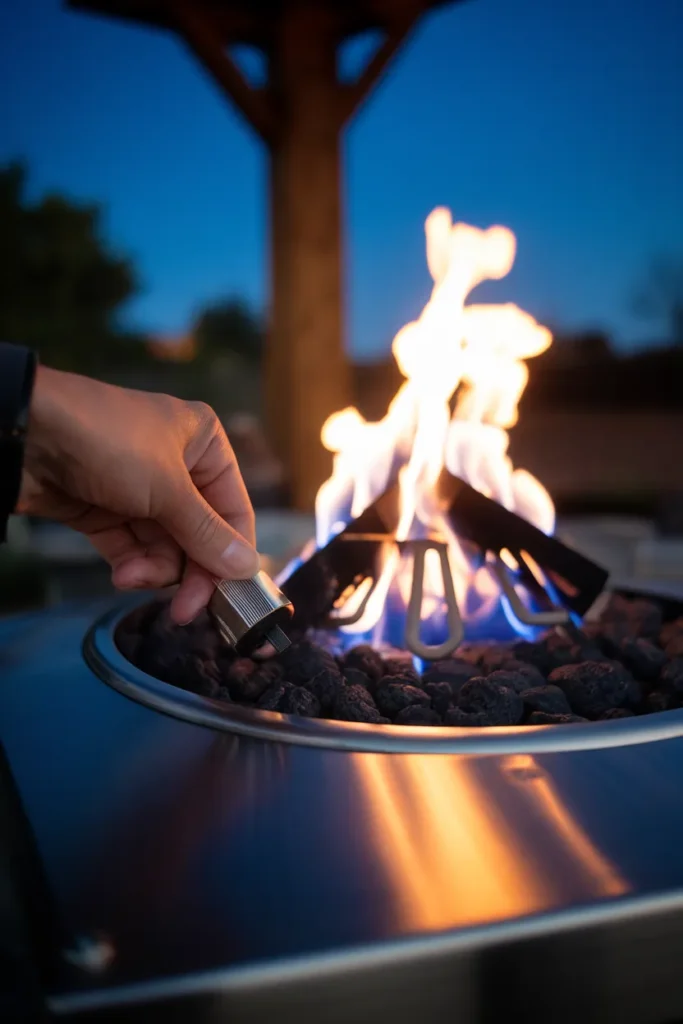
You Already Have a Wood Pergola. Now What?
Every guide ranking for this topic is published by a company that sells aluminum pergolas, and every one of them arrives at the same conclusion: buy aluminum. Useful if you’re starting from zero. Useless if you have a cedar structure already standing in your yard.
So here’s the version nobody writes. You have four real options, roughly in order of cost.
- Offset the fire. Move the pit to the open edge of the pergola instead of dead center. You keep the visual pairing, the smoke and heat go straight up into open sky, and you spend nothing. This is the single best fix on the list, which is why it’s first.
- Switch fuel. Swap a wood pit for a low-output propane unit. Cuts embers to zero and drops your clearance requirement significantly.
- Raise the beams. If your posts allow it, extending them is a real weekend project rather than a rebuild. Getting from 8 feet to 11 changes the math completely.
- Add a heat shield. A non-combustible panel mounted to the underside of the beams directly above the fire. Least elegant, but it works, and it’s the standard solution on covered patios.
One thing to skip entirely: climbing vines, hanging baskets, and draped fabric anywhere near the fire zone. Wisteria over a pergola looks incredible in photos and is dry, flammable material sitting directly in the ember path.
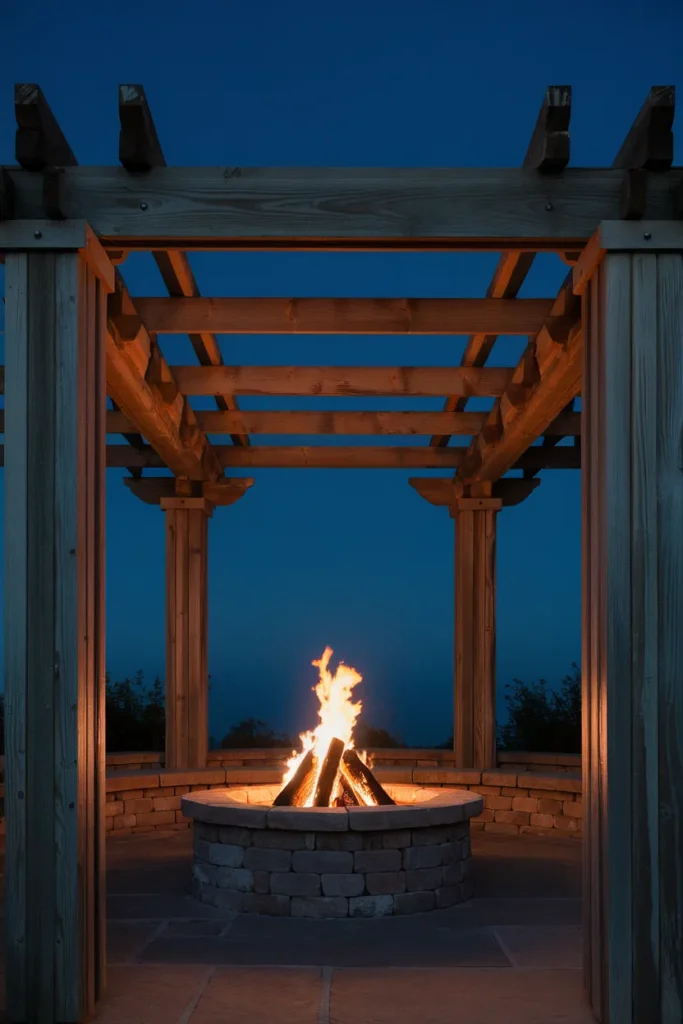
The Soot Problem Nobody Warns You About
Fire risk gets all the attention. Staining is what actually happens.
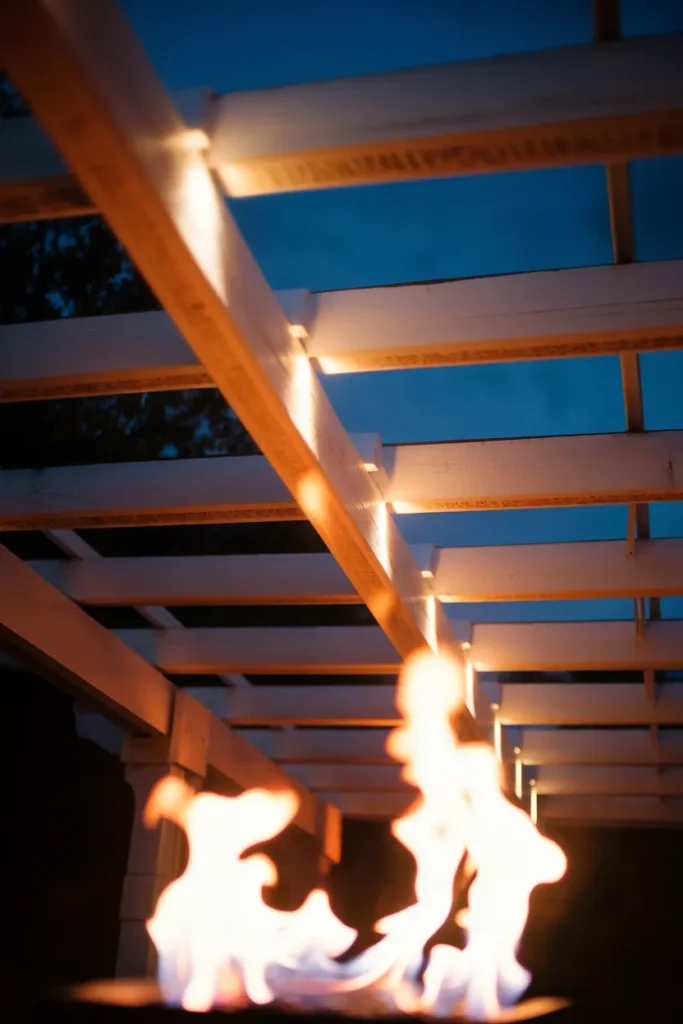
Run a wood fire under any structure for a couple of seasons and the beams directly above start to darken. Not char, not damage, just a gradual grey-black film that builds until you notice it one afternoon and can’t stop noticing it. Light-painted pergolas show it worst. White is brutal. Truly.
Gas is cleaner. Not immune, though, especially if the burner runs rich and you’re seeing yellow-tipped flames instead of blue. Yellow tips mean incomplete combustion, and incomplete combustion means carbon deposits going somewhere.
What actually helps: more height, a smokeless-design pit, seasoned hardwood instead of damp softwood, and a soft brush with mild detergent once a season before the film sets. Pressure washing raw cedar is a mistake that fuzzes the grain permanently.
Layout and Seating That Actually Fits
A 10×10 pergola sounds generous until you put a 36-inch fire pit in the middle and try to walk around it. Do the arithmetic before you build. Fire pit width plus 3 feet of clearance on each side plus roughly 2 feet of walkway is your true minimum footprint.
Most yards need a 12×12 minimum for a centered fire. A 10×12 works if you offset it. Smaller than that and you’ve built a beautiful space where everyone stands awkwardly.
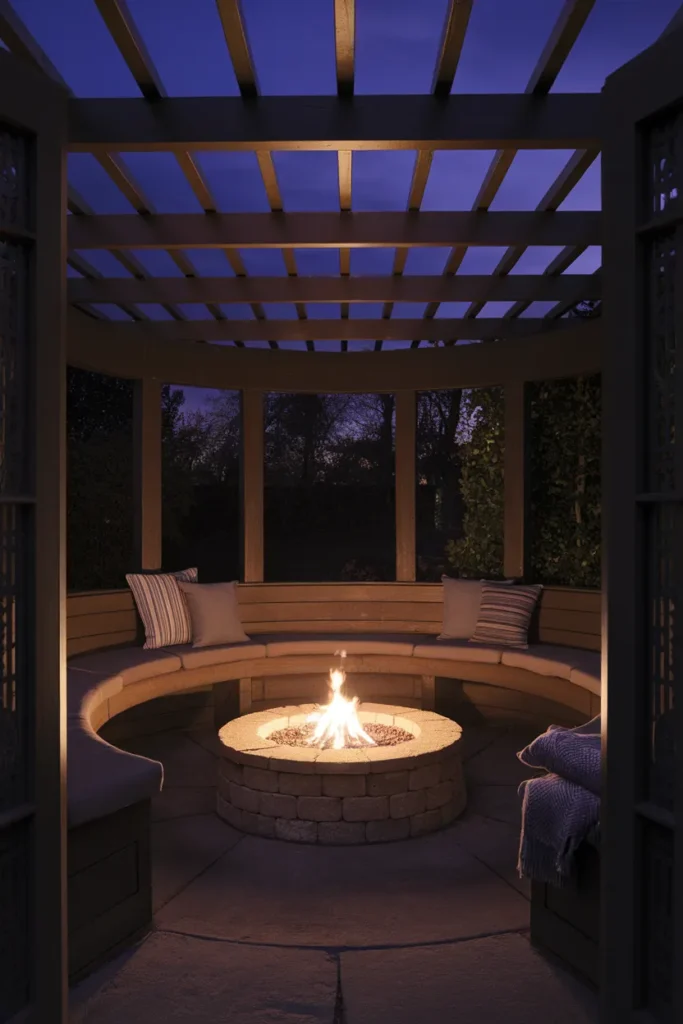
Seating splits into two camps. Movable chairs give you flexibility and let you pull back on hot nights. Built-in fire pit bench seating gives you more capacity in less square footage and makes the whole thing look designed rather than assembled. Curved benches around two thirds of the circle, with the open third facing your best view, is the layout that photographs well and works better in person.
Watch the wind line. Keep cushions and throws out of it. On a breezy evening anything that flutters toward the flame should be secured or brought in.
Lighting: The Part That Sells the Whole Thing
Firelight alone is beautiful and completely impractical. It flickers, it dies down while you’re mid conversation, and it lights nothing above knee height.
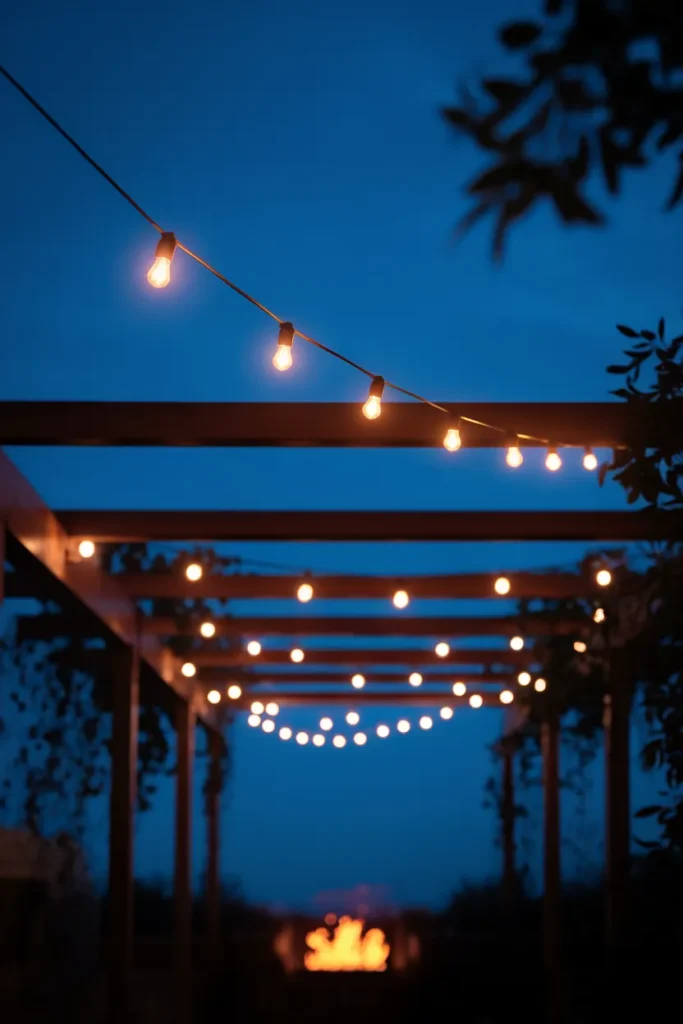
Two layers fix it. String lights along the beams give you ambient glow, and warm bulbs in the 2200K to 2700K range are what read as cozy. Cooler temperatures make a warm cedar structure look like a parking garage. Brightech and Feit both do weatherproof Edison-style strands in the $30 to $60 range for a 48-foot run, which is enough for a typical pergola perimeter.
Second layer: something low. Solar path lights, a couple of lanterns on the ground, anything that keeps people from stepping into the fire zone in the dark. Run string lights along the outer beams rather than directly over the flame. Heat and plastic sockets are not friends.
What a Fire Pit Pergola Actually Costs in 2026
Prices move, so treat these as current ballpark tiers rather than quotes, and confirm before you buy.
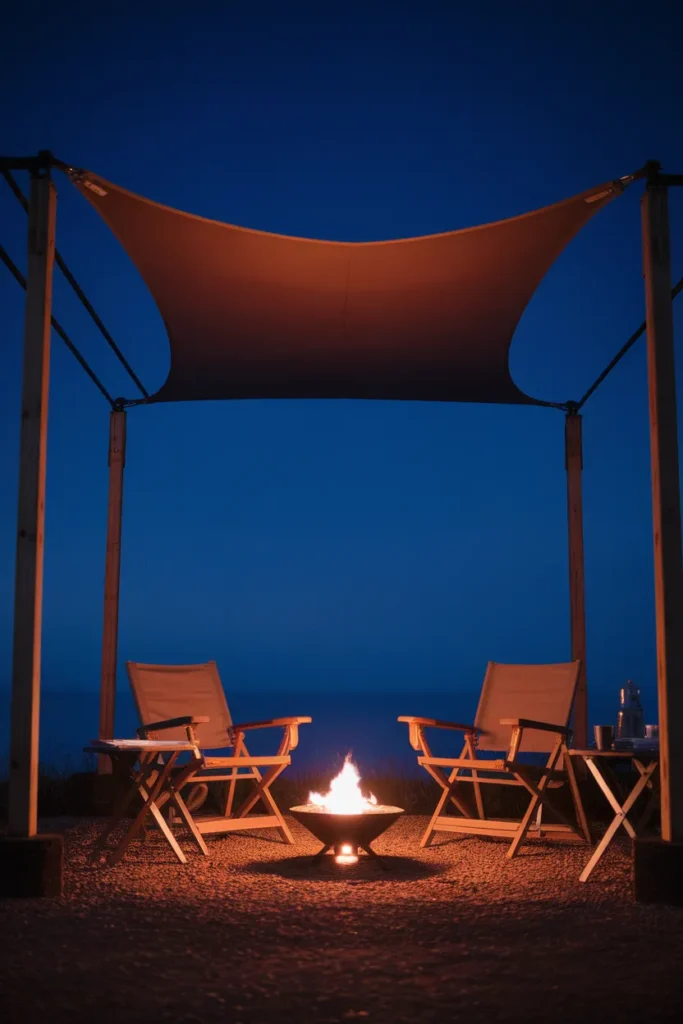
Under $500, the trial run. A shade sail or a simple bracket-built frame plus a portable propane bowl. One documented DIY 10×10 pergola build came in around $870 all in, using a Simpson Strong-Tie bracket system and eight 4x4s. A basic propane fire bowl from Home Depot or Tractor Supply runs well under $200. Renter friendly if you use a freestanding frame.
$1,500 to $3,000, the weekend build. DIY cedar or pressure treated pergola materials generally land in the $500 to $1,500 range, plus a better fire feature and lighting. This is where most people who like building things end up.
$3,000 to $10,000 plus, the finished room. Professional installation averages around $4,000 for the pergola alone, with most projects falling between roughly $2,300 and $6,000, and custom or aluminum louvered systems climbing well past that. A published DIY firepit pergola plan with swings estimates $2,300 to $5,000 in supplies on its own.
Where does the money actually go? The structure. A perfectly good fire pit runs a few hundred dollars. The overhead is what scales.
Frequently Asked Questions
Can you put a fire pit under a pergola? Yes, with the right combination of clearance, fuel type, and materials. Gas and propane under an open-slat structure with 7 or more feet overhead is the straightforward version. Wood-burning under a low wooden pergola is the version that causes problems.
How much clearance do you need between a fire pit and a pergola? Ten feet vertical for wood-burning, matching IFC 307.4 and NFPA 211. Seven feet is the common manufacturer minimum for gas to a non-combustible structure. Twelve to 15 feet performs better than either floor. Keep 3 feet horizontally from furniture and posts.
Is a wood pergola safe over a fire pit? It can be, with enough height, a gas fire, and no vines or fabric in the ember path. Aluminum is genuinely more forgiving because it won’t ignite. If your cedar pergola is already built, offsetting the fire to the open edge is usually the better fix than replacing the structure.
Do you need a permit for a fire pit under a pergola? Often yes, for the structure, the fire, or both. Rules vary widely by town. Check local building codes, the fire department, and your HOA before you dig.
What’s the best fire pit to use under a pergola? A gas or propane unit with controllable flame height. No embers, no sparks, instant shutoff. A smokeless wood design is second best if you want real flame and have the clearance for it.
How far should furniture sit from the fire pit? Three feet minimum from a wood fire, and 5 feet is more comfortable. Gas units run closer safely because there are no flying embers, though radiant heat still affects fabric over time.
How do you stop soot from staining pergola beams? More vertical height first, then a cleaner burn: seasoned hardwood, a smokeless design, or gas. Brush the beams with mild detergent once a season before the film sets. Skip the pressure washer on raw cedar.
Start With One Number
If you take one thing from all of this, take the 10-7-3 Rule. Ten feet up for wood, seven for gas, three feet out from anything soft. Almost every fire pit pergola that goes wrong went wrong on one of those three numbers.
Then start small. The best fire pit pergola is the one you actually sit in. Put a portable fire bowl under whatever overhead structure you have, sit out there four or five nights, and pay attention to where people naturally gather and where the smoke drifts. That information is worth more than any plan you draw in advance.
Maybe a full open pergola feels like more air than you want overhead. Our guide to patio roof ideas for year round shade covers the sheltered end of the spectrum, including what changes about fire clearance when you go solid.
What’s your yard working with right now, a bare slab or something already standing?