DIY Outdoor Furniture Projects Anyone Can Build (Even Without a Shop)
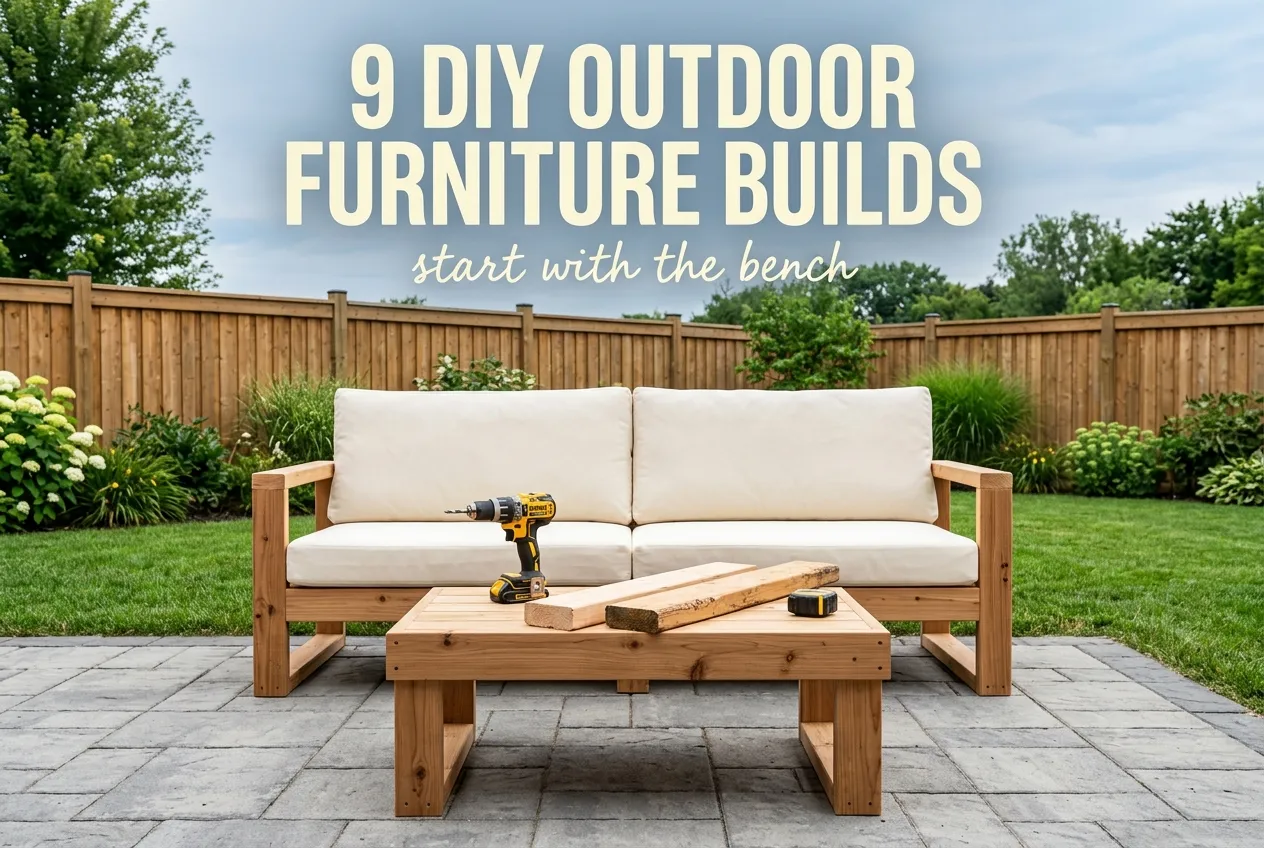
Most DIY outdoor furniture projects die on the third weekend. The lumber gets cut, the frame goes together, and then the whole thing sits half assembled under a tarp until August. Nobody planned the finish or the order of operations, and that is the real failure point behind most stalled DIY outdoor furniture builds, which has almost nothing to do with your skill level. Below are nine builds ranked easiest to hardest, the exact sequence to tackle them in, real 2026 material costs, and the finishing schedule that decides whether your work still looks good in year four.
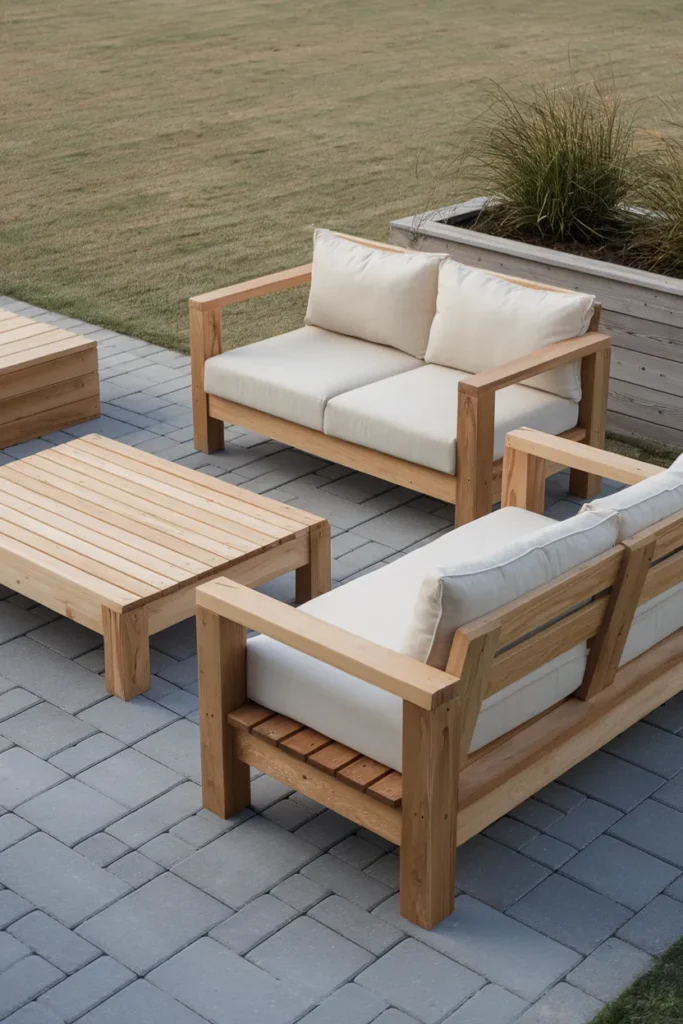
Start With the Bench, Not the Sofa
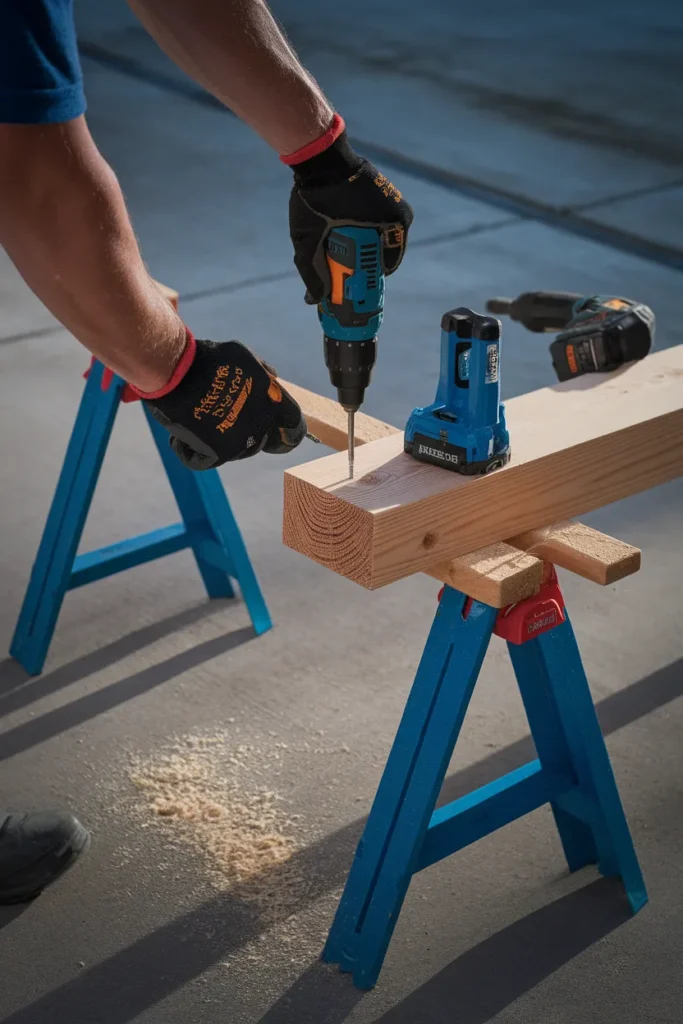
Here is the single most useful tip on this page. Build a bench first.
A bench is four straight cuts repeated, no angles, no seat back geometry, and no cushion sizing to solve. You learn how your saw tracks, how your screws bite, and how square your assembly actually is. All of that happens on a piece that still looks good if the joints sit a hair off. We have built the same 2×4 bench four times now, and the fourth one took ninety minutes start to finish.
Compare that to a sofa. A sofa has a back angle, arm height, cushion depth, and a seat deck that has to carry a person leaning hard into one corner. Start there and your first Saturday goes to geometry instead of building.
One more thing worth saying out loud, because Pinterest will tell you otherwise. Pallets are not the beginner shortcut for DIY outdoor furniture that they appear to be. Pallet boards run thin, warp unevenly, and split when you drive a screw near the end grain. Free wood also stops being free once you have bought a pry bar and lost an afternoon to nails. If you love the look, go in with your eyes open and read our guide to pallet outdoor furniture first. Otherwise, a $6 stud beats a free pallet every time.
The Weekend Ladder: Build Them in This Order
Here is the framework we use to sequence every DIY outdoor furniture project on this site. The Weekend Ladder ranks builds by the one new skill each teaches, so every piece you make prepares you for the next rung instead of throwing you at a technique cold. Climb it in order and you finish a full patio set in roughly six weekends without a single wasted board.
Screenshot this one.
| Rung | Build | Time | New skill it teaches |
|---|---|---|---|
| 1 | Slatted bench | One afternoon | Square cuts, consistent spacing |
| 2 | Coffee table | One afternoon | Leg assembly, racking resistance |
| 3 | Side table | Half a day | Small scale precision, scrap use |
| 4 | Planter bench | One weekend | Joining two forms into one piece |
| 5 | Two seat sofa | One weekend | Back angle, cushion sizing |
| 6 | Dining table | Two weekends | Long span support, tabletop flatness |
Most people jump straight to rung five, because that is the piece that looks good on a pin. Rungs one through three cost about forty dollars in lumber combined. They also buy you the muscle memory that makes rung five look bought rather than built.
Nine DIY Outdoor Furniture Projects, Easiest to Hardest
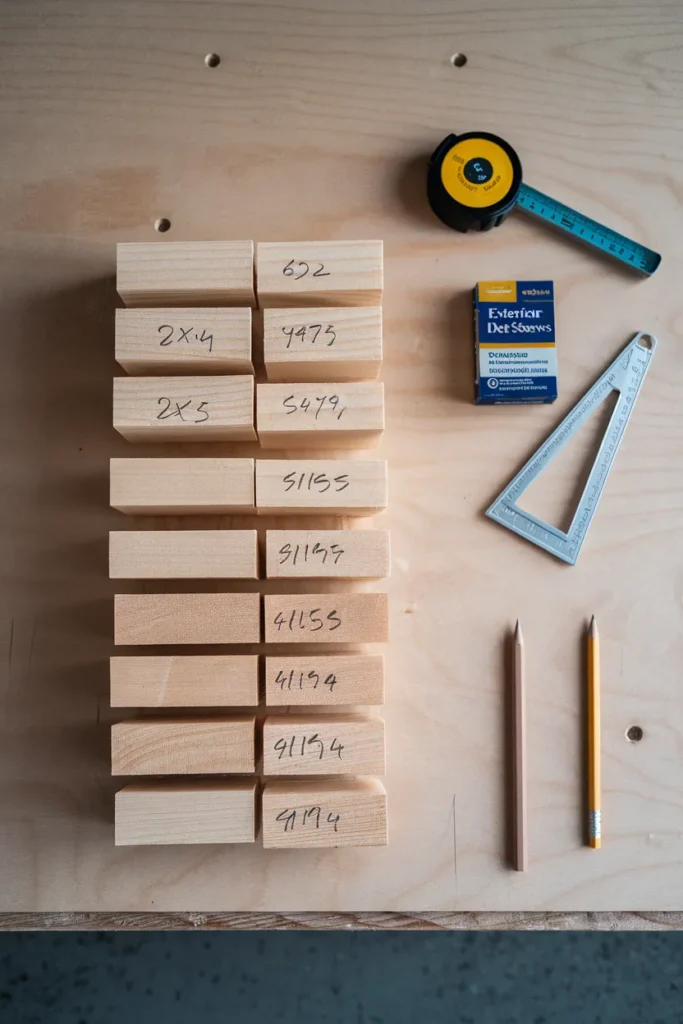
Every DIY outdoor furniture project below uses standard dimensional lumber you can carry out of Home Depot or Lowe’s in one trip. No jointer. No planer. A circular saw or a miter saw, a drill, and a square will build all nine.
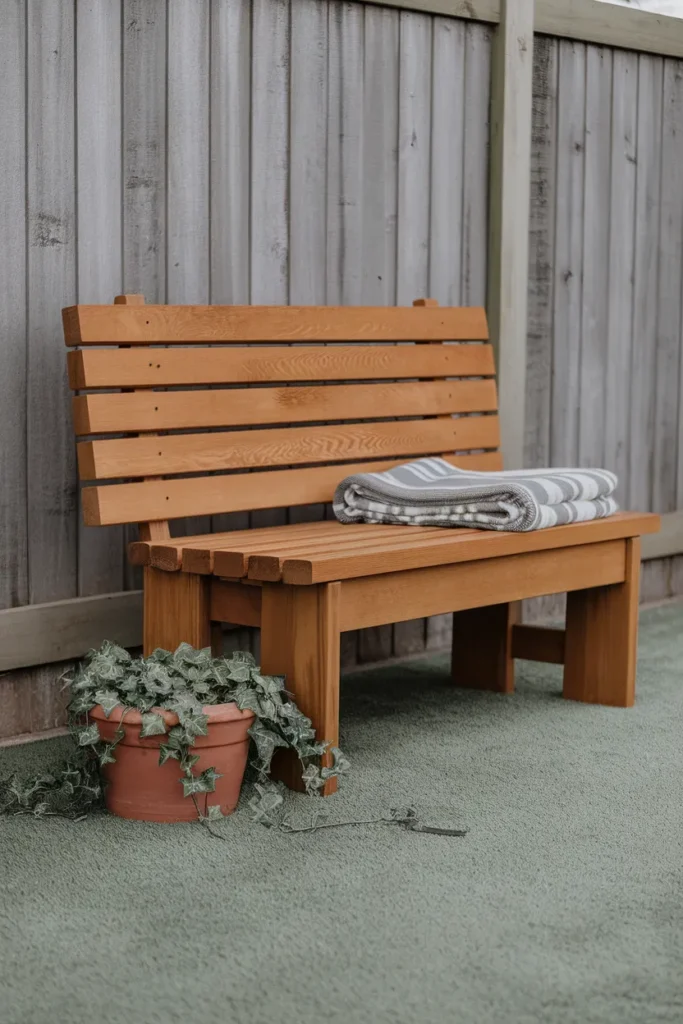
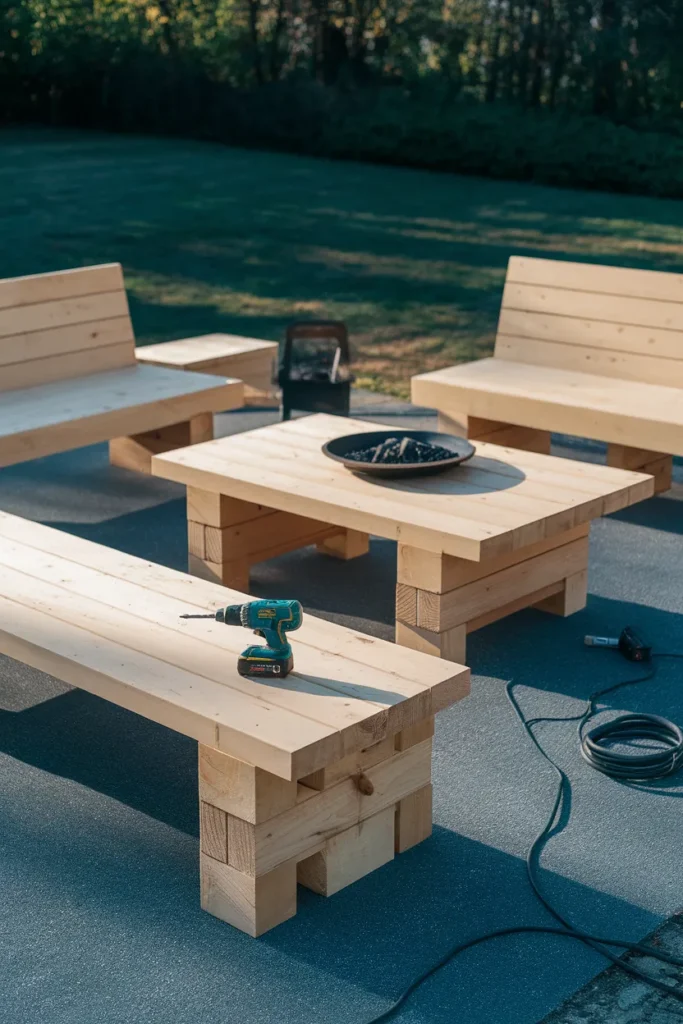
1. Slatted 2×4 Bench
Five 2x4s at eight feet, cut to a 48 inch seat with four legs and two stretchers. Space the top slats with a scrap of quarter inch plywood so the gaps stay even. Total lumber lands around $30 at 2026 retail pricing, which runs $5 to $8 per eight foot stud depending on your region and the week you shop.
2. Chunky Coffee Table
Same joinery as the bench, shorter legs, wider top. Build it 18 inches tall so it sits below seat height and does not block sightlines across a small patio. Two 2x4s and two 2x6s do it. This is the fastest win in DIY outdoor furniture, and most people finish it before lunch.
3. Cinder Block and Post Side Table
The cheapest real furniture in this list. Two solid concrete blocks, a 12 inch square of leftover 2×6 glued up, and a tube of construction adhesive will run you under fifteen dollars total. It will not blow over in a storm, which is more than you can say for most retail side tables at that price.
4. Planter Bench
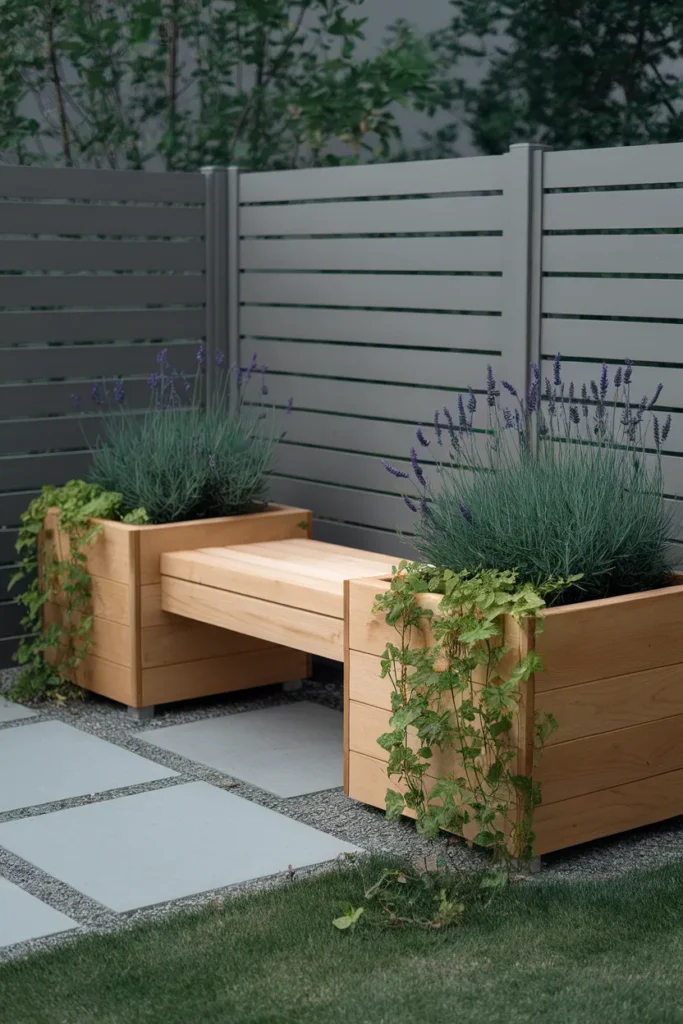
Two cedar planter boxes with a bench seat spanning between them. Guests always ask about this one. It solves seating and greenery in a single footprint, which matters enormously in a narrow yard where every square foot competes.
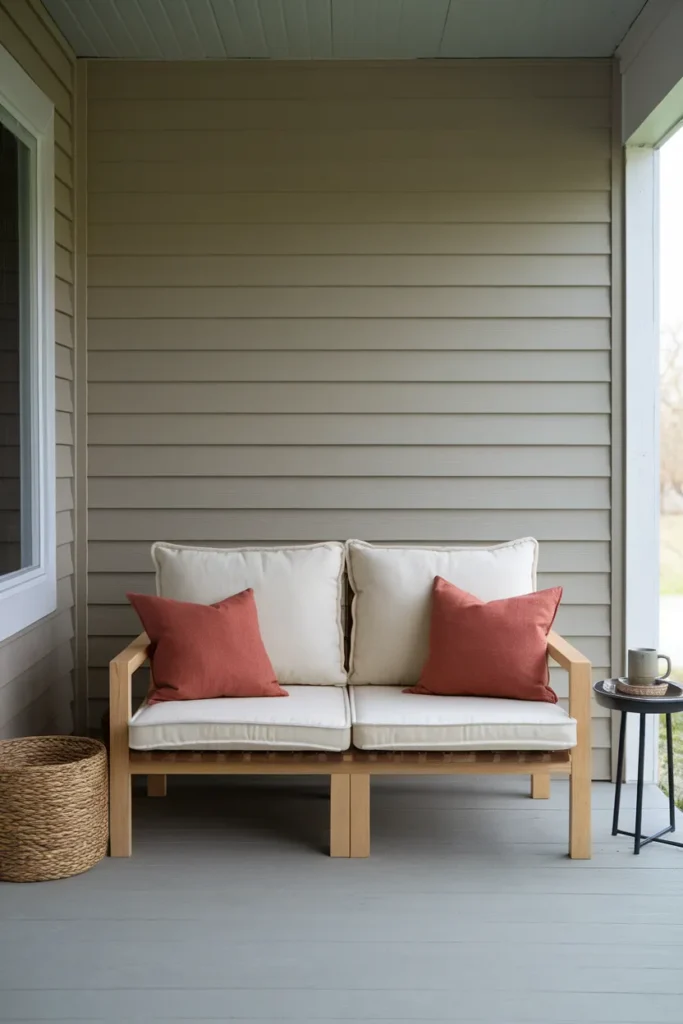
5. Two Seat Outdoor Sofa
This is the rung everyone wants, so buy your cushions before you cut anything and then size the seat deck to match them exactly. A 24 by 24 inch cushion is the most common size in stock across US retailers, so building to that number saves you from a custom order later.
6. Modular Sectional Piece
Once the two seater works, repeat it as an armless middle and a corner unit. Modular DIY outdoor furniture moves, stores, and reconfigures. That flexibility is exactly why modular pieces outlast fixed sectionals in real yards.
7. Adirondack Chair
This is your first angled cut project, so print a template rather than eyeballing the back slope on a piece where every joint shows. A two degree error at the seat becomes an inch and a half of lean at the headrest. Cedar earns its premium here, since every surface on the finished chair is visible.
8. Outdoor Dining Table
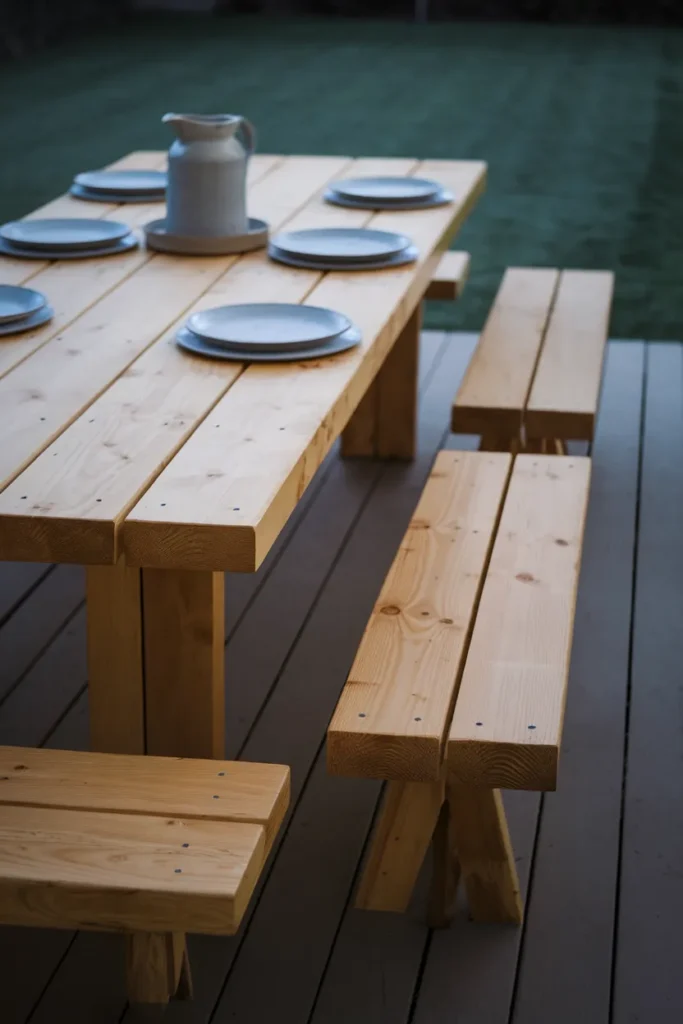
Long spans need a center support or the top will sag by the second summer. Leave a quarter inch gap between top boards so rain drains through and the boards can move with humidity swings.
9. Porch Swing
Save this one for last, because the build itself is straightforward while the hanging is the part that genuinely deserves caution and a second set of hands. Anchor into structural framing, never into ceiling boards alone, and confirm your hardware load rating before anyone sits down.
Wood and Finish: The Two Choices That Decide How Long It Lasts
Everything else on this page is style. These two decisions are the difference between DIY outdoor furniture that lasts a decade and DIY outdoor furniture you rebuild in three years.
Pick the Right Board at the Rack
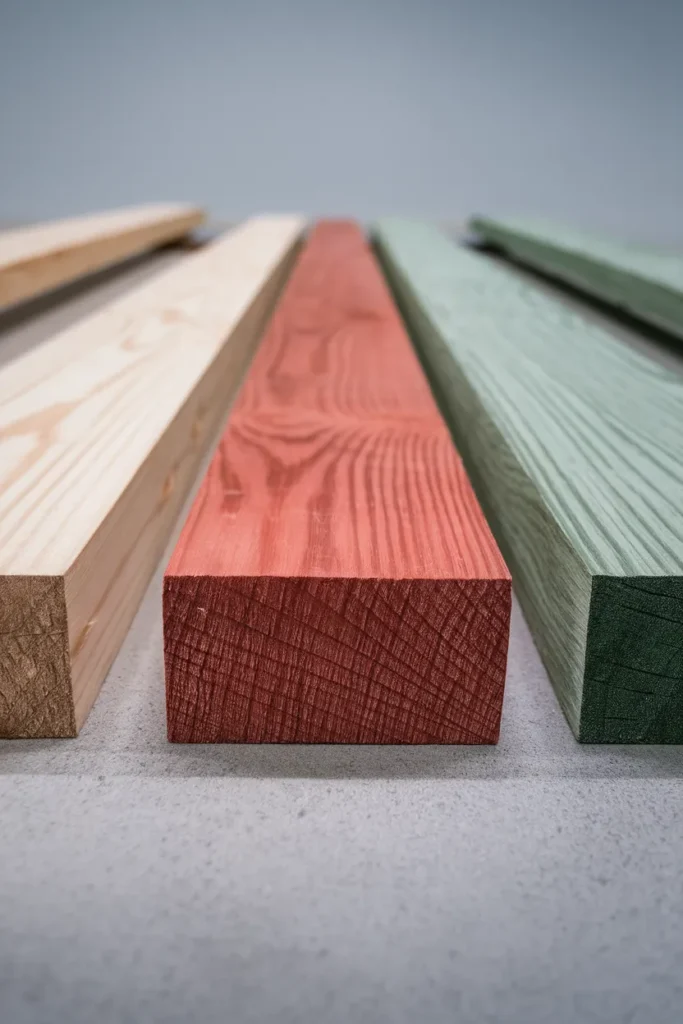
Decay resistance lives in heartwood, the darker inner wood of the tree. The pale sapwood on that same board rots at roughly the same rate no matter how premium the species sounds. The USDA Forest Products Laboratory is direct about this in its guidance on choosing decay resistant wood species. Much of the cedar and redwood sold today is second growth, and it carries a high percentage of that vulnerable sapwood.
The species name on the label alone will not save you, so here is what to actually reach for when you are standing at the rack.
Standard SPF 2x4s work for seating on a covered porch or a deck with airflow underneath, provided you seal them properly. Western red cedar is the sweet spot for fully exposed pieces, light enough to carry alone and stable enough not to twist. Pressure treated pine belongs in legs and frames touching the ground, not in tabletops where food sits.
Buy your boards on a weekday morning when the rack has just been restocked, then sight down every single one and reject anything showing a visible twist or crook. Ten minutes of picking saves an hour of shimming later.
Seal It Before You Sit On It
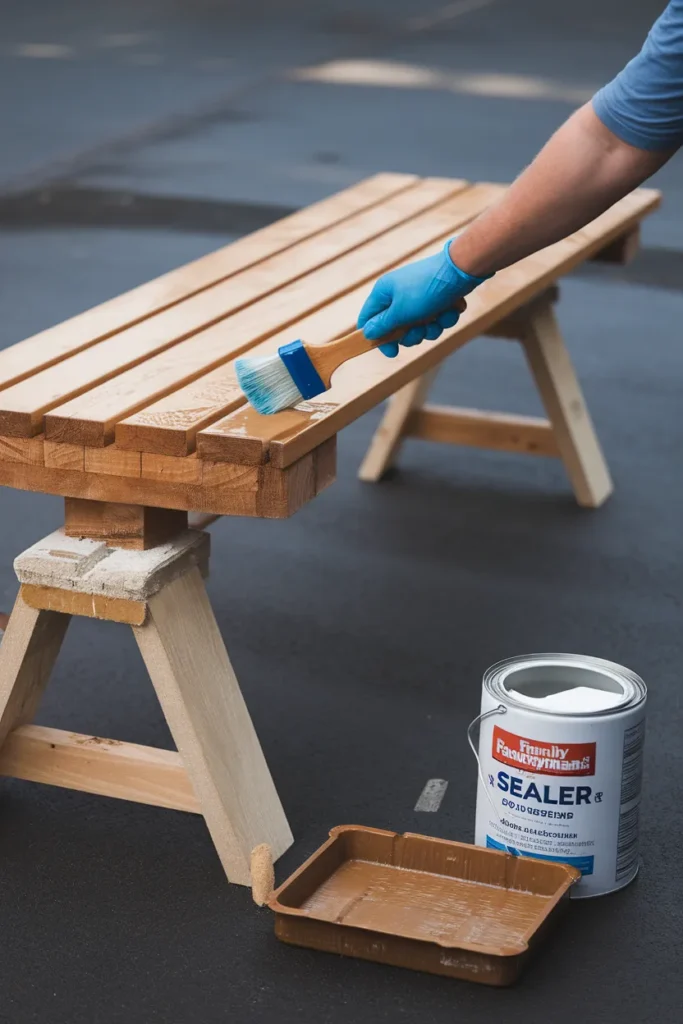
Bare wood left outside starts absorbing water in the first rainstorm. Swelling followed by drying is what opens the cracks you will be filling next season. Seal everything on your DIY outdoor furniture, including the undersides and the cut ends, which drink far faster than face grain does.
Thompson’s WaterSeal Multi-Surface Waterproofer runs about $18 a gallon and covers a full bench plus a coffee table with plenty left over. Prefer color? Olympic Wood Protector semi transparent stain and sealer sits around $35 a gallon and adds pigment, which blocks UV and slows the silver gray fade.
Two rules people skip:
- Apply above 50 degrees Fahrenheit with no rain forecast for 24 hours. In Zones 5 and 6 the last frost usually lands between mid April and early May, so late May is your reliable first finishing window. Check the USDA Plant Hardiness Zone Map if you sit near a zone boundary.
- Recoat annually. One thin maintenance coat each spring outperforms a heavy coat every three years, and it takes about twenty minutes.
We learned that second rule the expensive way. A cedar bench went two full seasons without a recoat, and by the following June the top slats had checked badly enough that sanding could not save them. Our full walkthrough on how to protect outdoor furniture in summer covers the seasonal schedule in detail.
Cushions, Comfort, and the 24 Inch Rule
Buy cushions first. Build to them second. Reverse that order and you will end up hunting for a 26 by 23 inch cushion that does not exist outside a custom upholstery shop.
The 24 by 24 inch seat cushion is the most widely stocked size in the US, followed by 20 by 20 for chairs. Size your seat deck to the cushion footprint and add a half inch of clearance on each side. That gap keeps the cover from compressing against the frame and trapping water underneath.
Seat height matters more than most DIY outdoor furniture guides admit. Aim for 16 to 18 inches from the ground to the top of the cushion, which lands close to a standard dining chair and reads comfortable to most adults. Deck height plus cushion thickness is the number that counts. A four inch cushion means you build a 13 inch deck.
Store cushions inside or in a deck box between uses, because fabric that stays damp will grow mildew on your DIY outdoor furniture whatever the care label promises.
What DIY Outdoor Furniture Actually Costs in 2026
Honest numbers, because the pins never show them.
Softwood framing lumber sits at roughly $5 to $8 per eight foot 2×4 at retail in 2026. That puts a bench near $30 and a coffee table near $25. A two seat sofa frame lands in the $45 to $70 range depending on whether you go cedar or pine. Cushions are the line item that surprises people, and they frequently cost more than all the wood combined.
Tools are the real variable in any DIY outdoor furniture budget. If you already own a drill and a circular saw, you are ready to start today. If you do not, a Kreg Pocket-Hole Jig 320 runs about $40. It turns wobbly butt joints into joints that actually hold, and it is the best forty dollars a beginner can spend on outdoor builds. The larger Kreg K4 sits closer to $99 and is not necessary for any project on this list.
Here is the honest math. A DIY two seat sofa comes in around $60 in materials against $300 or more for a comparable retail piece, so the savings are real. Amortize a first time tool purchase across that single build, though, and you roughly break even. Build three pieces and the tools have paid for themselves twice over.
Lumber pricing moves with the market. Treat these figures as current ranges rather than fixed numbers, and check your local store before you finalize a budget.
Five Mistakes That Kill Homemade Outdoor Furniture
- Interior screws. Standard zinc screws corrode outdoors and streak black rust down your boards within a season, so use coated exterior deck screws or stainless steel instead.
- Wood glue that is not exterior rated. Reach for Titebond III or another waterproof formula, or skip the glue entirely and add a screw.
- Flat tops with no drainage. Every horizontal surface needs a gap or a slight slope. Standing water is what kills tabletops.
- Furniture sitting directly on soil. Legs wick moisture up from wet ground. Add rubber feet or set pieces on pavers.
- Old pressure treated wood repurposed into a tabletop. Structures built before 2004 were commonly treated with chromated copper arsenate. CPSC guidance on outdoor structures built with CCA treated wood advises against using that lumber anywhere routine food contact happens. It also recommends eye protection and a dust mask whenever you cut it.
Fix those five and the gap between homemade and store bought DIY outdoor furniture comes down to your finish coat.
DIY Outdoor Furniture FAQ
Is it cheaper to build your own outdoor furniture? Usually yes on materials, and the gap widens with every piece you build. A two seat sofa frame runs roughly $60 in lumber against several hundred dollars for a retail equivalent. The honest caveat is tools. If you are buying a saw and a drill for one bench, buying the bench is cheaper. Build three or four pieces and DIY wins clearly.
What is the best wood for DIY outdoor furniture? Western red cedar for exposed pieces, standard SPF pine for covered or sheltered ones, and pressure treated lumber for anything touching the ground. Look for heartwood rather than pale sapwood. Decay resistance lives in that darker inner wood, and a sapwood heavy cedar board weathers about as poorly as pine does.
Can I use pressure treated wood for outdoor furniture? Yes for frames, legs, and anything in ground contact. Residential treatments no longer use arsenic based CCA, which was phased out of consumer lumber at the end of 2003. Wear a mask and eye protection while cutting, seal the finished piece, and skip treated lumber for surfaces where food will sit.
What should I seal DIY outdoor furniture with? A penetrating waterproofer such as Thompson’s WaterSeal gives you a clear natural look. A semi transparent stain and sealer like Olympic Wood Protector adds color plus UV protection. Coat every surface, including undersides and cut ends, then recoat once each spring.
How long does homemade outdoor furniture last? Sealed cedar kept off wet ground and recoated annually holds up well past a decade. Unsealed pine sitting directly on soil can start failing in two or three seasons. Maintenance drives the outcome far more than the species you started with.
What tools do I need to build outdoor furniture? A circular saw or miter saw, a cordless drill, a tape measure, a speed square, clamps, and safety glasses. That kit builds every project on this page. A pocket hole jig is optional, though it makes joints noticeably stronger for beginners.
Can a total beginner build outdoor furniture? Yes, and the bench is where to start, since it is straight cuts only, forgiving of small errors, and finished comfortably within a single afternoon. Build that one first and the sofa stops looking intimidating.
Your First Weekend Starts With Five Boards
You do not need a shop, a table saw, or even a garage. Five 2x4s, a drill, and one free Saturday puts a real bench in your yard, which is the entire promise of DIY outdoor furniture in the first place. Rung one of the Weekend Ladder is what makes rung five feel obvious by the time you get there.
Working with a narrow patio or a rental balcony changes the math a little. Start with our outdoor furniture ideas for small backyards and size your DIY outdoor furniture to the space before you buy a single board.
Which rung are you starting on? Save this one and come back when the lumber is in the cart.