Fire Pit Landscaping Ideas: Everything You Need to Know Before You Dig

A fire pit sitting alone on the lawn looks like it got dropped off and forgotten. These fire pit landscaping ideas fix that with a plan you can measure, price, and build in a weekend.
Most inspiration galleries show you the finished yard. They skip the parts that actually decide how it turns out. How wide should the gravel circle be? How many bags is that? Which plants can live near a fire without becoming kindling?
We cover all of it here, with real numbers.
You’ll get a simple three-ring layout, a ground cover comparison, gravel math for three circle sizes, and a list of low-flammability plants for Zones 5 to 9. You’ll also get seating distances, lighting that doesn’t fight the flame, and setups for small yards, slopes, and rentals.
Fall is the best season to build this. The ground is workable, garden centers are clearing stock, and you’ll get to use the pit on the first cool night.
Grab a tape measure. We’ll start with the layout.
Start Landscaping Around a Fire Pit With the Three-Ring Plan
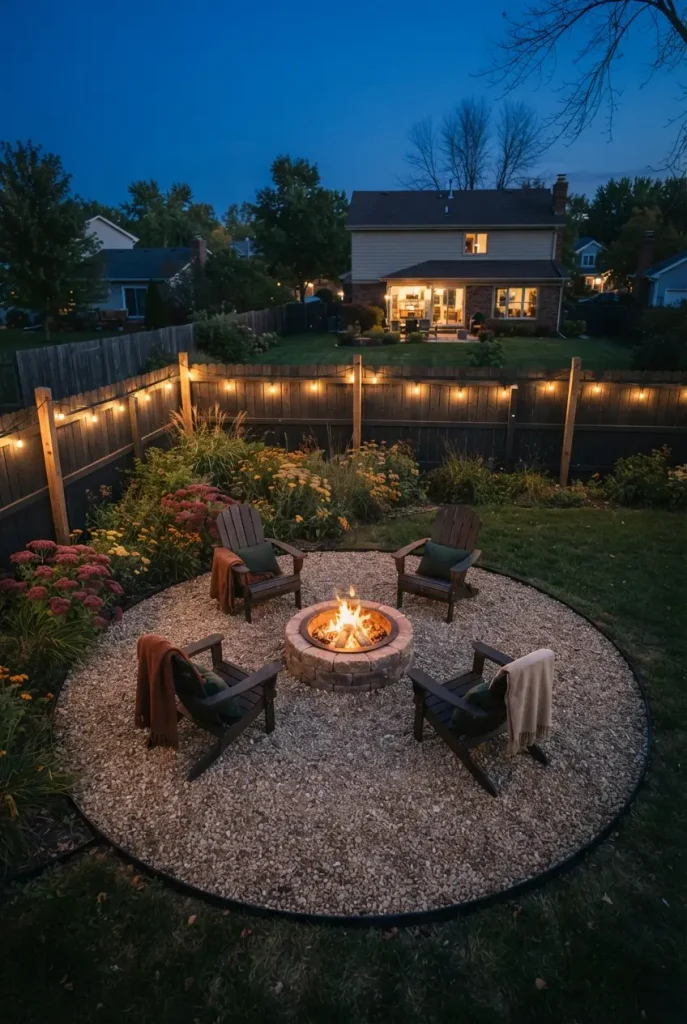
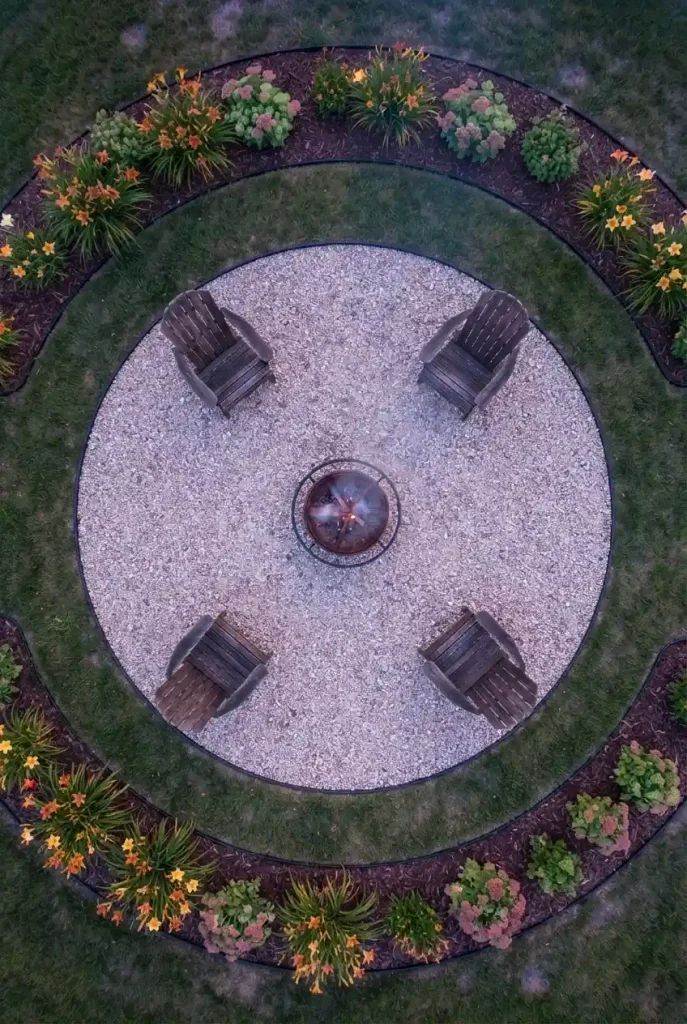
The best fire pit landscaping ideas all follow the same logic, even when the styles look totally different. Stone or steel, modern or rustic, the space works in rings.
The Three-Ring Fire Pit Plan turns that into something you can mark with spray paint.
- Ring 1, the Burn Ring. The pit plus a noncombustible surface around it. Size it with a simple rule: pit diameter plus 8 feet. A 36-inch pit gets a 12 to 14-foot circle.
- Ring 2, the Seat Ring. Chairs or a seat wall sit on the outer edge of the gravel, roughly 4 to 6 feet from the flame. That’s where heat feels good instead of scorching.
- Ring 3, the Plant Ring. Beds start at least 10 feet from the fire, then step up in height as they move away.
Here’s why it works. Each ring has one job, so nothing competes. The gravel handles heat, the seats handle people, and the plants handle looks.
We’ll refer back to these rings in the sections below.
Pick a Safe Spot Before You Pick a Style
The prettiest layout fails if the pit sits in the wrong place. So check the spot before you buy a single paver.
The U.S. Fire Administration says to keep fire pits at least 10 feet away from your home or anything that can burn. Their outdoor fire safety guidance from the USFA also recommends a metal screen over wood-burning fires to keep sparks in. That 10 feet counts fences, sheds, wood decks, and your neighbor’s shrubs.
Many cities ask for more, often 15 to 25 feet. Burn bans also shut down wood fires during dry spells in a lot of the country, so find your local rule first.
Then walk the spot and look for four things:
- Nothing overhead. No branches, pergola beams, or wires above the pit.
- Flat ground. A level area saves you a retaining wall. A slope needs its own plan (more on that in the small-yard section).
- Wind. Stand there on a breezy evening. If smoke would blow straight at the back door, shift the circle.
- A water source. A hose that reaches the pit is the cheapest safety gear you’ll ever own.
⚠️ Watch Out
Check your city’s burn rules before you light anything, keep the clearance from structures and branches that your fire pit’s manual and local code call for, and never leave a fire unattended.
Choose the Ground Cover for Your Gravel Fire Pit Area
Ring 1 is the biggest decision you’ll make. It sets the look, the budget, and how much work the area takes every year.
Three materials cover almost every backyard fire pit you’ll see on Pinterest.
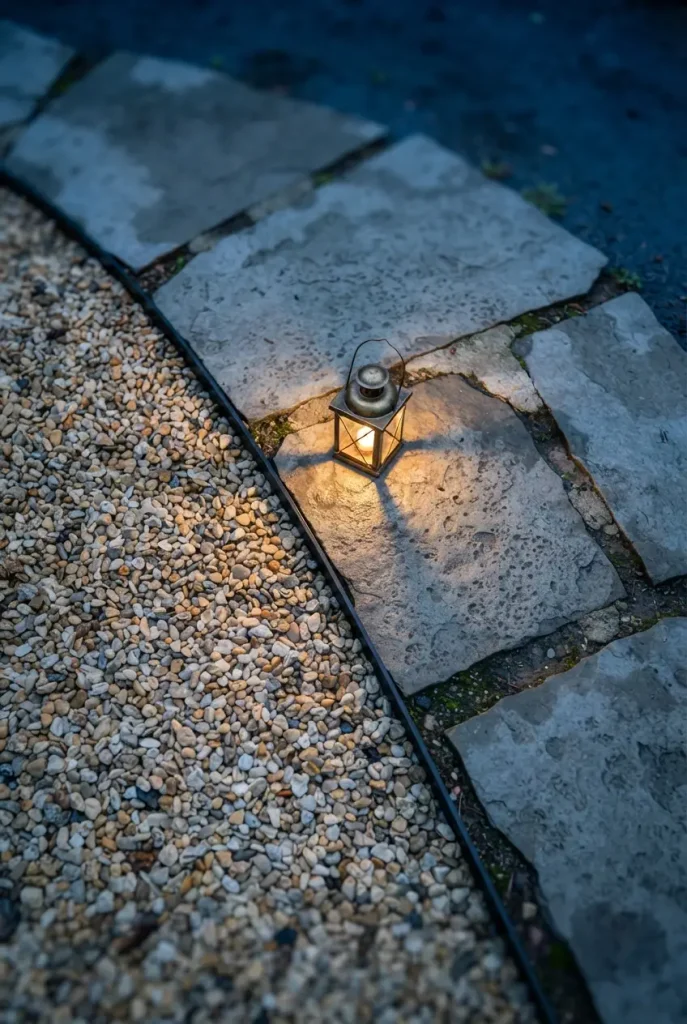
Pea gravel is the budget pick. It drains fast, installs with a rake, and makes that round, relaxed look people save. It does shift underfoot, so chairs sink a little.
Pavers give a flat, clean floor. Concrete pavers from Home Depot or Lowe’s are the middle-price option, and chairs sit level on them.
Flagstone looks custom and lasts decades. It also costs the most and takes the longest to set.
Our take? Skip the wood mulch ring. It’s the cheapest option and it looks natural in photos, but mulch is fuel. A stray ember can smolder in it for hours after you go inside.
For more layouts built on stone and pebbles, our roundup of gravel patio ideas on a budget shows how to edge and style a larger gravel area.
| 🧱 Material | 💲 Cost tier | 🧰 Effort | 🪑 Chairs sit |
|---|---|---|---|
| Pea gravel | Low | One weekend | Sink slightly |
| Concrete pavers | Medium | Two weekends | Level |
| Flagstone | High | Pro or a long project | Mostly level |
| Wood mulch | Lowest | One afternoon | Skip it near fire 🚫 |
Do the Gravel Math Before You Buy a Single Bag
This is where most fire pit projects go over budget. A circle looks small until you fill it three inches deep.
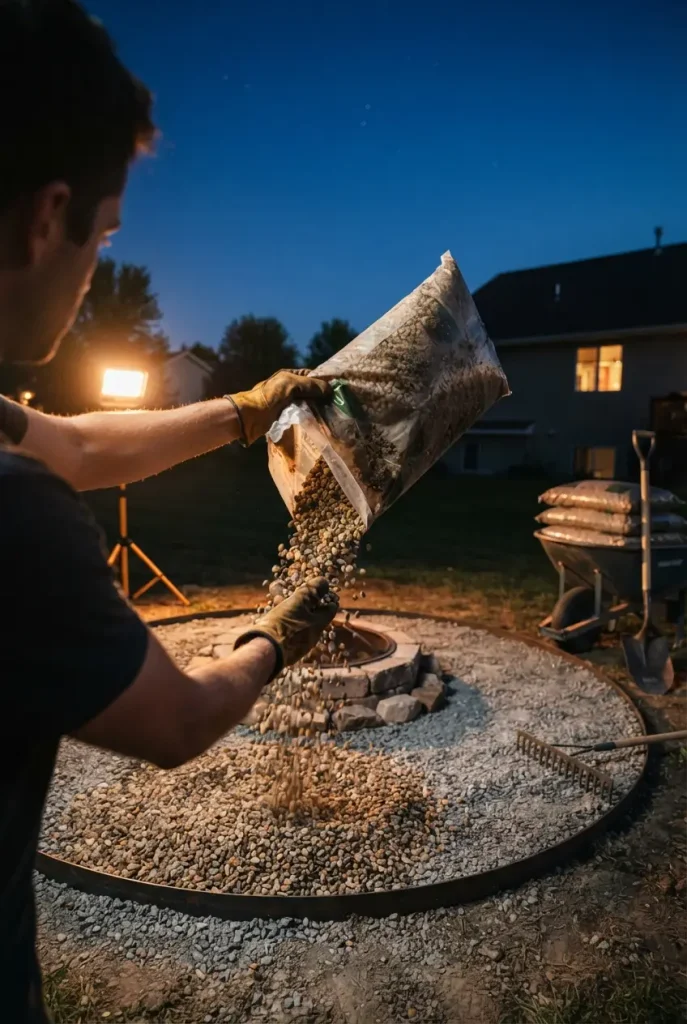
Standard guidance for a fire pit surround is about 3 inches of pea gravel over a 2-inch compacted base of paver base or crushed stone. Pea gravel belongs around the pit only. Inside the pit, use fire-rated sand or fire brick.
Here’s what that surface layer takes, using 0.5 cubic foot bags:
- 10-foot circle: about 79 sq ft, 20 cu ft of gravel, 40 bags
- 12-foot circle: about 113 sq ft, 28 cu ft of gravel, 57 bags
- 14-foot circle: about 154 sq ft, 39 cu ft of gravel, 77 bags
In September 2026, Home Depot listed a 64-bag pallet of Vigoro 0.5 cu ft pea gravel at $797.64. That’s about $12.50 a bag. A 12-foot circle lands near $710 in gravel alone, before the base layer.
That’s a lot of bags to lift.
A 12-foot circle needs just over one cubic yard. Most local landscape supply yards sell pea gravel by the scoop, and one scoop dumped in the driveway usually costs far less than 57 bags. Call two yards and compare.
📏 Measure your pit across and add 8 feet. That’s your circle diameter.
Halve it to get the radius. Multiply radius by radius by 3.14 for square feet.
Divide square feet by 4 for cubic feet of gravel at 3 inches deep.
Double the cubic feet for your count of 0.5 cu ft bags. Over 27 cu ft? Price a bulk cubic yard instead.
Plants Around a Fire Pit: What to Grow and How Far Back
Ring 3 is where the yard softens. It’s also where people make the riskiest choices, because the plants that look best in photos are often the ones that burn best.
Colorado State University Extension rates plants for flammability, and their firewise plant list from CSU Extension is clear on two points. Moisture content matters more than anything else. And no plant is truly fireproof.
That’s why distance still comes first. Keep beds at least 10 feet from the fire, then fill them with plants that hold water in their leaves.
Good picks for Zones 5 to 9:
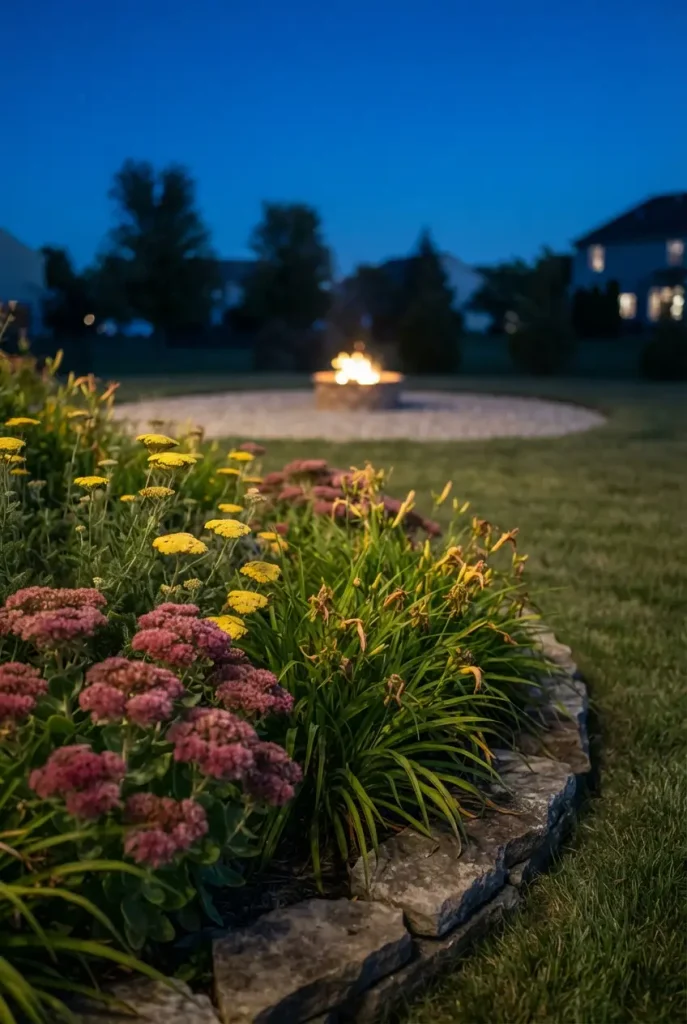
- Sedum (stonecrop): fleshy leaves, fall color, zero fuss
- Hens and chicks: tough rosettes for the colder half of that range
- Yarrow: flat flower heads that shrug off heat and drought
- Daylilies: thick, green foliage and summer blooms
- Blanketflower: warm red and gold flowers that match firelight
- Ice plant: a low groundcover for Zones 6 to 9 in most varieties
Now the skip list. CSU names junipers, pines, firs, and spruces as common flammable trees because of their oil and pitch. Arborvitae hedges and tall dry ornamental grasses belong in the same “far away” bucket, since they go crispy by late fall right when fire pit season peaks.
Early fall is a good time to plant perennials, as long as they get about six weeks of roots before your first hard frost. Your county extension office can tell you the typical frost window for your zip code.
🌱 Sedum, hens and chicks, ice plant
🌸 Yarrow, daylilies, blanketflower
📏 Beds 10 ft or more from the fire
Junipers, pines, firs, spruces
Arborvitae hedges and dry ornamental grasses
Wood mulch and pine straw in the beds closest to the pit
Build a Fire Pit Seating Area That Frames the Flame
Seats make Ring 2. Get the distance right and people stay out there for hours. Get it wrong and everyone scoots their chairs back after ten minutes.
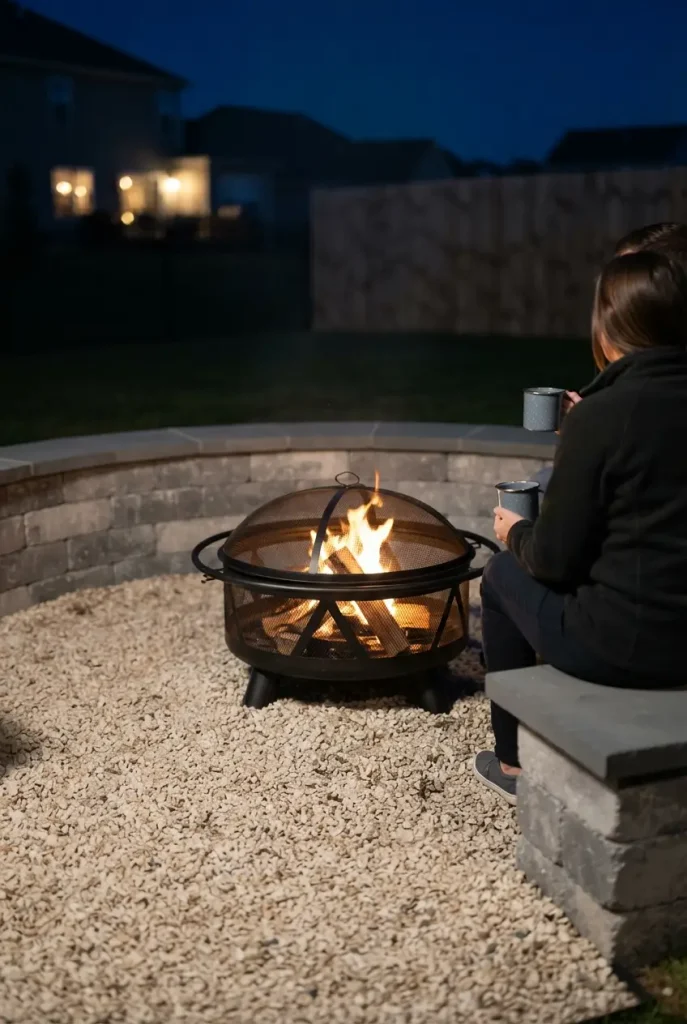
Heat is the guide. Solo Stove lists a 4 to 6-foot heat radius for its 19.5-inch Bonfire, and most small wood-burning pits feel similar. So set the front edge of each seat about 4 to 6 feet from the flame, right on the outer edge of your gravel.
Three seating styles work well on a budget scale:
Loose chairs. Polywood Adirondack chairs usually run a few hundred dollars each, and they don’t rot or need paint. Plastic resin versions at Walmart or Home Depot often cost a fraction of that.
A curved seat wall. Stacked concrete wall block, capped with smooth stone, doubles as a retaining edge for the gravel. It never blows over and never needs cushions.
Built benches. Cedar benches on two sides leave the other sides open for walking in.
We walk through a full budget build, bench plans included, in our guide to a DIY fire pit seating area.
One more tip. Leave a gap of about 3 feet between two seats so the circle has a clear way in and out. Nobody wants to step over legs next to a fire.
🪑 Seat Ring checklist
Light the Path and the Edges, Not the Fire
A fire pit already makes plenty of light near the center. What it doesn’t do is show people where the step down is, or where the gravel ends and the lawn begins.
So light the edges.
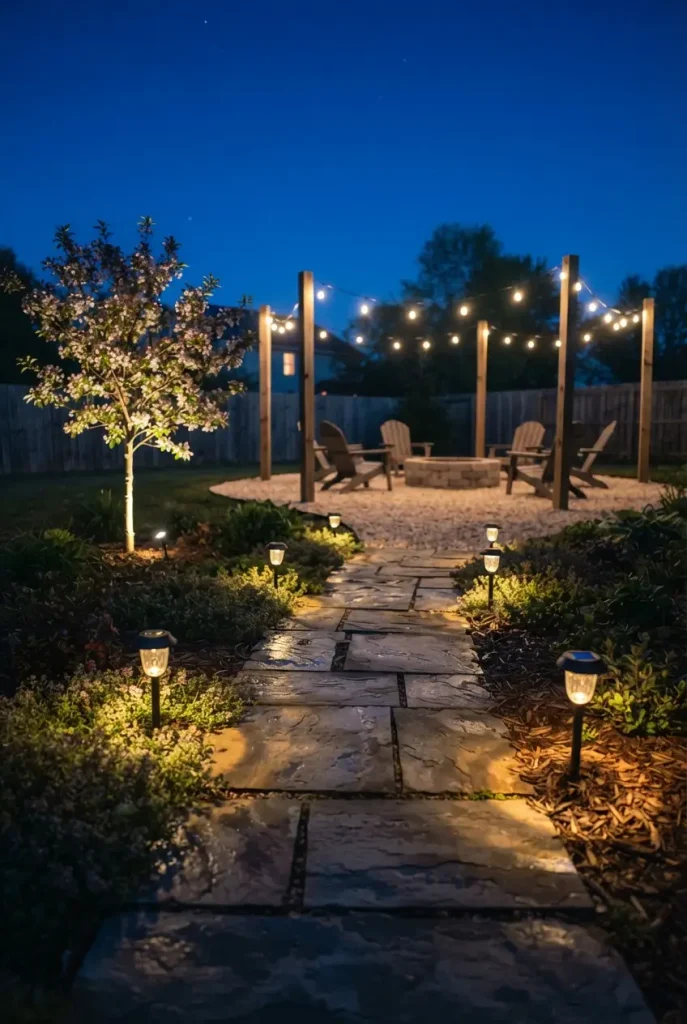
Solar path stakes along the route from the back door cost little and need no wiring. Low-voltage landscape lights aimed up into a small tree in Ring 3 give the yard depth after dark.
Overhead, café string lights on posts frame the area without hanging above the flame. Brands like Brightech and Feit sell outdoor-rated LED strands, usually in the $30 to $70 range depending on length. Keep every strand well outside the Burn Ring.
If you have no trees or fence to hang from, our outdoor string light ideas cover post setups and planter-base poles.
💡 Good To Know
Use outdoor-rated, UL-listed lights and cords on a GFCI outlet. Anything beyond plugging into an existing outlet is a job for a licensed electrician.
Fire Pit Landscaping Ideas for Small Yards, Slopes, and Rentals
Not everyone has a flat 14-foot circle to spare. The three rings still work. They just shrink or change shape.
Small backyard. Use a smaller pit. A 19.5-inch smokeless pit plus 8 feet gives a circle about 9 and a half feet wide. Tuck it into a back corner, as long as you still keep 10 feet from the fence and anything else that can burn.
Sloped yard. Cut the slope back into a level pad and hold the uphill side with a low block wall. That wall becomes your seat wall, so one project does two jobs. Most short garden walls under about 2 feet are DIY territory, but check your city before building anything taller.
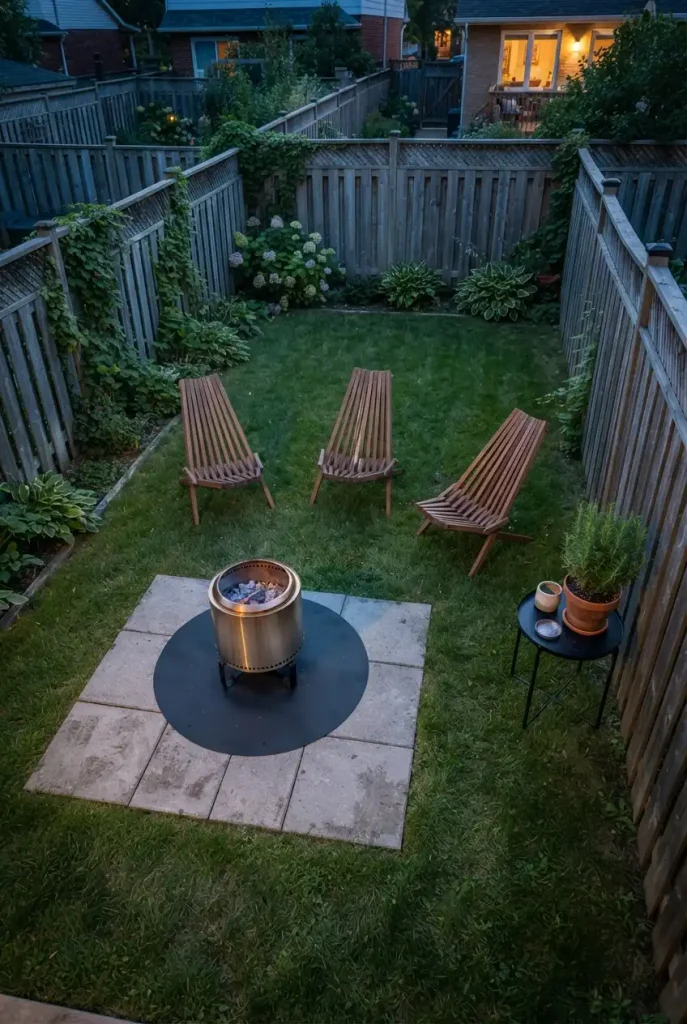
Renters and lawn setups. A portable pit on bare grass leaves a dead brown circle within a day or two, because the ground underneath gets hot enough to cook roots. You can prevent that without digging.
For example, the Solo Stove Bonfire Backyard Bundle ($579.99 list price in September 2026) includes a stand that lifts the pit off the ground. Pair a stand like that with the setup below.
Water the grass under and around the spot if the lawn is dry.
Lay four 16-inch square concrete pavers tight together as a pad.
Add a fire pit heat mat, then set the pit on its stand in the middle.
Once everything is cold, stack the pavers and mat away so the grass can breathe.
Keep It Looking Good All Fall and Winter
A finished fire pit area stays finished with about ten minutes of care after each fire.
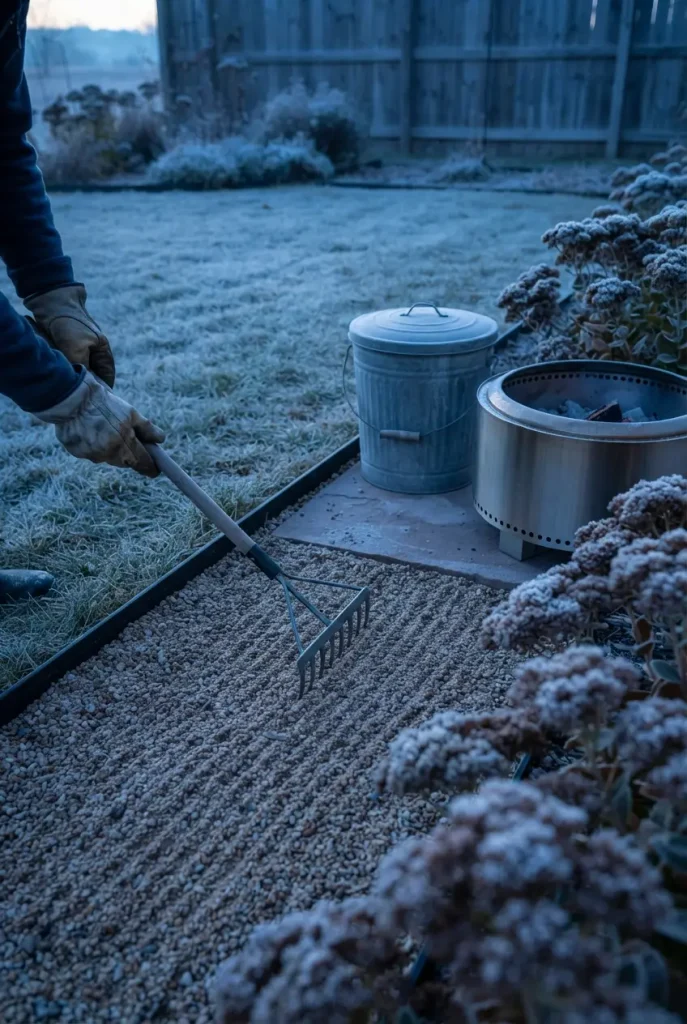
Rake the gravel back toward the edges. Chairs and feet push pea gravel outward all season, and a quick rake keeps the circle crisp and the base covered.
Handle ash carefully. Let it cool completely, then scoop it into a metal ash bucket with a lid. Never dump warm ash into a plastic trash can or a mulched bed.
Pull leaves out of the gravel every week in October and November. Dry leaves in Ring 1 undo the whole point of a noncombustible surface.
Before the first snow, cover or flip the pit so water doesn’t pool and freeze in the bowl. Trim back yarrow and daylilies in Ring 3 after frost, but leave the sedum heads standing. They look great with a little frost on them.
Rake the gravel, bucket the cold ash, pull the leaves. Do it after every fire and Ring 1 never turns into a fuel pile.
Frequently Asked Questions
How far should a fire pit be from a house, fence, or trees?
The U.S. Fire Administration recommends at least 10 feet between a fire pit and your home or anything that can burn, which includes fences, sheds, and shrubs. Many cities require more, often 15 to 25 feet, and some ban wood fires during dry weather. Keep branches and wires out of the space above the pit too, and check your local fire code before you build.
What should you put on the ground around a fire pit?
Use a noncombustible surface like pea gravel, concrete pavers, or flagstone. Pea gravel is the cheapest and easiest to install, pavers give a flat floor for chairs, and flagstone looks custom but costs the most. Avoid wood mulch, pine straw, and dry grass near the pit, since embers can land in them and smolder long after the fire is out.
Is pea gravel safe around a fire pit?
Yes, pea gravel is safe as the surface around a fire pit. It doesn’t burn and it drains well. Keep it out of the pit itself, though. Gravel inside or right under the flame can trap moisture and crack or pop when heated. Use fire-rated sand or fire brick inside the pit and about 3 inches of pea gravel over a compacted base around it.
Can you put a fire pit on grass?
You can, but not directly. Heat under an unprotected pit kills the grass fast and leaves a brown circle within a day or two. Set the pit on a stand, then place it on concrete pavers with a fire pit heat mat on top. Water dry grass first, keep a hose close, and move everything off the lawn once it has cooled.
What plants are safe to plant near a fire pit?
No plant is fireproof, so distance matters most. Keep beds at least 10 feet from the fire and choose plants that hold water in their leaves. Sedum, hens and chicks, yarrow, daylilies, blanketflower, and ice plant are all rated low flammability by CSU Extension. Keep junipers, pines, arborvitae, and dry ornamental grasses far away from the pit.
How big should a fire pit area be?
A simple rule is your pit’s diameter plus 8 feet. A 36-inch fire pit needs a circle about 12 to 14 feet across, which leaves room for chairs about 4 to 6 feet from the flame. Smaller smokeless pits around 20 inches can work in a circle closer to 10 feet, which suits small backyards.
Good fire pit landscaping ideas come down to a few measured choices. Size the gravel, set the seats at the right distance, and push the plants back where they belong. Do that and the style part gets easy, because the space already works.
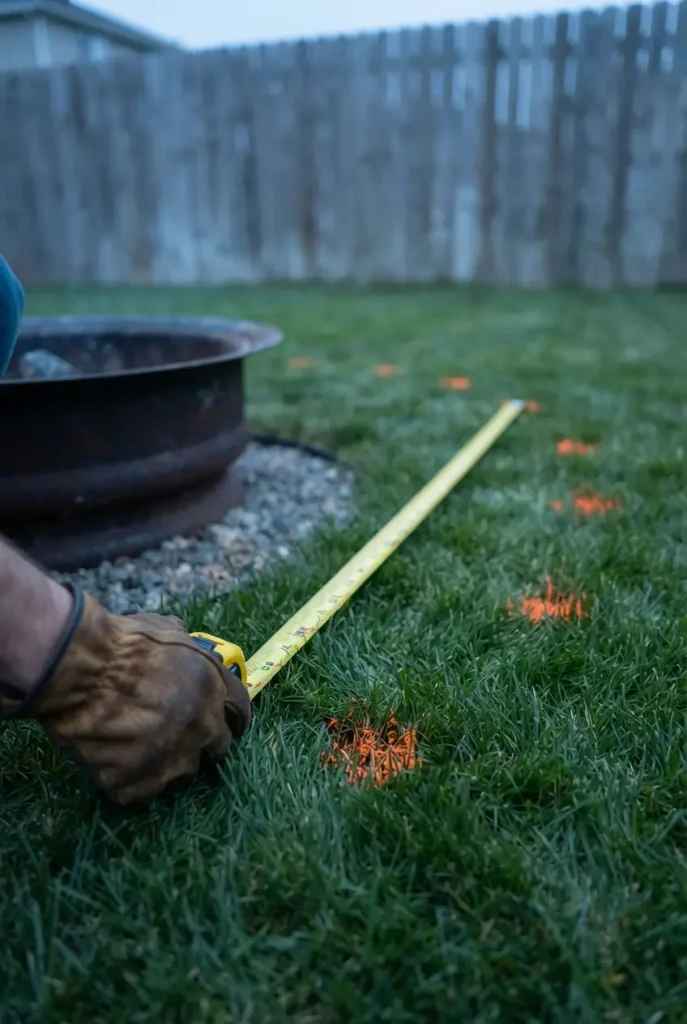
Start with the tape measure this weekend and mark your three rings with spray paint. You’ll see right away if your yard wants a 10, 12, or 14-foot circle.
Save this guide to your backyard ideas board so the gravel math and plant list are handy when you’re standing in the garden center aisle.