How to Style Fall Succulent Decor (Step by Step)

Fall succulent decor ideas usually stop at the pretty photo. A pumpkin crowned in rosettes, a planter on the steps, done. What the photo never shows is week three, when a soft echeveria turns to mush after one cold night or the pumpkin quietly caves in from the bottom.
This plan fixes both problems before they start.
You’ll sort your succulents by how much cold they can take, pick a pumpkin that holds up, build a succulent pumpkin centerpiece, and style a porch planter and a table that still look good at Thanksgiving. Then you’ll keep it fresh for two to three months and save the plants when the pumpkin is done.
Most supplies come from Home Depot, Lowe’s, Target, or your local nursery, and a single topped pumpkin usually lands around $30 to $50. We also built a quick sorting tool, the Hardy or Houseguest Chart, so you know which plants stay outside and which ones come in.
Start with Step 1. It takes five minutes and saves the whole display.
Step 1: Sort Your Succulents Into Hardy Plants and Houseguests
Not every succulent likes fall. That’s the part most idea lists skip, and it’s why so many porch displays are dead before Halloween.
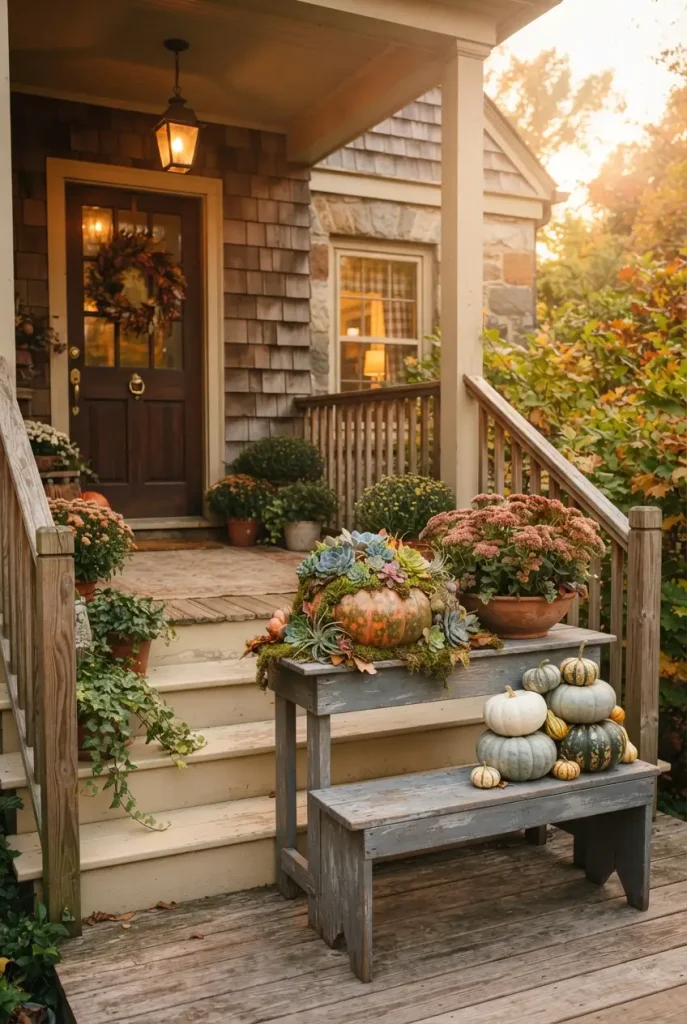
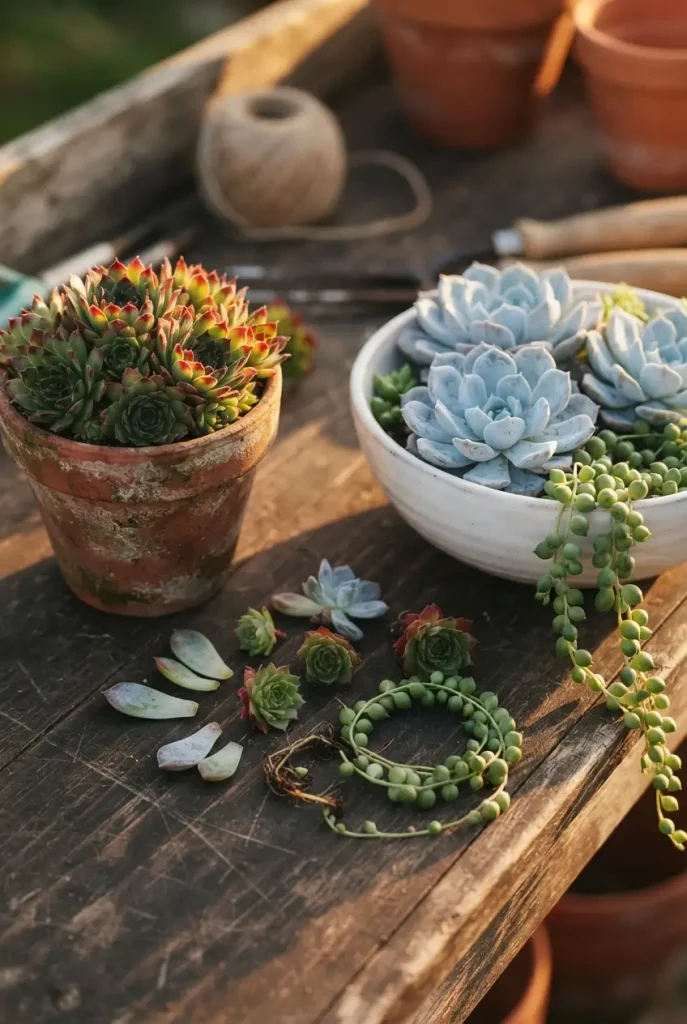
Succulents fall into two camps. Hardy types, like hens and chicks (Sempervivum) and Autumn Joy sedum, shrug off frost. Soft types, like echeveria, florist’s kalanchoe, and string of pearls, can’t. NC State Extension says it plainly: echeveria isn’t truly frost hardy, so unless you live somewhere frost free, it comes inside for winter.
So check your zone before you shop. Type your ZIP into the USDA plant hardiness zone map and write down the number. Zones are based on average winter lows, grouped in 10°F bands.
Then use it like this:
- Zones 5 to 7: Build outdoor pieces with hardy plants. Save the soft rosettes for indoor tables.
- Zone 8: Mix both, and move soft plants under a covered porch on cold nights.
- Zone 9: Soft succulents can usually stay out through fall, but lows can still dip into the 20s, so watch the forecast.
Buy two extra rosettes. Nursery plugs in 2 inch pots often run around $4 to $6 each, and a spare covers the one that snaps during gluing.
Step 2: Choose a Pumpkin That Won’t Rot Before Thanksgiving
Here’s the contrarian part: skip carving.
A carved pumpkin planter looks great on day one, but a cut pumpkin tends to last about 5 to 10 days. An uncut pumpkin with a succulent top can hold on for two to three months. Same plants, same effort, ten times the display life.
Look for these traits at the store:
- A flat, wide top. Cinderella and Fairytale pumpkins give you a natural platform. Blue gray Jarrahdale and white pumpkins work too.
- A short stem or none. Tall stems get in the way of the moss cap.
- Zero soft spots or cuts. Any break in the skin is where rot starts.
Grocery stores, Trader Joe’s style bins, and farm stands usually sell heirloom pumpkins in the $5 to $15 range in October.
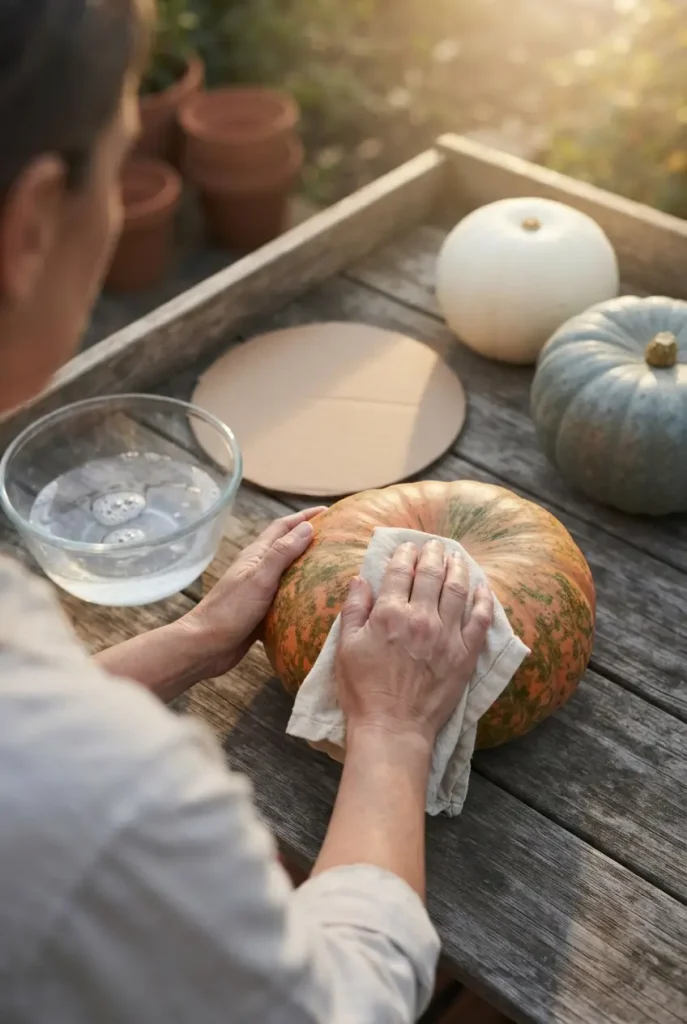
Before building, soak or wipe the pumpkin for about 30 minutes in 1 part white vinegar to 3 parts water, then let it dry completely. That cuts down on surface mold. Finally, cut a circle of corrugated cardboard slightly smaller than the pumpkin’s base. It lets the bottom breathe instead of sweating on a sealed porch floor or tabletop.
🎃 Pumpkin pick checklist
Step 3: Build a Succulent Pumpkin Centerpiece
Gather everything first, because glue sets fast.
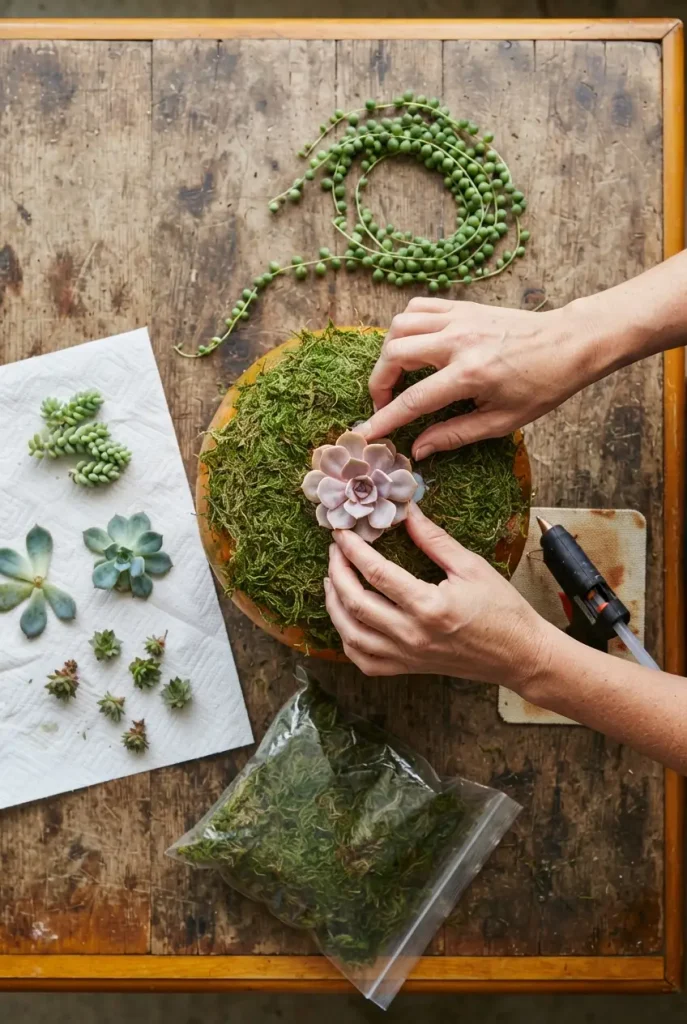
Supplies: your prepped pumpkin, a low temp hot glue gun (around $10 at Target or Walmart), spray adhesive or tacky craft glue, one bag of preserved sheet moss like SuperMoss (usually around $8 to $15), and 8 to 15 succulent cuttings in mixed sizes.
One prep step matters more than the rest. Let fresh cuttings sit out for a day or two so the cut ends dry and seal. A wet stem glued straight onto moss is more likely to rot.
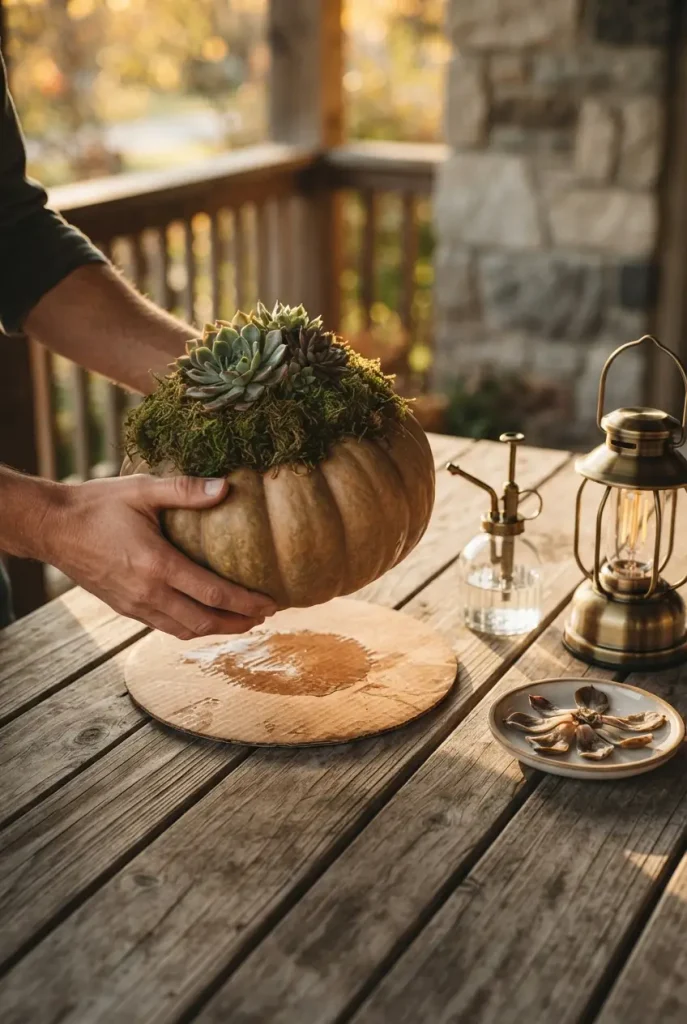
Coat the top of the pumpkin with adhesive and press on moss about 1/2 inch thick.
Glue your largest rosette slightly off center. It anchors the whole design.
Add mid size rosettes around it, a small dot of glue on the stem base only.
Fill gaps with tiny sedum and tuck a trailing string of pearls over one edge.
Mist the moss lightly and let the glue cure for an hour before moving it.
Prefer no glue at all? Pin the cuttings into a thin layer of cactus mix held on with moss, and push pins into the stem area only. Every hole in the pumpkin skin speeds up decay.
Step 4: Match Succulent Colors to Your Pumpkin
Color is what makes fall succulent arrangements look planned instead of random.
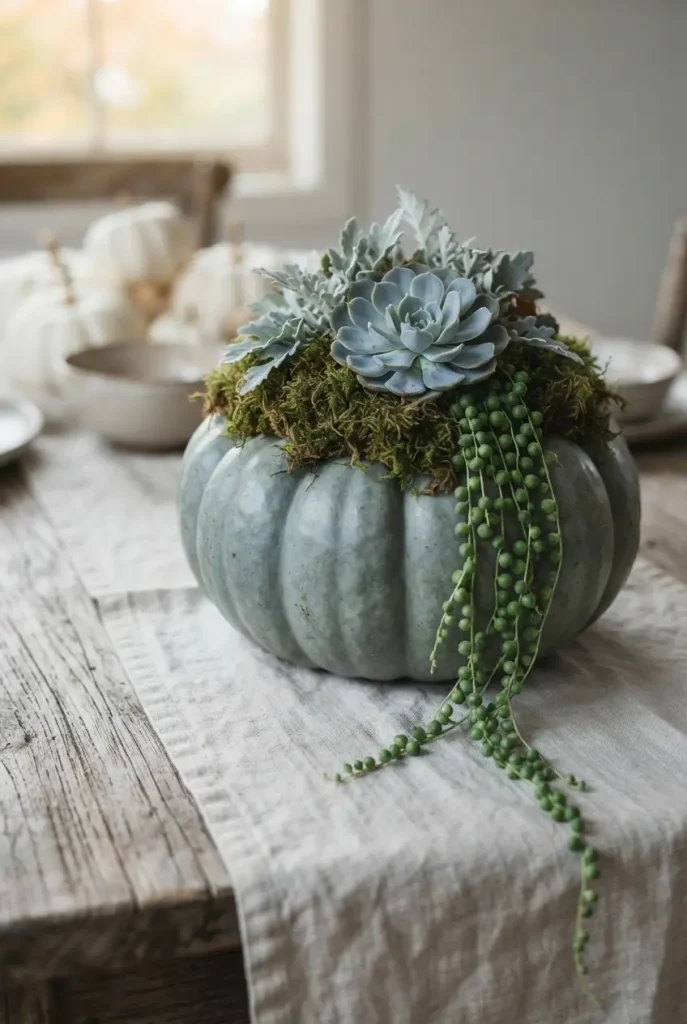
Think in two palettes. A warm orange Cinderella pumpkin looks richest with plants that echo fall leaves: Autumn Joy sedum, red edged kalanchoe, and Sticks on Fire euphorbia. A cool blue gray Jarrahdale or white pumpkin looks cleaner with powder blue echeveria, silver senecio, and string of pearls.
Pick one palette per pumpkin. Mixing both on one top usually reads muddy.
| Detail | 🍂 Warm Palette | ❄️ Cool Palette |
|---|---|---|
| Pumpkin | Cinderella or Fairytale | Jarrahdale or white |
| Main succulents | Autumn Joy sedum, kalanchoe | Blue echeveria, senecio |
| Accent | Sticks on Fire euphorbia | Trailing string of pearls |
| Looks best | Wood porch, harvest table | White door, linen table |
A small bonus: many echeveria blush pink or red at the edges with bright sun and cool nights. Give a warm palette pumpkin a sunny, protected spot for a week and the colors often deepen on their own.
Step 5: Style a Fall Succulent Planter for the Front Porch
A topped pumpkin is the star. A planter is what makes the porch feel finished.
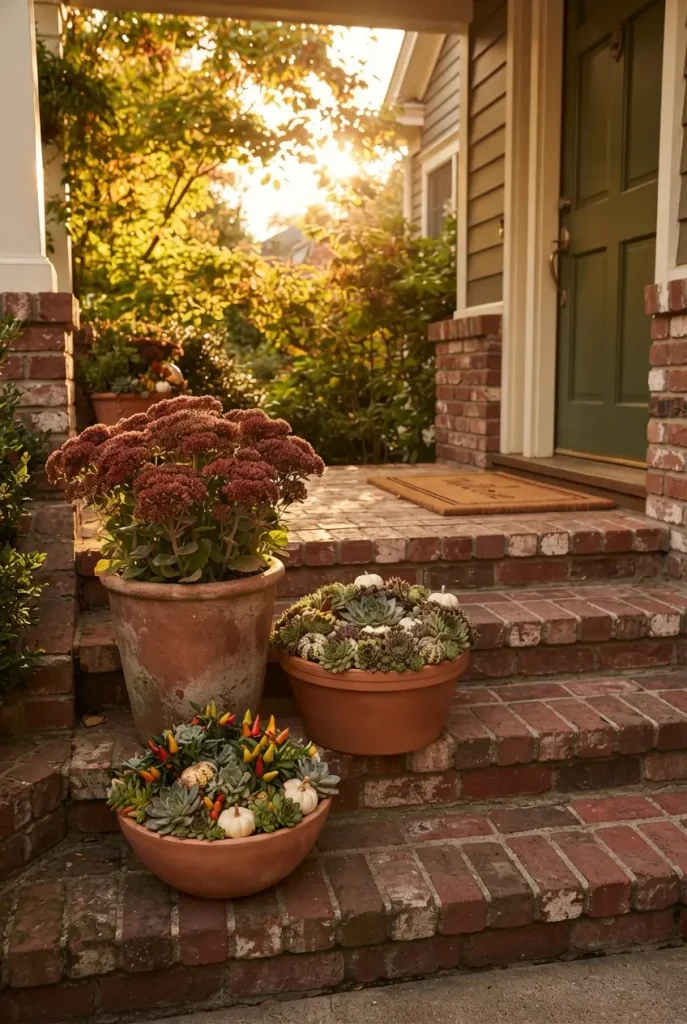
Start with a pot that drains. A 14 inch terracotta bowl or a Bloem resin bowl (often under $25 at Lowe’s or Home Depot) both work, as long as there’s a hole in the bottom. Fill it with a gritty mix like Espoma Organic Cactus Mix or Miracle-Gro Cactus, Palm & Citrus, usually around $8 to $12 a bag.
Now build it in three layers:
- Height in the center. One Autumn Joy sedum, which opens from pink buds to red blooms as fall arrives.
- Texture around the rim. A ring of hens and chicks. They need sharp drainage, and the hens and chicks hardiness notes from NC State Extension suggest soil with up to half sand or grit.
- Seasonal tuck ins. Two or three mini pumpkins or gourds set right on the soil.
Group planters in threes on the steps: tall, medium, low. Odd groups look relaxed. Matching pairs look like a hotel lobby.
Because this mix is hardy, it can stay outside in Zones 5 to 8 long after the pumpkins go.
Step 6: Set a Fall Succulent Tablescape Guests Can Take Home
Guests remember the table they got to take a piece of.
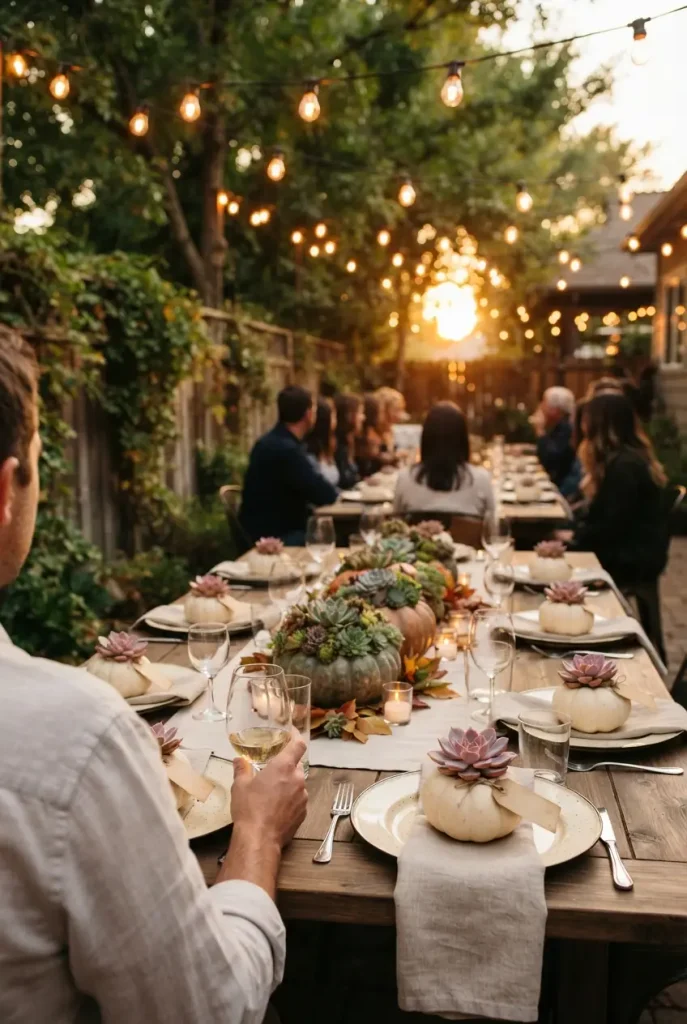
Put one low succulent pumpkin in the center and keep it under about 12 inches tall so people can see each other across the table. Then give every place setting its own mini pumpkin topped with a single echeveria rosette. Tie a kraft paper tag with a name around the stem and it doubles as a place card and a party favor.
For a longer outdoor table, repeat small pumpkins down the middle every 18 inches or so instead of one big piece. Our outdoor tablescape ideas for longer dinners show how to space runners, plates, and lanterns so the table doesn’t feel crowded.
One pet note before you set the table. Kalanchoe is listed by the ASPCA as toxic to cats and dogs, so skip it on tables where pets roam and use echeveria or sempervivum instead.
Keep the centerpiece under about 12 inches tall.
Use one rosette per mini pumpkin favor.
Set pumpkins on small cardboard or cork rounds.
Tall arrangements that block eye contact.
Kalanchoe where cats or dogs can reach.
Open candles tucked into dry moss.
Step 7: Use Faux Pumpkins and Pots for Decor That Lasts Into Winter
Real pumpkins have an expiration date. Faux ones don’t.
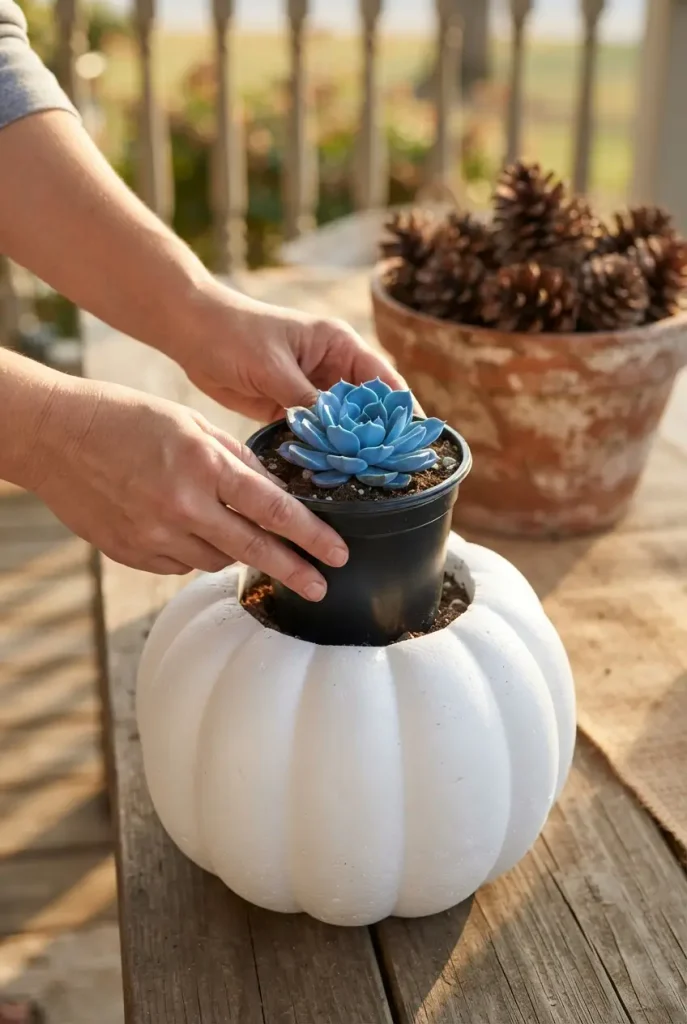
Buy a carvable foam pumpkin (Target, Walmart, and Amazon carry them, often around $10 to $25) and cut a hole in the top just wide enough to hold a 4 inch nursery pot. Drop a potted succulent inside. Nothing gets glued, nothing rots, and the plant keeps growing in real soil.
The payoff shows up in December. Lift the pot out, set the foam pumpkin in storage, and drop the same plant into a terracotta pot or a small wood crate with pine cones. One plant, two seasons of decor.
This trick pairs well with the planter ideas in our fall container garden ideas for porch steps, where mums and ornamental kale can share the step with your faux pumpkins.
A 4 inch potted echeveria sits hidden inside a white foam pumpkin on the porch bench.
The same plant moves into a terracotta pot with pine cones, and the foam pumpkin goes back in the bin for next year.
Step 8: Keep It Fresh for Two to Three Months
Less water, not more. That’s the whole secret.
A succulent topped pumpkin needs only a light drink about once a week: mist the moss, or drizzle roughly 1/4 to 1/2 cup over the top. Don’t let water pool around the stem, because that spot rots first.
Your weekly two minute check:
- Lift the pumpkin and press the base. Soft? Swap in a fresh cardboard disk and move it somewhere drier.
- Pull off any mushy or brown lower leaves. Dead leaves invite disease.
- Rotate it a quarter turn so every side gets light.
- Watch the forecast. If frost is coming, bring the pumpkin into a bright room. Pumpkins and soft succulents both suffer when they freeze.
Bright, indirect light is the sweet spot. A covered porch outdoors or a spot near a sunny window indoors both do the job.
Evening displays need one more rule, because dried moss catches fire easily.
⚠️ Watch Out
Preserved moss dries out between waterings and can catch a flame fast. Use battery LED candles or lanterns near succulent pumpkins, and never leave any open flame unattended.
For warm light that plays nicely with moss and dried leaves, our cozy outdoor lighting ideas for fall evenings cover lanterns and flameless options that hold up outside.
Step 9: Replant the Cuttings When the Pumpkin Softens
Eventually the pumpkin gives up. The plants don’t have to.
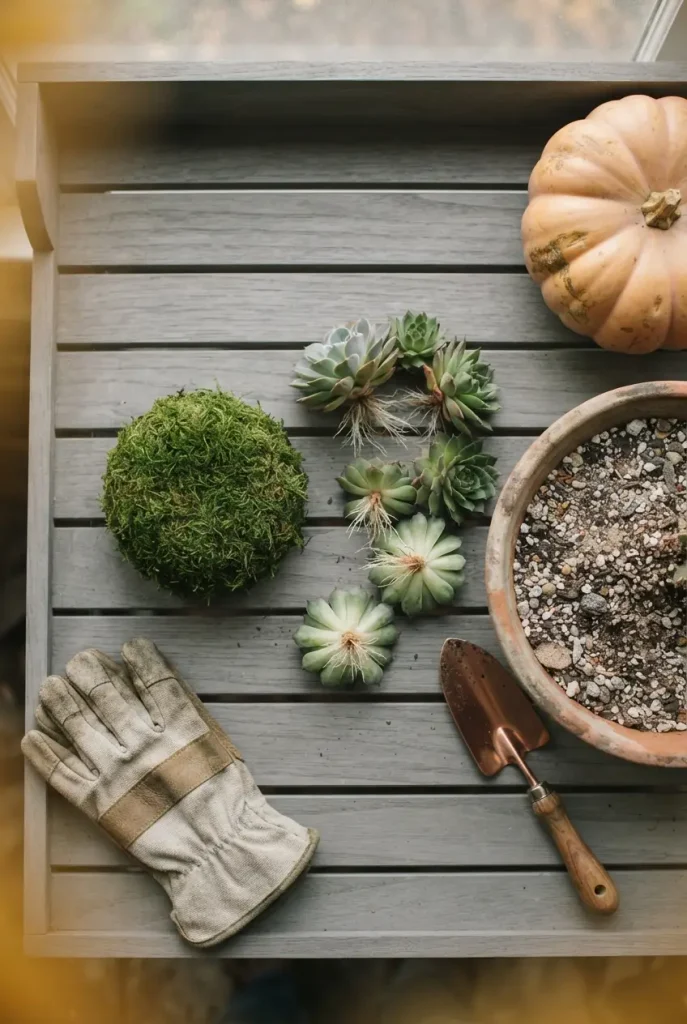
By then, many cuttings have started pushing tiny roots into the moss. Peel the whole moss cap off in one piece, gently pull each rosette free, and trim away any hardened glue. Let them rest on a tray for a day or two.
Then set them on top of a shallow pot of cactus mix, pressing the stems in lightly. Wait about a week before the first real watering so any torn roots can seal.
Where they go next depends on the chart from Step 1:
- Hardy plants like hens and chicks and sedum can go into a garden bed or strawberry pot now in Zones 5 to 8, or wait in a cool, bright garage until spring.
- Soft plants like echeveria move to a bright, sunny windowsill for winter.
The pumpkin itself goes straight into the compost.
The pumpkin is the seasonal part. The succulents are the investment, and with a quick replant they can decorate next October too.
Frequently Asked Questions
How long do succulent pumpkins last?
An uncut pumpkin with a succulent top usually lasts about two to three months, and some last longer in cool, dry spots. A carved pumpkin lasts closer to a week or two. The biggest factors are starting with a firm pumpkin with no nicks, keeping water off the stem, and setting it on a cardboard disk so the bottom can breathe.
Do succulent pumpkins need water?
Yes, but very little. Mist the moss or drizzle about 1/4 to 1/2 cup of water over the top roughly once a week. The moss holds moisture for the cuttings while they start rooting. Overwatering is the fastest way to rot both the plants and the pumpkin, so skip a week if the moss still feels damp.
Can succulents stay outside in the fall?
It depends on the plant and your USDA zone. Hardy succulents like hens and chicks and Autumn Joy sedum handle frost and can stay out in most of Zones 4 to 8. Soft succulents like echeveria, kalanchoe, and string of pearls aren’t frost hardy, so bring them inside or under cover before temperatures drop to freezing.
What kind of pumpkin is best for a succulent pumpkin?
Flat topped heirloom pumpkins work best because they give the moss and rosettes a wide, stable base. Cinderella and Fairytale pumpkins are popular for warm orange looks. Jarrahdale and white pumpkins suit cool blue and silver succulents. Whatever you choose, pick one that is firm, uncut, and free of bruises or soft spots.
Can you replant succulents from a pumpkin?
Yes. When the pumpkin starts to soften, peel off the moss cap, free each rosette, and remove any leftover glue. Let the cuttings dry for a day or two, then set them on cactus mix and wait about a week before watering. Many will already have small roots started from their time in the moss.
Can you use a fake pumpkin for succulents?
A faux foam pumpkin works well and never rots. Cut a hole in the top that fits a 4 inch nursery pot, then drop a potted succulent inside. The plant stays in real soil, so it keeps growing, and you can reuse the faux pumpkin every fall and move the plant into winter decor later.
Your Fall Display, Sorted
Great fall succulent decor ideas aren’t really about the glue or the moss. They’re about the choices you make before you start: plants that match your zone, a pumpkin that stays firm, and a care routine that takes two minutes a week.
Start small if you’re new to this. One topped Cinderella pumpkin by the door and one sedum planter on the steps will carry the whole season. When the pumpkin fades, the rosettes move on to a windowsill or a spring bed.
Save this guide to your fall porch board so the Hardy or Houseguest Chart is ready the next time you’re standing in the garden center.