Cottage Garden Fence Ideas That Make a Small Yard Feel Like a Story

A cottage garden fence is the one piece of your yard that does two jobs at once. It holds the flowers in, and it tells everyone walking past that somebody who loves this place lives here. Get the proportions right and a plain rectangle of grass starts reading like an English lane. Get them wrong and you have built a barrier with roses leaning on it.
Here’s the part almost nobody writes down: the difference is a ratio, and you can measure it before you buy a single board.
I have rebuilt the fence line along my own front bed twice now, and the second version cost less than the first and looks about four times better. Most of that gain came from spacing, not from materials. If your fence already exists and you just want it softer, that is a different project, and a backyard fence makeover will get you most of the way there for under a hundred dollars.
This guide covers the fence styles that actually read as cottage, the spacing math behind them, real 2026 costs per foot, how tall you can build before your city cares, and how far off the line to plant so your hollyhocks don’t flop.
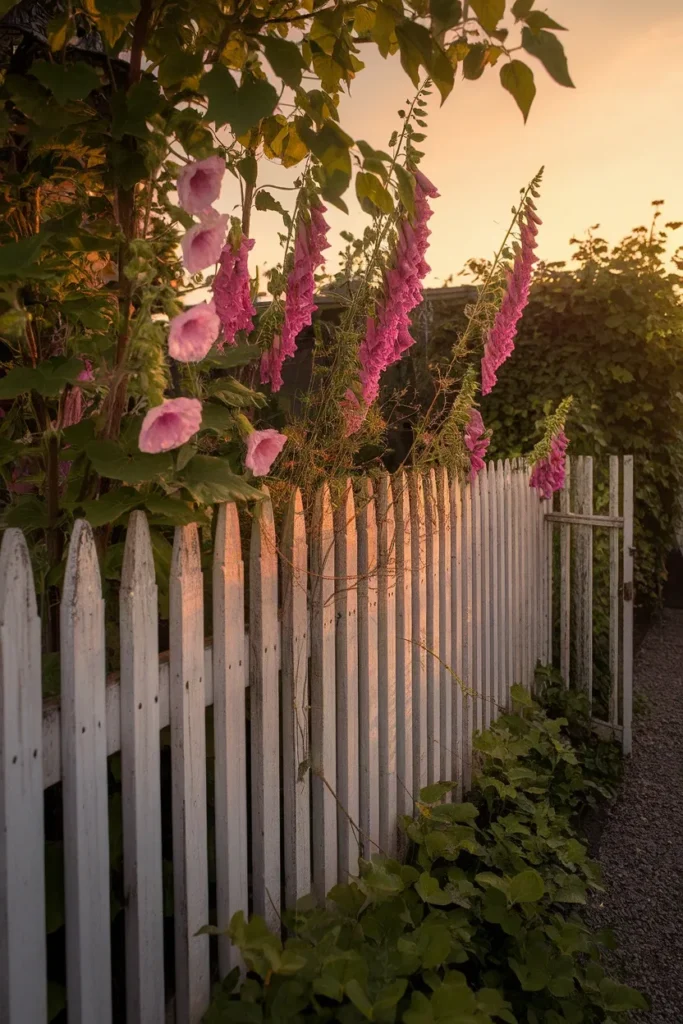
What Makes a Cottage Garden Fence Look Right
Strip away the plant list and a cottage garden fence comes down to four things.
It’s low. Most true cottage fences sit between 30 and 42 inches. You are meant to see over them.
It’s permeable. Air and light move through. The eye keeps traveling.
It’s made from something that ages honestly. Cedar, oak, willow, chestnut, stone. Materials that get better looking as they weather rather than just looking tired.
And it is a little imperfect. Slight variation in picket height, a gate that has settled a quarter inch, moss on the north-facing posts. Perfection reads as new construction, and new construction is the opposite of cottage.
That last one trips people up. Folks spend a weekend getting every picket dead level and then wonder why the finished fence feels like a fence around a model home. A cottage garden fence needs a little slack in it.
The 40 Percent Gap Rule for Any Cottage Garden Fence
This is the rule I wish someone had handed me before my first build.
The 40 Percent Gap Rule: a cottage garden fence should read as roughly 40 percent open air across its face. Measure the total width of a fence section, then measure the combined width of the empty spaces between boards. Divide the gaps by the total. Land near 40 percent and the fence reads as cottage. Drop under 25 percent and it starts reading as a privacy barrier no matter what you plant on it. Push past 60 percent and it reads unfinished, like you ran out of lumber.
Here is the math in board terms, using standard lumber widths.
| Picket width | Gap between pickets | Gap ratio | How it reads |
|---|---|---|---|
| 3.5 in (1×4) | 1.25 in | 26% | Tight, formal, colonial |
| 3.5 in (1×4) | 2.25 in | 39% | Cottage sweet spot |
| 5.5 in (1×6) | 3.5 in | 39% | Cottage, chunkier and more rustic |
| 5.5 in (1×6) | 5.5 in | 50% | Airy, works for a low border only |
| 2.5 in (lath) | 1.75 in | 41% | Delicate, best under 30 inches tall |
Two practical notes. Cut a spacer block to your chosen gap width and hang it off the rail as you go instead of measuring each picket, which saves roughly an hour on a 30-foot run. And check the ratio from the street, not from six inches away, because gaps visually close up as your viewing angle gets shallower. Standing dead in front of the fence, a 39 percent gap looks like 39 percent. Standing at the sidewalk looking down the run, it can read closer to 15.
That second point is why so many front-yard cottage fences disappoint. They were spaced correctly and then viewed from an angle nobody accounted for. If your fence runs parallel to a sidewalk, go one gap size wider than the table says.

Cottage Garden Fence Ideas in Classic Picket (Without the Suburban Look)
The picket version of the cottage garden fence earned its cliché honestly. It also still works, as long as you avoid the three things that make it look like a tract-home upgrade.
Skip the vinyl. Vinyl runs $30 to $60 per linear foot installed in 2026 and never weathers. It just gets chalky. Cedar or pressure-treated pine at $20 to $50 per linear foot installed ages into something better.
Vary the picket tops. Flat-top pickets in a perfectly straight line are the tell. Round the tops by hand with a jigsaw, or run a gentle scallop so the fence dips between posts. A scallop that drops 4 inches in the middle of each 8-foot section is enough. You will feel the difference immediately.
Kill the bright white. Chalky, slightly warm off-white is the cottage color. Dead-bright modern white with optical brighteners in it reads plastic. If you want the quickest possible upgrade on an existing white fence, one coat of a warm cream over the top does more than any planting will.
A few cottage garden fence picket variations worth building:
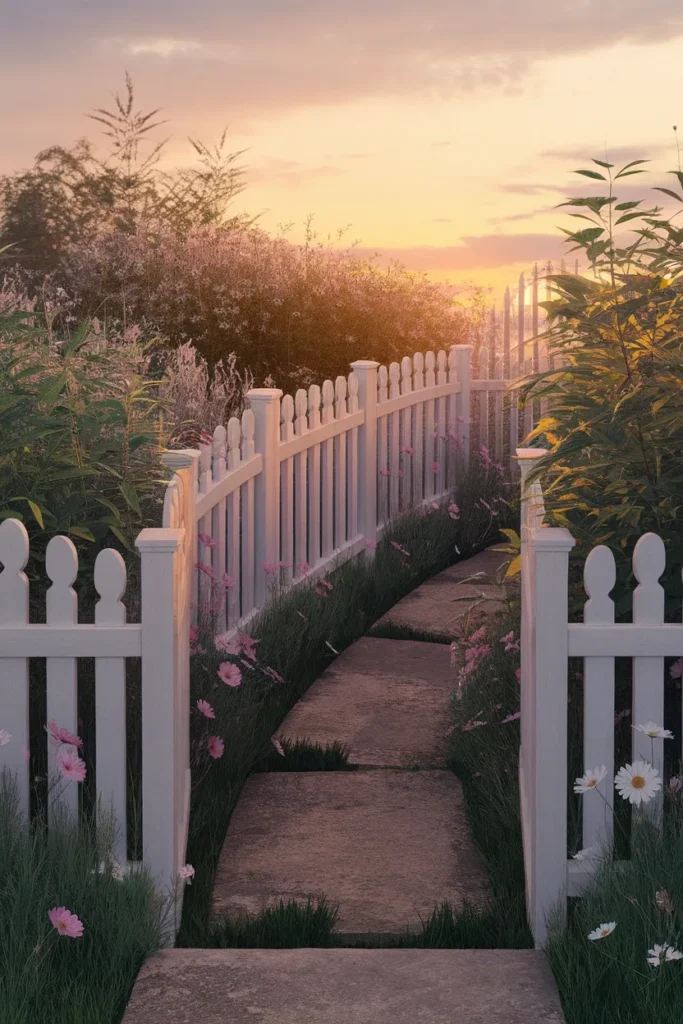
- Scalloped run with taller gate posts. The dip between posts and the rise at the gate is the single most photographed cottage fence shape on Pinterest, and it costs nothing extra to cut.
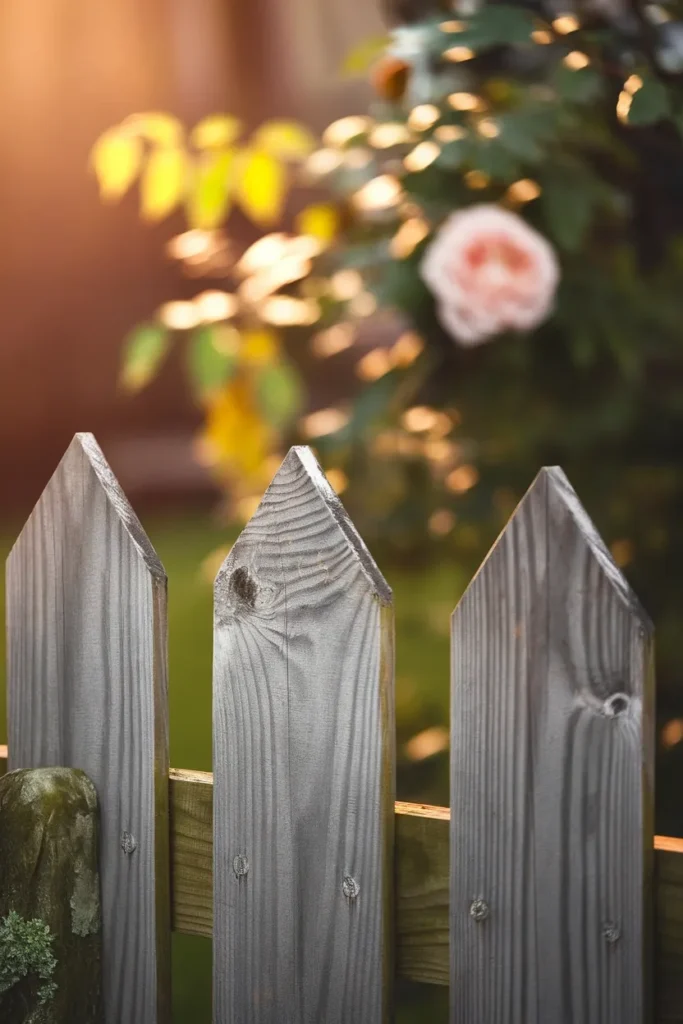
- Gothic or spear tops. Pointed picket tops read older and more English. They also shed water better than flat tops, which buys you a few years of life.
- Two-tone. Off-white pickets with a soft sage or muted charcoal top rail. Reads intentional, photographs beautifully.
- Half-height picket over a low stone base. Eighteen inches of dry-stacked stone with an 18-inch picket on top gives you 36 inches total with far more texture than wood alone.
For a small front bed rather than a full boundary, the pre-made panels are honestly fine. Greenes Fence sells an 18-inch-tall, 36-inch-wide wood picket panel in a 12-pack for around $67 at Home Depot, which covers about 36 feet of border and stakes in with no digging. That is under two dollars a foot. Nothing you build by hand will beat it on price.
The Arbor Gate Is the Whole Trick
If your budget only stretches to one nice thing, spend it on the gate.
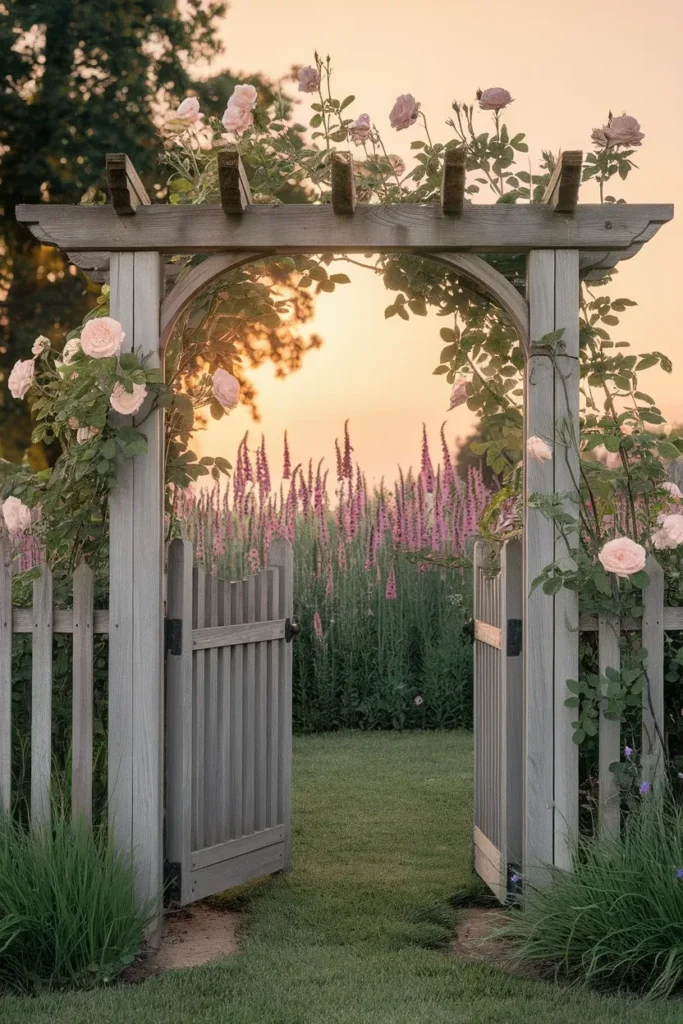
Your cottage garden fence can be the plainest post-and-rail on the block and still land beautifully if the entry has an arbor over it. The arbor does the emotional work. It creates a threshold, frames the view into the garden, and gives climbing roses or clematis something to hold. Everything on either side becomes supporting cast.
Cedar arbor kits run in the $150 to $350 range at most big-box stores, and a basic 4×4 frame is a genuinely doable Saturday build if you already own a circular saw and a post-hole digger. Set the posts at least 24 inches deep and check your local frost depth, because a heaved arbor pulls the whole fence line out of true with it.
Rustic Cottage Garden Fence Ideas: Wattle, Split Rail, and Brush
Painted pickets are one branch of the cottage garden fence family. The other branch never saw a paintbrush.
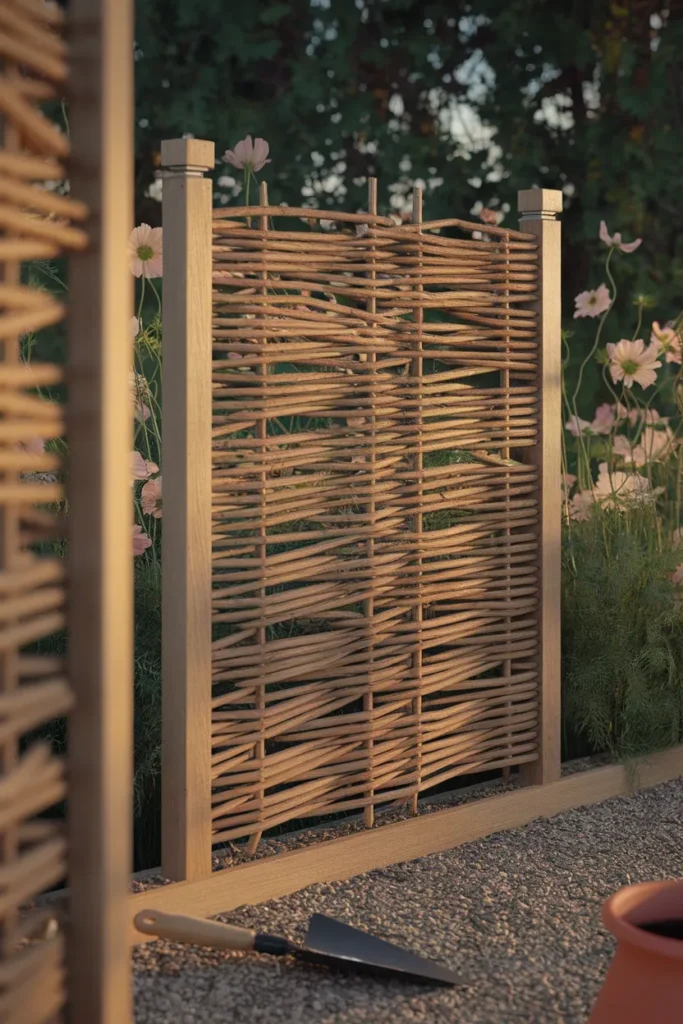
Woven wattle hurdles. Thin willow or hazel rods woven horizontally through upright stakes. This is the oldest cottage garden fence style there is and still the most texturally interesting. Ready-made willow hurdle panels run around $140 for a 36-inch by 72-inch panel at Home Depot, which is not cheap, so most people use them for a short accent run or a single screened corner rather than a full boundary.
Weave your own and the cost drops to nearly zero if you have a willow, hazel, or alder to coppice. The University of Maine Cooperative Extension notes that willow roots readily enough to grow into a living fence, which means freshly cut willow rods pushed into damp ground may sprout on you. Some people consider that a bug. In a cottage garden it is a feature.
One thing I learned the expensive way: never set a wattle panel directly on soil. Mine wicked moisture up through the bottom weave over its first winter and the whole lower third went soft and warped by March. Set the panels an inch or two above grade on gravel or on short pressure-treated blocks and they last three to four times longer.
Split rail. Two or three horizontal rails through mortised posts, roughly $15 to $35 per linear foot installed in 2026, the cheapest real fence on this list. On its own it reads more farm than cottage. Add climbing roses, a run of low planting along the base, and it converts into a cottage garden fence completely.
Brush and twig fencing. Bundled prunings lashed between stakes. Costs nothing but your Saturday, lasts two or three seasons, and looks incredible in photographs. Best as a garden-room divider inside the yard rather than a property boundary.
Reclaimed and salvaged. Old shutters, salvaged porch balusters, an antique iron gate set into a wood run. The rule that keeps this from looking like a junk pile: repeat one material at least three times, and keep the top line consistent even when the materials vary.
Cheap Cottage Garden Fence Ideas Under $100 a Run
Not every cottage garden fence needs to be a full project. Some of the best cottage effects come from about forty dollars and an afternoon.
Stake-in picket panels. Covered above. Roughly $2 a foot, no digging, instantly convincing on a bed edge.
Hazel or bamboo edging roll. A 16-foot roll of natural bamboo or reed edging runs under $30 at most garden centers. Unroll, staple to short stakes, done. Best under 24 inches tall.
Salvaged brick on edge, set at an angle. Not a fence exactly, but it does the same visual job of defining the bed, and it costs whatever the bricks cost. This overlaps heavily with garden edging ideas and the two techniques stack well together, a low brick line with a taller picket run six inches behind it.
Pallet slat picket. Break down two heat-treated pallets, cut the slats to 30 inches, round the tops, screw them to a 2×4 rail. Free lumber, one can of exterior paint at roughly $35 a gallon, and a genuine cottage fence for the price of the paint. Check the pallet stamp for HT (heat treated) rather than MB (methyl bromide) before you cut into anything.
Just paint what you have. If a plain stockade or shadowbox fence is already up, a warm cream or soft sage over the existing gray does more for cottage feeling than any new build. This is the highest return per dollar on the entire page.
I will be honest about the trade-off on all of these. Cheap cottage fencing is a two to five year solution rather than a twenty year one. That is fine if you are renting, testing a layout, or want the look this season. If you are fencing a property line you will keep for a decade, build the cedar.
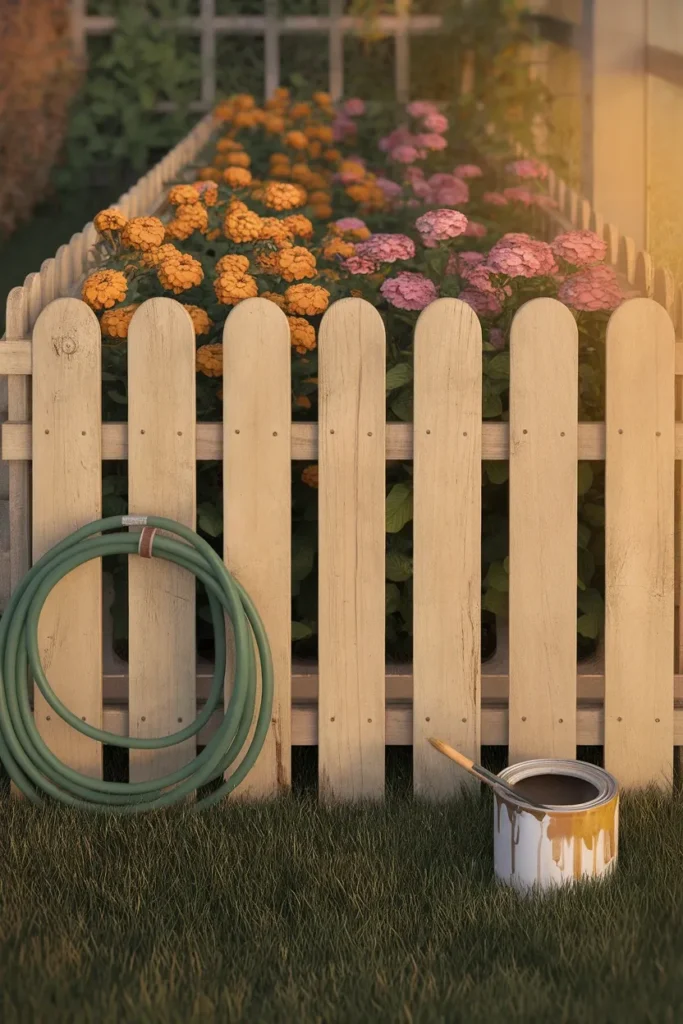
What to Plant Along a Cottage Garden Fence (and How Far Off It)
Every cottage garden fence article tells you to plant hollyhocks. Almost none tells you where.
Plant tight against the boards and three things go wrong. Air stops moving, so powdery mildew arrives by midsummer. The plants lean out toward the light and flop away from the fence. And you can never reach behind them to paint or repair.
Set the back row 12 to 18 inches off the fence face. That gap is invisible from the front once the plants fill in, and it fixes all three problems at once. My first year I planted hollyhocks about four inches off a west-facing fence and by July they were leaning at maybe thirty degrees into the path, mildewed on the back side, and I had to stake every one of them. The next spring I moved the row out to fourteen inches and staked nothing.
The classic back row (tall, 4 to 7 feet):
- Hollyhock, Zones 3 to 9, biennial, the single most cottage plant there is
- Delphinium, Zones 3 to 7, wants cool summers
- Foxglove, Zones 4 to 9, biennial, self-sows generously
Middle row (18 to 36 inches):
- Shasta daisy, Zones 5 to 9
- Catmint, Zones 3 to 8, blooms for months and asks for nothing
- Phlox, Zones 4 to 8
- Coneflower, Zones 3 to 9
Front edge (under 18 inches):
- Lady’s mantle, Zones 3 to 8
- Lamb’s ear, Zones 4 to 8
- Dianthus, Zones 3 to 9
- Sweet alyssum, annual, spills over an edge beautifully
On the fence itself:
- Climbing rose, most varieties Zones 5 to 9
- Clematis, Zones 4 to 9, plant the roots in shade and the top in sun
- Sweet pea, annual, for scent right where you walk past
Before you buy any of these, check your USDA plant hardiness zone with your zip code, since the 2023 map shifted a lot of the country by half a zone and older plant tags have not caught up. Most of the country falls in Zones 5 through 9, where last frost typically lands somewhere between late March and mid-May depending on where you sit in that band. Confirm your local date with your county extension office before you set out anything tender.
One more spacing note. Climbers need their support held about 3 to 4 inches off the fence face on standoffs, not screwed flat against it. Flush-mounted trellis traps moisture against the wood and rots the fence from behind while you admire the roses from the front.
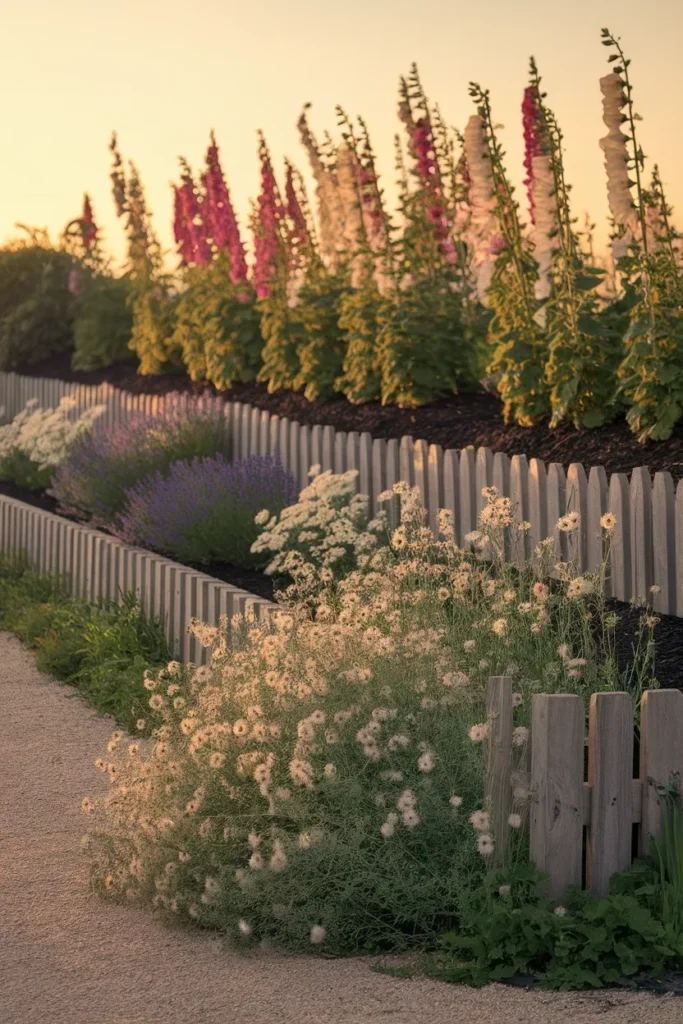
Cottage Garden Fence Height, Permits, and the Boring Part That Saves You Money
The most common question about a cottage garden fence is how tall to build it, and the answer has two halves: what looks right, and what your city allows.
What looks right. Front yard, 30 to 42 inches. Any taller and you lose the see-over quality the whole style depends on. Interior garden dividers, 24 to 36 inches. Rear boundary where you also want some privacy, up to 60 inches, but shift the design toward split rail with planting rather than solid boards or you will lose the cottage feel entirely.
What is allowed. Most US municipalities cap front-yard fences around 3 to 4 feet and rear-yard fences at 6 feet, and many require a permit above those heights. Corner lots frequently have a sight-triangle rule that caps anything within a set distance of the intersection at around 30 inches, regardless of what the rest of your yard allows. Rules vary widely by city and by HOA, so call your local building department before you buy lumber. It’s a ten minute phone call that can save a rebuild.
Three more things that cost money if you skip them:
Property line. Do not assume the old fence was on it. If you are replacing rather than adding, a survey pin check is worth the effort before you set new posts.
Utility locate. Call 811 at least a few business days before digging any post hole. It’s free, it’s federally supported, and hitting a gas line with a post-hole digger ruins considerably more than your Saturday.
Frost depth. Set posts below your local frost line or they will heave. In cold zones that can mean 42 inches or more. Gravel at the bottom of the hole for drainage, then either tamped gravel or concrete, and never let concrete form a bowl that holds water against the post base.
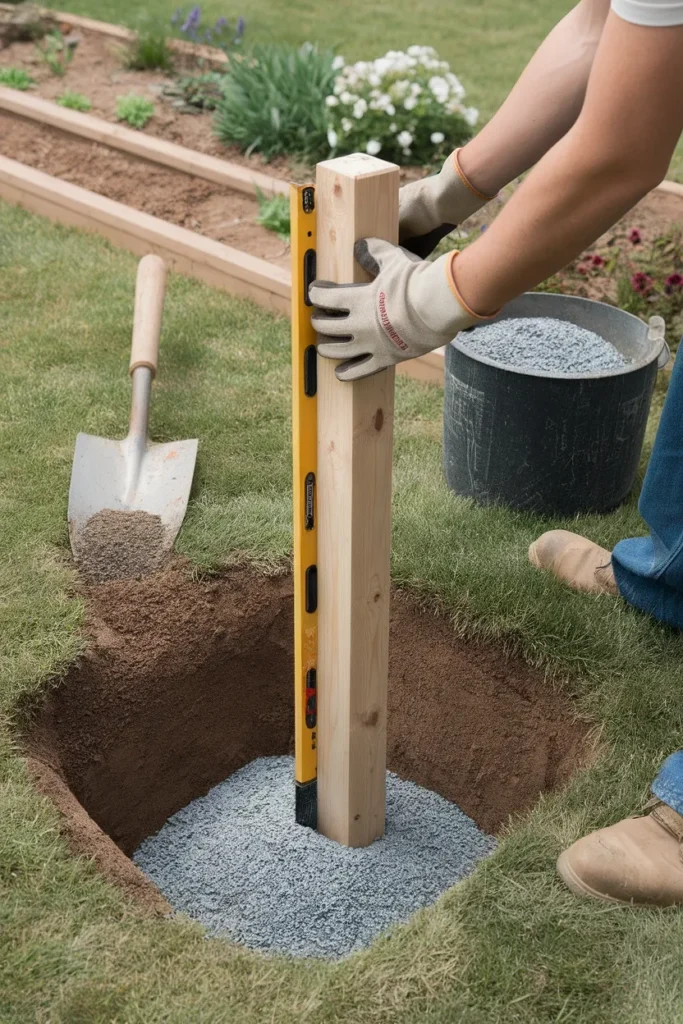
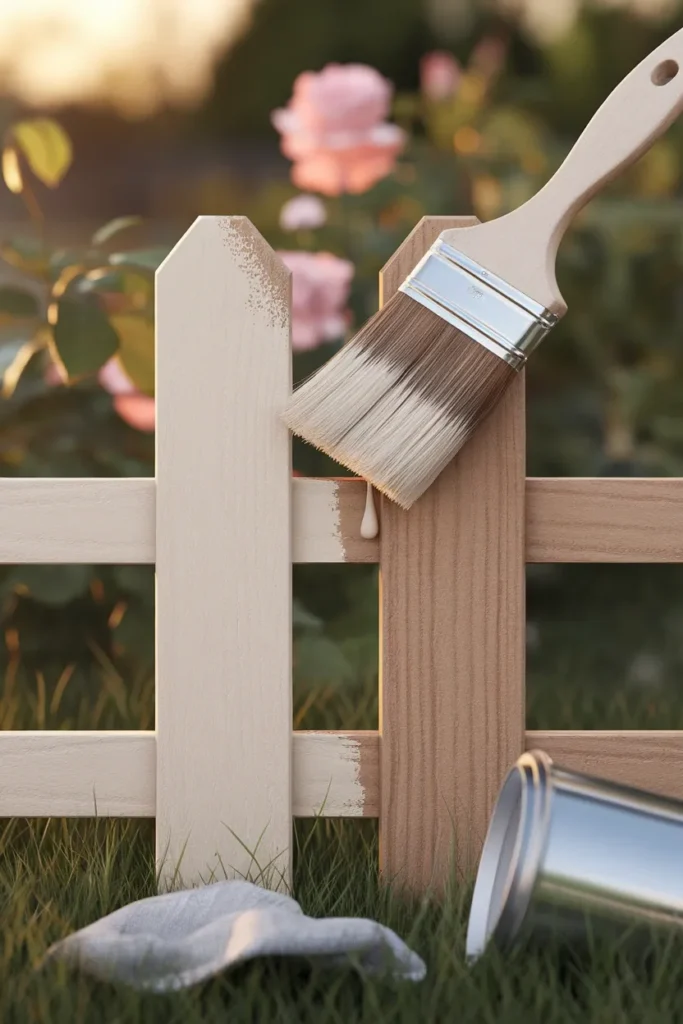
Paint, Stain, and the Weathering Your Cottage Garden Fence Actually Wants
Finish is where a good cottage garden fence gets ruined or made, and it is the cheapest variable you control.
If you want white, go warm. Off-white, cream, or a barely-there greige. Exterior acrylic latex, and here is the part people skip: prime the end grain on every cut. The tops of pickets and the bottom cuts drink water and that is where the paint fails first. My first fence got one thin coat because I was tired and wanted it done. By August the south-facing run had chalked and the picket tops were already showing gray through. Two coats, every time, and prime the cuts.
If you want gray, do nothing. Cedar silvers naturally in one to two seasons and it is the prettiest finish available. Just make sure the wood is rated for ground contact where it touches soil.
If you want color, the cottage palette that photographs best is soft sage, muted dusty blue, and warm charcoal. A gallon of exterior paint runs around $35 to $60 depending on line, and a gallon covers roughly 350 square feet, which is more than enough for a 40-foot picket run.
Skip the clear sealer on a picket-style cottage garden fence. It needs redoing every couple of years and it fights the weathering that makes the fence look old and settled. Save sealers for the gate and the arbor where you actually want the wood protected and dimensionally stable.
One practical timing note. Paint in spring or fall, not in high summer, and never in direct afternoon sun. Latex skinning over on a hot board is how you get that cracked, alligatored surface two years later.
Cottage Garden Fence Questions People Actually Ask
How tall should a cottage garden fence be?
Thirty to 42 inches for a front garden, 24 to 36 inches for interior dividers, up to 60 inches at a rear boundary where you want some screening. The style depends on being able to see over the fence, so height is the fastest way to lose the effect. Check your local code before building above 4 feet in front or 6 feet in back.
What is the cheapest cottage garden fence idea?
Painting a fence you already own. After that, stake-in picket panels at roughly $2 per foot, or pallet-slat pickets, which cost only the price of a gallon of paint if you can source free heat-treated pallets. Split rail is the cheapest real boundary fence at $15 to $35 per linear foot installed.
What is the best material for a long-lasting cottage garden fence?
Western red cedar for pickets and rails, with pressure-treated posts rated for ground contact where the wood meets soil. Cedar resists rot naturally, silvers into a beautiful gray, and skips the plastic look of vinyl. Oak and black locust last even longer if you can find them locally milled.
How can I make my existing fence look more cottage style?
Three moves, in order of impact. Repaint in a warm off-white or soft sage. Add an arbor over the gate. Plant a tiered border along the base set 12 to 18 inches off the boards. If the fence is solid stockade, adding a lattice or open topper section also breaks up the wall effect and gets you closer to the 40 percent gap ratio.
Do I need a fence for my cottage garden?
No. Plenty of cottage gardens use layered planting, a low stone edge, or a single arbor with no fence at all to mark the space. A fence gives the flowers something to lean against and gives the eye a line to read, which is why the style leans on it so heavily. If deer or dogs are not a factor, a defined edge and a threshold can do the same job.
What should I plant along a cottage garden fence?
Hollyhock, delphinium, and foxglove at the back, shasta daisy, catmint, phlox, and coneflower in the middle, lady’s mantle, lamb’s ear, and dianthus at the front edge, and climbing roses, clematis, or sweet peas on the fence itself. Set the back row 12 to 18 inches off the boards for air circulation.
Do I need a permit for a garden fence?
Often yes above a certain height, which is commonly 4 feet in front yards and 6 feet in back, though it varies by city and by HOA. Corner lots usually have an additional sight-triangle restriction near the intersection. Call your local building department before purchasing materials, and call 811 before digging any post hole.
Start With Twelve Feet
You don’t have to build the whole cottage garden fence this weekend.
Pick the twelve feet people see first, usually the run beside the front walk or the corner of a bed you already look at from the kitchen window. Build that section, get the gap ratio near 40 percent, plant the back row a foot and a half off the boards, and live with it for a month. You will learn more from those twelve feet than from any amount of planning, and if you got the spacing wrong it is a cheap mistake to fix.
Then extend. A cottage garden fence built in stages over two seasons almost always looks better than one built all at once, because the second half gets the benefit of everything the first half taught you.
If the corner you are fencing is meant to feel tucked away rather than shown off, the same rules apply with one change: block the sightline before you build the fence. Our secret garden ideas guide covers how to hide a space properly, and a low cottage fence works beautifully as the last layer once the screening is handled.
Which twelve feet are you starting with?