Easy Front Yard Landscaping Anyone Can Do, Even If You Have Never Planted Anything

If you typed easy landscaping front yard into Google and got back eighty photos of properties that clearly cost twelve thousand dollars, welcome. Same. This is the other version: the front yard you build yourself, across two Saturdays, using tools already sitting in your garage.
Here’s the promise. By the end of this you’ll know the single first move that changes a yard more than any plant does, which projects are genuinely beginner level and which ones only look that way, and roughly what each one runs at Home Depot. Every idea below is sorted by difficulty instead of by style, which is the part most easy front yard landscaping roundups skip. If your goal is less weekend work rather than less experience required, our guide to low maintenance front yard landscaping ideas covers that angle separately.
Nobody starts good at this. We certainly didn’t.
The One Tool Rule: How We Decide What Counts as Easy
Every project in this article passes one test we made up after a very humbling first spring.
The One Tool Rule: if a front yard project needs more than one tool you already own, plus one bag of something, it is not a beginner project yet. Not never. Just not first. The rule exists because beginners quit at the rental counter, not at the garden center.
That sounds almost too simple. It holds up remarkably well.
Here is the tier list we use. Screenshot it, take it to the store, and stop there.
| Project | Tools needed | Realistic time | Rough cost |
|---|---|---|---|
| Cut a clean bed edge | Flat spade | 90 minutes for 40 feet | $0 if you own the spade |
| Mulch an existing bed | Wheelbarrow, spade | 2 hours | Under $5 per 2 cu. ft. bag |
| Sheet mulch a lawn strip | Spade, hose, box cutter | 3 hours | Free cardboard plus mulch |
| Install plastic edging | Rubber mallet | 1 hour per 20 feet | Under $20 per 20 ft coil |
| Plant 5 gallon shrubs | Round point shovel | 20 minutes each | $25 to $45 each |
| Solar path lights | Your hands | 30 minutes | $30 to $45 for six |
| Paver walkway | Plate compactor, level, saw | Full weekend, plus help | $600 plus |
| Retaining wall | Compactor, level, wet saw | Two weekends, plus help | $1,200 plus |
The bottom two rows are real projects. They’re just not the ones you start with, and every listicle that puts a terraced bluestone walkway in the same numbered list as “add mulch” is quietly setting you up to feel bad.
Notice something about the top six rows. None of them involve a plant.
That is the whole thesis of easy landscaping front yard work, and it took us three seasons to believe it. Structure first, plants later. Beds, edges, mulch, and light are what your neighbors actually register from a moving car, and every one of those passes the One Tool Rule.
Your First Weekend, Hour by Hour
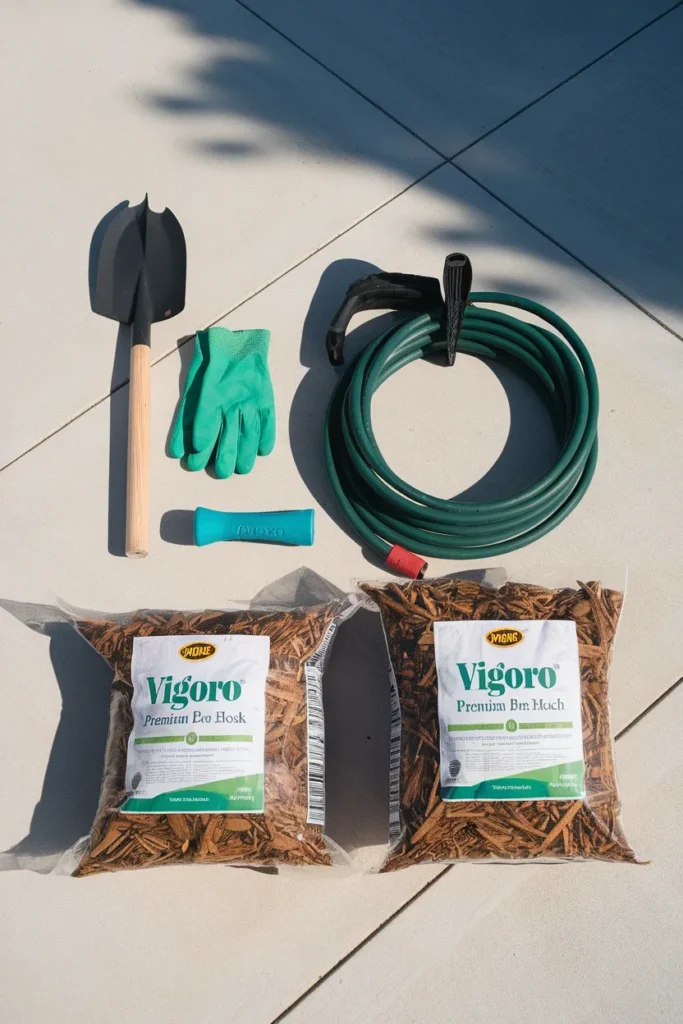
Here’s the schedule we hand to anyone starting from scratch. It fits in one Saturday with a lunch break, and it assumes you own a spade and nothing else.
8:00 to 8:30. Walk to the curb with coffee. Take three photos from where the mail carrier stands. Yards look completely different in a photo than they do from your front step, and you will spot the problem instantly.
8:30 to 9:00. Lay a garden hose to mark one bed shape. Only one. Adjust it twice, then leave it.
9:00 to 10:30. Cut the edge along the hose line. This is the hardest physical hour of the day and everything after it is downhill.
10:30 to 11:00. Drive to Home Depot. Buy mulch and nothing else. Buying plants on day one is how the day ends at 6pm with a wilting cart in the driveway.
11:00 to 1:00. Spread mulch two to three inches deep, right up to the trench line.
1:00. Stop. Take the second photo from the curb. You are done, and the yard has already changed more than most people manage in a full season of easy front yard landscaping projects.
Plants go in next month, or next fall. The bed will still be there.
Edge First, Plant Second
This is the highest value tip in the article, so it goes first. If you only take one thing from this entire guide to easy landscaping front yard projects, take this.
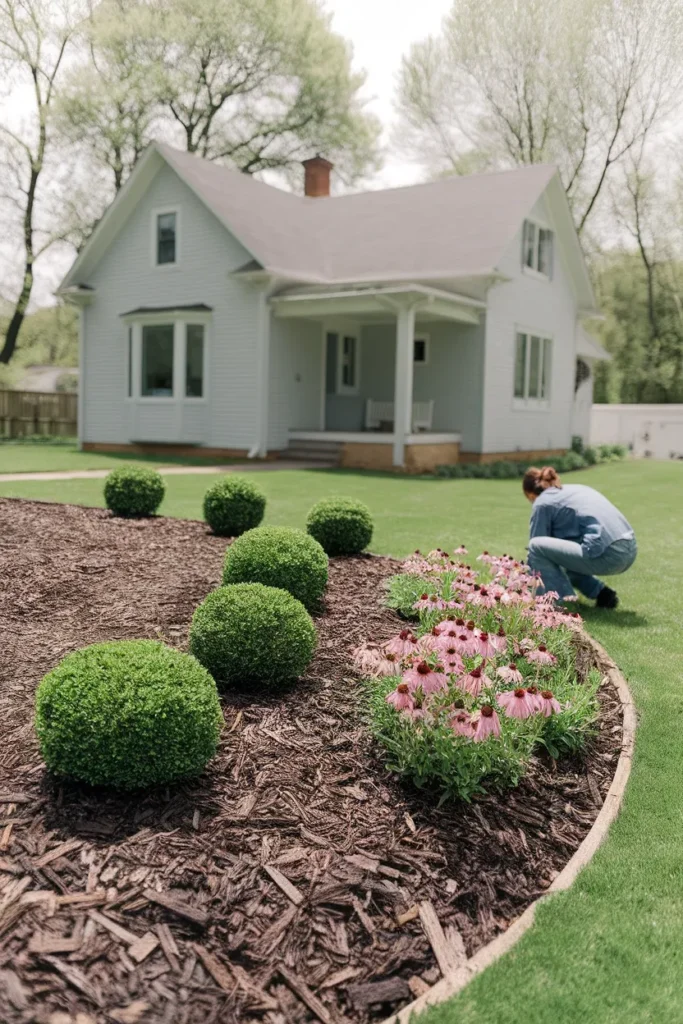
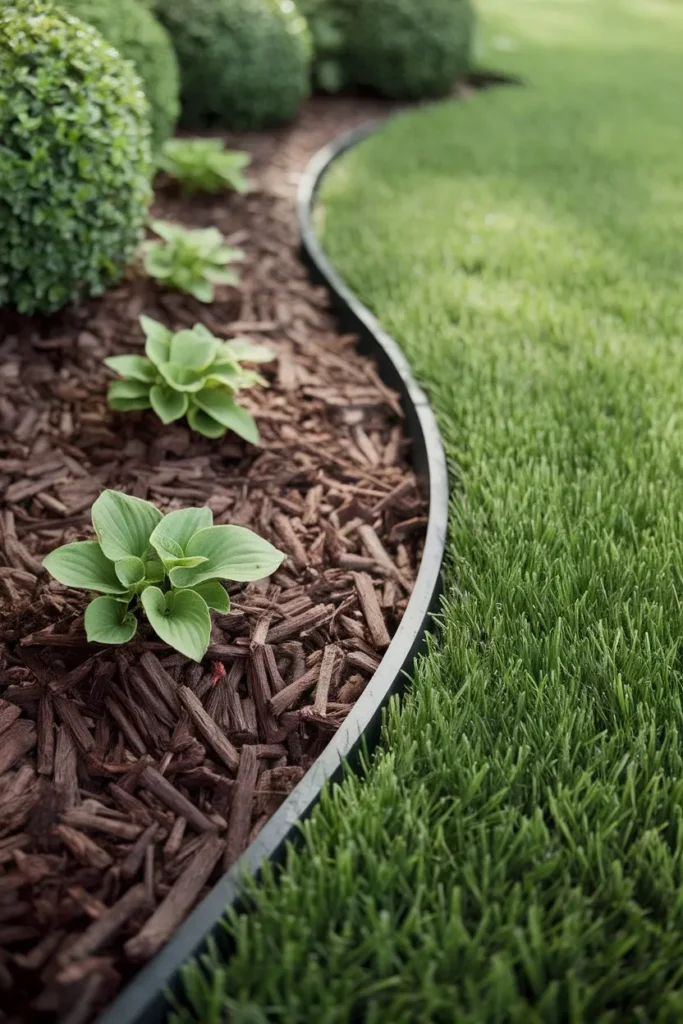
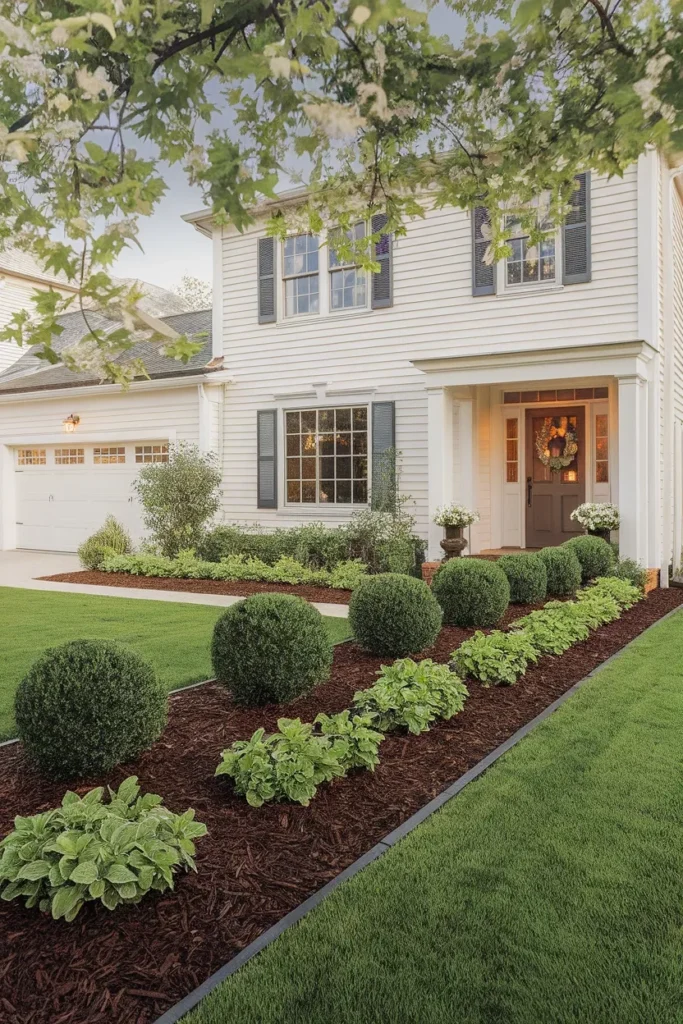
Before you buy a single plant, cut a clean edge where your lawn meets your beds. That’s it. A crisp four inch trench, cut at an angle, does more for curb appeal per hour than anything else you can do to a front yard, and it costs nothing if you own a flat spade.
Why it works: the human eye reads intention before it reads content. A yard with sloppy plants and a razor edge looks tended. A yard with gorgeous plants and a fuzzy, grass-invaded border looks abandoned. Landscapers know this. It’s the reason a crew’s first move on any property is almost always the edge.
How to do it in about ninety minutes:
- Lay a garden hose on the lawn to draw the shape you want. Walk to the curb. Look at it. Adjust. Long lazy curves read better than tight scallops from thirty feet away.
- Mow the grass short along the line so you can see what you’re doing.
- Cut down through the turf at an angle from both sides, four to six inches deep, so you end up with a shallow V trench. Penn State Extension recommends that same four to six inch depth in Penn State Extension’s sheet mulching walkthrough, which is worth reading before you start.
- Toss the removed soil into the bed, not onto the lawn.
- Mulch right up to the trench edge, never over it.
One warning that no top ranking article on this keyword mentions: call 811 before you dig. It’s the free national utility locate line, it takes a few minutes, and you’re supposed to give two to three business days’ notice. Front yards are where the water service, the gas line, the cable drop, and the sprinkler mains all run. A four inch edge trench is usually shallow enough to be fine, but a shrub hole is not, and hitting a fiber line is a genuinely awful Saturday.
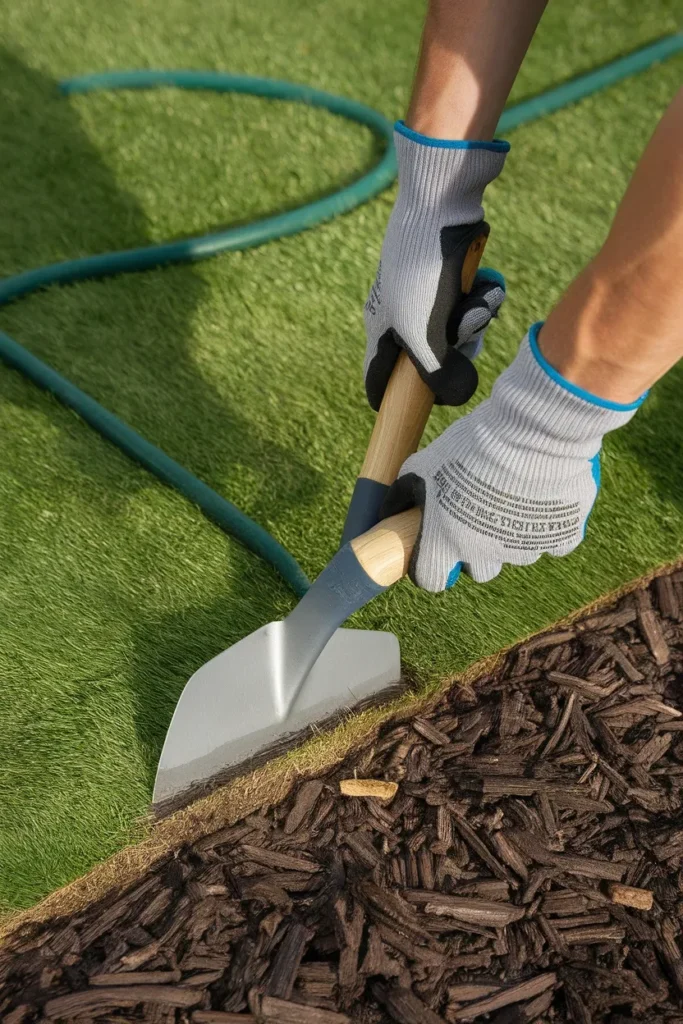
Come back in a week and look at the same yard. Nothing has been planted. It already looks like somebody lives there on purpose.
The Cardboard Lawn Swap That Beats Digging
Want a new bed where grass currently is? Don’t dig the sod out. Smother it.
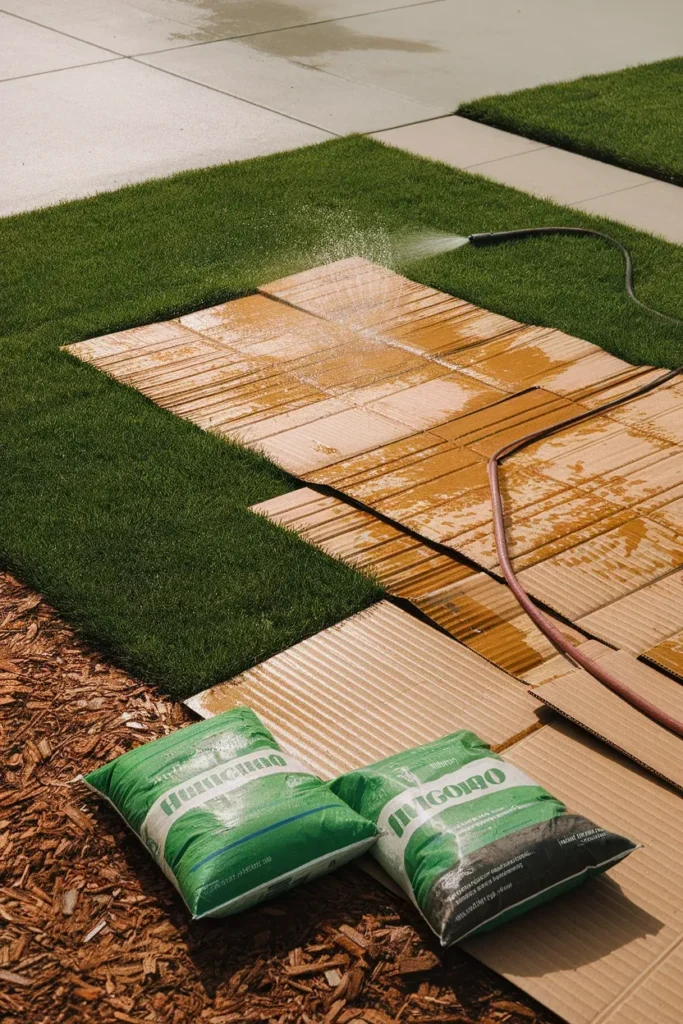
Sheet mulching is the single most beginner friendly way to convert lawn into planting space, because the hard part is done by time instead of by your back. It’s also the cheapest easy front yard landscaping move on this entire list, since the main ingredient is trash. You lay flattened corrugated cardboard over the grass, wet it, pile mulch on top, and walk away.
The specifics matter more than people admit:
- Overlap the cardboard by 8 to 10 inches. Any gap is a gap where Bermuda grass will come up like it was invited. Penn State’s guidance is explicit about leaving no open spaces.
- Pull off every strip of packing tape and every plastic shipping label. They do not break down. You will find them three years later.
- Soak the cardboard before mulching. Dry cardboard sheds water and your new bed stays bone dry underneath.
- Total mulch depth of four to six inches on top. Less than that and light gets through.
- Give it four to six months. Over winter is the ideal window, which makes September through November the smartest time to start a spring front yard.
That last point is the catch, and it’s why we’re telling you now instead of burying it. If you sheet mulch in April expecting to plant in May, you’ll be pulling cardboard out of a half rotted bed. Start it in fall, plant it the following spring, and the work is close to zero.
Cost for a 10 by 4 foot strip: free cardboard from any appliance store, plus about ten bags of mulch. Under $50 all in.
Beginner Proof Plants, Sorted by Your USDA Zone
Now the plants. Before you buy anything, look up your zone by ZIP code on the 2023 USDA Plant Hardiness Zone Map. The map is built on average annual extreme minimum winter temperature and splits the country into 10 degree zones with 5 degree half zones, which is the difference between a shrub that shrugs off January and one that turns brown and stays that way.
How Many Plants Do You Actually Need?
Fewer than you think, and this is where most easy landscaping front yard budgets get wrecked.
Buy five of three things, not one of fifteen things. A drift of five identical coneflowers reads as a design decision. Fifteen singles read as a garden center clearance rack. This is the mistake we made our first spring, and it cost about $140 to learn.
The math for a standard foundation bed, roughly 20 feet long by 4 feet deep:
- 3 evergreen shrubs, spaced about 4 feet apart, set back 3 feet from the wall so they have room to fill in
- 5 to 7 perennials in one or two species, in front of and between the shrubs
- 1 ornamental grass at the end that needs a visual stop
- Mulch across everything else
That’s nine or ten plants for a bed that most people would fill with thirty. It costs less, it survives better, and it looks calmer from the curb, which is the only viewing distance that matters. Empty mulch space in year one is not a mistake. It’s room for the shrubs to become the shrubs you paid for.
Zones 5 and 6
Winter is the constraint. Lean on plants that hold structure when everything else is asleep.
- Boxwood (evergreen, keeps the bed’s shape all winter, about $25 to $40 for a 3 gallon)
- Karl Foerster feather reed grass (stands up through snow, cut it back once in March)
- Sedum Autumn Joy (nearly impossible to kill, blooms when everything else is finished)
- Catmint (Walker’s Low is the reliable one, shear it in July and it reblooms)
- Daylilies (the plant that survives renters, contractors, and neglect)
Zones 7 and 8
Your growing season is long enough that the real risk is a plant getting too big, too fast, and swallowing the walkway.
- Dwarf yaupon holly (evergreen, tidy, takes shearing)
- Little Lime hydrangea (blooms on new wood, so a late freeze doesn’t cost you the season)
- Muhly grass (that pink cloud you’ve seen on Pinterest in October)
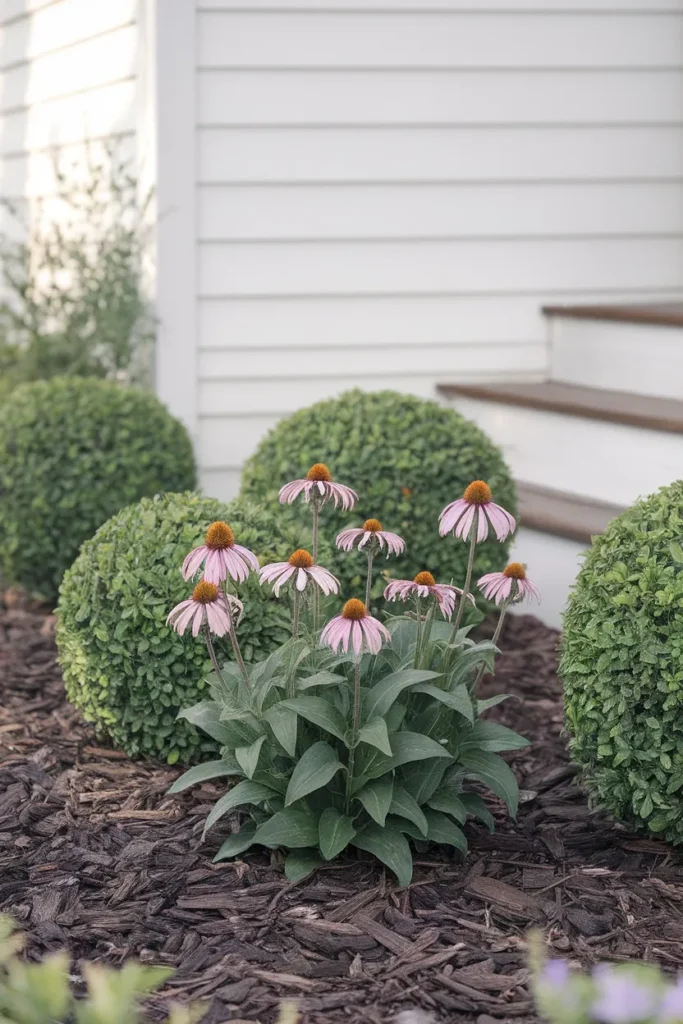
- Coneflower (pollinators love it, deer mostly don’t)
- Liriope as a ground cover along the walkway edge
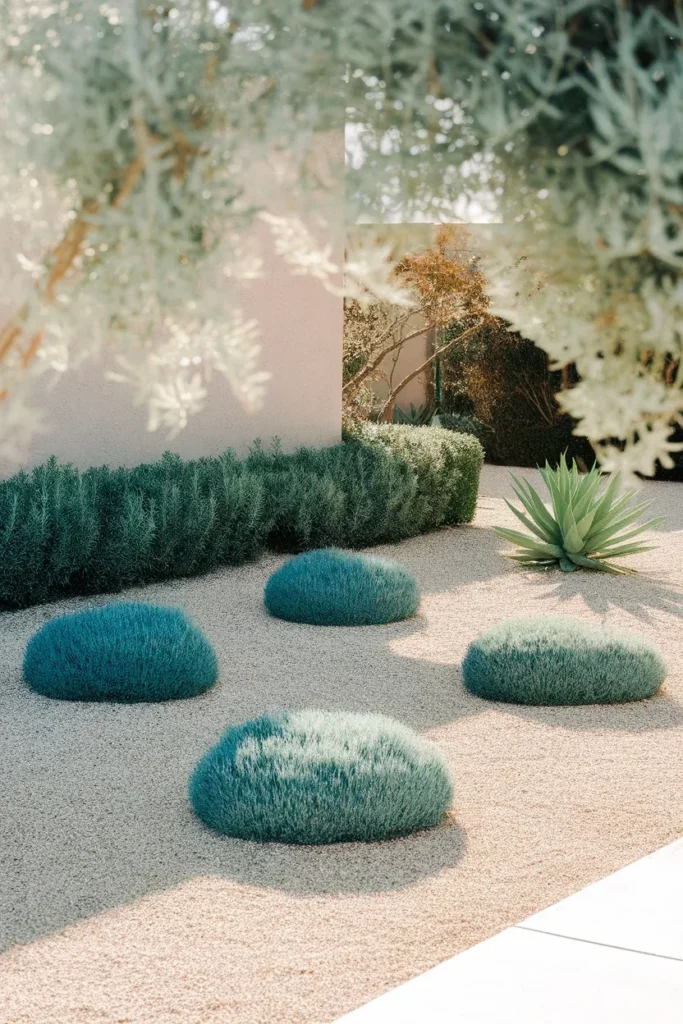
Zone 9 and hot dry yards
Water is the constraint. The EPA’s guidance on choosing low water use or drought tolerant species for your specific area is the right starting filter, and gravel does a lot of the visual work here.
- Agave and dwarf yucca for structure
- Rosemary as a low evergreen hedge that also cooks dinner
- Lantana for nonstop summer color
- Blue fescue in repeating clumps
- Bougainvillea where you have a wall to grow it against
If gravel is doing most of the lifting in your design, our breakdown of front yard landscaping ideas with rocks goes deeper on rock sizing and dry creek beds than we can here.
The Five Bag Mulch Reset
If you do one thing this month and nothing else, do this. It’s the highest return per dollar in easy front yard landscaping, full stop.
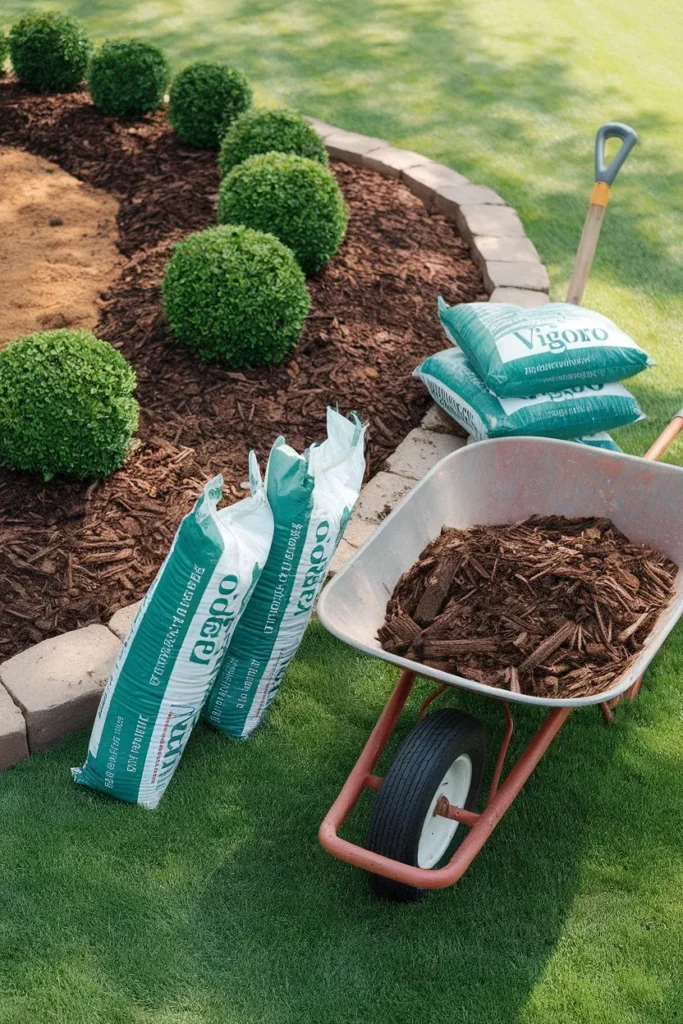
Five bags of fresh mulch across your existing front beds takes about two hours, costs less than a pizza night for four, and resets the entire front of the house. Vigoro’s premium brown shredded mulch at Home Depot runs under $5 for a 2 cubic foot bag, and one bag covers roughly 12 square feet at a useful depth.
Two things we’ve learned the hard way about mulch:
Shredded beats nuggets on any slope. The shredded fibers knit together and stay put. Nugget mulch floats, and after the first hard August storm you’ll find half of it in the street gutter. On flat beds, either works.
Two to three inches, and keep it off the trunks. Piling mulch up against a tree trunk in a cone (you’ve seen it on every commercial property in America) traps moisture against the bark and slowly rots it. Pull it back two inches from every stem. It takes ten extra seconds per plant.
Refresh once a year, in spring. Not twice. Old mulch does not need removing, it needs a rake and a thin new layer on top.
Curb Appeal After Dark, Done in One Afternoon
Half the people who see your front yard see it at 7pm in November. Light it.
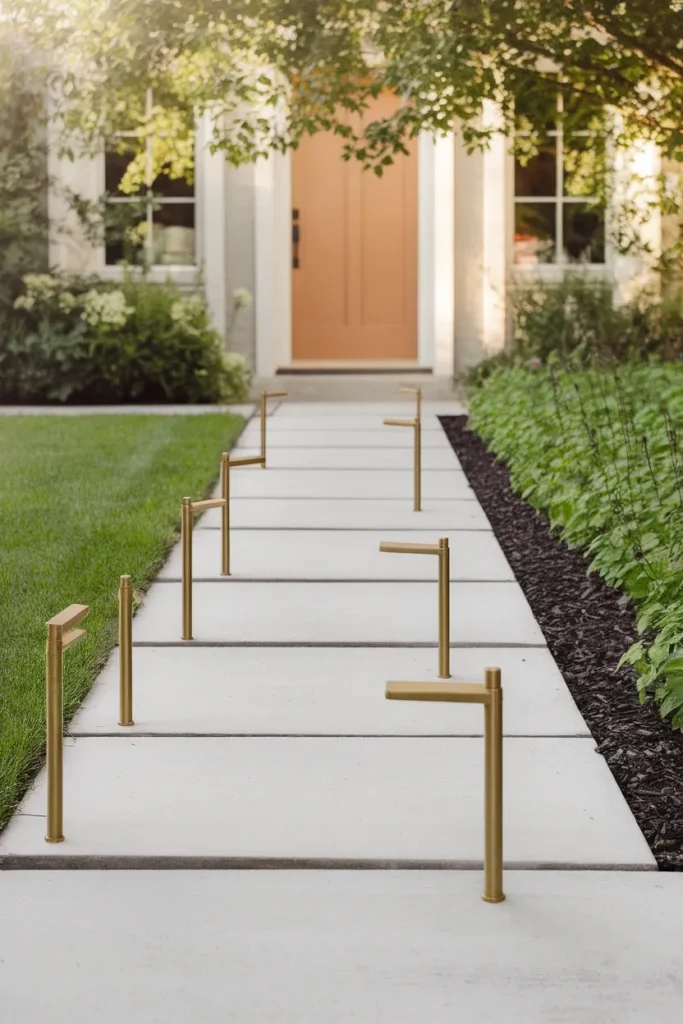
Solar path lights are the only lighting project that passes the One Tool Rule, because the tool is your hands. A six pack of Hampton Bay solar path lights lands somewhere in the $30 to $45 range, and installation is pushing stakes into soft ground.
Three rules so it doesn’t look like an airport runway:
- Stagger them, don’t mirror them. Alternating sides down a walkway looks designed. Matched pairs look institutional.
- Six to eight feet apart, minimum. Beginners space them at three feet and end up with a landing strip.
- Put them where the path changes. A curve, a step, a corner. Lighting a straight run of flat concrete is wasted.
Solar has a real limit worth naming: it needs six hours of direct sun on the panel to run through a winter evening, so a shaded north facing walkway will disappoint you. If that’s your situation, a low voltage plug in kit is the honest upgrade, and it’s still a one afternoon job. You stake the lights, run the wire along the bed edge under an inch of mulch, and plug the transformer into an existing outdoor outlet. No wiring, no permit, no electrician.
Two more small things that punch above their price. Uplight one tree or one large shrub with a single spot fixture and the whole front of the house gains depth after dark. And replace peeling brass house numbers with matte black ones, which costs under $25 and shows up in every photo anyone ever takes of your house, including the listing photos someday.
Three Things Beginners Get Wrong (One Is Controversial)
1. Buying variety instead of quantity. Already covered, still the biggest one. Three species, five of each, beats fifteen singles every time and costs less.
2. Planting the foundation bed too shallow. A two foot deep strip against the house looks like a mustache. Most front foundation beds want four to five feet of depth to hold a shrub and something in front of it. If depth is genuinely not available because the lot is tight, our small front yard landscaping ideas work through the tape measure math for narrow lots.
3. The controversial one: skip the annuals for your first year. Every garden center in America will sell you a flat of petunias in May, and they’ll be spectacular for eleven weeks and dead by September, and next May you get to spend that money again. A beginner’s first $200 goes further in three shrubs and a bag of mulch than in forty annuals. Color matters. It just shouldn’t be the thing you buy first, because color is the part of a yard that’s easiest to add later and hardest to afford annually.
We ignored this advice ourselves the first year and filled the entire front bed with impatiens on the west facing side of the driveway. They were beautiful in June. By the second week of July they had cooked flat against hot concrete, and we learned that afternoon sun off a driveway is its own microclimate.
One more, quietly: check your setback and right of way before you plant anything near the curb. Many municipalities own the strip between the sidewalk and the street and can legally remove whatever is in it. A two minute call to your city planning desk saves a very bad phone call later.
Frequently Asked Questions
What is the easiest landscaping to maintain? Mulched beds planted with evergreen shrubs and ornamental grasses, in that order. Evergreens hold their shape year round with one shearing, grasses need a single cutback in early spring, and mulch suppresses most weeds for a season. Lawn is the highest maintenance surface most people own, so shrinking it is the fastest way to cut work.
How do I landscape my front yard on a budget? Spend your first money on shape rather than stuff. A cut edge costs nothing, mulch runs under $5 a bag, and cardboard is free. Then buy three shrubs instead of fifteen perennials. A genuinely improved front yard is achievable under $300 if you do the labor and buy in that order.
What is the cheapest form of front yard landscaping? Edging plus mulch. No purchase beyond mulch, no equipment rental, no plants. It’s the move landscapers make first for a reason, and it’s why our whole One Tool Rule tier list starts there.
What is the cheapest ground cover? Creeping thyme and clover are the two cheapest by coverage, since both can be started from seed. For shade, pachysandra spreads reliably once established but costs more up front because it’s sold as plants rather than seed. Mulch is cheaper than all of them if you only need the bed to look finished.
How can I make my front yard look more expensive than it is? Three moves: cut a hard edge, group plants in odd numbered drifts of the same species, and light the walkway. Repetition and edges are what read as “professionally designed” from the street. Variety and fussiness read as amateur, even when the plants are expensive.
How do I fill my front yard for landscaping? Work in layers from the house outward. Evergreen shrubs against the foundation for structure, a middle layer of perennials or grasses, then a low front edge of ground cover or a mulch margin. Leave a clear four to five feet of bed depth so the layers have room.
How much does it cost to landscape a front yard yourself? A realistic DIY range for a standard suburban front yard is $200 to $800 in materials, depending on how many shrubs you buy and whether you add lighting. The same work through a contractor typically starts several thousand higher, because labor is the bulk of the bill. Get quotes if you want a paver walkway or a wall, since those two genuinely benefit from a pro.
Start With Twelve Feet of Edge This Weekend
Don’t do the whole yard. Pick the twelve feet of bed that the mail carrier walks past, cut a clean edge into it, drop two bags of mulch, and stop.
That’s it. That’s the whole first weekend. It costs under $10 and takes less time than a movie, and the reason we keep pointing you back to it is that the edge is the thing that makes every later decision look intentional. Plants can come in October. Lighting can come whenever.
Easy front yard landscaping is not a style you buy. It’s an order you follow: edge, mulch, structure, color, light. Follow it in that order and a beginner yard stops looking like a beginner yard somewhere around hour three.
One last piece of timing, since almost nobody tells beginners this. Fall is the better season to start, for two reasons that feel backward. Shrubs planted in September and October root through mild, wet weather instead of fighting July heat, and any sheet mulching you start now gets the full four to six month rest it needs before spring. Nurseries also mark perennials down hard once the summer rush ends. So if you’re reading this in spring, cut the edge and lay the mulch now, then put the plant buying on the calendar for September and spend the summer looking at a yard that already reads finished.
Take a photo from the curb before you start and another when you’re done. You’re going to want to see the difference, and you’re going to be surprised by how much of it came from a spade.
Which twelve feet are you starting with?