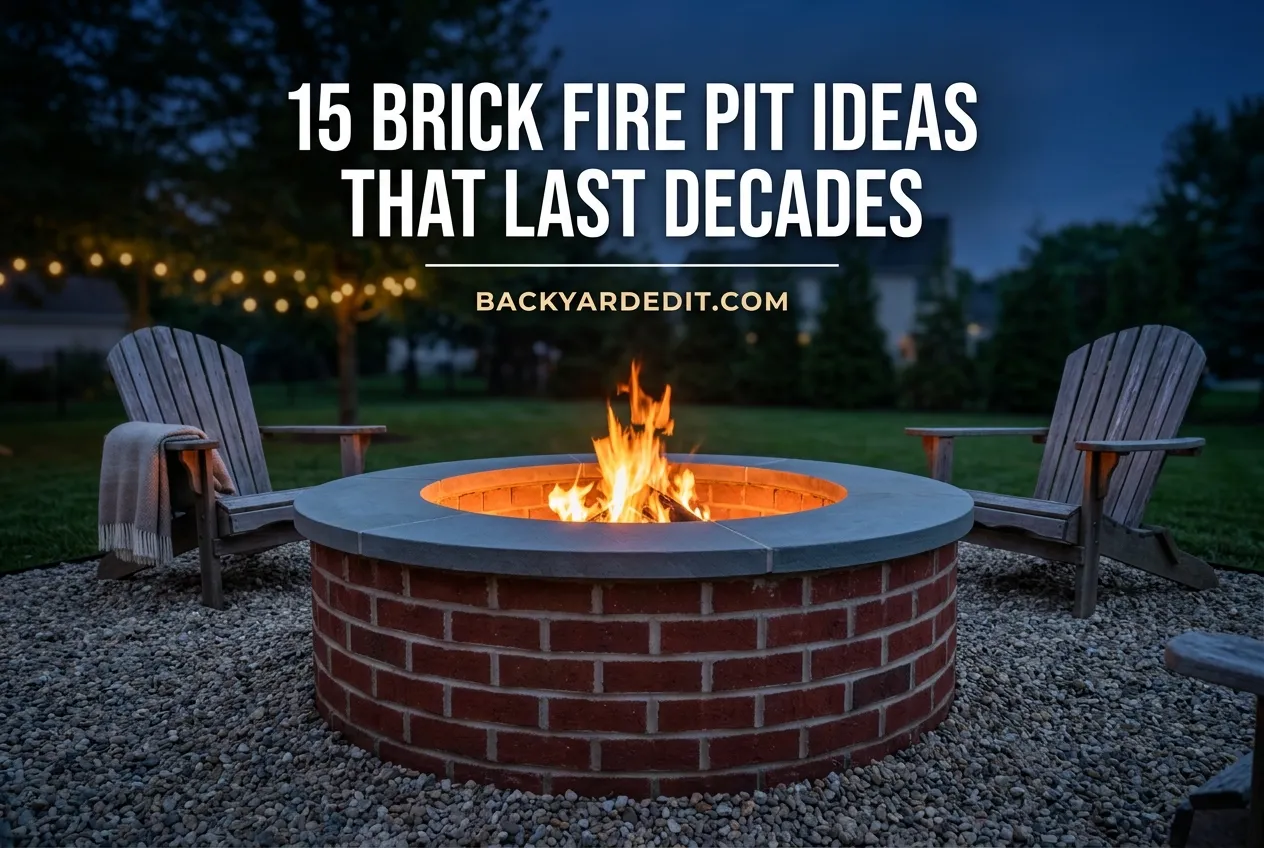
15 Brick Fire Pit Ideas That Still Look Right in Ten Years
A brick fire pit is the one backyard project that gets better as it ages. Steel rusts through. Concrete bowls hairline and flake. Brick just darkens, settles, and starts looking like it came with the house. That is the whole appeal, and it is why we keep coming back to it.
Here is the promise. By the end of this you will know exactly which brick goes where, what the thing actually costs, how far it needs to sit from your siding, and which nine looks are worth copying. You will also know the one mistake that quietly ruins most DIY brick fire pit builds, and it happens before anyone lights a match.
Let’s get into it.
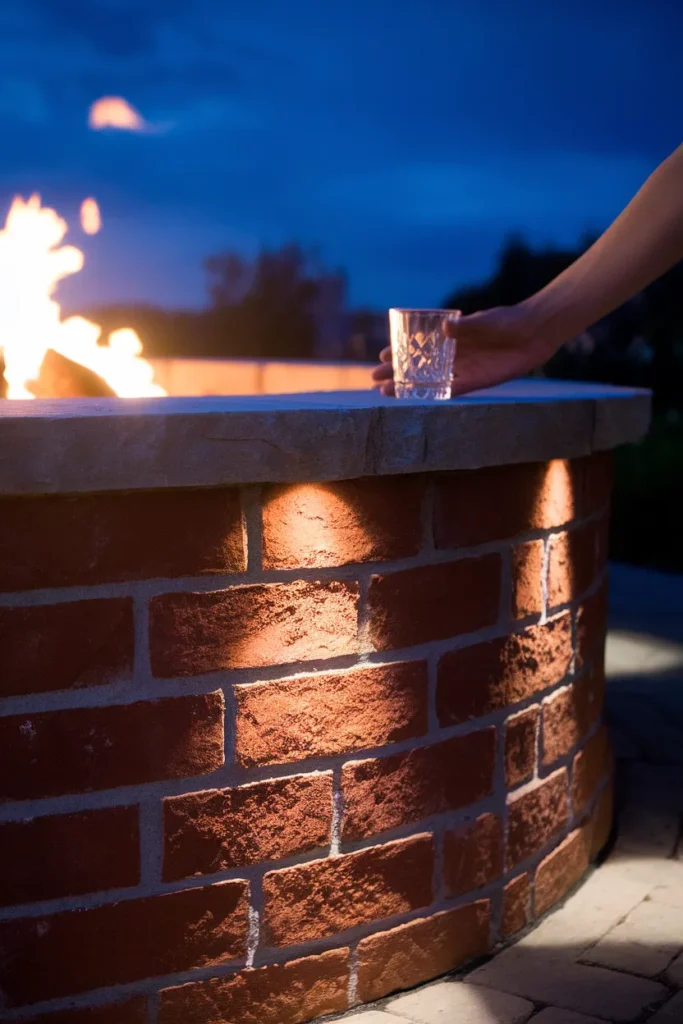
Why brick beats every other fire pit material
Steel fire rings are cheap and fast. We get the appeal. But a bare ring reads temporary, and temporary is exactly what you do not want as the anchor of a yard.
Brick does three things nothing else does at once. It holds heat and pushes it back at you long after the flames drop, so the last hour of an October evening stays comfortable. It contains embers, which matters more than most people think. And it ties visually to whatever masonry you already own, whether that is a chimney, a walkway, or a foundation course.
Cost sits in the middle too. Industry cost guides place brick around $8 to $15 per square foot of built material, under natural stone and above plain concrete block. That middle position is the sweet spot for a project you only want to build once.
One honest caveat. Brick is heavier work than a kit. Plan on a weekend, not an afternoon.
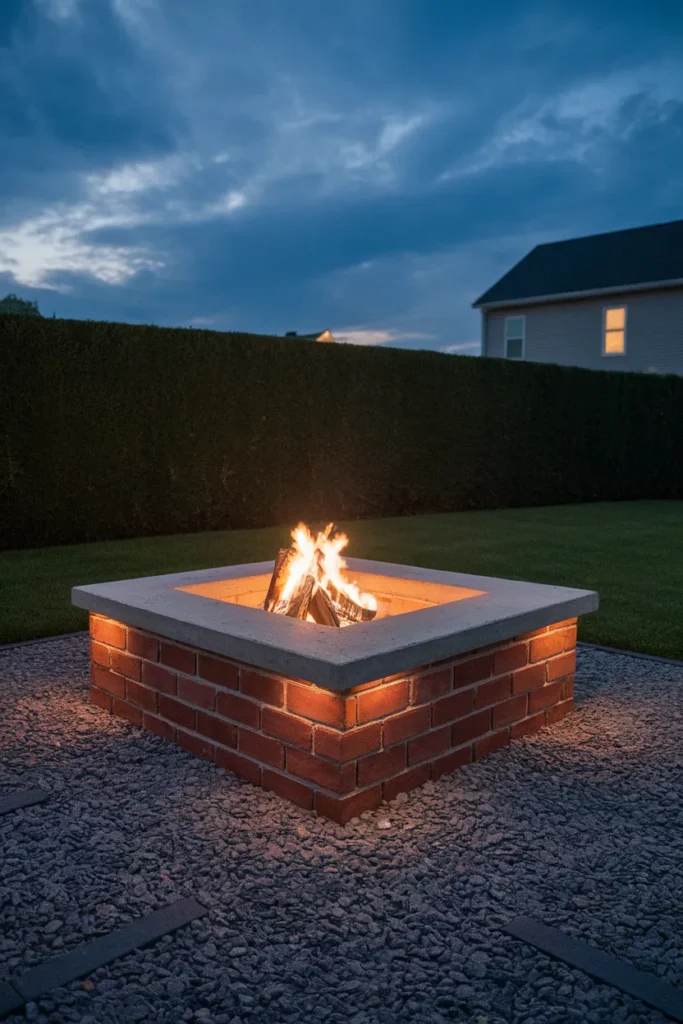
Pick the shape before you pick the brick
Your brick fire pit shape decides brick count, cutting, and seating. Decide it first.
Round is the classic and the friendliest. People naturally face each other in a circle, which is why every campfire memory you have is round. It also needs the most cuts, because standard brick is straight and circles are not. Half-bricks help you turn the curve cleanly.
Square is the easiest DIY brick fire pit for a first-timer. Four straight walls, almost zero cutting, and it lines up with a patio edge instead of fighting it. A square brick fire pit also reads more modern, which suits newer builds.
Rectangular works when you want the brick fire pit to double as a low table or a bench-adjacent feature along a wall.
Whatever you choose, sizing is fairly settled: most sources land on 3 to 4 feet across as the useful range. Smaller than 3 feet and logs will not sit flat. Bigger than 5 feet and everyone is too far from the heat to talk.
The Three-Ring Brick Rule
This is the part nobody maps out properly, so here is our framework for it. Every good brick fire pit is three separate rings doing three separate jobs, and the reason cheap builds fail is that people try to make one brick do all three.
| Ring | What goes here | Why it matters |
|---|---|---|
| Ring 1, the liner | Firebrick (refractory brick) or a steel fire ring insert | Takes direct flame. Core temps hit roughly 800°F, which cracks porous brick |
| Ring 2, the wall | Face brick, pavers, or retaining wall block | Structure and looks. Never sees direct flame |
| Ring 3, the cap | Wide coping brick or a stone slab | Sheds rain out of the joints, holds drinks and elbows |
Run those three rings and your pit outlives you. Skip Ring 1 and you get spalling in a season.
Which brings us to the argument.
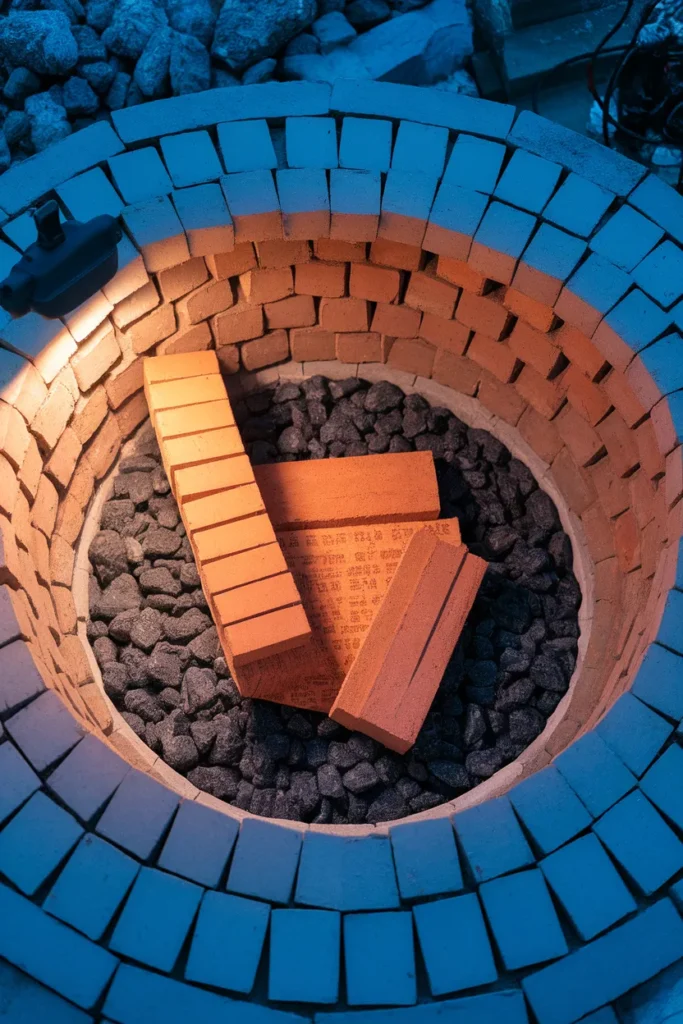
The regular brick argument, settled
Search this question and you get two confident, opposite answers.
Masonry suppliers like Western Interlock and JS Brick warn that regular brick cracks, pops, and fails under fire conditions, and that even a modest fire stresses porous material. Other outlets counter that fresh regular brick handles a moderate fire fine, since it resists water absorption and lets vapor escape.
They are both right, and they are arguing about different rings.
Regular brick fails as Ring 1. Trapped moisture turns to steam, steam has nowhere to go, and the face pops off. That is the spalling everyone warns about, and yes, it can throw fragments.
Regular brick is completely fine as Ring 2, sitting behind a firebrick liner or a steel insert, where it never touches flame. This is exactly what Family Handyman’s veteran bricklayer build does: face brick outside, firebrick inside.
So the answer is not “regular brick is dangerous.” It is “regular brick is dangerous in the wrong ring.” Buy 25 to 30 firebricks for the liner, use whatever you like for the wall, and the argument disappears.
One more thing while we are killing myths. Never build with river rock or damp fieldstone. Smooth, non-porous stones trap water and those are the ones with genuine explosion stories attached.
9 brick fire pit ideas worth stealing
Front-loading the best one, because it is the single highest-return move here.
1. Sunken pit with a brick step-down. Drop the pit six to eight inches below grade and ring it with two brick steps. It reads custom, blocks wind at ankle height, and the steps double as overflow seating.
2. Reclaimed brick with a patina. Salvage yards sell weathered brick that gives you a twenty-year-old look on day one. Use it for Ring 2 only, since old brick is unpredictable near flame.
3. Square pit flush with a paver patio. If you already have hardscape, matching the pit to it makes the whole yard look planned instead of accumulated. This pairs naturally with a paver patio on a budget if you are building both.
4. Wide-cap pit that works as a table. Cap Ring 3 with 12-inch bluestone or a poured concrete lip. Suddenly there is somewhere to put a glass, and the pit earns its footprint in daylight too.
5. Brick pit with a built-in grill grate. A hinged grate over the ring turns the pit into a wood grill. Look at a Sunnydaze or similar cooking grate in the under-$60 tier.
6. Two-tone brick with a contrast cap. Red face brick, charcoal cap. Cheap trick, expensive result.
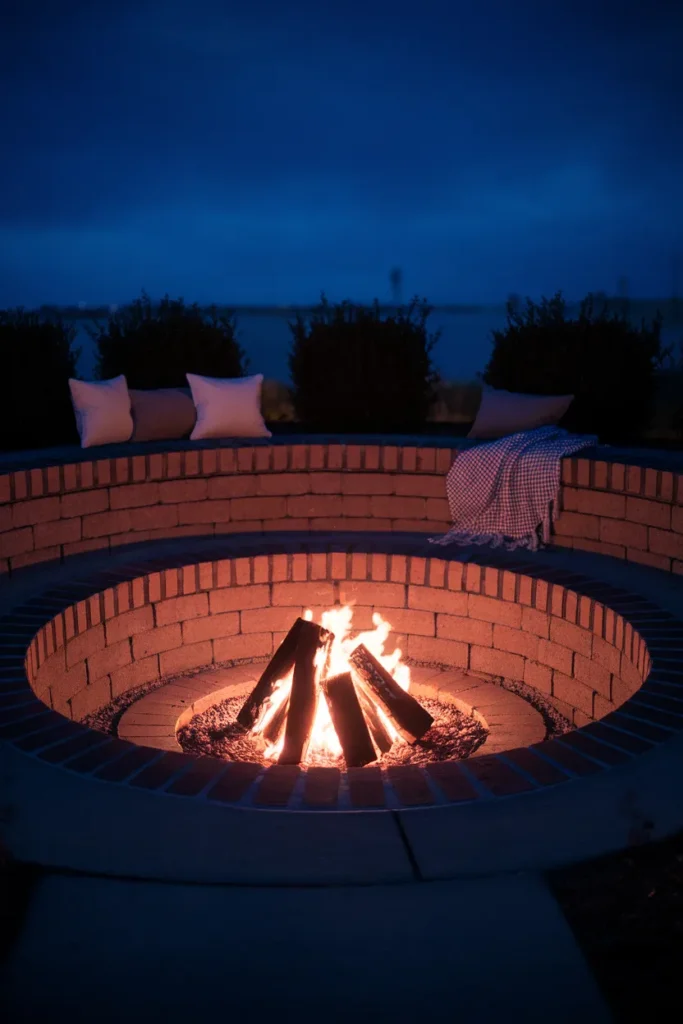
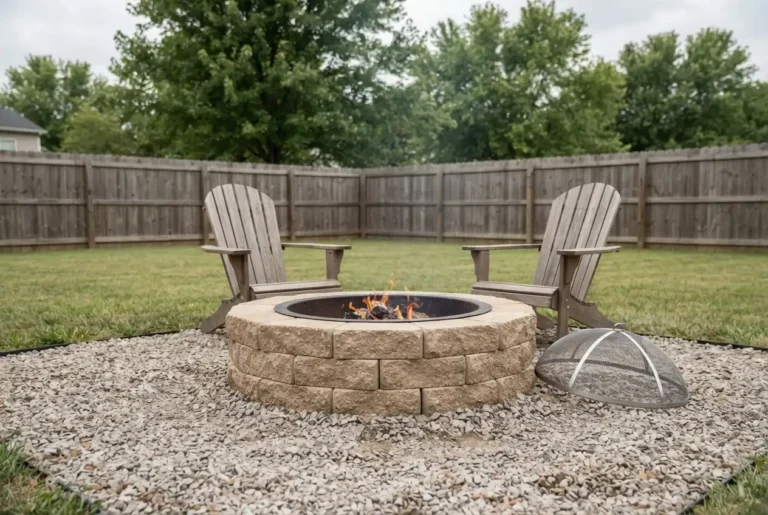
7. Brick fire pit inside a gravel apron. A four to six foot ring of pea gravel around the pit is the cheapest fire break you can build, and it stops chair legs from sinking into turf.
8. Half-height brick fire pit with a bench wall. Run a low brick bench wall along one side. It handles the awkward yard corner nobody sits in.
9. Curved brick surround with a steel insert. A 36-inch steel ring insert does the heat work while the brick does the looking. This is the fastest route to a permanent-looking pit, and it sidesteps firebrick cutting entirely.
Getting the chairs right matters as much as the brick. We walked through the seating layout that works around a fire separately, and the spacing logic there applies to any brick fire pit with a seating area.
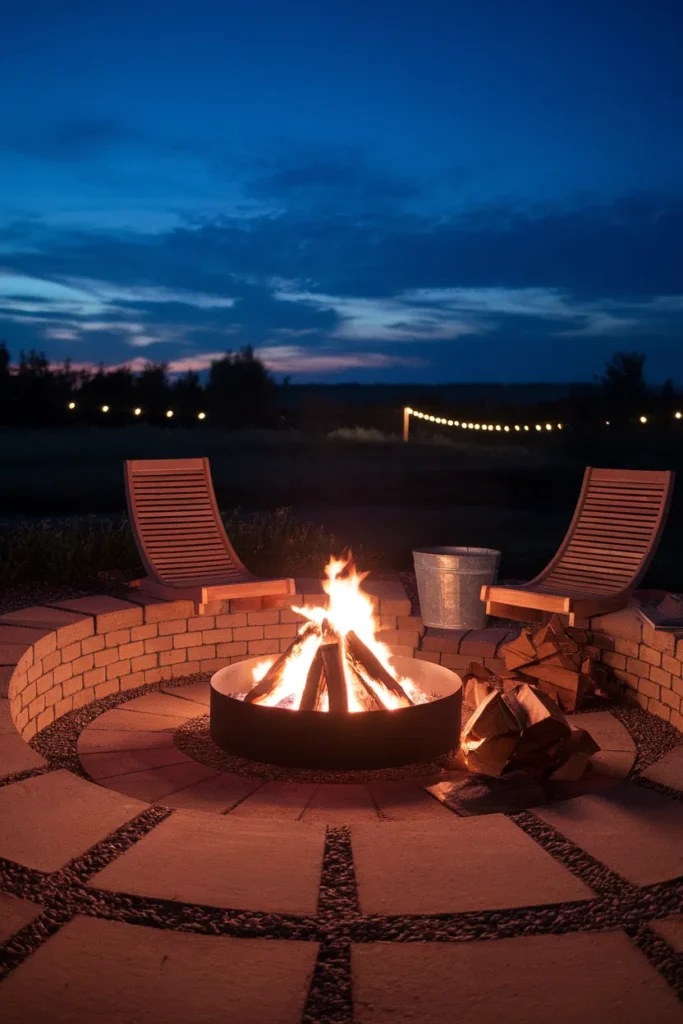
What a brick fire pit actually costs
Straight numbers, sourced from 2026 cost guides, kept as ranges because material pricing moves constantly.
- Full DIY, materials only: roughly $200 to $650 for a standard above-ground pit
- Brick as a material: around $8 to $15 per square foot of built wall
- Steel ring insert: commonly $50 to $300 depending on gauge and diameter
- Installed by a pro: brick pits generally run $300 to $2,200 all in, with most homeowners landing near $850
- Firebrick: sold in small packs, expect to buy 25 to 30 for a 3-foot liner
Brick count is the number people get wrong on a brick fire pit build. A 3-foot pit needs somewhere between 80 and 100 standard bricks per full-height wall, and estimates across sources stretch from 75 to 200 depending on courses and whether you double-wall it. Buy 10 to 15 percent extra for cuts and breakage. You will use them.
Bags of Quikrete Type N mortar run a few dollars each and you will need roughly five for a mortared 3-foot pit. Going mortarless with construction adhesive costs less and builds faster, though it will not survive frost heave as well.
If the budget is genuinely tight, build the pit first and phase the surround later. Our inexpensive patio ideas cover how to fake a finished apron cheaply while you save.
Where to put it, and the clearances that matter
This is the section people skim. Do not skim it.
The NFPA guidance is to keep any fire pit outdoors and at least ten feet from anything that can burn, and to skip fires entirely on windy, dry days because embers travel. Some local codes push that clearance further. One published DIY build we read was required by county code to sit a full 20 feet from any structure.
Three rules before you dig:
- Call 811. Free, and it marks your underground utilities. Every reputable build guide opens with this.
- Check your city, county, and HOA. Permits for open burning are common and vary wildly by jurisdiction.
- Look up. Overhanging branches are the clearance people forget, and they also trap smoke at seating height.
On depth, extension-office guidance on pit depth from Ohio State recommends roughly 12 to 18 inches deep and at least two feet wider than your intended fire, ringed with stone or brick. That two-feet-wider margin is the number most DIY builds miss.
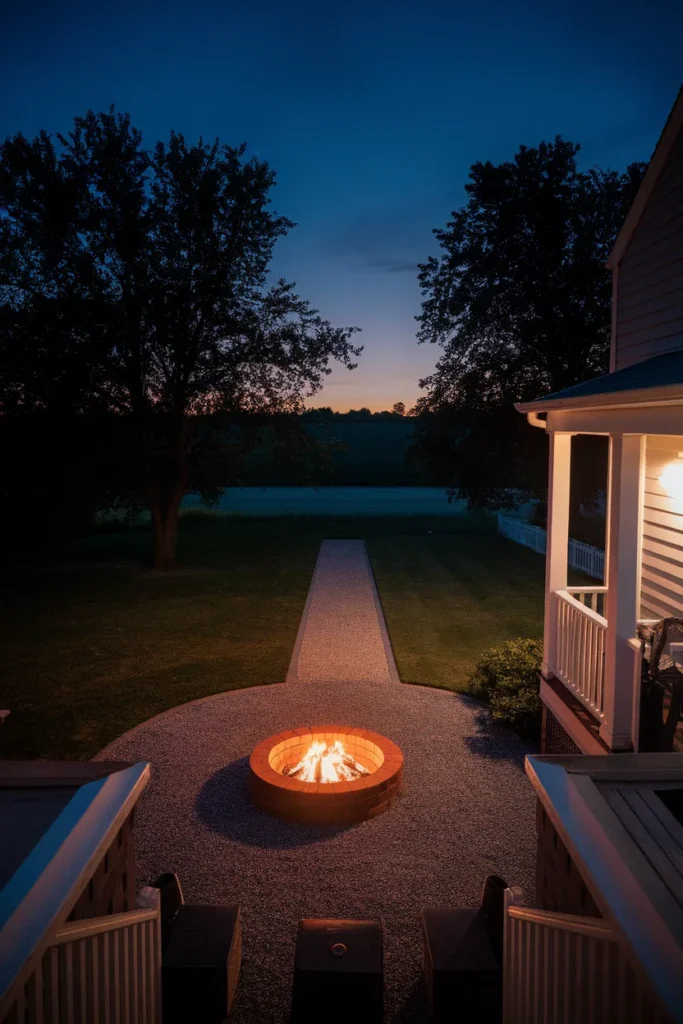
Build it over a weekend: the short version
Full disclosure, this is the compressed version of a brick fire pit build. Mortar work adds curing days.
Saturday morning. Mark your circle with a stake and string, or square it off with a tape and marking paint. Cut and lift the sod. Dig down 6 to 8 inches.
Saturday midday. Add 3 inches of compacted paver base or ¾-inch minus gravel and tamp it hard. Tamp more than feels necessary. Ninety percent of leaning fire pits trace back to a lazy base.
Saturday afternoon. Dry-lay your first course of Ring 2 with no adhesive. Check level in both directions, across the pit and along each brick. Adjust now, because you cannot adjust later.
Sunday morning. Set the remaining courses, staggering joints so they never stack vertically. Three courses is standard. Mortar with Type N, or run construction adhesive between courses for the mortarless route.
Sunday afternoon. Drop in Ring 1, either firebrick or your steel insert. Add 2 to 4 inches of lava rock at the bottom for drainage and heat spread. Set your cap.
Then wait. If you used mortar or adhesive, let it cure for several days before the first fire. Lighting a green pit is how you crack a joint on night one.
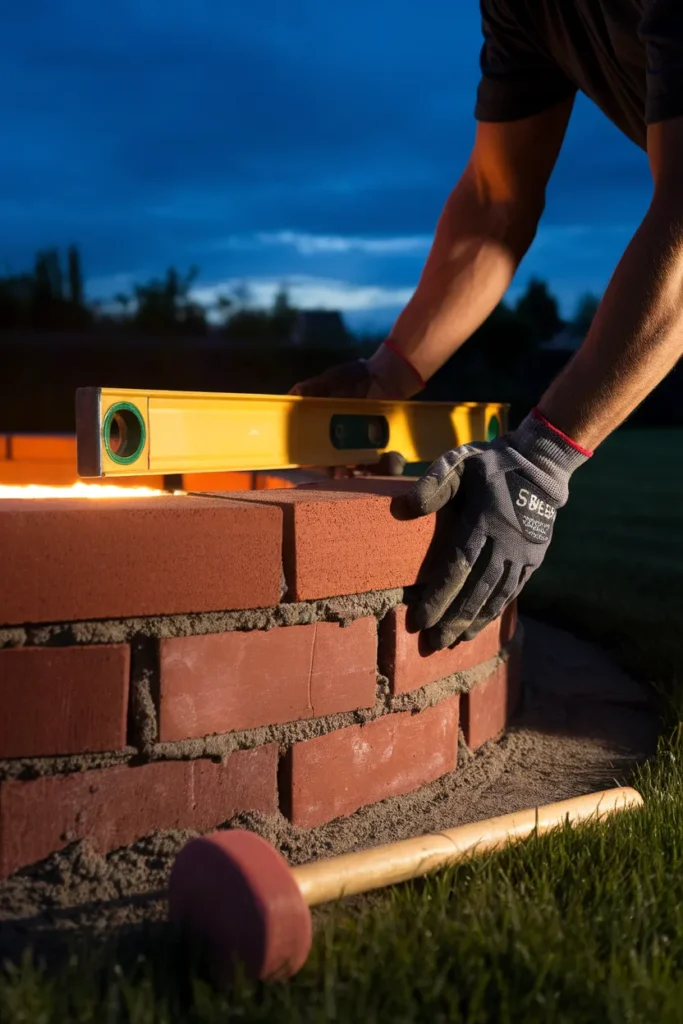
Making it survive winter
Here is the part every other guide stops short of. Your brick fire pit does not fail during the summer you build it. It fails in February.
Water gets into the joints, freezes, expands, and pushes the face of the brick off. That is spalling, and in USDA Zones 5 through 7 where freeze-thaw cycling is aggressive, it is the single most common failure. Warmer zones deal with it far less.
Four things prevent it:
- Buy SW-rated brick. Severe weathering brick is graded for freeze-thaw. MW, moderate weathering, is only safe in mild-winter zones.
- Cap it wide. A cap that overhangs by an inch throws water clear of the joints instead of letting it run down the wall.
- Never drown the fire. Repeatedly quenching hot brick with water is thermal shock, and it accelerates cracking badly.
- Cover it or drain it. Standing water in the pit bottom through a freeze is the fastest route to a cracked base.
Late summer through early fall is the ideal build window in most of the country. You get cure time in warm weather and a full season of use before the first hard freeze. Check your local first-frost timing against the USDA Plant Hardiness Zone map if you are cutting it close.
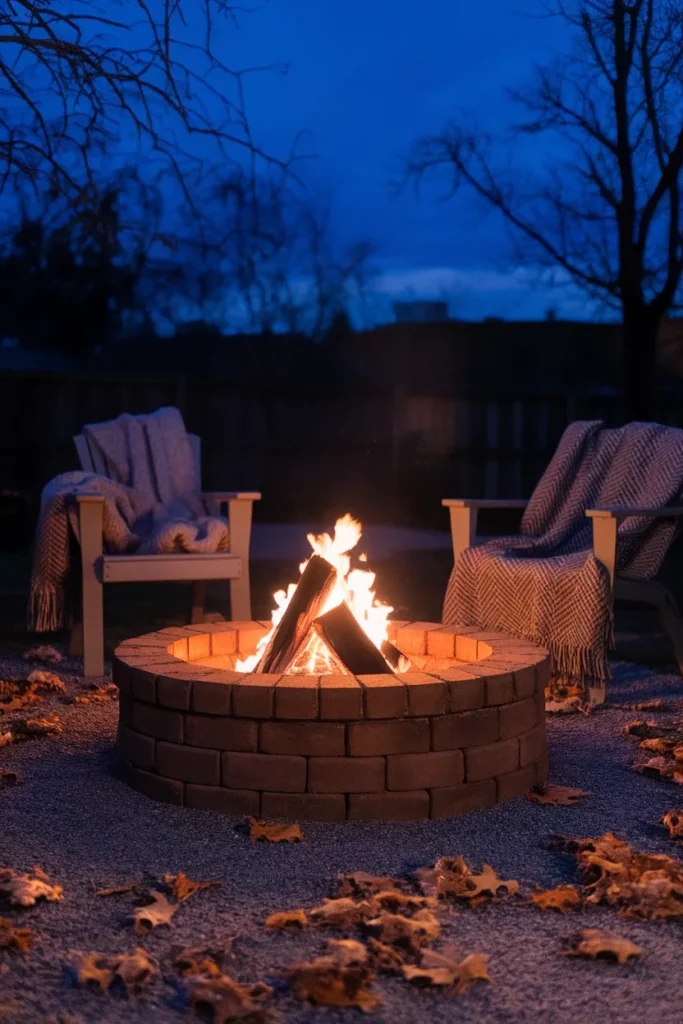
Frequently asked questions
Can you use regular bricks for a fire pit? Yes, for the outer wall. No, for the surface touching flame. Regular brick is porous, and trapped moisture turning to steam is what makes it crack or pop. Line the interior with firebrick or a steel insert and regular brick is a perfectly good structural material.
Can bricks explode in a fire pit? Non-rated brick can crack and throw fragments, though “explode” oversells it in most cases. The real explosion risk sits with river rock and damp natural stone, which trap water with nowhere to vent. Use heat-rated material inside the ring and keep everything dry before you light it.
How many bricks do I need for a brick fire pit? Around 80 to 100 standard bricks for a single-wall 3-foot circular pit. Estimates run wider than that across sources, from 75 up to 200, depending on courses and wall thickness. Square pits need fewer because you avoid curve cuts. Order 10 to 15 percent extra.
What do you put in the bottom of a brick fire pit? A compacted gravel base for drainage, then 2 to 4 inches of lava rock or a thin layer of fire-rated sand on top. The gravel handles water, the top layer spreads heat and protects the base. Never seal the bottom, because trapped water is the enemy.
Do you need a metal ring inside a brick fire pit? Not strictly, but it is the easiest way to get Ring 1 right. A steel insert takes the flame, protects your brick walls, and saves you cutting firebrick to a curve. A 36-inch ring is the common size for a 3 to 4 foot pit.
How far should a fire pit be from the house? Ten feet is the widely cited minimum, and NFPA guidance supports that clearance. Local codes sometimes require more. Check your municipality and HOA before you buy a single brick, because moving a finished pit is not a thing you can do.
Do you need mortar for a brick fire pit? No. Mortarless builds using construction adhesive or dry-stacked blocks work fine and go up much faster. Mortared pits hold up better through freeze-thaw cycles, so in colder zones the extra cure time earns its keep.
Start with the ring, not the brick
If you take one thing from all of this, make it the Three-Ring Brick Rule. Decide what handles the flame, what holds the structure, and what sheds the rain, and every other choice gets easier. The brick you pick becomes a style decision instead of a safety one.
Measure your brick fire pit spot this weekend. Stake the circle, sit in a chair at the edge, and see how it actually feels before you buy anything. That five-minute test saves more regret than any brick spec ever will.
Which of these nine would land best in your yard? Save the one you like and come back to it when the sod comes up.