Cozy Pergola With Fire Pit Ideas You Can Actually Use All Year
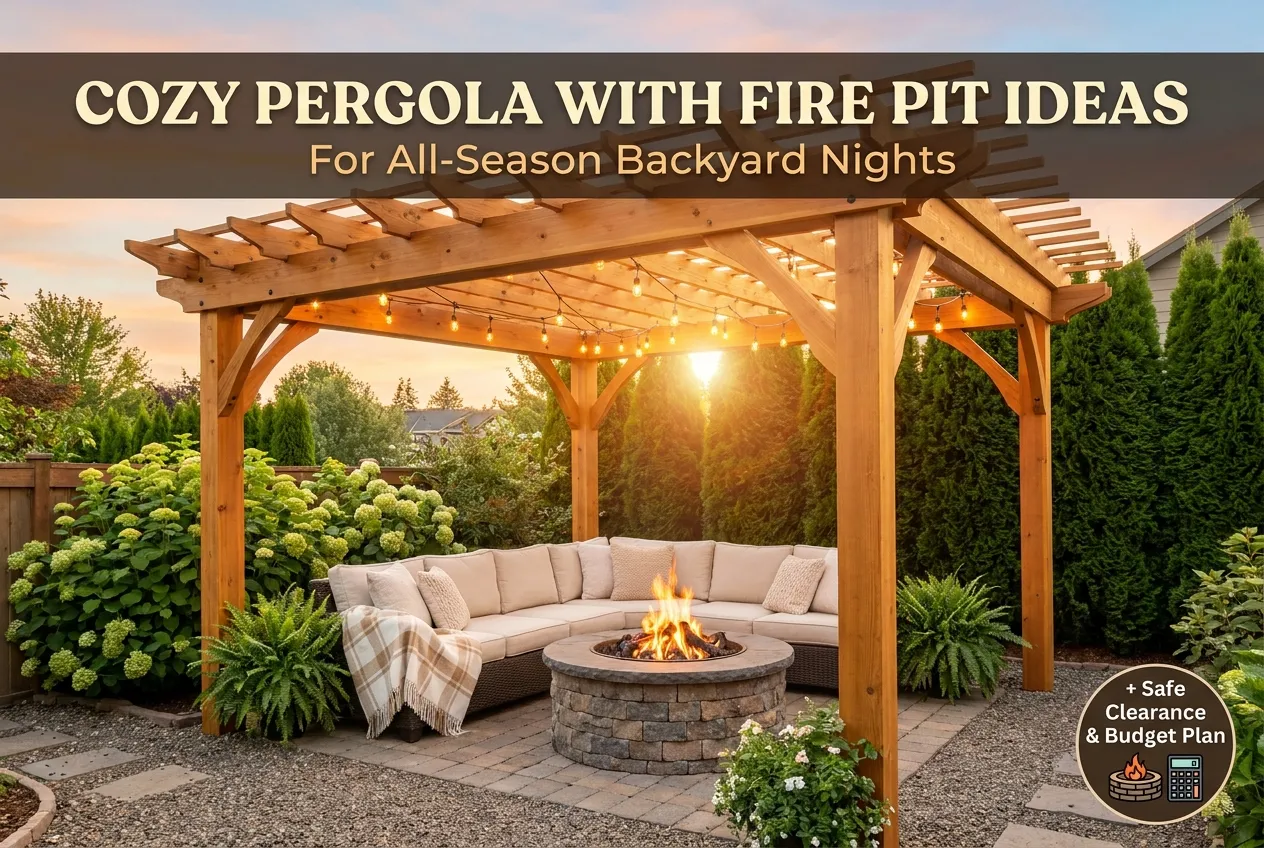
A pergola with fire pit is the one backyard combo that turns a plain patch of yard into the spot everyone drifts toward after dinner. Shade when the sun is brutal. Warmth when the air turns crisp. We planned ours around exactly that, and honestly, it changed how often we go outside.
Here is the promise. By the end of this, you will have real design ideas, the safe clearance numbers that keep this whole thing worry-free, and a budget plan you can build over a weekend or two.
Let’s get into it.
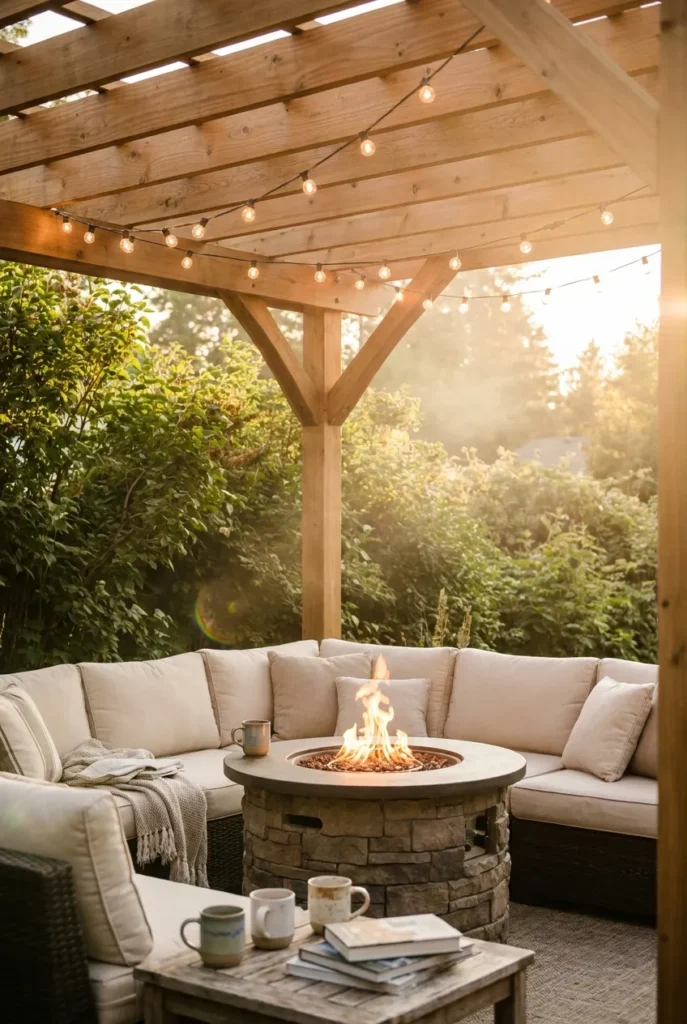
Why a Pergola With Fire Pit Just Works
Two features, one job: making you want to stay outside longer.
The pergola gives you overhead structure, a place to string lights, and a bit of psychological “roof” that makes an open yard feel like a room. The fire pit gives you the heat and the hypnotic flame everyone circles up around. Put them together and you get a true outdoor living space instead of a seasonal one.
Here’s the part the manufacturer blogs skip. Most of them push a sealed louvered roof so they can sell you the upgrade. You do not need that to enjoy this. An open-slat wooden pergola actually vents smoke better, which matters a lot for fire safety (more on that below).
Real experience, e.g. “We built our 12×12 cedar pergola over a paver base in Zone 6 and the open slats meant zero smoke trapping, even on still nights.”
Pergola With Fire Pit Ideas by Style
Pick the look first, then the fire feature follows. Here are the styles pulling the most saves right now.
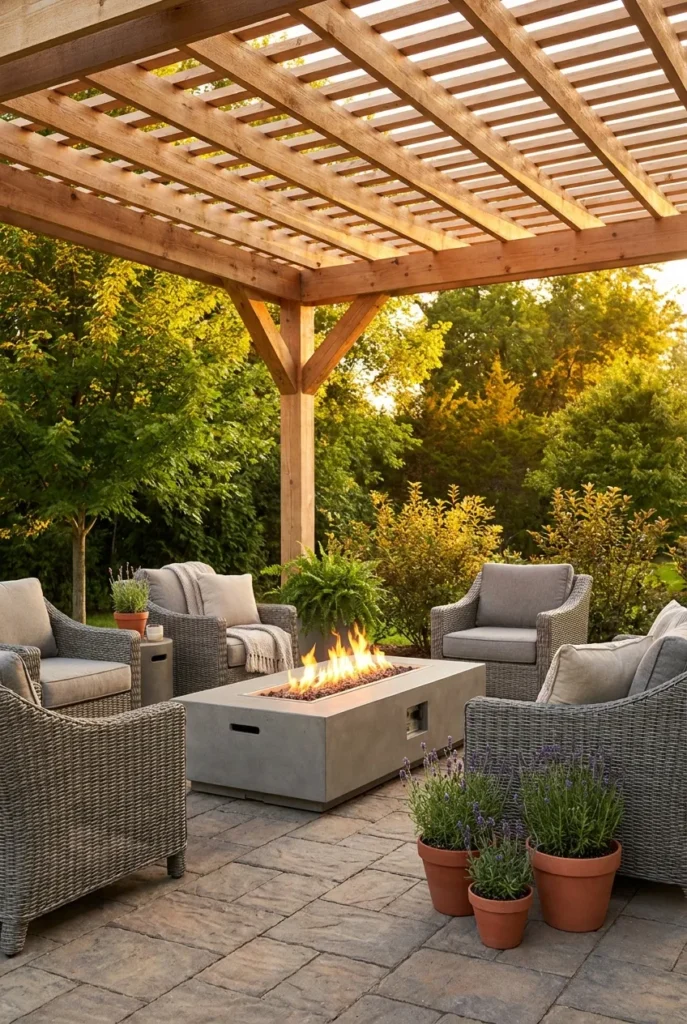
Modern Corner Pergola With a Gas Fire Pit
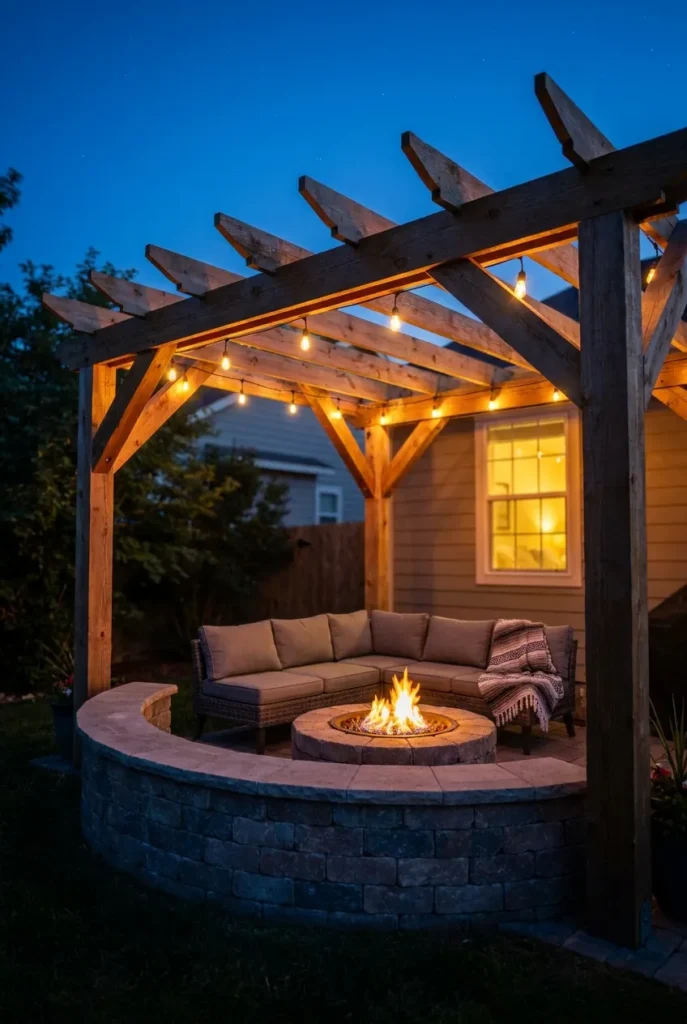
Clean cedar posts, a low sectional, and a linear gas fire table. A corner pergola with fire pit is perfect for smaller yards because it tucks into an existing fence line and wastes zero space. Gas keeps it tidy, with no ash and no wood hauling.
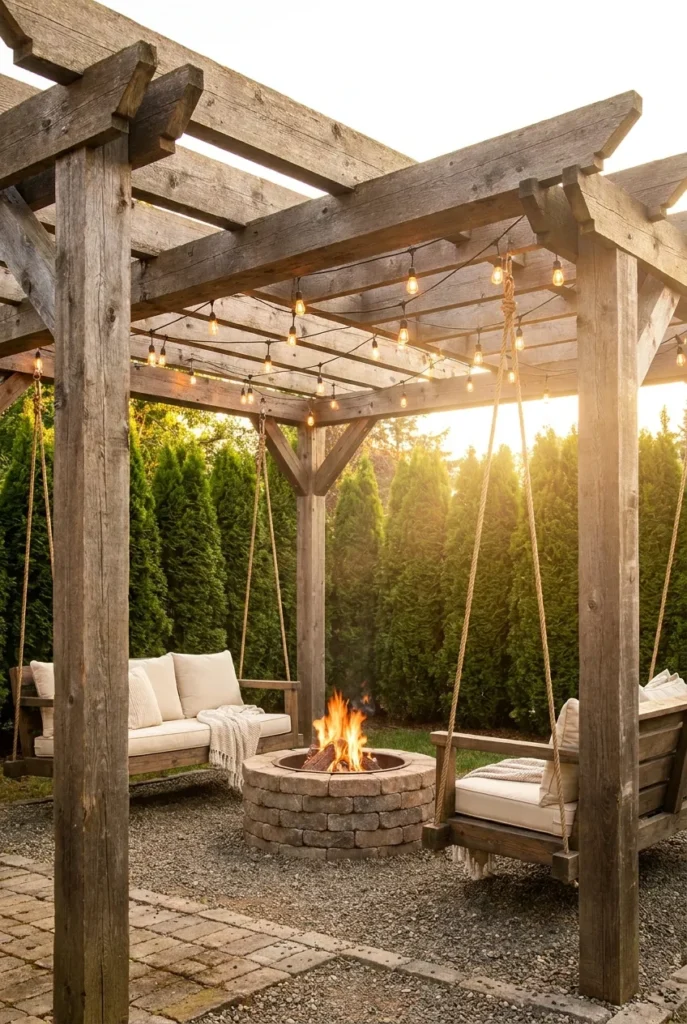
Rustic Wooden Pergola Over a Stone Fire Pit
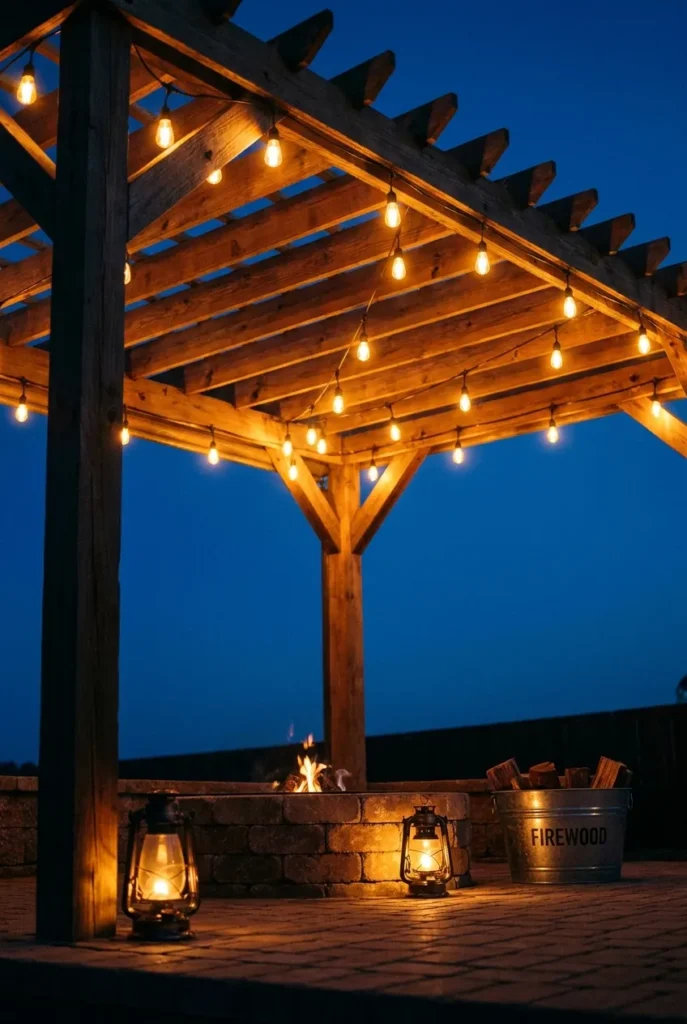
This is the Pinterest favorite. Chunky wooden beams, a round stacked-stone fire pit, and warm bulbs overhead. If you want that cabin-in-the-woods feeling, this is your pick. Pair it with a paver or gravel base underneath.
Pergola With Fire Pit and Swings
Hanging bench swings around the fire, suspended from a reinforced pergola frame, keep showing up in the top saved pins for good reason. Kids love it, adults love it more. Use rated hardware and a beefier beam, since swing loads are no joke.
Sunken Seating for a Built-In Look
Drop the seating a step down and the whole space feels custom. If a fully sunken build is more than you want to dig, you can fake the cozy pit vibe with a low seat wall and a good budget fire pit seating area layout instead.
The Safety Part Nobody Should Skip
Quick reality check before the pretty stuff continues. Fire plus an overhead wooden structure means you follow the clearance rules, every time.
The number that matters: keep at least 10 feet of vertical space between the flame and your pergola beams. Fire safety agencies are consistent on the 10-foot rule for anything that can burn, and you can confirm the current guidance in these outdoor fire safety guidelines. For placement and wind considerations, the fire pit clearance recommendations are worth a two-minute read before you build.
A few rules we live by:
- Never run a fire pit under a solid, sealed roof. Open slats let smoke and heat escape. Enclosed spaces trap carbon monoxide, and that’s genuinely dangerous.
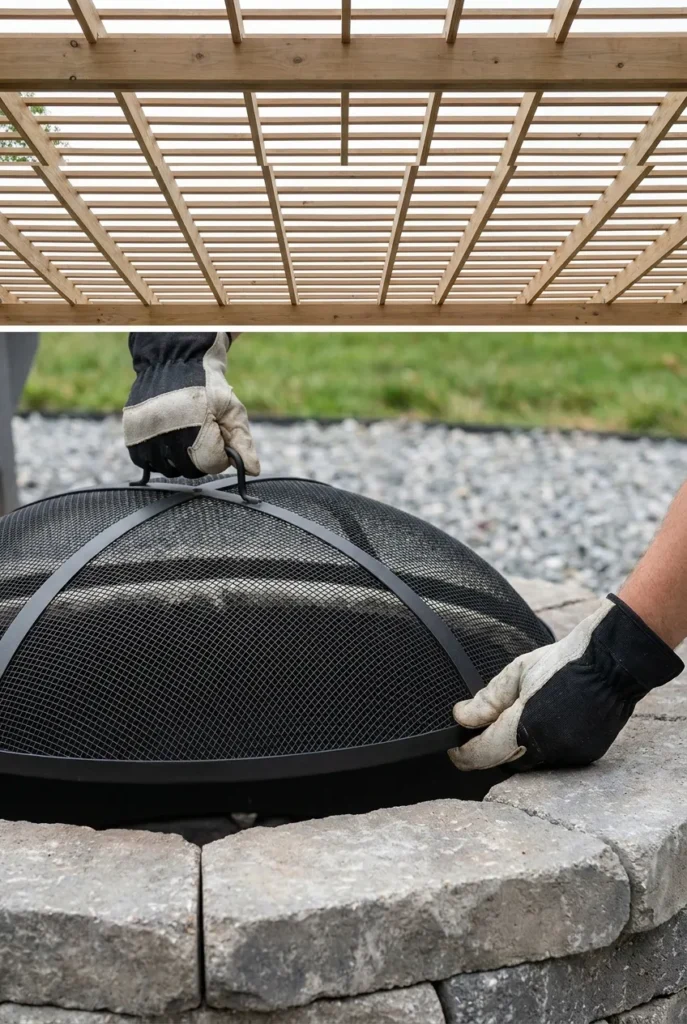
- Put a spark screen on any wood-burning pit sitting under structure.
- Set the pit on a non-combustible base: pavers, gravel, or stone, never directly on a wooden deck without a heat shield.
- Check your local code and HOA. Some towns ban wood fires or require permits. To be fair, this varies wildly by county.
Rreal experience, e.g. “Our county required a 15-foot setback from the property line for open flame, which we only found out after calling the fire marshal. Worth the phone call.”
Choosing Your Fire Feature: Gas vs Wood vs Propane
The fire pit you pick shapes the whole build. Here’s the honest breakdown.
Gas fire pits (natural gas or a built-in line) give you instant on-off, no smoke, and the least fuss under a pergola. Higher install cost, lower daily hassle.
Wood-burning fire pits deliver the crackle and that campfire smell. They also produce the most smoke and sparks, so they demand the most clearance and a screen. A Sunnydaze steel bowl runs affordable, often under $200 [VERIFY current price].
Propane fire tables split the difference: portable, clean, and easy. Something like an EarthBox-tidy setup, but for fire. Expect the mid tier, roughly in the $150 to $400 range depending on size and finish.
The $200 Weekend Firelight Plan (Our Original Framework)
Here’s a simple framework we use so the budget doesn’t balloon. Call it the $200 Weekend Firelight Plan: three moves, in order, that get you 80% of the cozy for a fraction of a full custom build.
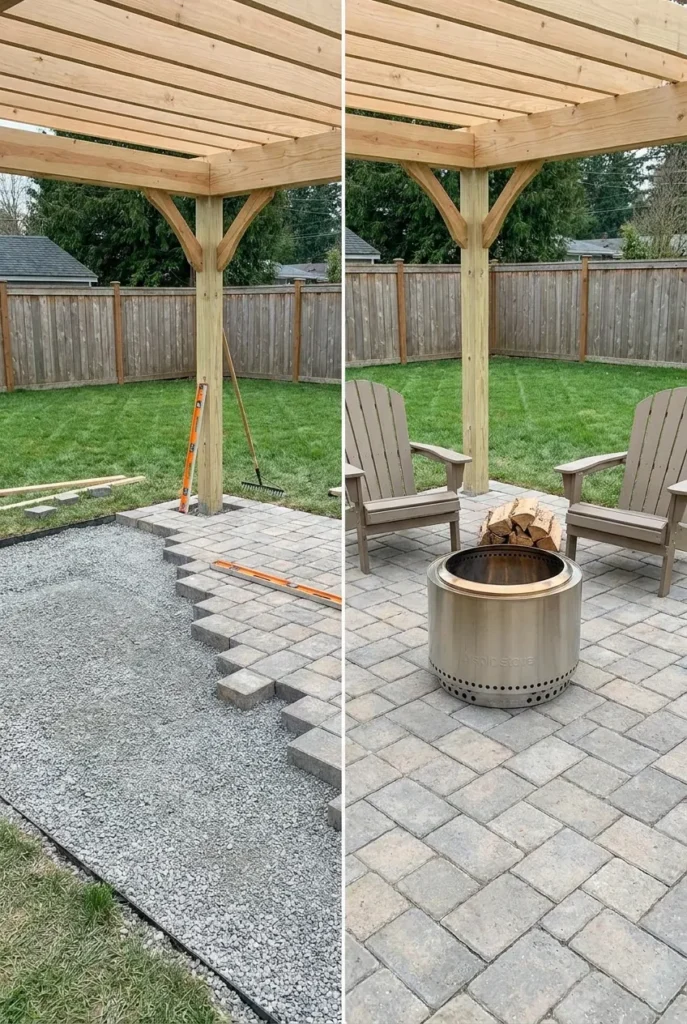
First, the base. A pallet of pavers or a few bags of gravel from Home Depot or Lowe’s, tiered to your yard size, usually under $100 [VERIFY current price]. Second, the fire. Start with an affordable Sunnydaze or Solo Stove pit rather than a built-in, keeping you under budget while you test the layout. Third, the glow. A run of Brightech or Feit outdoor string lights across the pergola for that instant golden-hour feeling, and here’s how to hang string lights without drilling into every beam.
Do these three before you spend on furniture. The layout tells you what seating you actually need.
Layout and Seating That Actually Feels Cozy
Space planning makes or breaks the vibe. Leave about 3 feet of walking room between the fire pit edge and your seating so nobody roasts their shins.
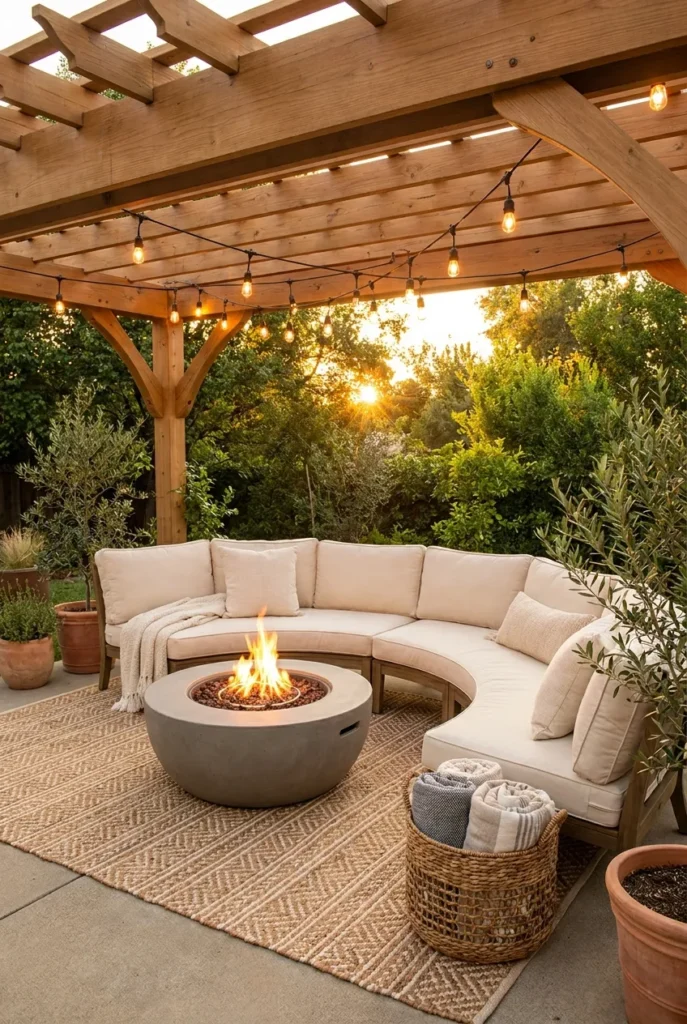
A curved sectional or four to six chairs in a loose circle reads warmest. Skip the stiff dining-set look here. Add soft throws in a basket for cool nights, a low side table for drinks, and an outdoor rug just outside the heat zone to anchor the space.
For smaller yards, built-in bench seating along two sides of the pergola saves room and gives that finished, designed feeling.
Materials That Handle Heat and Weather
Cedar and pressure-treated pine are the go-to pergola woods for their weather resistance and warm look. If you want near-zero maintenance, powder-coated aluminum lasts, though it costs more upfront.
Under the fire, stick with stone, concrete pavers, or gravel. All three shrug off heat and stray sparks. For the pit surround itself, natural stone and steel age beautifully.
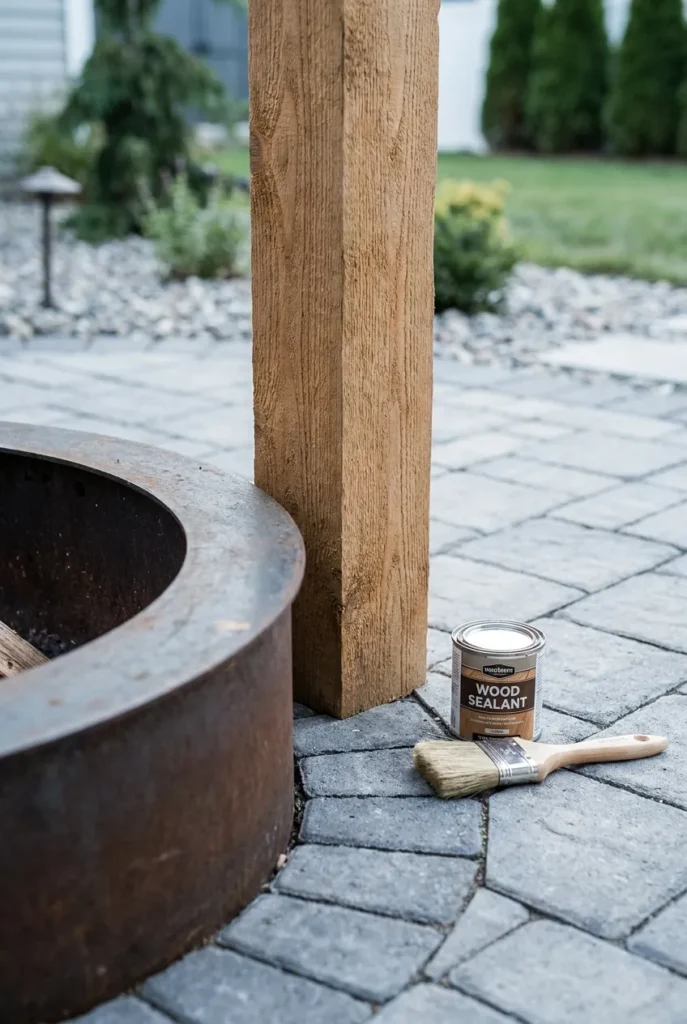
Seal wooden posts once a year. That single habit adds years to the build.
[VERIFY — real experience, e.g. “We used Espoma-safe sealant timing in early fall and our cedar posts still look new three seasons in.” Replace with your actual product and result.]
Making It an All-Season Space (US Zones 5 to 9)
This is where a pergola with fire pit earns its keep. Here’s how the seasons actually play out for most of the country.
Spring (Mar to May): the shade slats block harsh midday sun as things warm up. First fire nights feel amazing after winter.
Summer (Jun to Aug): lean on the pergola for shade and save the fire for cool evenings. Add a fabric canopy or climbing vine for extra cover.
Fall (Sep to Nov): peak fire pit season. Sweaters, cider, long nights outside.
Winter (Dec to Feb): in Zones 7 to 9 you’ll still use it regularly. In Zones 5 to 6, a gas pit plus throws stretches your outdoor time well past when neighbors have given up. If you want more overhead protection for shoulder-season rain, borrow a few tricks from these covered patio ideas.
Frost note: last frost typically lands mid-April in Zone 5 and as early as late February in Zone 9, so plan any pergola-side planting accordingly and confirm your date against the USDA zone map or your local extension.
Lighting and Finishing Touches
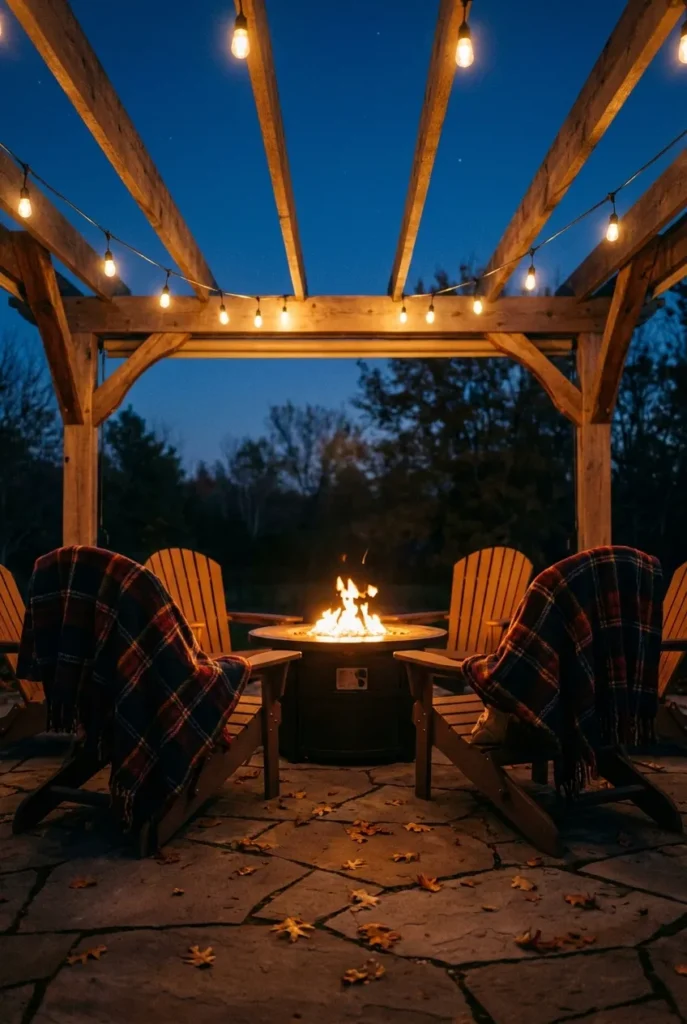
String lights are the single highest-impact upgrade. Warm-white bulbs across the pergola beams instantly create that saved-pin glow. Add a couple of lanterns on the ground and solar path lights leading up to the space.
Small extras that punch above their weight: a Dollar Tree lantern cluster, weatherproof outdoor pillows, and a galvanized bucket for storing firewood or blankets.
Keep it simple. The fire and the lights do most of the work.
Should You DIY or Buy a Kit?
To answer the common question directly: building a wooden pergola yourself is usually cheaper than a premium prefab, often meaningfully so, if you’re comfortable with basic post-setting and a level. A kit saves time and guarantees a square frame. Prefab aluminum louvered structures cost the most but need almost no upkeep.
For most weekend-warrior yards, a DIY wooden pergola over a simple paver base with a portable fire pit hits the sweet spot of cost, looks, and safety.
Frequently Asked Questions
Can you put a fire pit in a pergola?
Yes, as long as it’s an open-slat or vented pergola, not a sealed roof, and you keep 10 feet of clearance from the beams. Add a spark screen for wood-burning pits.
Is it cheaper to build a pergola or buy one?
Building a wooden pergola yourself is generally cheaper than buying a premium prefab, especially aluminum louvered models. A kit lands in the middle: more than pure DIY, less than fully custom.
Is a fire pit safe in a gazebo?
It’s riskier than under an open pergola. A closed gazebo roof traps smoke and carbon monoxide, so only use fire features designed and rated for enclosed structures, and never a wood fire under a solid roof.
Can I put a fire pit on a patio?
Yes, on a non-combustible surface like pavers, concrete, or stone. Avoid placing a fire pit directly on a wooden deck without a proper heat shield underneath.
What size pergola do I need for a fire pit?
A 12×12 foot pergola comfortably fits a round fire pit plus seating with safe walking room. Go larger if you want swings or a full sectional.
Does a fire pit under a pergola stain the wood?
Smoke can darken beams over time. Choosing a gas fire pit, adding a screen, and keeping proper clearance all reduce buildup.
Ready to Build Your Cozy Corner?
A pergola with fire pit is honestly one of the best returns on a weekend of effort your backyard can give you. Start small: the base, the fire, the lights. Sit out there one cool evening and you’ll understand why everyone keeps ending up in this spot.
Save this for your next project weekend, and pin your favorite layout so you have it when you’re ready to build.