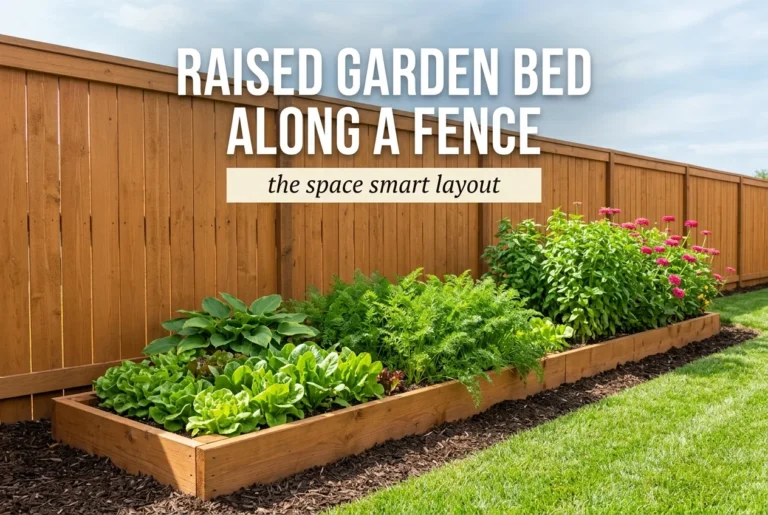
Raised Garden Bed Corners: The Joint That Decides How Long Your Bed Lives

Raised garden bed corners are the first part of the whole build to fail. The boards usually outlast them. The soil certainly does. Four small joints spend every season holding back a few hundred pounds of wet dirt that pushes outward and never once stops. Most beds get assembled as though that pressure is imaginary. By the third spring you can see it. A bulge in the middle of the long side. A screw head standing proud. A gap at the corner you can slide a finger into.
Here is the good news. Corner failure is predictable. Predictable means preventable. This guide covers the physics of why corners let go. Then four corner methods, ranked by how much load each one actually takes. Then the hardware worth buying and the hardware worth skipping. Last, the two maintenance details that add years for about fifteen minutes of work.
Build it once. Build it right.
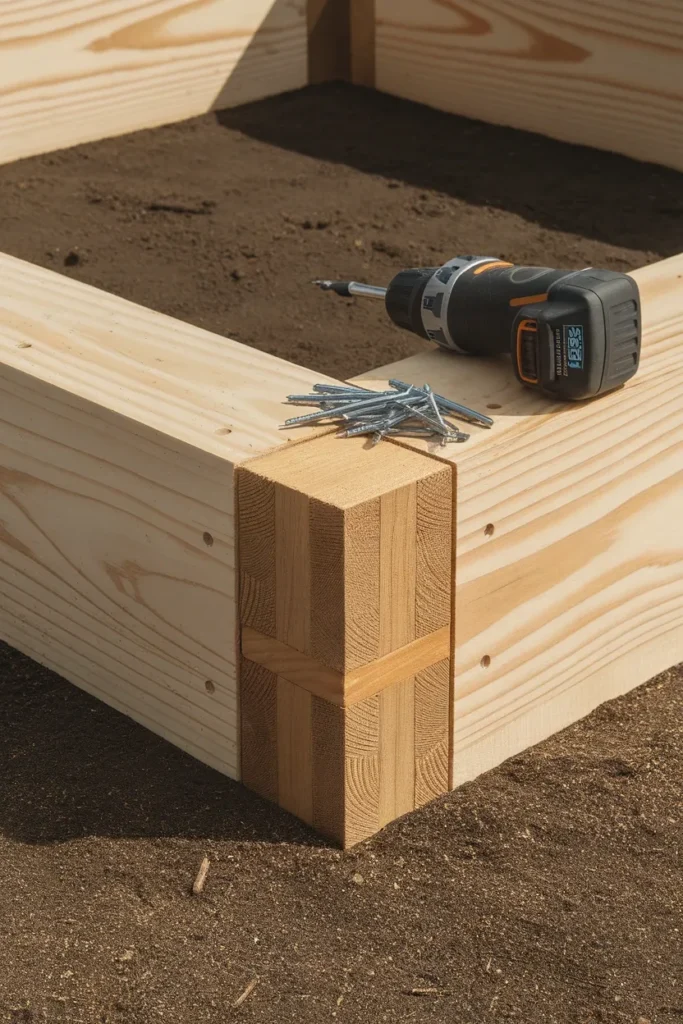
Why Raised Garden Bed Corners Fail Before Anything Else
Soil in a bed does not sit still. Wet soil behaves partly like a liquid. It presses outward against the walls, and that force grows the deeper you go. That is why a 6-inch bed almost never bows and a 20-inch bed almost always does if you build it wrong.
Run the rough numbers on a standard bed. A 4-foot by 8-foot bed filled 12 inches deep holds about 32 cubic feet of soil. Saturated garden mix runs somewhere near 80 pounds per cubic foot after a long rain, which puts roughly 2,500 pounds inside the frame. Not all of that pushes sideways, but enough of it does that the long boards feel real, sustained outward load every single day of the growing season.
The corners take the concentrated version of that load. Boards flex in the middle and pivot at the ends, so the joint is where the rotation happens. Then winter arrives, water freezes in the joint, the wood swells and shrinks through a few dozen cycles, and by spring the fastener that was snug in October is loose.
Add one more factor most people miss. If the bed is not level, the frame racks. A corner that is a half inch out of plane is fighting a twisting force on top of the outward one. That is a big part of why building raised beds on a slope is a corner problem before it is a soil problem.
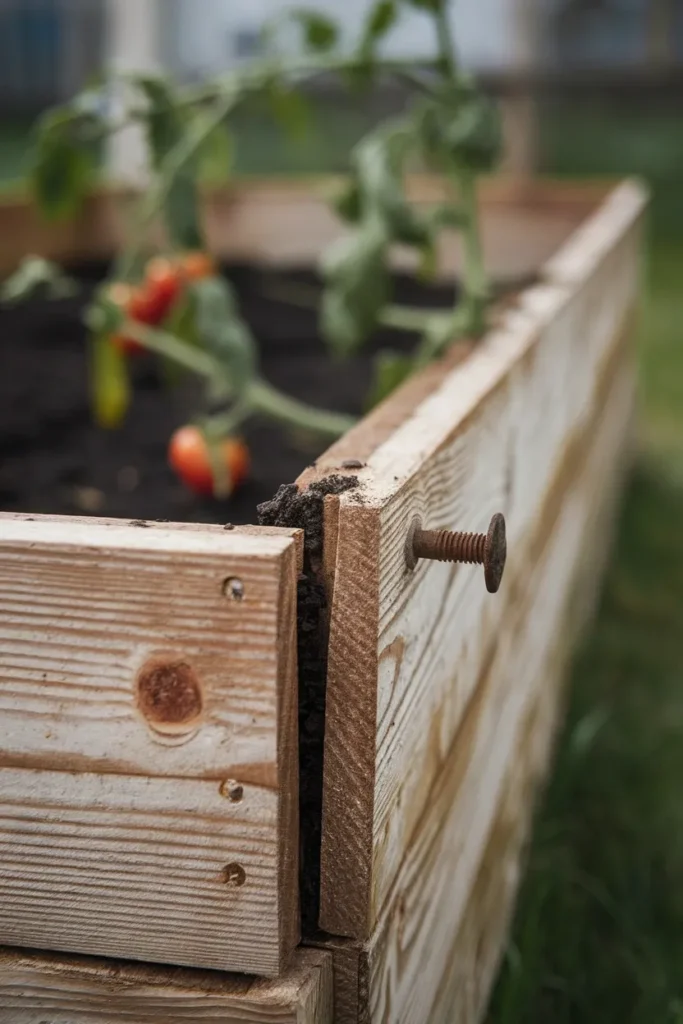
The End Grain Problem Nobody Warns You About
This is the part that changes how you build. Read it twice.
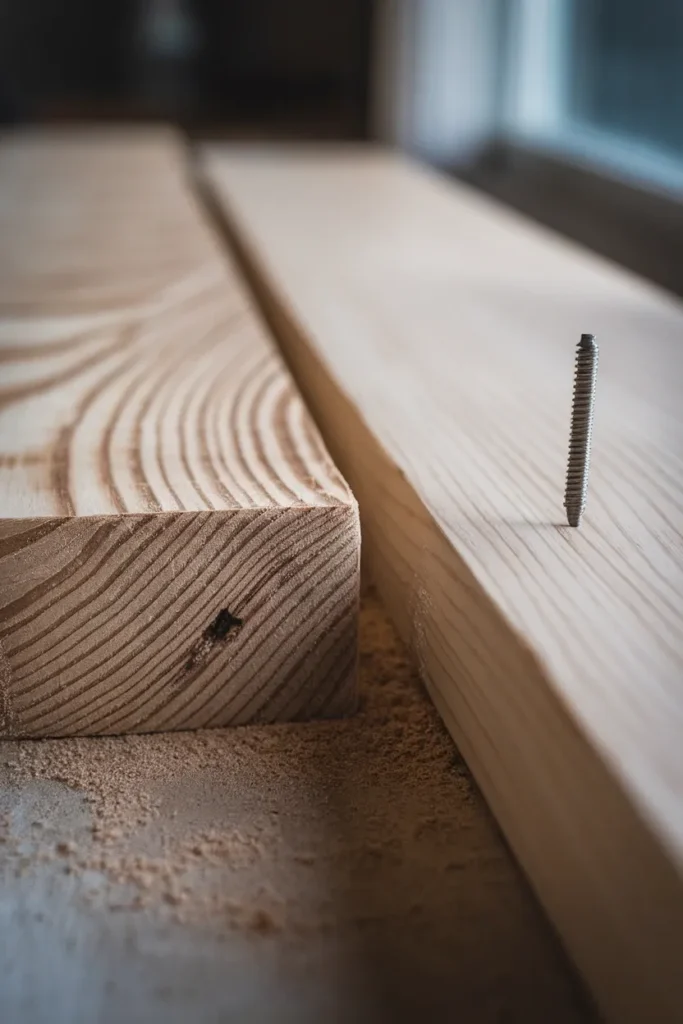
When you screw two boards together in a simple butt joint corner, the screw passes through the face of one board and drives into the end grain of the other. End grain is the cut end of the board, the surface where you see the growth rings. Wood fibers there run parallel to the screw, so the threads are wedging between fibers instead of biting across them.
The result is a joint with a fraction of the pull-out strength you would get driving into face grain. Woodworkers have known this forever. Garden bed instructions almost never mention it.
Now stack that on top of everything from the last section. Sustained outward pressure. Seasonal swelling. Freeze and thaw. A fastener that was never holding much to begin with. The corner does not fail because you used bad screws. It fails because the screws were asked to do a job that geometry will not let them do.
Three fixes, in order of how well they work:
- Remove the end grain from the load path entirely. Put a 4×4 post inside the corner and drive every screw through board faces into post faces. No fastener ever touches end grain. This is the single highest-value change you can make.
- Bracket the joint so the metal carries the shear. An L-bracket spans the corner and takes the load in the bracket body instead of the fastener threads.
- Overlap the boards in alternating courses. Each board’s end grain is captured under the board above, so the stack locks itself.
Honestly, if you only take one idea from this entire article, take that first bullet.
The Corner Load Ladder: Match the Joint to the Height
Here is the framework. Raised garden bed corners are not better or worse in the abstract. They are rated for load. Load is set almost entirely by bed depth. Climbing a rung costs a little more time and a little more money, and skipping a rung you needed is what produces the bulge.
The Corner Load Ladder
| Rung | Corner method | Bed height | What it handles | Roughly what it costs you |
|---|---|---|---|---|
| 1 | Butt joint, exterior screws through face into end grain | Up to 8 in | Light load, short beds, salad greens and herbs | Screws only |
| 2 | Steel or aluminum L-bracket at each corner | 8 to 12 in | Standard vegetable beds, most kits | Under $40 to about $90 a set |
| 3 | Internal 4×4 corner post, screws through faces only | 12 to 18 in | Deep beds, root crops, high wet load | One 8-ft cedar 4×4 per bed |
| 4 | 4×4 post plus overlapped or half-lap corners plus a mid-span cross tie | 18 to 24 in | Tall beds, 8-ft-plus runs, decade builds | Post, plus one extra board, plus an hour |
Three rules for using the ladder.
Rule one: measure height, not width. A 4-foot by 4-foot bed and a 4-foot by 12-foot bed at the same depth need the same corner. Width changes how much cross bracing you need in the middle, not what the corner does.
Rule two: round up if the bed is over 6 feet long or sits on uneven ground. Long spans and racked frames both multiply corner stress.
Rule three: rung 4 is not overkill on tall beds, it is the minimum. UF/IFAS raised bed construction guidance puts common bed dimensions at 4 feet wide by 8 feet long and 16 to 24 inches deep. Corner posts get cut to about 21¾ inches, with stainless steel screws joining the boards. That is rung 3 to rung 4 territory as the standard recommendation, not the deluxe option.
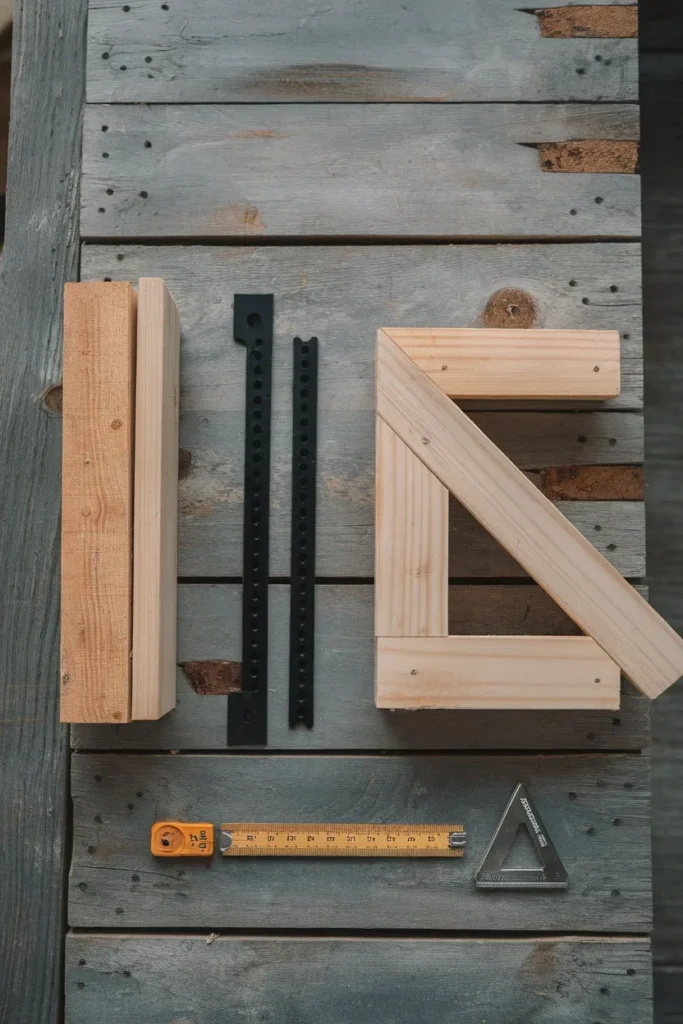
Metal Brackets for Raised Garden Bed Corners: What Actually Holds
Brackets are the most-searched fix for failing raised garden bed corners. They are also the most oversold. They are genuinely useful in the 8 to 12 inch range. Above that, you are paying bracket prices for post-level performance you will not get.
What to look for, in priority order:
Height coverage. The bracket has to span nearly the full board stack. A 6-inch bracket on a 12-inch bed braces the bottom half and leaves the top half free to flex. Panacea’s powder-coated steel brackets run about 12 inches tall and fit standard 2-inch nominal lumber, which actually measures 1.5 inches thick. Gardener’s Supply sells 6-inch aluminum corners at roughly $43 for a set of four, which is fine on a shallow bed and undersized on a deep one.
Material. Powder-coated steel is strongest and cheapest, and it will eventually rust where the coating chips. Aluminum will not rust at all and bends more easily under real load. Composite and plastic connectors like the Frame It All snap-lock system will never corrode and never rot, and they trade some rigidity for that. Yard Butler corners land around $89 a set at the premium end.
Fastener count. Count the pre-drilled holes. A bracket with three holes per leg distributes load across three points. A bracket with one hole per leg is a hinge.
A securing lip or return flange. The pins and product listings that mention a lip are worth the extra dollars. That small folded edge stops the board from sliding vertically inside the bracket, which is exactly how kit corners loosen.
Here is the contrarian part. A bracket’s real job on a deep bed is alignment, not load. It holds the corner square while you fill the bed. The load, once the soil is in, wants a post. If you are building 14 inches or taller and you find yourself comparing $89 bracket sets, buy one cedar 4×4 instead and put the difference toward soil.
Where brackets clearly win: renters and anyone who needs the bed to come apart. Bracketed beds unbolt in ten minutes. Post beds do not.
The 4×4 Post Corner, Built in a Weekend
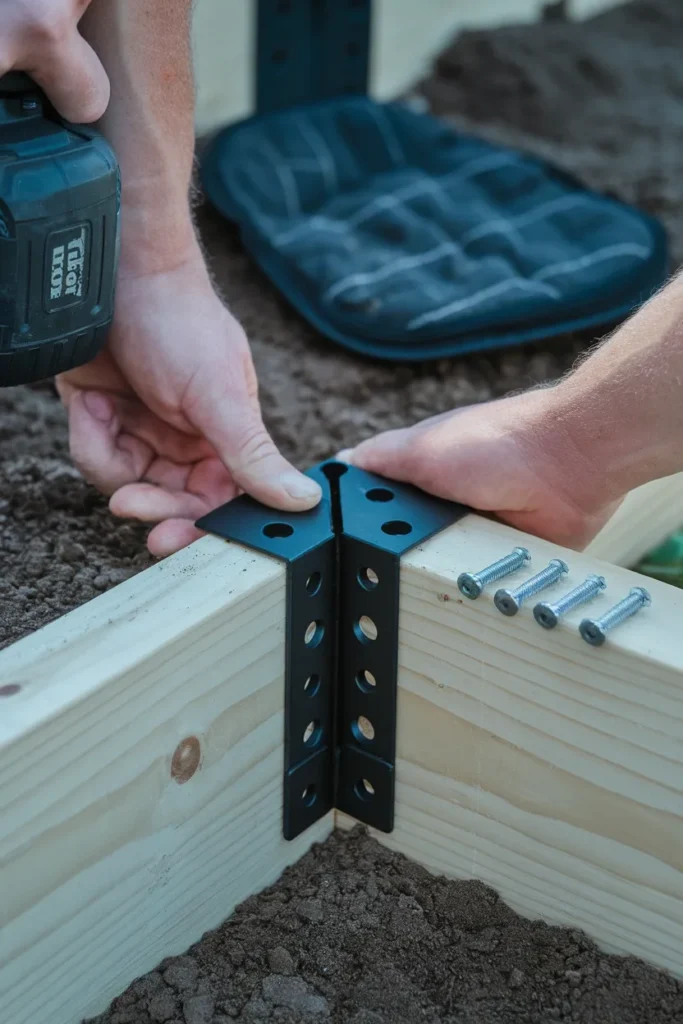
This is rung 3. It is the method most people should be using. One 8-foot cedar 4×4 cuts into four corner posts with room for the saw kerf. Total build time on a 4-foot by 8-foot bed is under two hours if your cuts are decent.
What you need
- One 8-ft cedar or ground-contact-rated 4×4
- Six 2×8 boards, 8 ft, cedar or Douglas fir (four long sides cut to length, two ripped for the ends)
- Thirty-two 3-inch stainless steel or coated structural screws
- Drill, driver, speed square, tape measure, circular saw
The steps
- Cut the posts. For a 16-inch bed built from two courses of 2×8, cut each post to about 22 inches. That leaves roughly 6 inches to sink into the ground, which stakes the bed and stops it from shifting.
- Dry fit one corner on the ground. Stand the post up, hold both boards against it, check square. Fix problems now, not after twelve screws.
- Pre-drill everything. Cedar splits near the ends, and a pilot hole is thirty seconds of prevention. Countersink so the heads sit flush and nothing snags a hose.
- Drive four screws per board face, into the post. Two near the top edge, two near the bottom, spread across the post width. Every screw is entering face grain now. That was the whole point.
- Repeat on all four corners, then set the frame. Dig four shallow post holes, drop the frame in, level across the diagonals rather than just the sides.
- Add the cross tie if the bed is over 6 feet. A single 2×4 screwed across the midpoint, or a cable and turnbuckle if you want it out of sight. On an 8-foot bed this matters more than anything you do at the corner.
Step six deserves a note. Cross supports at the center are one of the five standard anti-bowing fixes, along with thicker boards, not overfilling, screwing rather than nailing, and L-brackets. On long beds the mid-span tie does more work than the corner hardware does, because the middle of the span is where deflection peaks.
One more detail with real payoff. Leave the posts running 8 to 12 inches proud above the top board on one or two beds. Those stubs become mounting points later for hoops, netting, or trellis, which is the cheapest way into raised garden bed cover ideas without building a separate frame from scratch.
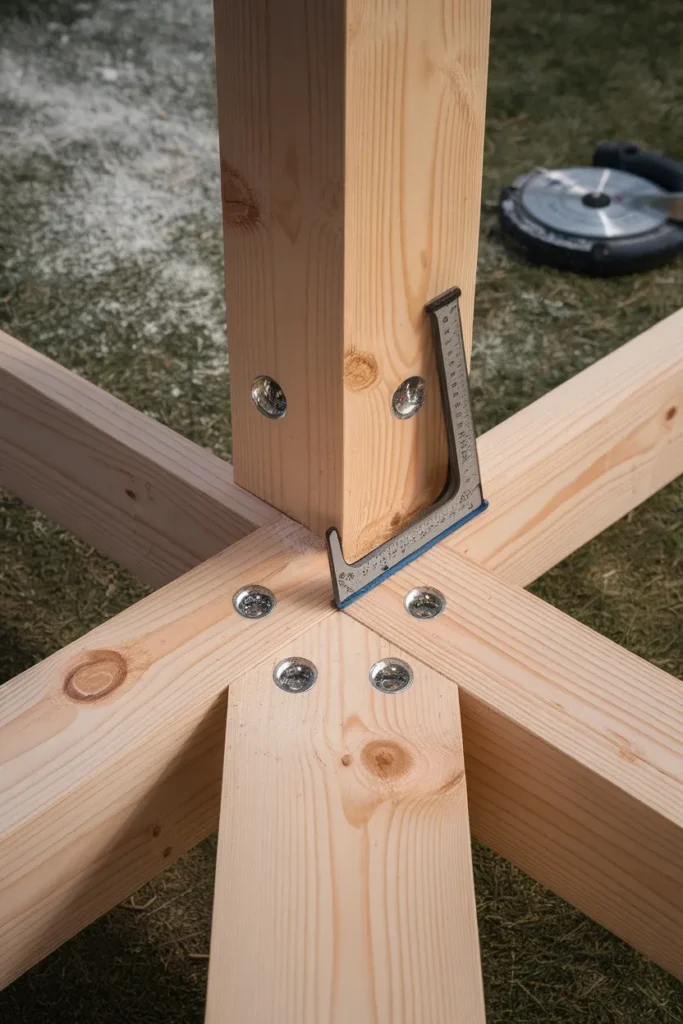
Half-Lap and Overlap Corners for Beds You Want to Keep
If you want the bed to outlive the decade, this is rung 4. Two versions here. One is easy, one takes a router or a dado stack.
The easy version: alternating overlap. Build the bed in courses. On course one, the long boards run past the short boards. On course two, the short boards run past the long boards. Each board’s end grain gets captured under the course above, and the whole stack interlocks like a log cabin. Cost is one extra board’s worth of length per course and zero extra tools. It is the single best strength-per-dollar move in this entire article.
The precise version: the half-lap. You remove half the thickness from the end of each board so the two ends nest flush into one another. A half-lap gives you far more glue and fastener surface than a butt joint and, unlike a butt joint, it mechanically resists the boards sliding past each other. This is the joint furniture makers reach for when a corner has to stay square under load.
Half-lap trade-offs worth knowing before you commit:
- Every cut has to be accurate to about 1/16 inch or the corner will not close
- It eats roughly 1.5 inches of length per joint, so cut your boards long
- On a 4-foot by 8-foot bed you are making sixteen lap cuts, so set up a jig
- It looks fantastic, which matters if the bed is visible from a patio or sits as a raised bed along a fence
Combine either version with a 4×4 post inside and you have a corner that is essentially not going to move. Post carries the load. Overlap or lap resists the slide. Fasteners are along for the ride instead of holding the whole thing together by themselves.
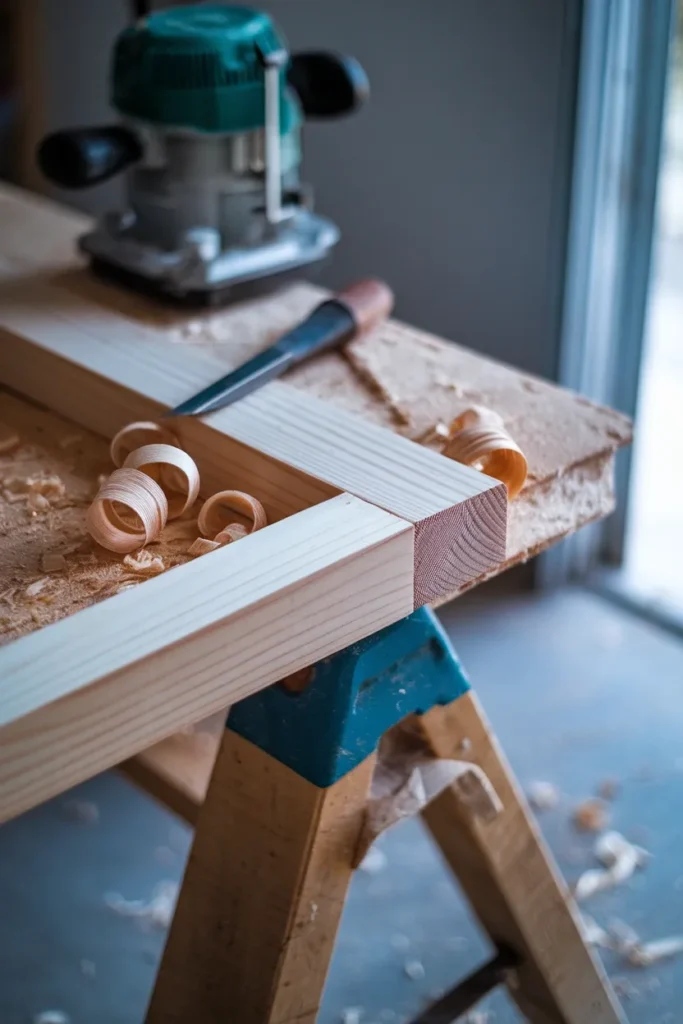
Corner Rot, and the Fasteners That Outlive It
Raised garden bed corners are where three wet surfaces meet and where two cut ends sit exposed. That is the whole problem in one sentence. Water wicks into end grain faster than into any other part of a board. A corner then holds that water longer than a flat face does, because it never gets full sun and never fully dries.
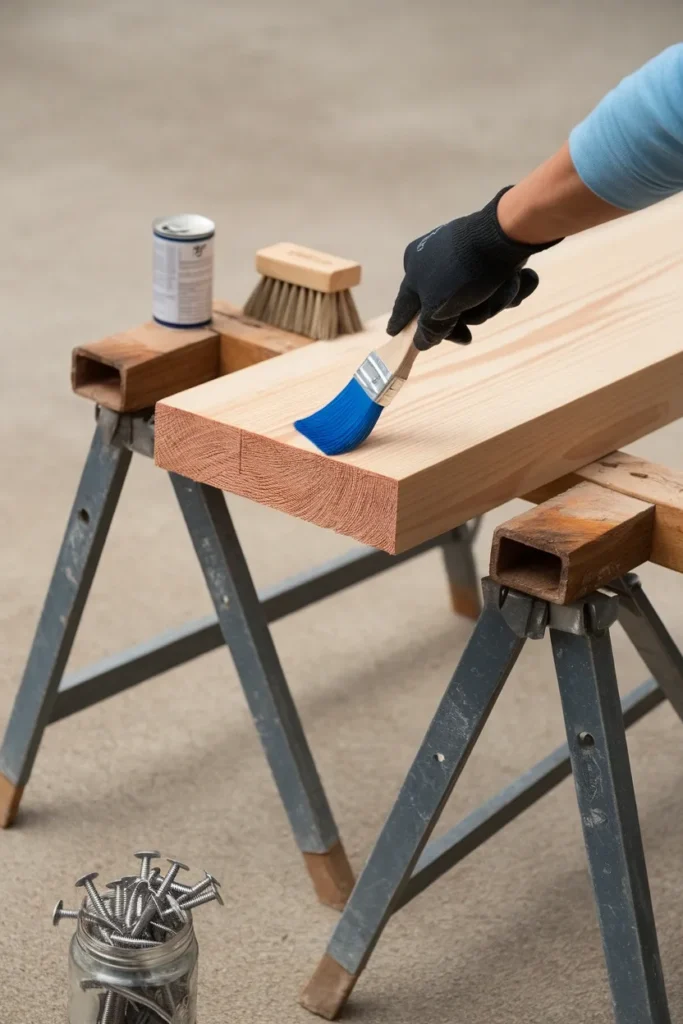
Seal the cut ends. Every time you cut a board you expose raw, thirsty grain. Extension guidance on treated lumber specifically calls for treating cut ends with a wood preservative, and the same logic applies to cedar and fir. Brush the end grain of every cut piece before assembly. Five minutes, four corners, several years.
Do not let the corner sit in a puddle. Set the frame on a couple of inches of coarse gravel or at minimum on soil you have graded so water runs away from the joint. A corner sitting in standing water rots on a completely different timeline than one that drains.
Now the fasteners, which is where treated lumber bites people. Modern pressure-treated wood uses copper-based preservatives. Copper azole and alkaline copper quaternary are the common two, and both replaced the arsenic formulations retired more than twenty years ago. Copper corrodes ordinary steel. If you build with treated lumber and drive plain or lightly coated screws, the fastener degrades from the inside of the joint outward and you will not see it until the corner moves.
So: stainless steel screws, or fasteners explicitly rated for ACQ and copper-treated lumber. Hot-dip galvanized is acceptable and cheaper. Interior screws, drywall screws, and bare zinc are not, in any bed, ever.
On the safety question itself, Oregon State University ran a four-year study on copper leaching from treated lumber in raised beds. Soil copper rose measurably, but only within about one inch of the bed edge, and no increase showed up in the vegetables and herbs grown in those beds. Their practical recommendation: use lumber rated for ground contact, treat the cut ends, and if the copper still bothers you, go with cedar, redwood, stone, or block instead.
Wood, Depth, and the Details That Decide Everything Else
Corner strategy and material choice are the same decision. Pick them together.
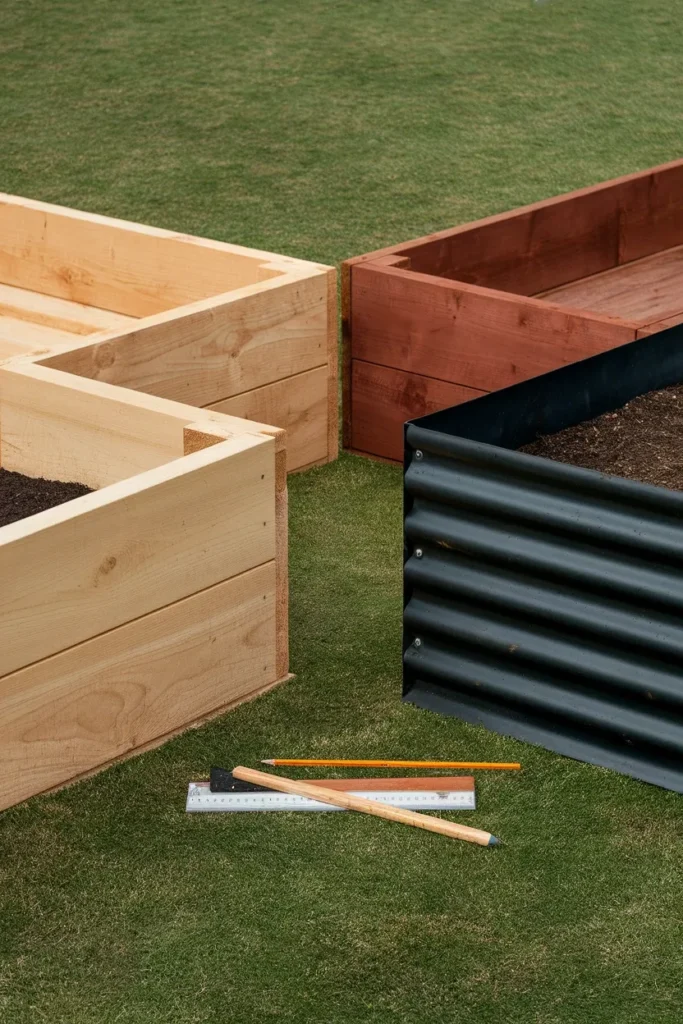
Cedar is the default for a reason. Rot resistant, light, easy to cut, and forgiving when you pre-drill. It costs a real premium over softwood, and on a large build that premium is the whole budget conversation. Greenes Fence sells cedar boards and slotted corner posts as separate parts, which is a useful middle path if you want cedar without buying a full kit.
Douglas fir is the value pick. Stronger and stiffer than pine, noticeably cheaper than cedar, and it will not last as long in contact with wet soil. Good rung 3 material if you are willing to rebuild eventually.
Pressure-treated, ground-contact rated is the longest-lasting wood option and the one people hesitate on. The OSU findings above are the current evidence. Your call, made with the actual data rather than a forum rumor.
Metal kits like Vego Garden and Birdies sidestep corner joinery entirely, since the panels bolt into a formed corner. Kits generally land in the low hundreds for a standard 17-inch bed. Worth noting that metal beds still bow if the panels are long and unbraced, so the cross-tie rule survives the material change.
Board thickness matters more than people expect. Moving from 2x4s to 2x6s or 2x8s is one of the standard bowing fixes, because a thicker board simply deflects less under the same load. If your budget forces a choice between premium corner hardware and thicker boards, buy the thicker boards.
One depth note, and one timing note. Most vegetables are happy in 12 inches. Carrots, parsnips, and daikon want closer to 18. And since a corner rebuild is easiest on an empty bed, schedule it before the ground warms up. In Zone 5 the last frost typically lands somewhere in mid to late April, which makes March the window. In Zone 9 you have most of the winter. Confirm your own dates against the USDA Plant Hardiness Zone Map or your county extension office, because frost timing shifts by year and by micro-location.
Frequently Asked Questions
Do you need corner brackets for raised beds?
No. Brackets are one of four valid approaches for raised garden bed corners, and they suit beds in the 8 to 12 inch range best. Below 8 inches a screwed butt joint holds fine. Above 12 inches an internal 4×4 post outperforms most brackets for less money. Brackets earn their keep when you want the bed to disassemble later or when you would rather not make precise cuts.
How do you keep a raised garden bed from bowing out?
Five things, and they stack. Use thicker boards, 2×6 or 2×8 instead of 2×4. Add a cross support across the midpoint on any bed over 6 feet. Screw the boards rather than nailing them. Reinforce corners with brackets or an internal post. And do not overfill, since soil heaped above the top board pushes on the weakest part of the wall.
What size corner posts do you need for a raised garden bed?
A 4×4 is the standard and it is plenty. Cut it to the bed height plus 4 to 6 inches so the extra length sinks into the ground and anchors the frame. UF/IFAS guidance references corner posts around 21¾ inches for a bed in the 16 inch range, which lines up with that formula.
Should you use screws or nails on raised bed corners?
Screws, always. Nails have almost no withdrawal resistance. They back out as the wood cycles through wet and dry. Use stainless steel or fasteners rated for treated lumber, pre-drill to avoid splitting near board ends, and countersink the heads.
Are metal corner brackets better than wooden corner posts?
They are better at different jobs. Brackets are faster, need no cuts, and let the bed come apart. Posts are stronger, cheaper per bed, and remove end grain from the load path entirely. On any bed over 12 inches deep the post wins on strength for the money.
How do you stop raised bed corners from rotting?
Seal the cut end grain with a wood preservative before assembly, set the frame on gravel or well-graded soil so water drains away from the joint, and choose a rot-resistant species or ground-contact-rated lumber. Raised garden bed corners rot first because they stay wet longest. The fix is about drainage and sealed end grain more than about the wood itself.
Is pressure-treated lumber safe for raised garden bed corners?
Current evidence says yes for modern copper-based treatments. Oregon State’s four-year study found soil copper increased only within about an inch of the bed edge, with no measurable increase in the vegetables grown there. Use lumber rated for ground contact, treat the cut ends, and pair it with stainless or ACQ-rated fasteners. If you would rather avoid it, cedar, redwood, stone, and concrete block are all fine alternatives.
Build the Corner First, Then the Bed
Most people design a raised bed by picking a size, then a wood, then working out the raised garden bed corners last with whatever is left in the budget. Flip that. Corners first. Decide the depth, climb the Corner Load Ladder to the matching rung, and let the corner spec drive the rest of the shopping list. It is a five minute reordering of the same decisions, and it is the difference between a bed you rebuild in year four and one you are still filling in year fifteen.
If you have a bed already bulging out there, you do not have to start over. Add a mid-span cross tie, drop a 4×4 into each corner from the inside, and drive your screws through the board faces. An afternoon of work. The bulge stops getting worse.
Which corner method are you going with on your next build? Take a photo of your current corners before you touch anything, because the fix is almost always easier to see than you would expect.