Cottage Garden Path Ideas That Wind, Charm, and Hold Up in Year Two

A cottage garden path has one job, and it is not moving your feet from the driveway to the back door. Its job is to slow you down. The straight concrete strip most of us inherited moves people efficiently, and efficiency is what quietly kills the feeling we are chasing out here.
So here is what you get below, and none of it is fluff. Real widths in inches. Material costs pulled from current 2026 US pricing. The plants that survive being stepped on. And the three failures that show up around month fourteen, long after every other tutorial has ended on a pretty photo.
We have built two of these now. The first one washed a third of the way down the yard after one August storm, because we skipped a step that takes twenty minutes. More on that later.
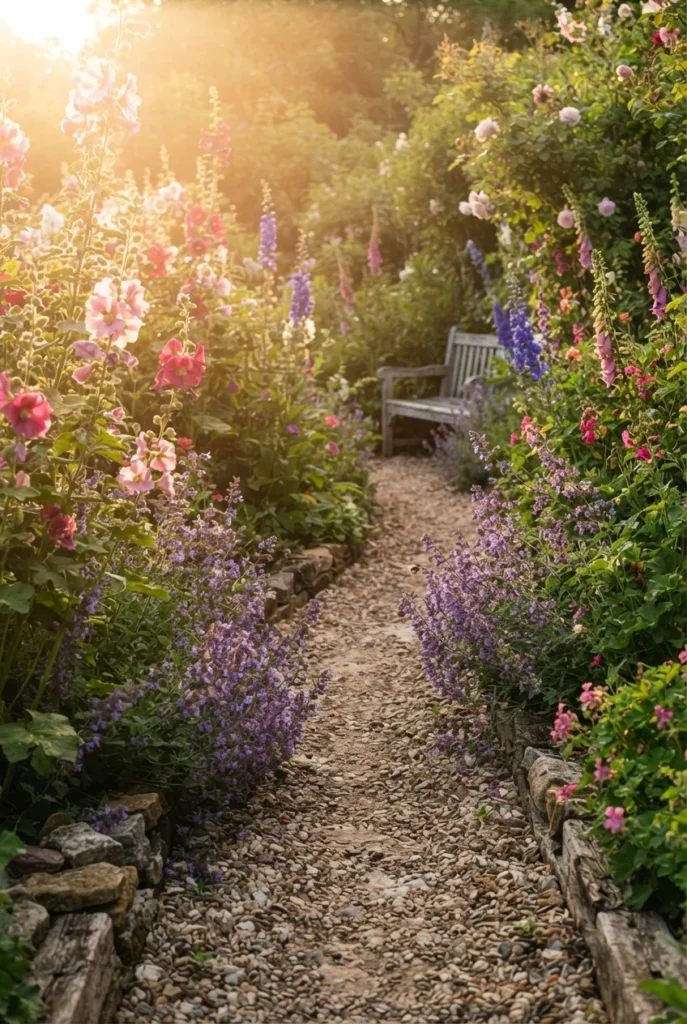
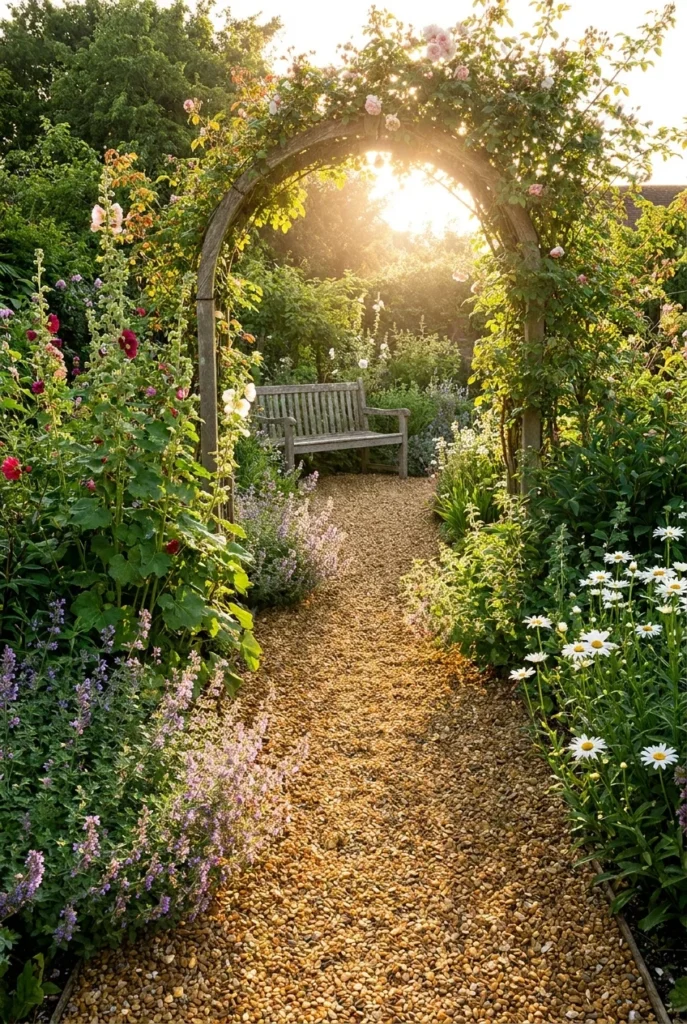
The best cottage garden path always leads to something. If you do not have a destination yet, build the destination first, even if it is nothing more than a bench and a hidden corner worth walking to. The path is the sentence. The destination is the period at the end. Build them together.
What Makes a Cottage Garden Path Feel Like One
Strip away the roses and the arbors for a second. Underneath, a cottage garden path is defined by three things that have nothing to do with plants.
It is narrower than a modern walkway. It curves for a reason you can see. And its edges are blurred, meaning plants cross the boundary instead of respecting it.
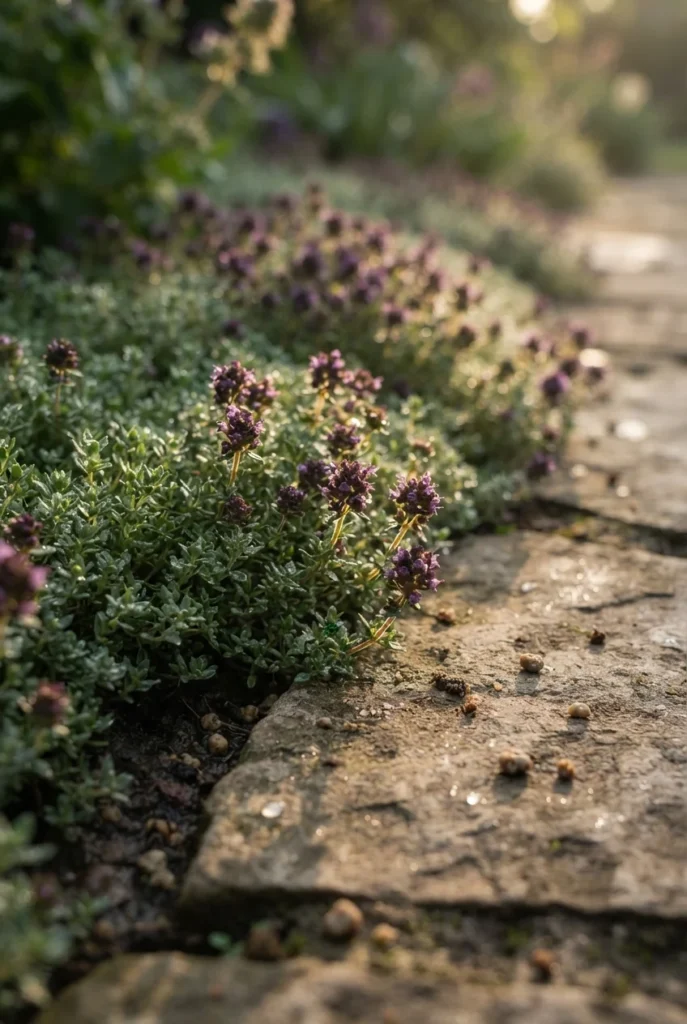
That third one does most of the work. A concrete walkway with lavender planted neatly six inches back still reads as a sidewalk. The same walkway with thyme creeping two inches over the stone reads as a cottage garden path immediately. Blur the line and the whole thing softens.
Formal gardens use the path to announce control. Cottage gardens use it to admit that the plants are winning, and that you are fine with it. Honestly, the messier version is easier to maintain, because a hard line is the only thing that ever needs correcting.
Materials matter less than most people assume. We have seen a gorgeous cottage garden path made from plain hardwood mulch, and a miserable one made from expensive bluestone. Width, curve, and edge blur beat material every single time.
The 3-Pause Path Rule
Here is the framework we use now on every cottage garden path we lay out, and it has saved us from two boring designs already.
The 3-Pause Path Rule: a path earns its charm from three deliberate slow-downs between where you enter and where you land. A narrowing, a scent, and a reveal. Hit all three and a twenty foot walk feels like sixty. Miss one and you have built a walkway with flowers next to it.
Pause one, the narrowing. Somewhere in the first third, pinch the path from 36 inches down to about 24. Let two plants lean in from opposite sides so the walker has to slightly turn a shoulder. That physical hesitation is what registers as charm.
Pause two, the scent. At roughly the midpoint, put something aromatic at ankle height or hand height. Thyme underfoot, lavender at the knee, a rose at shoulder level. Scent stops people more reliably than color does.
Pause three, the reveal. The destination stays hidden until the final turn. A hedge, a trellis, a large shrub, anything that blocks the sightline. If you can see the bench from the gate, the walk is already over before it started.
Sketch these three points on paper before you buy anything. Mark them with garden stakes in the actual yard. Then run the hose line for your curve through all three. That sequence, points first and curve second, is backwards from how most people do it, and it is why most DIY paths wander without purpose.
Get the Width Right Before You Buy a Single Bag
This is where most DIY paths fail, and it fails on paper long before anyone picks up a shovel.
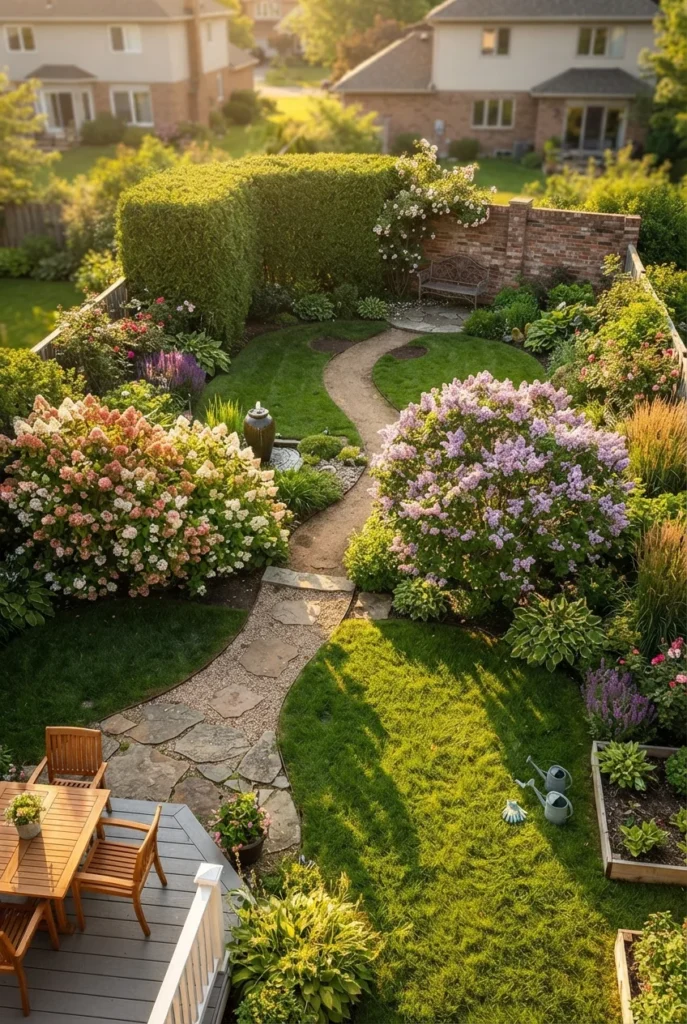
Standard walkway widths run like this. Eighteen inches is the absolute minimum. Twenty four inches is functional, and 30 inches comfortably fits one person. Thirty six inches is the residential standard. Forty eight inches lets two people walk abreast, and Landscaping Network recommends a full four feet for any path where you want conversation to happen while walking.
For a cottage garden path specifically, we shoot for 30 to 36 inches on the main run. Then we pinch it to 24 inches at the narrowing point from the 3-Pause Rule. That contrast is the entire trick.
Go below 24 inches and a loaded wheelbarrow stops fitting. Ask us how we know. A standard contractor wheelbarrow runs roughly 26 to 30 inches wide at the handles. Choke your cottage garden path down to 20 inches at one pinch point, and you will be carrying mulch by the bucket for the rest of your life.
One more number that people forget: add six inches of planting overhang to each side of your finished width. A 30 inch cottage garden path with catmint on both edges walks like a 24 inch path by midsummer. Build the hard surface wider than the walk you want.
Cottage Garden Path Materials Ranked by Cost and Effort
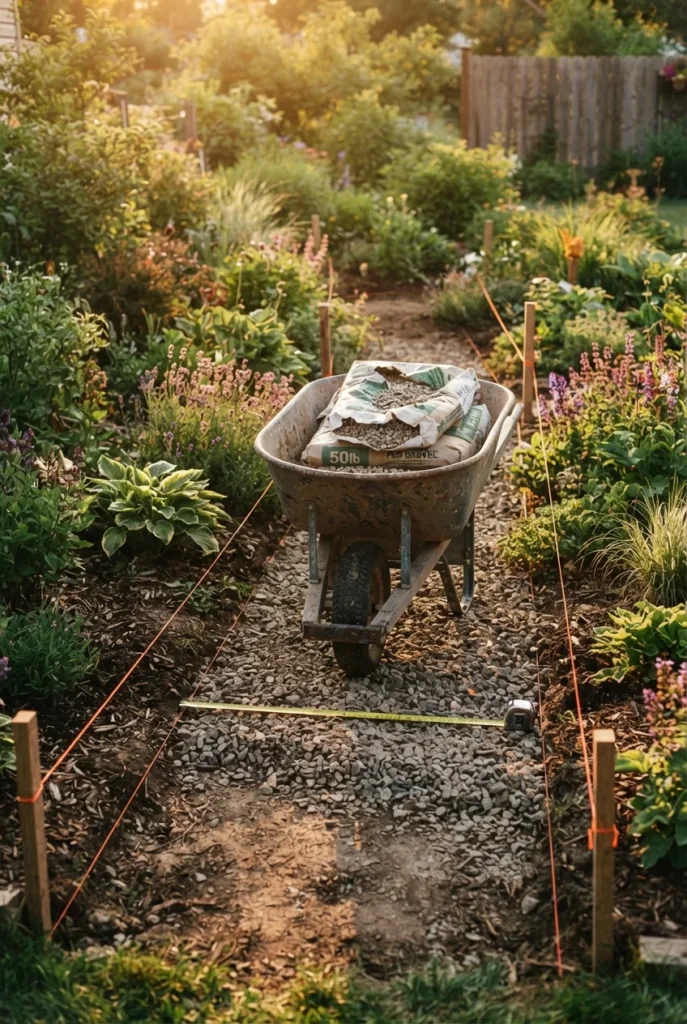
Every ranking article on this topic lists materials. None of them tells an American reader what those materials actually cost. So here are current 2026 US numbers, gathered from live pricing data, for the five materials worth considering.
| Material | Materials cost per sq ft | DIY difficulty | Cottage look |
|---|---|---|---|
| Hardwood mulch or bark | Lowest of the five | Easiest, one afternoon | Soft, woodland, temporary |
| Pea gravel | $0.50 to $1.50 | Easy, one weekend | Classic, crunchy, forgiving |
| Concrete stepping stones | Low single digits per stone | Easy, half a weekend | Casual, planted joints |
| Reclaimed brick | $7 to $14 | Hard, real skill needed | The most cottage of them all |
| Flagstone | $6 to $15 | Hard, heavy, slow | Old, permanent, expensive |
A few notes that the table cannot hold.
Pea gravel is the default answer for a reason. Bagged pea gravel at Home Depot or Lowe’s runs roughly $5 to $8 per half cubic foot bag, and buying it loose by the cubic yard drops that to somewhere around $45 to $80 per yard. A 4 foot by 50 foot pea gravel walkway lands in the ballpark of $115 to $380 in materials, which is remarkable for 200 square feet. It also has the sound. That crunch underfoot is half of why a gravel cottage garden path feels the way it does.
Reclaimed brick is the look everyone actually wants from a cottage garden path. Brick walkway materials run about $7 to $14 per square foot, and a full installed brick walkway lands around $15 to $30 plus per square foot. Salvage yards and Facebook Marketplace cut that dramatically, and mismatched brick looks better here than uniform brick anyway.
Flagstone materials run $6 to $15 per square foot, and an installed flagstone walkway runs $16 to $35 per square foot. Priced by the ton it usually lands between $250 and $750. Beautiful, permanent, and genuinely heavy work.
Mulch deserves more respect than it gets. It is the cheapest cottage garden path on this list by a wide margin, it goes down in an afternoon, and it looks completely right in a shaded woodland-style garden. You top it up every year or two. That is the whole maintenance plan.
Concrete stepping stones from the garden center are the sleeper pick for renters and anyone testing a route before committing. A 12 inch square stepping stone from Home Depot or Lowe’s costs a few dollars, and you can pull the whole path up in an hour.
Curves That Read as Natural Instead of Wobbly
A bad curve is worse than a straight line. It looks like an accident. Most of a cottage garden path lives or dies right here.
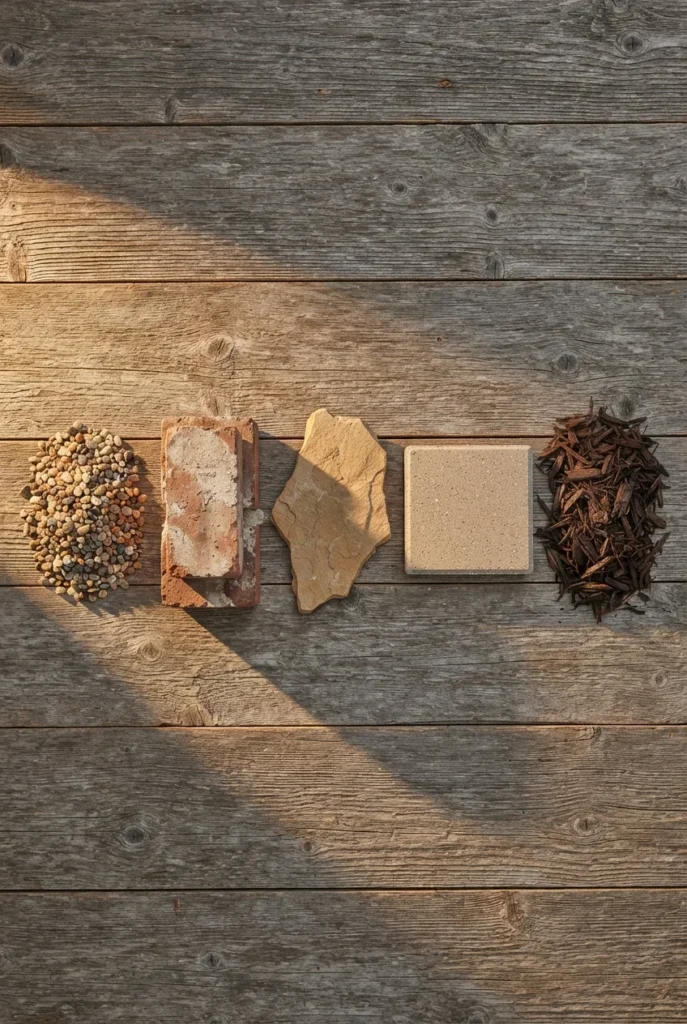
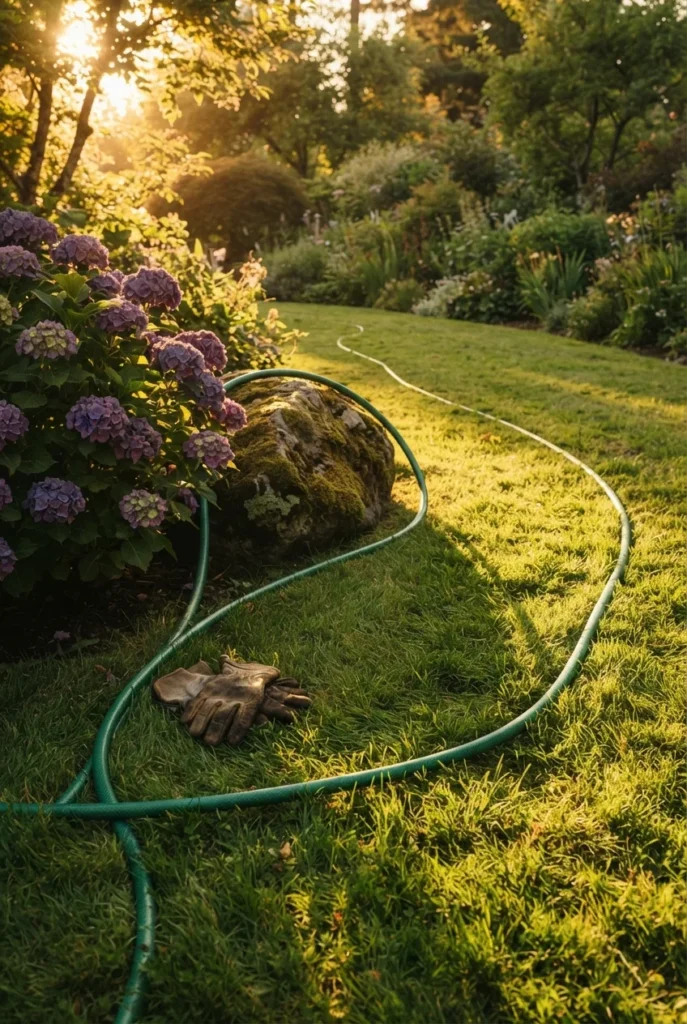
The fix is the garden hose trick, done properly. Lay a 50 foot hose along your intended route, then leave it there through a full day of sun so it relaxes and loses its coil memory. Come back in the evening and adjust it. That relaxed hose gives you a truer arc than a hose you fought into position ten minutes earlier.
Then apply the rule that separates a designed curve from a squiggle: every curve needs a reason standing at its apex. A shrub, a boulder, a birdbath, a clump of ornamental grass. The path bends because something is in the way. Curve around nothing and the eye reads it as indecision.
Two arcs is usually the ceiling for a small yard. Under about 25 feet of run, one gentle curve does more than three tight ones. Long serpentine paths need distance to breathe, and cramming four bends into 20 feet just makes the yard feel smaller.
Walk the hose line barefoot before you dig. If you find yourself cutting the corner, the curve is too aggressive, and you will wear a shortcut into the grass within a season no matter what you build.
Edge Plants That Spill Over Without Swallowing the Path
Plant selection here comes down to a single question. Can it take a shoe?
For the joints and the very edge, creeping thyme is the workhorse. Thymus praecox runs roughly 3 to 6 inches tall, and per NC State Extension’s plant toolbox, creeping thyme tolerates moderate foot traffic once established. It is hardy through zones 5a to 8b, which covers most of the country. The cultivar ‘Annie Hall’ handles traffic even better than the straight species. Step on it and it smells like the whole garden improved.
Other reliable edge spillers, in rough order of toughness:
- Creeping thyme for the joints and the first two inches of edge, full sun
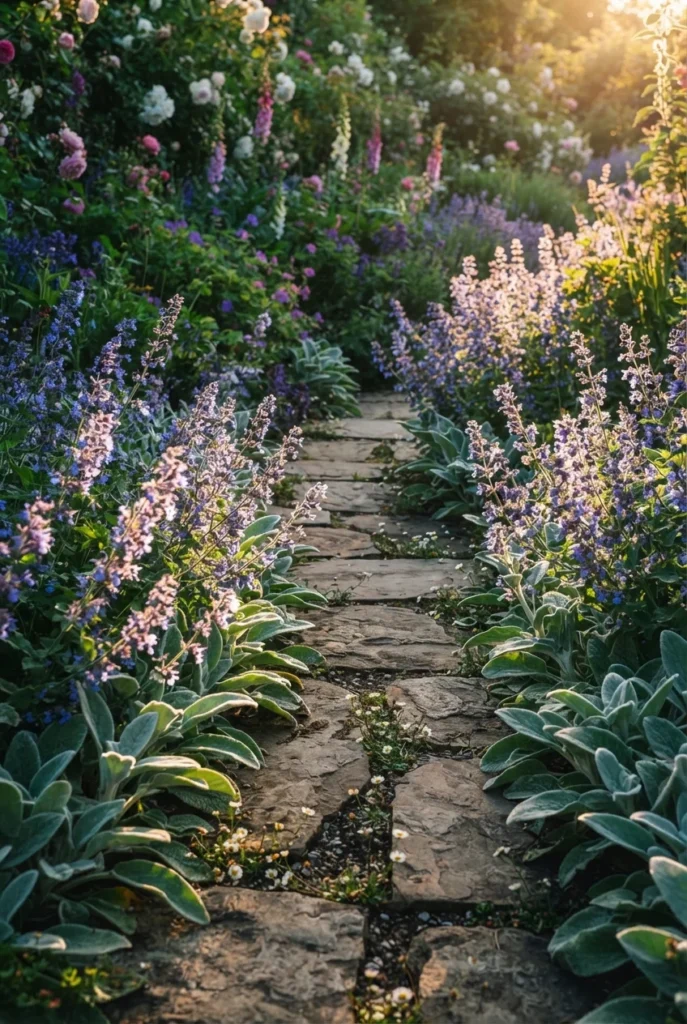
- Catmint (Nepeta) for a soft gray-purple flop over gravel, blooms for months, deer usually pass it by
- Lady’s mantle (Alchemilla mollis) for part shade, chartreuse blooms, and the way it holds rainwater in beads on the leaves
- Erigeron karvinskianus for the tiny daisies that self-seed into wall cracks and path joints
- Lavender set back six inches, because it resents being crowded and hates wet feet
- Hardy geranium for the sprawling filler that hides the transition between path and bed
Before you buy any of these, check the 2023 USDA plant hardiness map for your exact zip code. The map was updated in 2023 and a lot of gardeners are still planting to the old 2012 boundaries, which shifted in many areas.
One caution from experience. Mint of any kind, including the pretty variegated ones, will find its way into every joint of a gravel cottage garden path and stay there permanently. We planted a single Corsican mint plug near a stepping stone and spent the next two summers pulling it out of everything within eight feet. Keep it in a pot.
Edging Is What Separates a Path From a Pile of Rock
Loose material without a hard boundary is not a cottage garden path. It is a rock spill with ambitions.
Gravel migrates. It migrates onto the lawn, into the beds, and downhill with every rain, and once it enters the grass it stays there until it finds your mower blade. An edge is the only thing that stops this, and it is the step people skip because it feels optional on day one.
Three edging approaches that suit a cottage garden path:
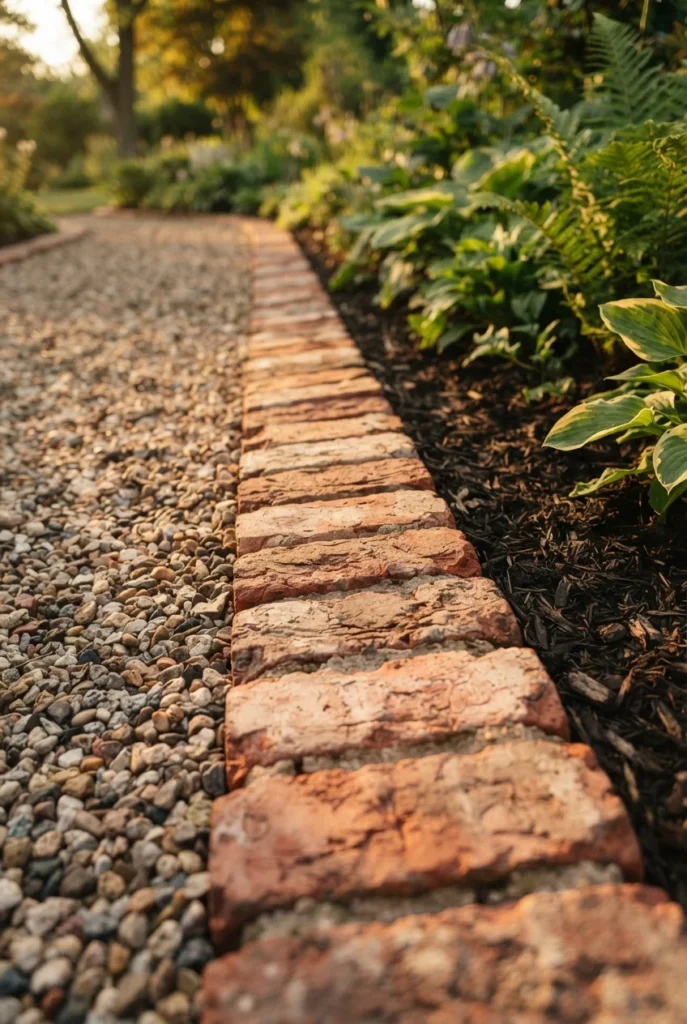
- Brick soldier course. Bricks stood on end at a slight angle along both sides. Traditional, forgiving of curves, and it doubles as a mowing strip. The most cottage-appropriate option by a wide margin.
- Steel or aluminum edging. Nearly invisible once the plants flop over it, holds tight curves beautifully, and lasts decades. Home Depot and Lowe’s both carry no-dig versions that install with spikes.
- A cut trench edge. Free. A spade-cut V trench about four inches deep along both sides holds mulch surprisingly well and needs recutting once a season.
We go deeper on all of this in our garden edging ideas that hold a clean line, including the depth mistakes that undo the work.
The number that matters: set your edging so its top sits about half an inch above the finished gravel surface. Flush edging lets gravel wash over the top. Too proud and it becomes a trip hazard that catches every wheelbarrow wheel.
The Year-Two Problems Nobody Warns You About
Every article on this topic ends on installation day. Here is what happens fourteen months later, and how to prevent all of it in advance.
Gravel migrates downhill. If any part of your run exceeds roughly a 5 percent slope, loose pea gravel will relocate. This is what happened to our first path. The fix is switching to angular crushed stone on the sloped section, because angular chips lock together and round pea gravel behaves like ball bearings. Or install a low timber or brick riser to terrace the grade.
Landscape fabric fails from the top down. Every competitor recommends fabric under the gravel and stops there. What they leave out is that fabric only blocks weeds coming up from the soil below. Within two seasons, organic debris breaks down in the gravel itself and creates a perfect seedbed sitting on top of your fabric. The weeds then root into the fabric and are miserable to pull. Fabric is still worth using for separation, but plan to blow leaf litter off the path every fall. That single habit does more for weed control than the fabric ever will.
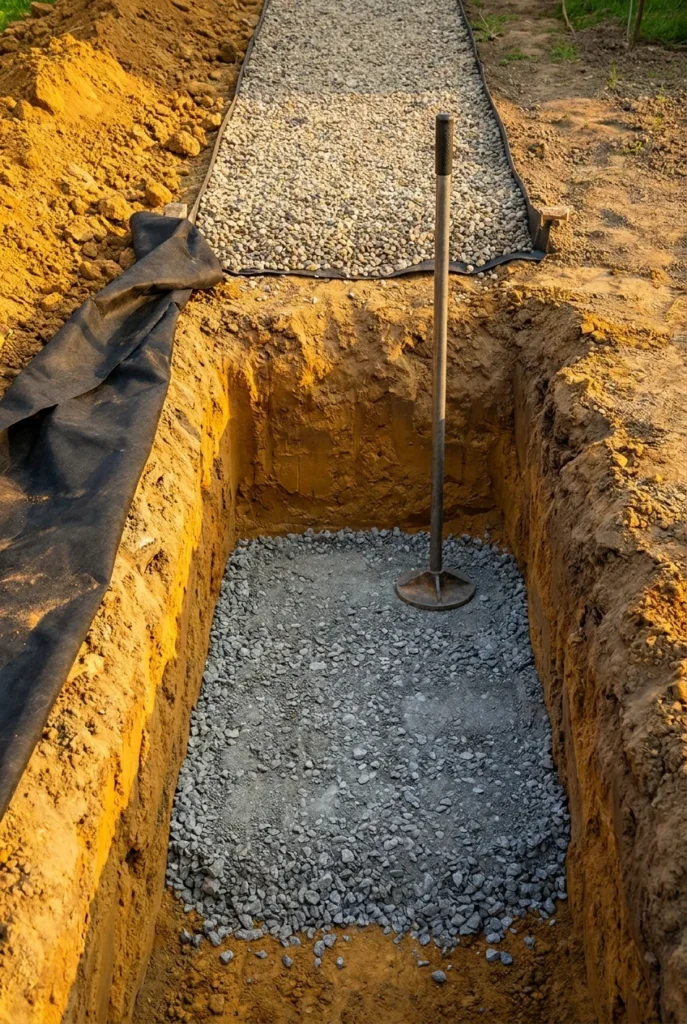
The base was never deep enough. Excavate 4 to 6 inches, compact 3 to 4 inches of crushed stone base, then top with 2 inches of your finish material. Skipping the compacted base is the twenty minute step we skipped the first time, and it is why our path went for a swim.
Stepping stones heave and tilt. In freeze-thaw zones, stones set directly on soil will lift unevenly by the second spring. Set them on 2 inches of compacted sand or fine crushed stone. Space them 18 to 24 inches on center, then walk the route naturally and adjust to your own stride before you set anything permanently. Your stride, not the internet’s average.
The path is too clean. This one is a design failure. A brand new cottage garden path looks new for about a year, which is exactly wrong for the style. Speed up the aging: sprinkle buttermilk on stone to encourage moss, tuck creeping thyme plugs into every joint, and let a self-seeder like Erigeron colonize the edges. Deliberate imperfection is the whole aesthetic.
A Weekend Build Order for Your First Cottage Garden Path
Here is the real order of operations for a first cottage garden path. Two days, roughly 60 linear feet at 30 inches wide, working at a normal human pace. No rushing.
Friday evening. Lay the hose along your route and leave it out overnight so it relaxes. Mark your three pause points from the 3-Pause Rule with stakes. Sleep on it.
Saturday morning. Adjust the hose line, then mark both edges with landscape marking paint. Strip the sod. A flat spade works, and a rented sod cutter is worth it past about 100 square feet. Excavate 4 to 6 inches deep.
Saturday afternoon. Install your edging on both sides. Lay landscape fabric. Add 3 to 4 inches of crushed stone base and compact it in two lifts, watering lightly between passes. A hand tamper is fine at this scale, and a rented plate compactor makes it faster.
Sunday morning. Spread 2 inches of your finish material. Rake level. Walk the whole path several times and top up the low spots that reveal themselves.
Sunday afternoon. Plant the edges. Set your thyme plugs into the joints, tuck catmint at the curve apexes, and water everything in well. Then put a chair at the far end and sit in it. That last part is not optional. You need to see what you built from the destination looking back.
Budget expectation for that scope in pea gravel: materials land somewhere in the low hundreds, not the thousands. Brick or flagstone at the same length moves you into a different conversation entirely, and it is worth pricing before you fall in love.
Cottage Garden Path Questions People Actually Ask
What is the best material for a cottage garden path?
Pea gravel for most people, reclaimed brick if the budget allows. Gravel costs roughly $0.50 to $1.50 per square foot in materials, goes down in a weekend, and gives you the crunch underfoot that defines the style. Reclaimed brick delivers the truest cottage look but runs about $7 to $14 per square foot in materials and demands real skill to lay well on a curve.
How wide should a cottage garden path be?
Thirty to 36 inches for the main run, pinched to 24 inches at one deliberate narrowing point. Eighteen inches is the absolute minimum for a footpath, and 48 inches lets two people walk side by side. Remember that edge plants will eat six inches from each side by midsummer.
What is the cheapest way to build a cottage garden path?
Hardwood mulch or bark over landscape fabric, with a spade-cut trench edge. It is the lowest cost per square foot of any option here, it installs in an afternoon, and it looks completely correct in a shaded woodland-style garden. You top it up every year or two.
What do you put under a gravel path?
Three to 4 inches of compacted crushed stone base over landscape fabric, after excavating 4 to 6 inches. The compacted base is what stops the gravel from sinking into soil and turning to mud. Skipping it is the single most common cause of a path failing in year two.
How do you keep weeds out of a cottage garden path?
Fabric helps, but the real work is blowing leaf litter and organic debris off the surface every fall. Weeds in an established gravel path mostly germinate in decomposed debris sitting on top of the fabric, not from the soil below. Clean gravel stays clean.
What plants can you walk on between stepping stones?
Creeping thyme is the standard choice, hardy in zones 5a through 8b and tolerant of moderate foot traffic once rooted. Other options include Irish moss, blue star creeper, and dwarf mondo grass in shadier spots. Give any of them a full season to establish before you walk the route regularly.
Should a cottage garden path be curved or straight?
Curved, with a caveat. Every curve needs a physical reason at its apex, meaning a shrub, boulder, or planting the path is bending around. A curve with nothing at its apex reads as a mistake rather than a design choice. In a run under 25 feet, one gentle arc beats three tight bends.
Where to Start This Weekend
Do not start with material. Start with the destination, then walk the route with a hose and mark your three pauses. Everything else follows from that.
If your route runs through a dark side yard or under mature trees, work through our shade garden ideas for the dim stretch before you choose edge plants, because half the list above wants full sun and will sulk otherwise.
The best cottage garden path is the one that makes a twenty foot walk take two minutes. Build the narrowing, plant something fragrant at the midpoint, and hide the ending. The rest is gravel and patience.
Tell us what you are building, and which material you landed on. We read every comment.