New Build Garden Ideas: Starting From Bare Dirt

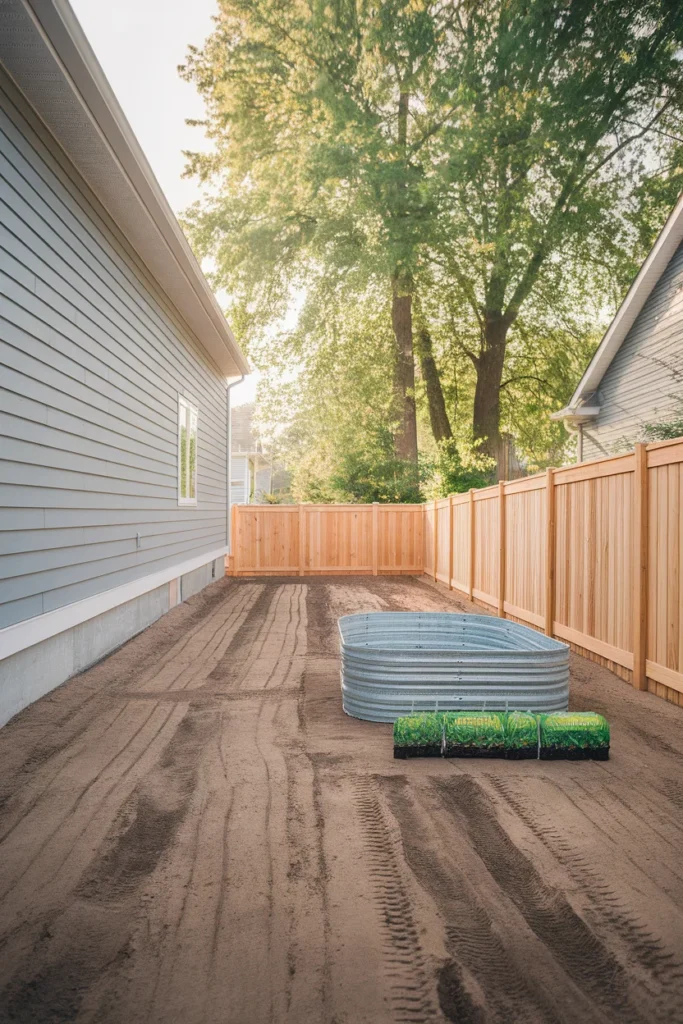
Your builder handed over a rectangle of scraped clay, a fence you did not pick, and maybe a sod seam that already looks tired. Most new build garden ideas you find online quietly assume you are starting with soil. You are not. You are starting with subsoil, buried brick chips, and a lot of optimism.
That is fine. It is actually an advantage, because nothing is in the wrong place yet.
What follows is the order I wish someone had handed me the week we got our keys. What to test, what to build first, what to plant, and the three purchases that eat first-year budgets for no return. If your long game is a low maintenance backyard rather than a weekend job forever, the sequence matters more than the shopping list.
Let’s start underground.
Read Your Dirt Before You Spend a Single Dollar
Here is the part nobody tells you at closing. During construction, the good topsoil usually gets stripped, sold, or buried, and heavy equipment presses whatever is left into something closer to a driveway than a garden. NC State Extension is blunt about what construction does to the soil underneath a new home, noting that topsoil and subsoil are typically removed and replaced with compacted material.
So test before you buy plants.
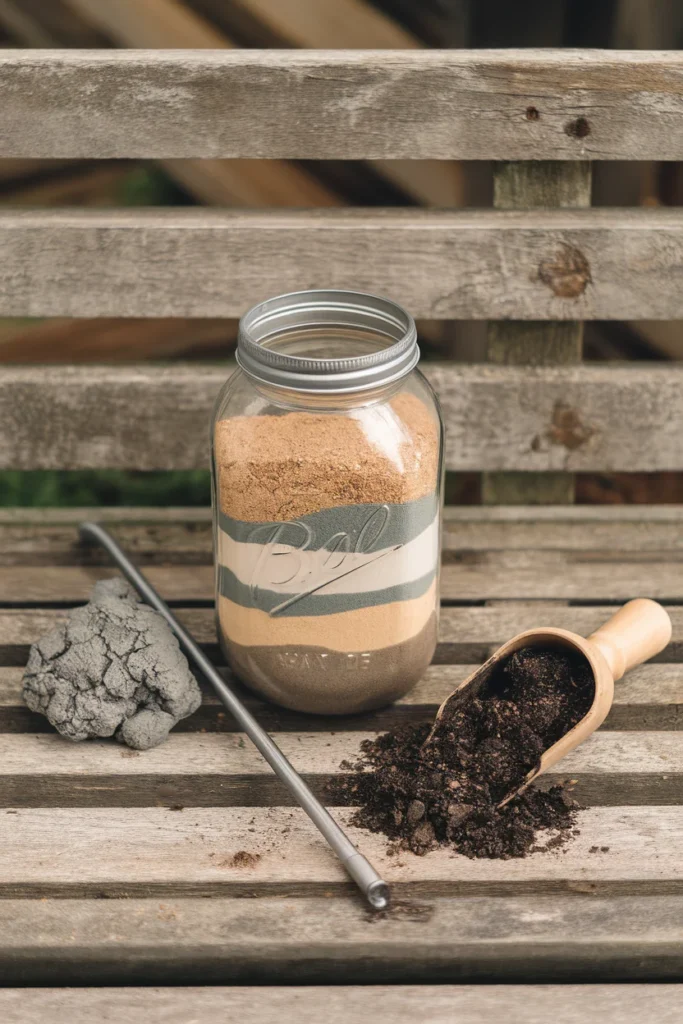
Two tests, one afternoon, roughly zero dollars. The jar test tells you your texture: fill a clear quart jar one third with soil, top it with water, shake it hard, and let it settle overnight. Sand drops first, silt next, clay floats on top in a stubborn pale band. If your clay layer is more than half the column, you have a drainage problem before you have a plant problem.
The second test is the screwdriver. Push a long flathead into damp ground. If it stops at two inches, your soil is compacted, and no amount of expensive potting mix poured on top will fix that.
Fixing it is unglamorous and cheap. Core aerate or fork the top eight inches, then work in two to three inches of compost across the whole bed area rather than digging fancy individual planting holes. A cubic yard of bulk compost usually runs somewhere in the $35 to $60 range delivered, and that beats forty bags every time.
One honest confession: on our first bed I skipped all of this. I dumped four bags of Miracle-Gro Garden Soil straight onto unbroken builder clay, planted salvias, and watched them sulk for two solid months. When I finally dug one up, the roots had circled in a neat little bathtub of nice soil sitting on concrete-hard subsoil. Cost me about $60 and a whole growing season. A $4 screwdriver would have taught me the same lesson in ten seconds.
The Bare Dirt Ladder: A Three Season Plan That Actually Holds
Most new build garden ideas lists hand you options. This one hands you an order, which is a different and far more useful thing.
Every new build owner I know makes the same mistake, and I made it too. We buy the pretty stuff first. Then the pretty stuff dies, or sits in the wrong spot, or gets ripped out when the patio finally goes in.
So here is the rule I use now. I call it the Bare Dirt Ladder, and it has exactly three rungs. You do not climb a rung until the one below it is finished.
Rung one, season one: bones. Sun map, soil correction, one hard surface you can put a chair on, and the skeleton of your screening. Nothing decorative. Nothing you would call an accent.
Rung two, season two: softening. Beds get built and filled, structural shrubs and grasses go in, and lighting gets run. This is the year the yard stops looking like a construction site.
Rung three, season three: character. Furniture you love, a fire feature, containers, the fussy perennials, the vertical stuff. The jewelry.
The reason this works is boring and financial. Rung one items are the ones that are painful and expensive to redo later. Rung three items are the ones you can buy, move, or replace on a Saturday. Front-load the permanent, delay the portable.
| Rung | Season | What you buy | Rough budget band |
|---|---|---|---|
| 1. Bones | Year one spring to fall | Compost, aeration, patio base, fence or screen posts | $600 to $1,500 |
| 2. Softening | Year two | Raised beds, soil mix, shrubs, string lights, drip line | $400 to $1,000 |
| 3. Character | Year three | Furniture, fire pit, containers, perennials, decor | $500 to $1,800 |
Screenshot that. It is the whole article in nine lines.
Sun Mapping: The Free Afternoon That Saves You $400
New build yards lie to you about light. The fence is new and full height, the neighbor’s house may still be a frame, and there is no mature canopy anywhere. So the yard reads as blazing full sun in June, then turns into a shadow box by September.
Almost all the new build garden ideas that fail on the internet fail here, because someone planted for a light level that did not exist.
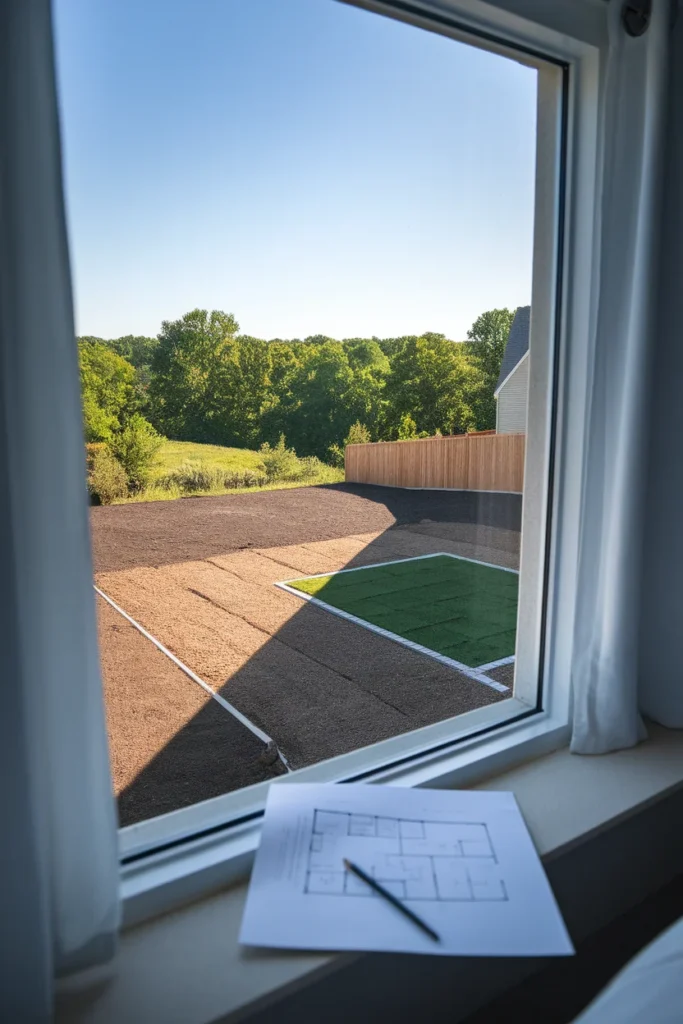
Do this instead of guessing. Pick one clear Saturday. Photograph the yard from the same upstairs window at 9am, noon, 3pm, and 6pm. Four photos. Then mark the shade edges on a rough sketch.
Anything with six or more hours of direct sun is your vegetable and full-sun perennial zone. Four to six hours is your shrub and grass zone. Under four hours goes to hostas, ferns, hydrangeas, and hardscape.
Pair that map with your zone. Go check your USDA hardiness zone by ZIP code before you order anything. The gap between Zone 6a and Zone 7b is the gap between a crepe myrtle that thrives and one that dies to the ground every winter.
Frost timing matters just as much for the first year. In Zone 5 the last frost usually lands around mid to late April. Zone 6 is closer to mid April, Zone 7 to late March or early April, and Zone 8 to mid March. Those are typical ranges, not promises. Confirm yours against the USDA map or your county extension office before you commit to a planting weekend. Micro-location and elevation shift those dates by a week or two in either direction.
The $400 in that heading is not hypothetical. That is roughly what it costs to replace a dozen sun-loving perennials you planted in a spot that turned out to get four hours of light.
Privacy Ideas for a New Build Garden That Do Not Take Ten Years
This is the number one complaint in every new build neighborhood, and it has a name: the maturity gap. Your fence is six feet. Your neighbor’s second-story windows are fourteen. A hedge that solves that is eight years away.
Two layers fix it faster than one.
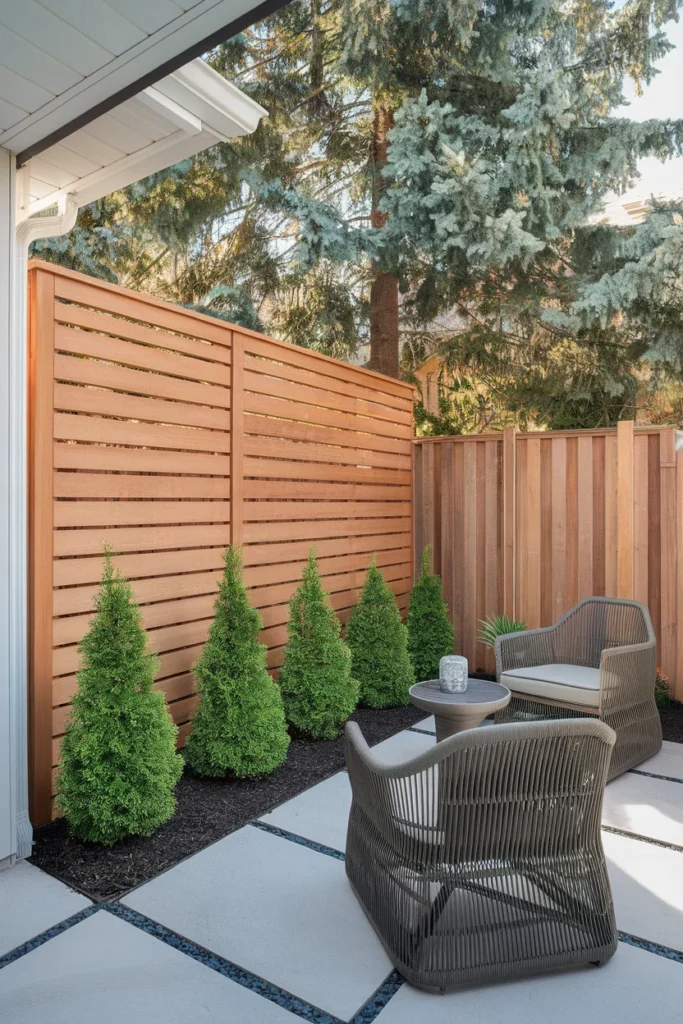
Layer one is structure, and it works this season. Think a cedar or composite screen panel mounted above the fence line, a slatted pergola over the seating area, or an outdoor curtain rod strung across a corner. Screens at Home Depot and Lowe’s in the four by six foot range typically sit around $80 to $180 per panel. You only need them where sightlines actually land. That is usually one corner and one window, never the whole perimeter.
Layer two is planting, and it takes over in years three through six. Columnar evergreens carry this beautifully in most US zones. Try ‘Green Giant’ arborvitae for Zones 5 to 8 if you have depth, ‘Emerald Green’ arborvitae for tighter beds, or wax myrtle and cherry laurel in warmer southern zones. Space them at roughly 60 percent of their mature width so they knit into a wall instead of sitting as lollipops.
Buy small. A three gallon arborvitae runs around $35 to $50 and will usually catch up to a seven gallon plant within about four years, because smaller root balls establish faster in poor soil.
Honestly, this was the fix that changed how our yard felt more than anything else. We spent two years staring at three second-story windows before we finally put one 4×8 slatted cedar screen in exactly the right corner, and it cost under $200 in lumber from Lowe’s plus one Sunday. I regret every month we waited.
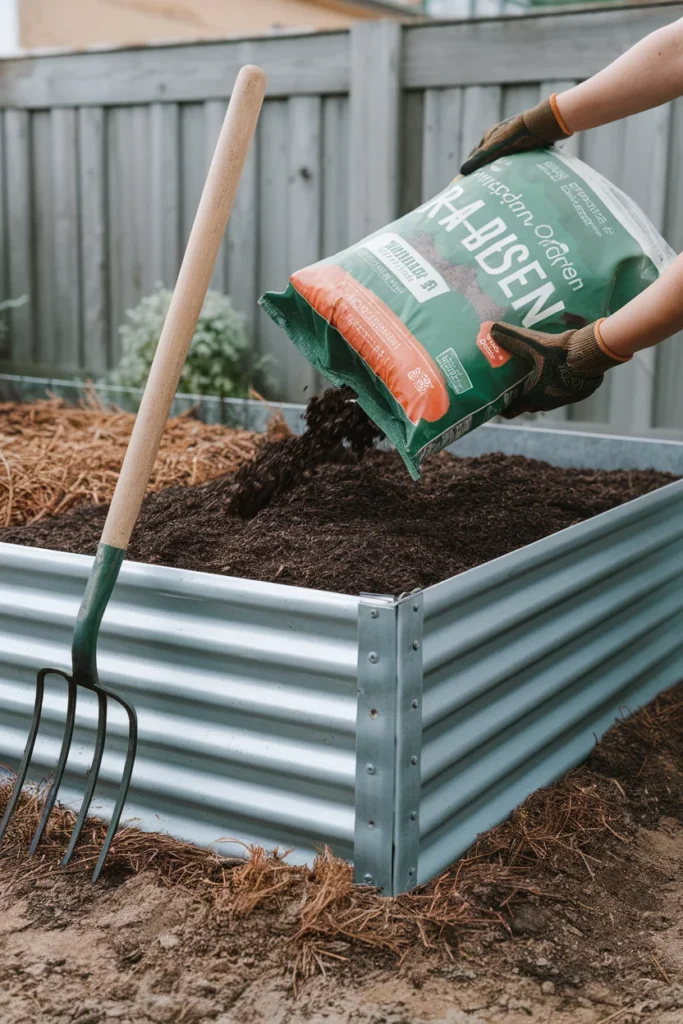
Raised Beds Beat Builder Soil, Every Single Time
If your jar test came back mostly clay, stop trying to fix the whole yard. Build up instead of digging down.
Raised beds let you skip a soil problem that would take three seasons of amendment to solve. They also drain, which matters enormously on a graded new build lot where water tends to sit.
Sizing, quickly. Twelve inches of depth handles lettuce, herbs, bush beans, and most flowers. Carrots, parsnips, and full-size tomatoes want closer to eighteen inches. Never build wider than four feet, because you need to reach the middle without stepping in and re-compacting what you just fixed.
On materials, I have used both and I will be direct about it. Cedar looks better on day one. Greenes Fence cedar kits run roughly $90 to $160 for a 4×8. But galvanized steel wins by year three: Vego Garden and Birdies beds typically land in the $130 to $250 range for comparable sizes, and they do not warp, rot, or need re-staining. If you want the cheapest durable option that still looks intentional, a cinder block raised garden bed will outlast every wooden bed on your street for a fraction of the cost.
Fill matters more than the frame. Do not buy forty bags of premium mix. Use the bottom third for coarse organic material (branches, leaves, straw), then fill the top two thirds with a blend of bulk topsoil and compost. Save the good stuff for the top four inches where seeds actually germinate: a few bags of Kellogg Garden Organics Raised Bed Mix at around $12 to $16 a bag. A handful of Espoma Bio-tone Starter Plus (usually under $15 a bag) at planting helps roots move into unfamiliar soil.
Of all the new build garden ideas in this article, this is the one that pays back fastest.
Put the Patio In Before the Lawn (Yes, Really)
This is the piece of advice that gets me the most pushback, so let me make the case.
Almost every new build owner rushes sod. It is understandable. Bare dirt tracks into the house, the neighbors have green, and a lawn feels like the finish line.
But sod on compacted builder clay is a slow-motion refund request. It needs correction underneath to survive. It demands water every day for three weeks. Then the moment you add a patio or beds next year, you rip out the very grass you just paid for. You also end up mowing the exact square footage you were about to pave.
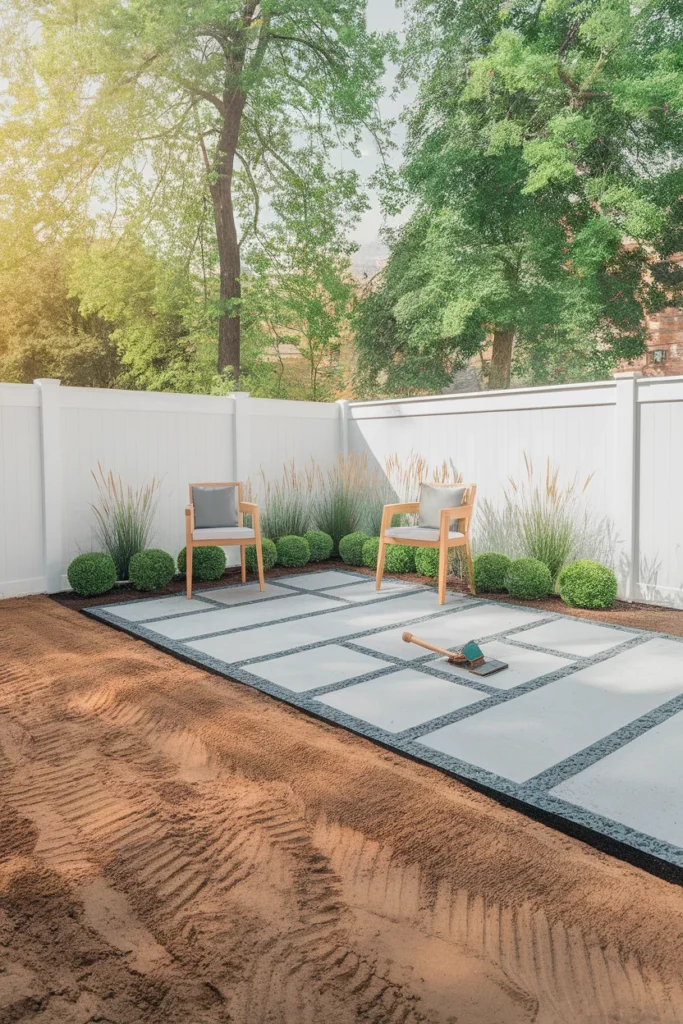
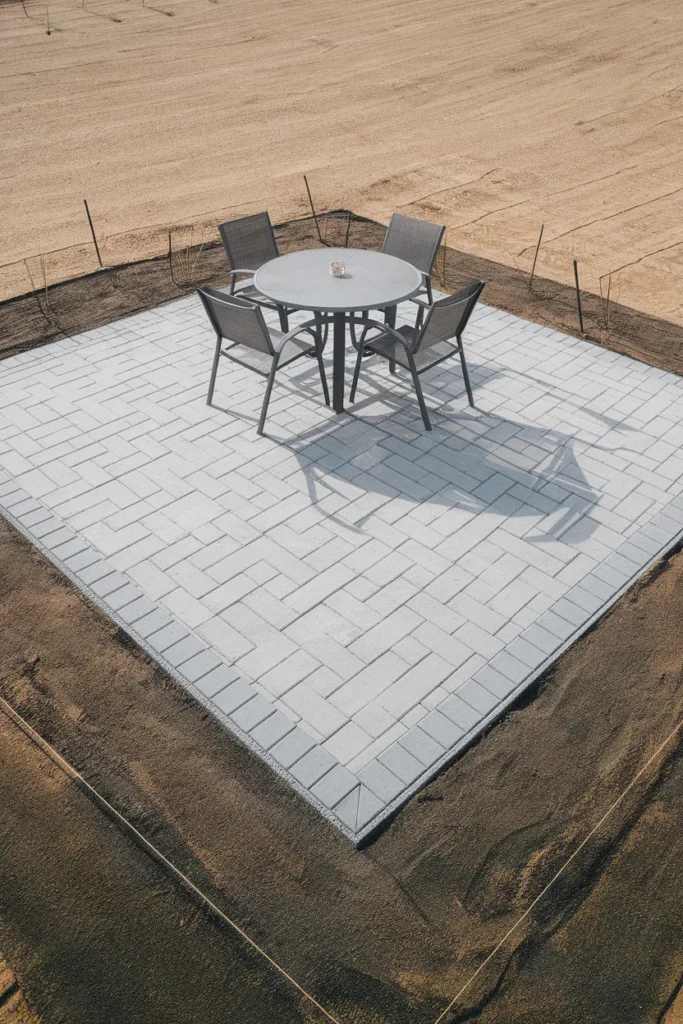
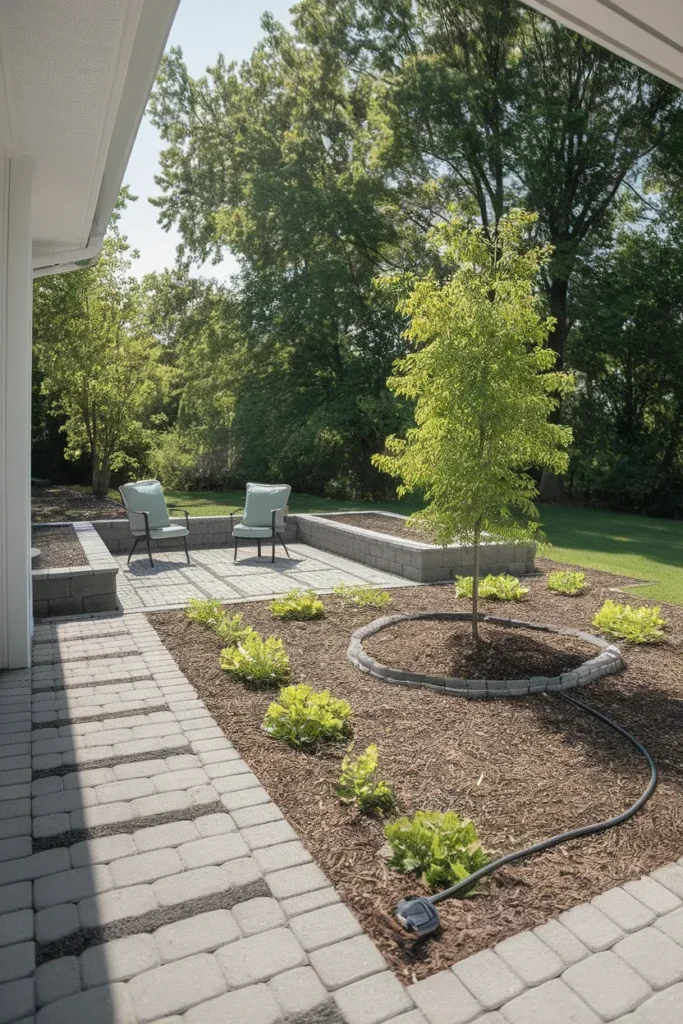
A hard surface does the opposite. It gives you somewhere to sit on day one, it defines the rest of the layout, and it never needs replacing. Twelve by twelve feet is enough for a table and four chairs. Sixteen by sixteen adds a lounge zone.
Do the patio, define the bed edges, and only then sod or seed what is genuinely left over. Most people discover that number is about 40 percent smaller than they assumed, which quietly cuts the water bill and the mowing forever.
You do not need a contractor for the first version either. There are plenty of inexpensive patio ideas that work on a compacted base with pavers or decomposed granite. A DIY paver patio in the $600 to $1,200 material range holds up fine while you decide whether the permanent version belongs somewhere else.
Lighting Makes a Bare Yard Feel Finished After Dark
Lighting is the highest return per dollar in the entire first two years, and almost nobody does it early enough. A yard that is still mostly dirt reads as intentional the second it glows. Of all the new build garden ideas here, this is the cheapest and the one guests notice first.
Three layers, in this order.
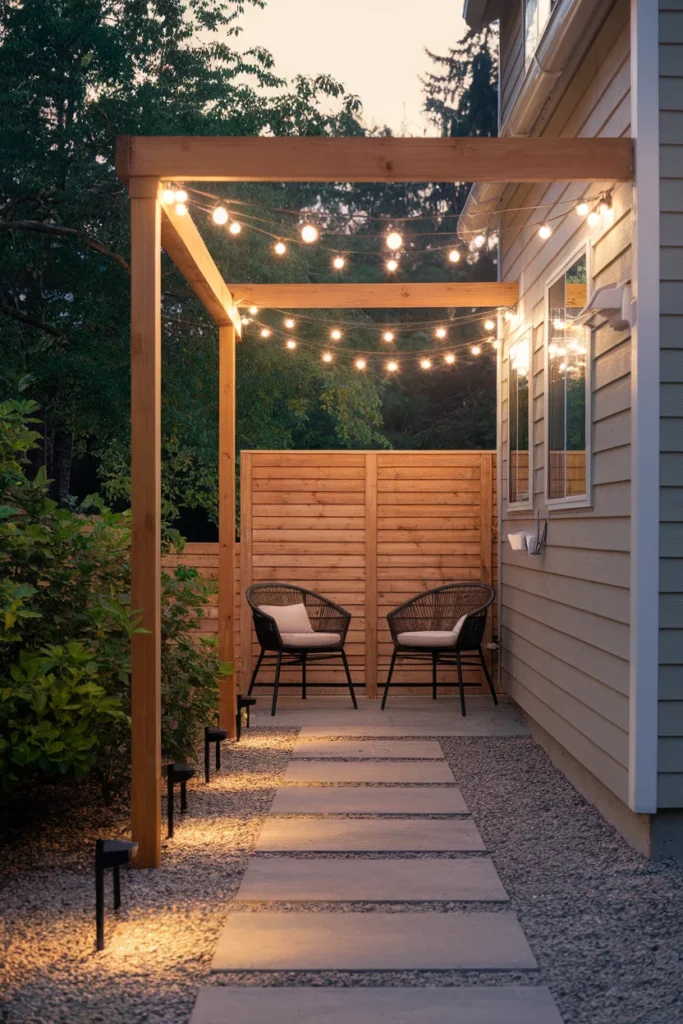
Overhead first. A run of Brightech Ambience Pro or Feit Electric commercial-grade string lights across the patio, usually $30 to $60 for a 48 foot strand. Use real bulbs, not micro LEDs, because the warm globe look is what makes the space feel like a room.
Path second. Low voltage path lights along the walk from the door to the seating area. A six-light kit typically runs $60 to $120 and takes an evening.
Accent last. One or two uplights aimed at the best young tree or the privacy screen. This is the layer that makes the yard look designed rather than lit.
Skip solar for the overhead layer. I tried, they were dim by October, and I replaced them all within a year. Solar is fine for path accents where the fixture sits in full sun all afternoon and nobody depends on it.
Plants That Forgive a First Year New Build Garden
Your soil is still recovering. Your watering habits are new. Pick plants that tolerate both.
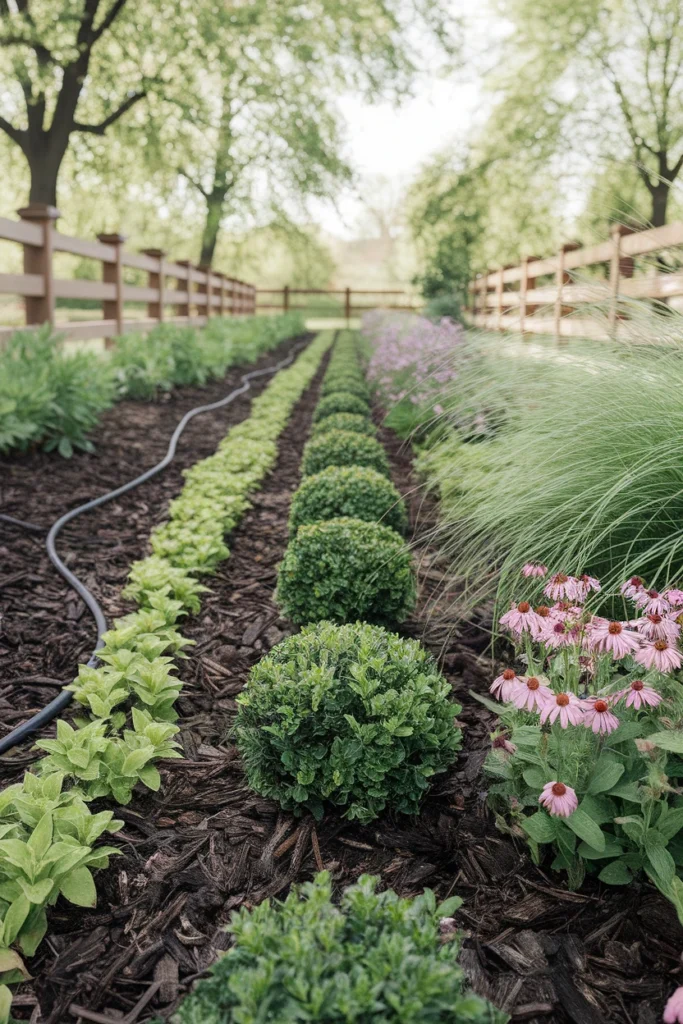
For structure that anchors the design year round, use boxwood, dwarf yaupon holly, inkberry, or compact Rhododendron in acidic soils. Three to five of one variety, repeated, reads as designed. One of everything reads as a garden center receipt.
For movement and toughness, ornamental grasses are the workhorse. Little bluestem, switchgrass ‘Shenandoah’, and Karl Foerster feather reed grass all handle poor soil, sit happily in Zones 4 to 9, and ask for almost nothing.
For color that survives neglect, plant coneflower, black-eyed Susan, catmint, Russian sage, yarrow, and daylilies. These are the plants that will still be alive when your first summer gets away from you, and mine did.
For fast vertical interest while shrubs fill in, run clematis or climbing hydrangea up the privacy screen. Or set a pair of Bloem containers (usually $15 to $30 each) flanking the patio steps, filled with Bonnie Plants herbs you will actually use.
One planting rule that saves more plants than any product: water deeply twice a week, not lightly every day. Shallow daily water keeps roots in the top two inches, exactly where new build soil dries hardest and heats fastest.
What to Skip in Year One (The Money Traps)
Some of the best new build garden ideas are the ones you postpone. Three purchases eat first-year budgets and give almost nothing back in the first twelve months.
Trap one: full sod across the whole yard. Covered above. You will pave or plant part of it within two years, and sod laid on uncorrected clay often needs redoing anyway. Sod the part you will actually walk on.
Trap two: mature specimen trees. A fifteen gallon tree at $250 to $400 sounds like a shortcut past the maturity gap. It usually is not. Larger root balls lose a higher percentage of their roots at transplant and often sit still for two or three years while a five gallon tree planted the same day catches up and passes it. Buy the smaller tree. Spend the difference on soil.
Trap three: a full irrigation system before the layout is final. Zones get trenched, beds get moved, and now you have sprinkler heads spraying a patio. Run a $50 to $90 drip line and a hose timer for the first two seasons. Install the permanent system once the bones stop moving.
Also worth resisting: filling every bed the first spring. Leave gaps. Perennials get bigger, and gardens that look slightly sparse in year one usually look right in year three, while gardens that look perfect in year one look crowded and need dividing by year two.
FAQ
Do new build gardens come with topsoil?
Usually only a thin layer, and often less than the sales office implied. Many US builders spread two to four inches of screened fill over compacted subgrade, which looks fine until you push a screwdriver into it. Check depth in three spots before you plan anything. If you hit resistance under four inches, treat the yard as compacted subsoil and plan to amend or build up.
How long does it take for a new build garden to establish?
Roughly three growing seasons for it to look intentional, and about five before shrubs and screening read as mature. Year one is soil, structure, and one hard surface. Year two is when planting starts to knit. Year three is when people stop being able to tell it was ever bare dirt.
What do I do about the terrible soil in my new build garden?
Break the compaction first, then add organic matter across the whole area rather than in individual holes. Two to three inches of compost forked into the top eight inches does more than any bagged product poured on the surface. For vegetables, skip the fight entirely and build raised beds.
How do I get privacy in a new build garden without spending a fortune?
Solve sightlines, not the whole perimeter. Stand where you actually sit, note the two or three spots that feel exposed, and screen only those. One well-placed cedar or composite panel plus a few columnar evergreens usually costs under $400 and beats a full-perimeter hedge that takes eight years.
What is the cheapest way to landscape a new build garden?
The cheapest new build garden ideas all share one habit: bulk materials and small plants. Buy compost and mulch by the cubic yard instead of the bag, buy shrubs in one to three gallon sizes instead of seven, and do the hardscape base yourself. A defined patio, one mulched border, and repeated inexpensive plants will always look better than scattered expensive ones.
Can I put a patio right outside my back door on a new build?
Usually yes, though check two things first. Confirm your grade still slopes away from the foundation after paving, and check your local permit rules and any HOA covenants, since some jurisdictions regulate impervious surface coverage and setbacks. This is general information, so confirm anything structural, electrical, or permit-related with a qualified local professional before you build.
Should I put artificial grass in a new build garden?
It solves the mud and the mowing, and it holds up well in small side yards or dog runs. It also runs $8 to $15 per square foot installed, gets noticeably hot in full southern sun, and does nothing for drainage on already compacted soil. For most new build yards, a smaller real lawn plus more planted beds ends up cheaper and cooler.
Where This Leaves You
The best new build garden ideas are not really ideas. They are an order of operations.
Test the soil. Map the sun. Build the bones. Screen the two spots that actually bother you. Then let the planting catch up over three seasons while you enjoy a patio you can already sit on.
Your yard is going to look better in year three than the neighbor who spent double in month two. That is not a consolation prize, that is just how dirt works.
Start with the screwdriver test this weekend and see what you are actually dealing with. Then pick your rung on the ladder, and let the rest wait.