Cinder Block Fire Pit: The Cheap Build That Actually Lasts
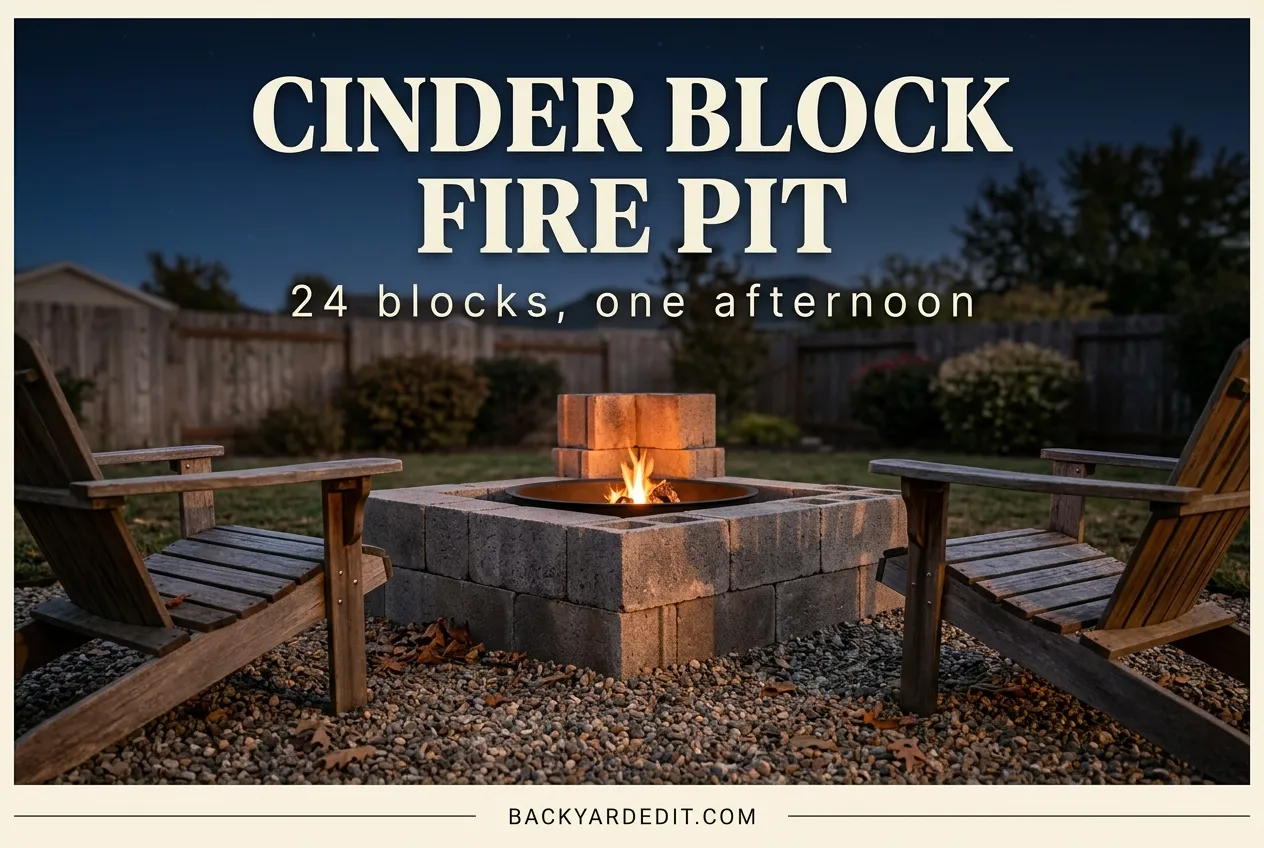
A cinder block fire pit is the cheapest real fire feature you can put in a backyard, and you can have one burning by dinner. Thirty blocks. One afternoon. Under sixty bucks at Home Depot. So why do half of them look like crumbling ruins by the second summer?
Because almost nobody tells you the one rule that separates a pit that lasts from a pit that spalls. We are going to fix that. You will get the honest block count, the liner rule, the real 2026 prices, and the math on what this thing actually costs per year.
Fair warning: the answer involves spending about twenty more dollars than the Pinterest version.
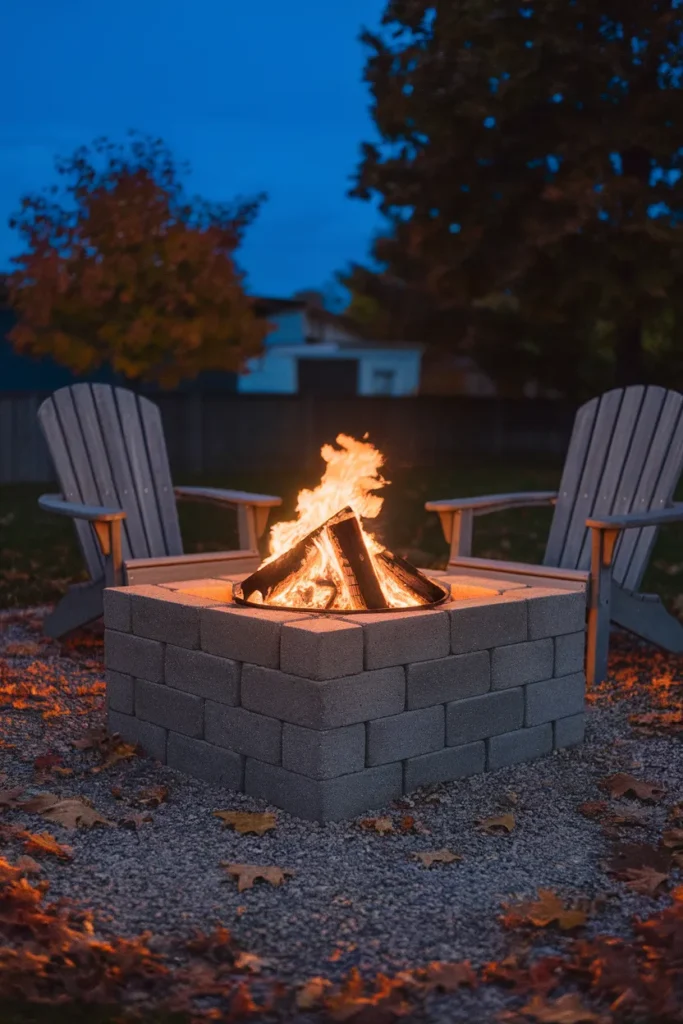
Our first one lasted eleven months. I stacked twenty-four blocks in a square on bare grass in October, we burned oak in it every weekend through a Zone 6 winter, and by the following September four of the inner blocks had shed their faces in flat gray sheets. That is spalling. It is not dangerous the way a movie explosion is dangerous, but it is ugly, and it is entirely preventable.
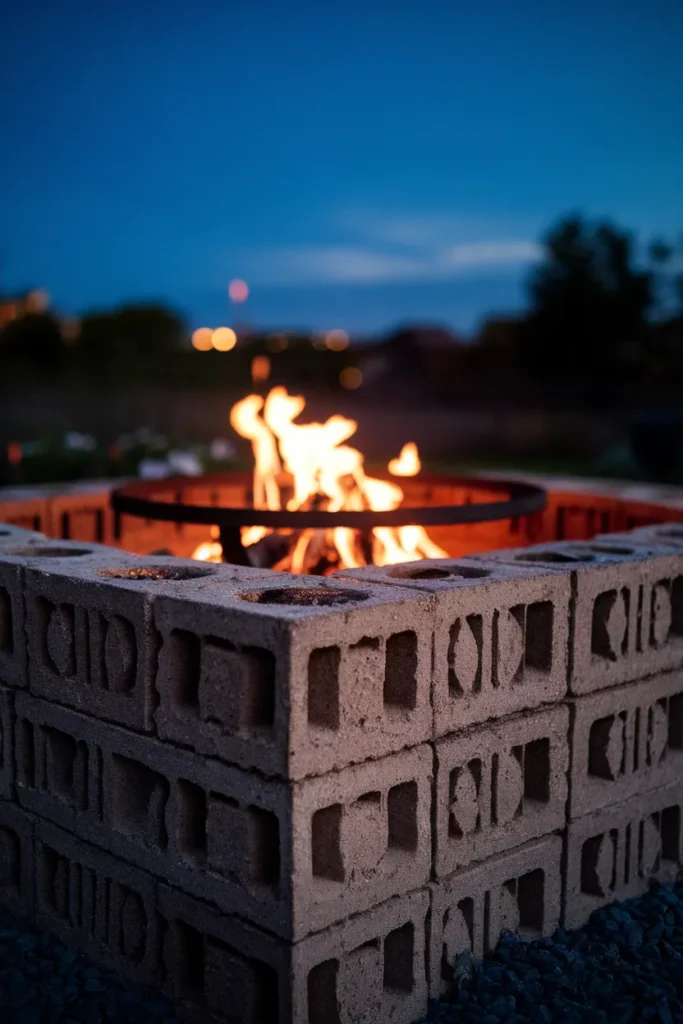
What a cinder block fire pit really costs
The standard 8 by 8 by 16 inch cored block runs about $1.35 to $1.40 at both Home Depot and Lowe’s as of mid-2026. Cap blocks, the flat 16 by 8 by 4 pieces you set on top for a finished ledge, run closer to $1.55. Twenty blocks plus ten caps lands you around $43 before tax.
Add a bag of paver base gravel and you are near $55. Add the steel ring I am about to argue for and you are near $95.
Still cheaper than every ready-made pit on the shelf, which start around $150 and climb fast.
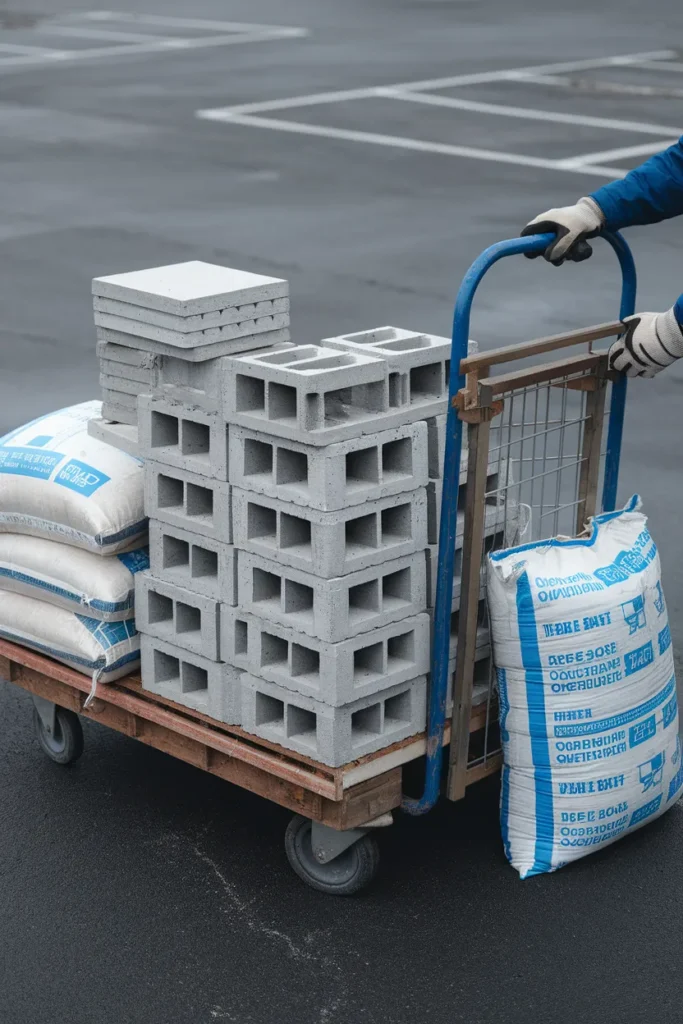
Free blocks are everywhere if you are patient. Check Facebook Marketplace and the free section on Craigslist in spring, when people tear out old raised beds. Just inspect them. A block that has already lived through ten winters half-buried in mud is a block that is holding water, and water is the whole problem.
Fire resistant is not the same as fire rated
Here is the distinction that every listicle skips.
Concrete block is fire resistant. It will not catch fire. It is not fire rated, which is a tested performance standard for sustained direct-flame exposure, and that is what a fire pit actually delivers.
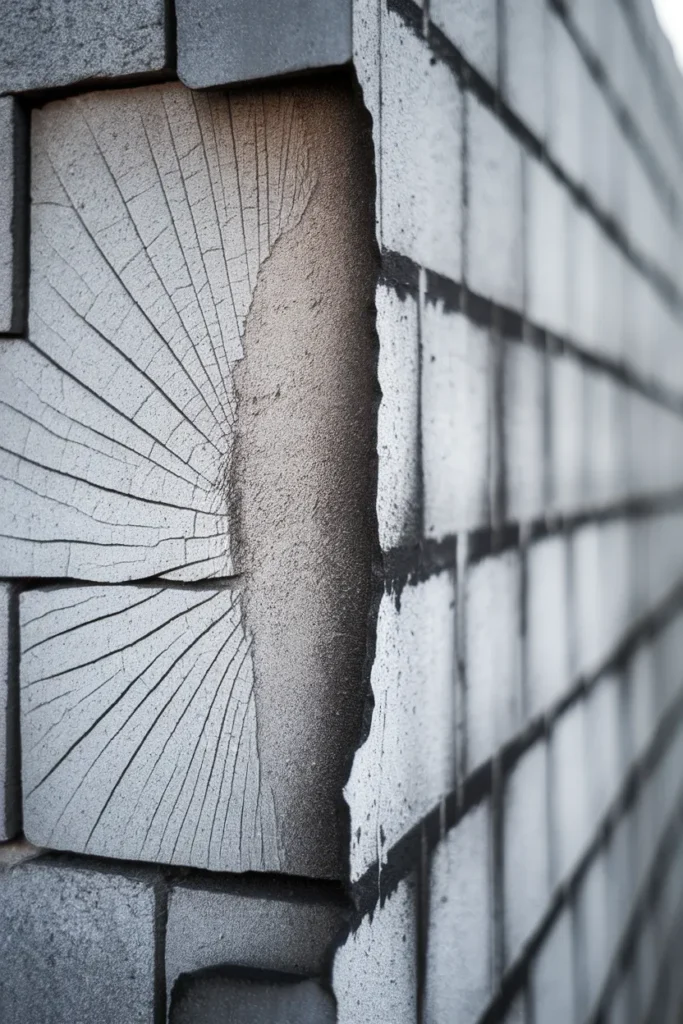
The failure mechanism is simple. Concrete block is porous and it holds moisture. Heat it fast and that trapped water flashes to steam with nowhere to go, so the face of the block pops off in sheets. Honestly, the dramatic “will it explode” framing you see everywhere oversells it. What you get is a muffled pop and a cracked block, not shrapnel.
But repeat that fifty times over two seasons and your walls are gone.
Texas A&M’s meat science program documented exactly this on a cinder block pit built for university barbecue demonstrations. Their base blocks cracked under repeated fire. They kept using the pit anyway, and noted that fire brick inside would have solved it.
Two things reduce the damage a lot, and both cost almost nothing.
Fill the cored holes with pea gravel or crushed stone instead of leaving them hollow. Dry-stack rather than mortar, so a cracked block is a two-minute swap instead of a demolition project. If you do want them bonded because small kids will be leaning on the walls, Quikrete Fireplace Repair Mortar handles heat better than a general landscape adhesive like Liquid Nails Fuze*It.
The Sacrificial Ring Rule
This is the framework I wish someone had handed me before that first October build. It is one sentence.
Never let flame touch a block you are not willing to replace. Put something cheap and replaceable between the fire and the structure, and the structure stops being consumable.
In practice that means one of three liners, in ascending order of cost and lifespan:
| Liner | Rough cost | Lifespan | Best for |
|---|---|---|---|
| None (bare block) | $0 | 1 to 2 seasons | Renters, temporary pits, occasional use |
| Fire brick lining the inner face | $35 to $60 | 5 plus years | Square pits, permanent installs |
| Steel fire ring insert | $40 to $90 | 8 plus years | Round or square pits, easiest install |
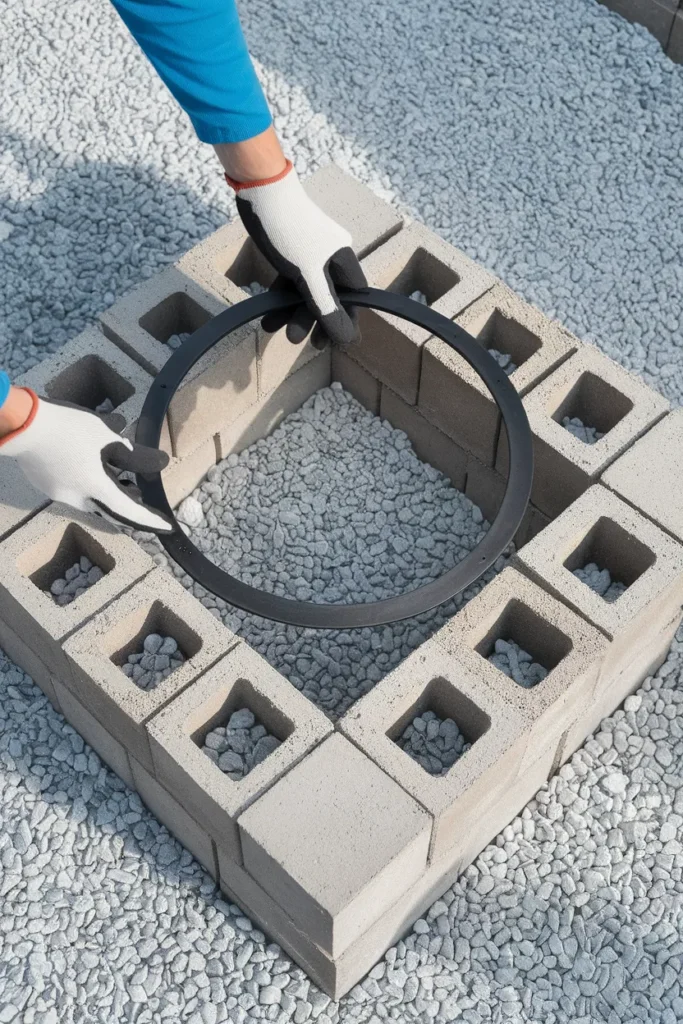
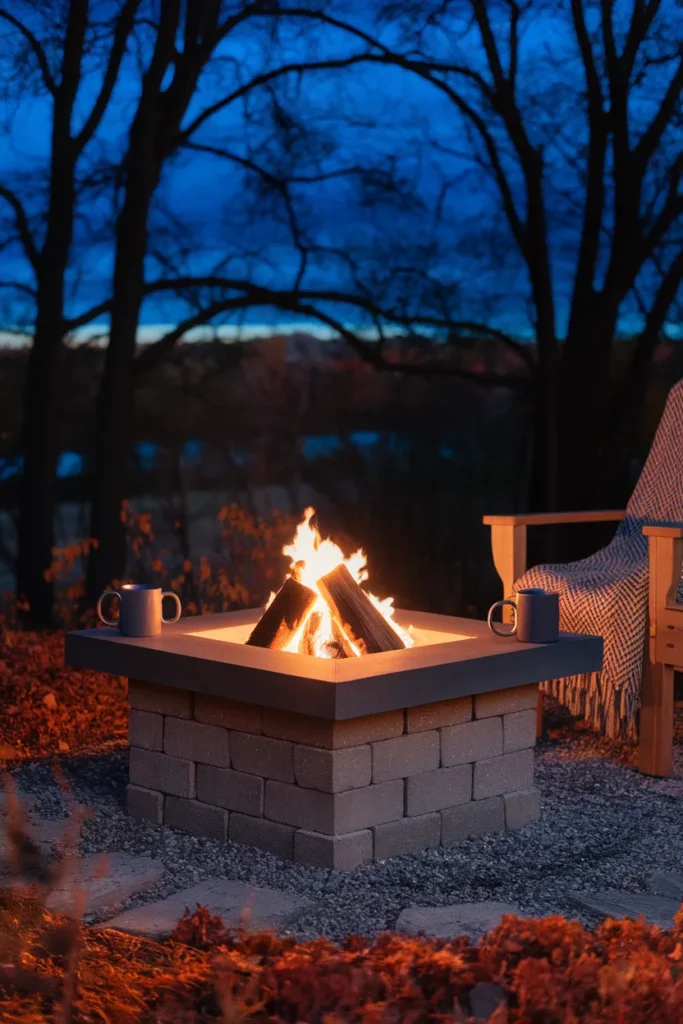
The steel ring is the lazy answer and it is the one I use now. A Sunnydaze or generic 36-inch galvanized ring drops straight in, takes the flame, glows, warps a little over the years, and gets replaced for under a hundred dollars while your blocks stay pristine. Tractor Supply carries them seasonally.
How many cinder blocks you need
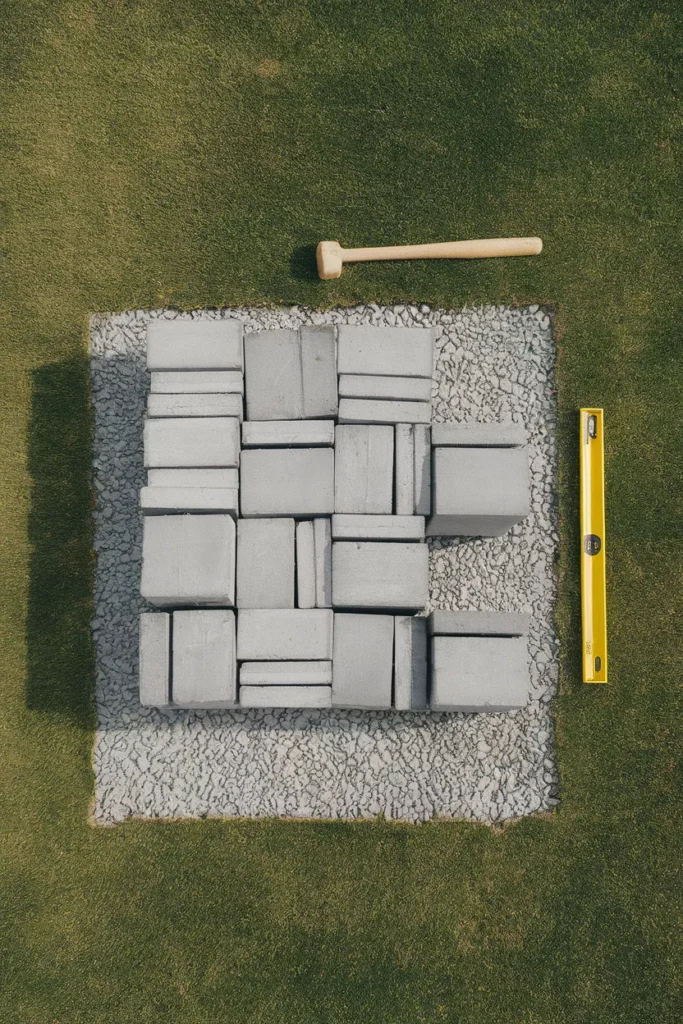
Block math is friendlier than brick math because the blocks are big. A standard block gives you 16 inches of run and 8 inches of height.
- Small, 2.5 feet square, two courses: 16 blocks plus 8 caps. Seats three comfortably.
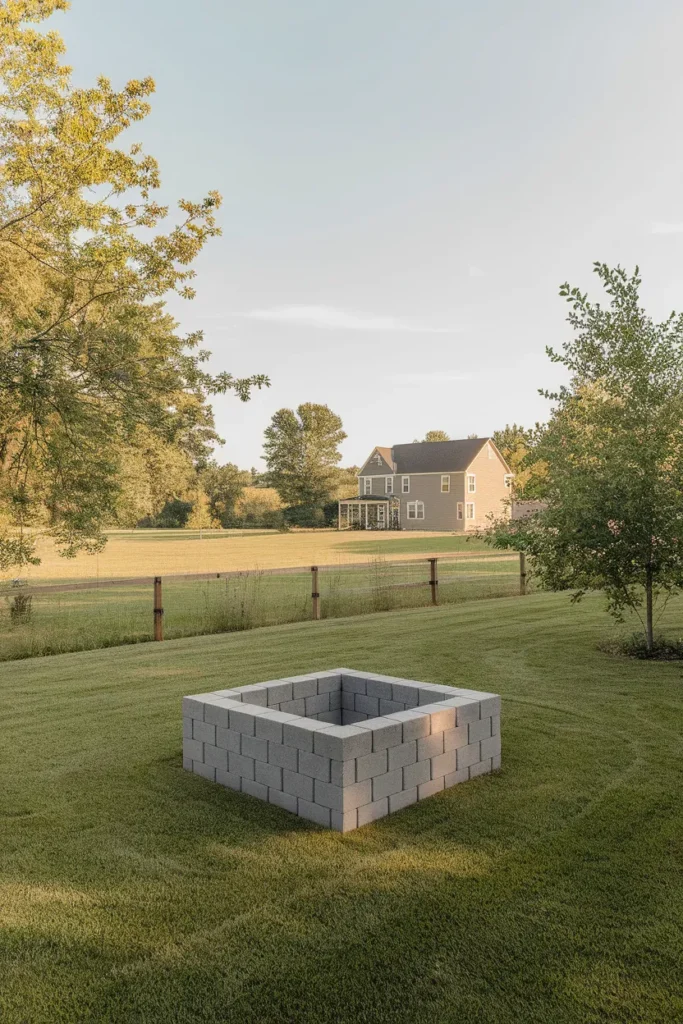
- Standard, 3 feet square, two courses: 24 blocks plus 10 caps. Seats four to five. This is the sweet spot.
- Large, 4 feet square, two courses: 28 to 32 blocks plus 12 caps. Seats six, and honestly starts throwing more heat than most people want to sit near.
- Round, 4 foot inner diameter: roughly 10 blocks per course, so 20 for two courses. The gaps between blocks on a curve are a feature, not a flaw, since they feed air to the fire.
Order ten percent extra. You will crack one, and a second trip costs more in gas than the spares cost outright.
Building it in one afternoon
Give yourself three hours. Two if you have help carrying, because thirty blocks weigh close to a thousand pounds in total and your back will have opinions.
Step 1: Mark and dig
Spray a square or circle with marking paint. Cut the sod out four to six inches deep across the whole footprint, not just the wall line. You want the fire sitting below grade a little.
Step 2: Build the base
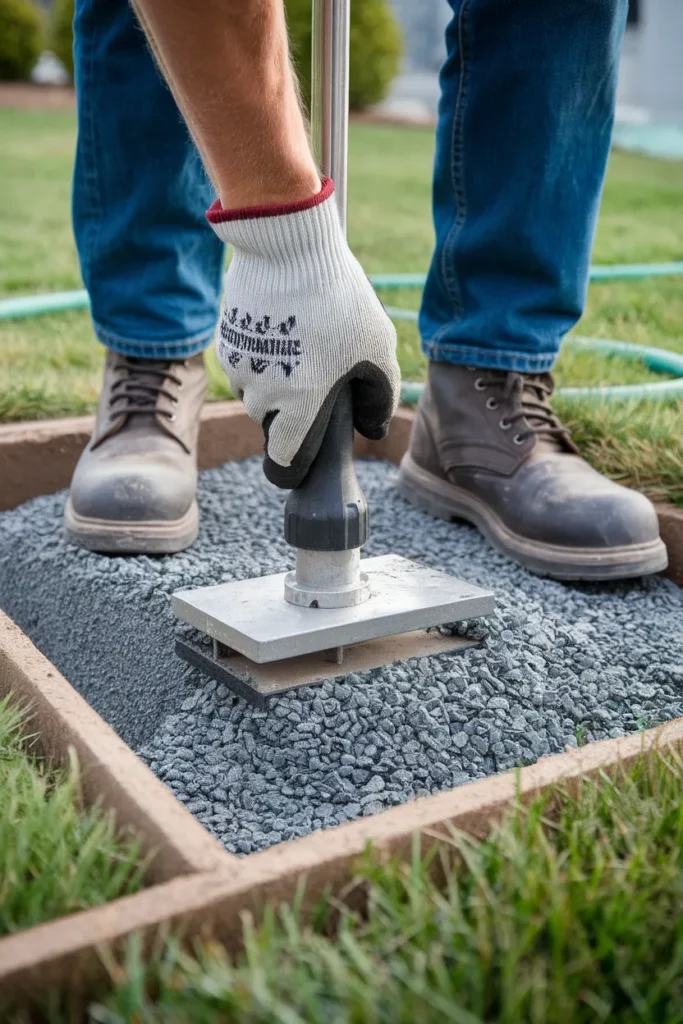
Pour four to five inches of crushed paver base into the excavation, wet it with a hose, and compact it with a hand tamper until it stops moving under your weight. Check level in four directions. This step is boring and it is the only reason your walls stay square through a freeze-thaw winter. The same principle applies to a compacted gravel and paver base under any hardscape.
Step 3: Lay the first course
Set blocks with the cored holes facing up and the long faces touching. Level each one as you go with a rubber mallet and a handful of leveling sand under the low corners. Do not rush this. Every error here doubles on the course above.
Step 4: Stagger the second course
Offset the joints so no vertical seam runs through both courses. That single overlap is what makes a dry-stacked wall behave like a wall instead of a tower of dominoes.
Step 5: Fill, line, cap
Pour pea gravel into the cored holes. Drop your steel ring in, or lay fire brick against the inner face. Set cap blocks on top for a flat ledge people can put a drink on, which they will do whether you intend it or not.
Step 6: Cure before you burn
If you used any mortar, let it cure a full 48 hours. Then run one small starter fire before a big one so any residual moisture leaves the blocks slowly. Skip that and you will hear the pops on night one.
Where to put it, and whether you need a permit
The U.S. Fire Administration says to keep a fire pit at least 10 feet from your house or anything that burns, and to use a metal spark screen over any wood fire. Ten feet is the floor, not the goal. We sit ours about twenty feet out with nothing overhead, because low branches are the risk people forget.
Permits vary wildly by city. Seattle, as one example, requires no permit for a recreational fire under three feet in diameter and two feet tall, but requires one above that and bans burning entirely during air quality alerts. Call your local fire department before you build. It is a five-minute phone call and it is the difference between a fire pit and a citation.
Check prevailing wind too. Ours sat directly upwind of the kitchen window for one full summer before we admitted the problem and moved it eight feet. Every dinner smelled like a campfire.
Five cinder block fire pit ideas that beat raw gray
Bare block is honest but it is grim. Cheap fixes, roughly in order of effort:
- Cap the top and call it seating. Two rows of caps overhanging by an inch reads as a designed ledge. Cheapest visual upgrade there is.
- Rust-Oleum high heat spray in matte black. One can, thirty minutes, and the pit reads as intentional instead of leftover.
- Turn the blocks sideways for a vent pattern. Alternating a few cored faces outward gives you an air feed and a pattern at the same time.
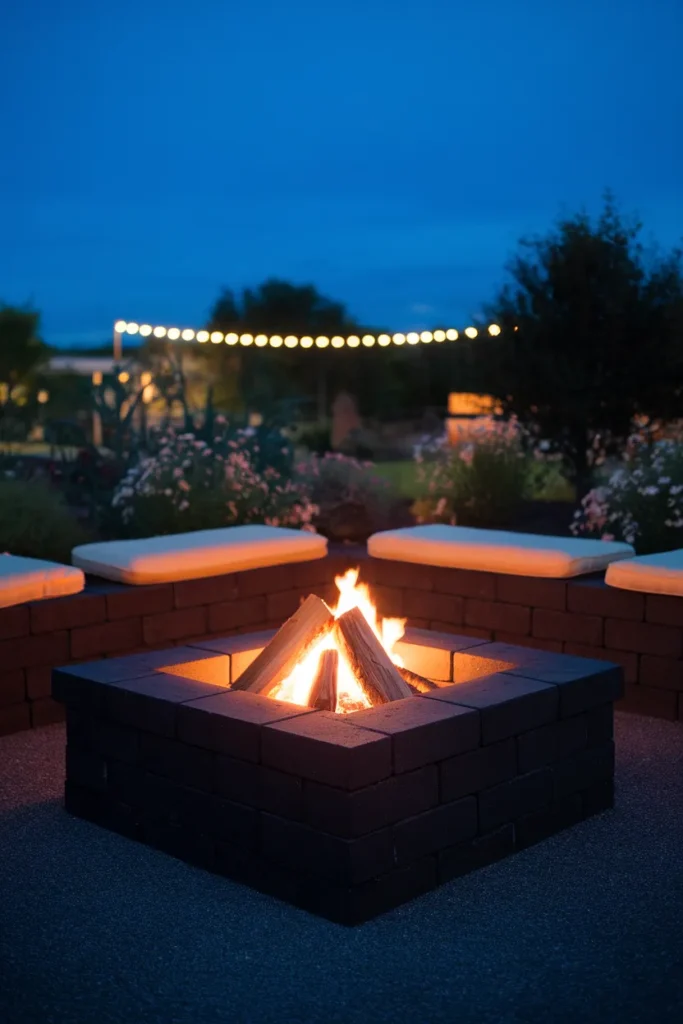
- Build a low block bench on two sides. Same material, cap it, add outdoor cushions. This is the single most-saved cinder block fire pit idea on Pinterest for a reason.
- Ring the whole thing in pea gravel. A three-foot gravel apron kills the mowing problem and makes the pit look sited rather than dropped.
Layout matters more than finish, though. Seat spacing and orientation do most of the work, and the same logic we used for how you arrange seats around the fire applies here even though the fire itself is very different.
The three-season block budget
Now the math nobody runs.
Bare blocks, used most weekends, need roughly a third of the inner course replaced each year. On a 24-block pit that is 8 blocks, so about $11 a year plus an afternoon of your Saturday.
With a steel ring, block replacement drops to near zero and the ring itself needs swapping around year eight. Call it $10 a year, no Saturday.
So the ring pays for itself in labor alone within two years, and after that it is free. That is the whole argument. A cinder block fire pit is genuinely cheap; it is only cheap and durable if you accept that something has to be sacrificial, and choose what that something is. If the budget math on this one appeals to you, the same thinking runs through other cheap backyard upgrades worth doing first.
Frequently asked questions
Is it safe to use cinder blocks for a fire pit? Yes, with two conditions. Use dry blocks, and keep flame off them with a steel ring or fire brick. Bare damp block exposed to direct flame will crack and shed its face over time, which is a durability problem more than an injury risk.
Will cinder blocks explode in a fire pit? Not in the way people picture. Trapped moisture flashing to steam causes a muffled pop and a spalled face, not flying debris. Blocks that have been sitting in wet ground are the ones most likely to do it, so let salvaged blocks dry out for a week before you burn.
Do you need a liner for a cinder block fire pit? Not strictly, but a liner is what turns a one-season pit into an eight-season pit. A steel fire ring is the easiest option and runs $40 to $90.
How many cinder blocks do I need for a fire pit? About 24 blocks and 10 caps for a standard three-foot square, two courses high. Round pits with a four-foot inner diameter take roughly 10 blocks per course.
Is a permit required to build a cinder block fire pit? It depends entirely on your city. Many places allow recreational fires under three feet wide without a permit and require one above that. Call your local fire department, and check whether seasonal burn bans apply.
Should I mortar the blocks or dry-stack them? Dry-stack. The blocks are heavy enough to stay put, and a cracked block becomes a two-minute swap rather than a demolition job. Mortar only if children will be climbing on the walls.
Can you cook over a cinder block fire pit? Yes. Set expanded metal or a salvaged grill grate across the caps. Keep the fire small and do not let burning wood lean against the block walls.
One last thing before you start stacking
Build the smaller pit. Every person I know who went big regrets it, because a four-foot fire throws more heat than anyone wants to sit inside of, and it eats firewood at a rate that stops being fun by August.
Three feet square, twenty-four blocks, a steel ring, and a gravel apron. Sixty dollars if you scavenge the blocks, ninety-five if you buy everything new, and one afternoon.
Which size are you building? Save this one to your backyard board so you have the block count with you at the store, because standing in the concrete aisle doing math on your phone is a specific kind of misery.