Cottage Garden Border Ideas That Look Effortless (Front Yard and Back)
A good cottage garden border looks like it happened by accident. It didn’t. Behind every tumble of roses, salvia, and lady’s mantle is a little bit of planning, and honestly, not much money. If you want cottage garden border ideas that work in a real yard (the kind with a mailbox, a fence, and a dog), you’re in the right spot. We’ll keep it simple: what to plant, how to layer it, how to edge it, and how to fake ten years of “established” in one weekend.
Here’s the promise. By the end, you’ll have a plant-by-height plan you can screenshot and a shopping list you can hand to the folks at Lowe’s.
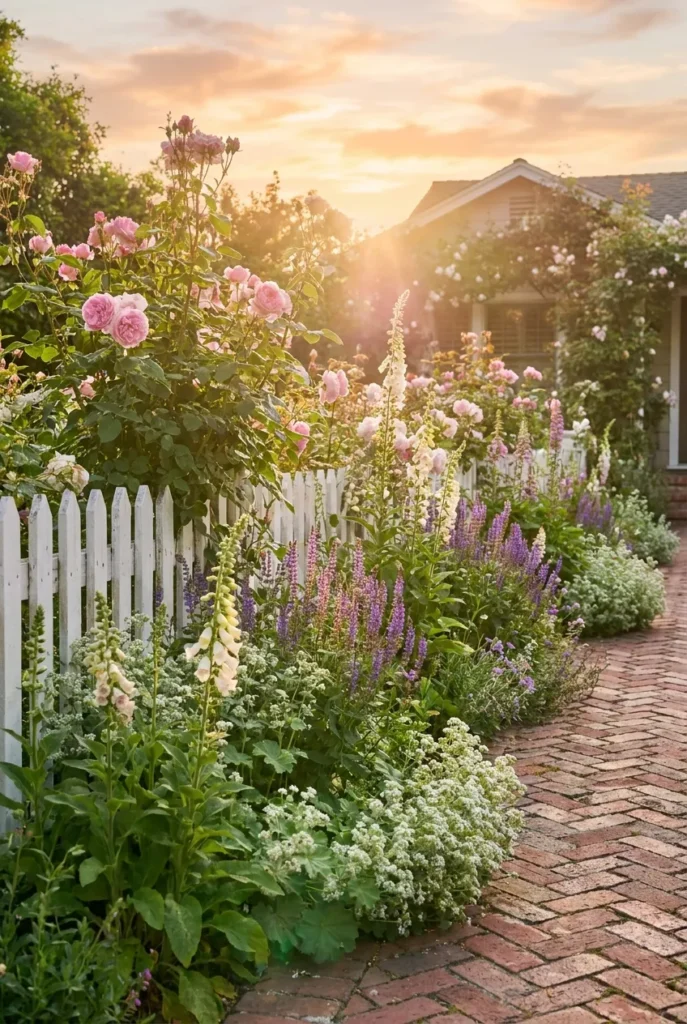
What Makes a Border “Cottage” and Not Just a Flower Bed
The difference is density and looseness. A cottage border is packed, layered, and a little wild on purpose. Plants touch. Colors mingle. Straight soldier rows are the enemy here.
Three things do the heavy lifting: a soft curved edge instead of a hard rectangle, plants repeated at odd intervals so your eye travels, and at least one climber (a rose, a clematis) adding height at the back. Nail those and even a beginner bed reads as cottage.
One quiet trick the pretty photos won’t tell you: cover the soil completely. Bare dirt between plants is what makes a border look new and thin. Cottage gardens hide the ground.
Real experience, e.g. “My first border looked bare and awkward until I tucked in a few flats of Bonnie Plants alyssum from Home Depot for around $4 each to knit the gaps together.
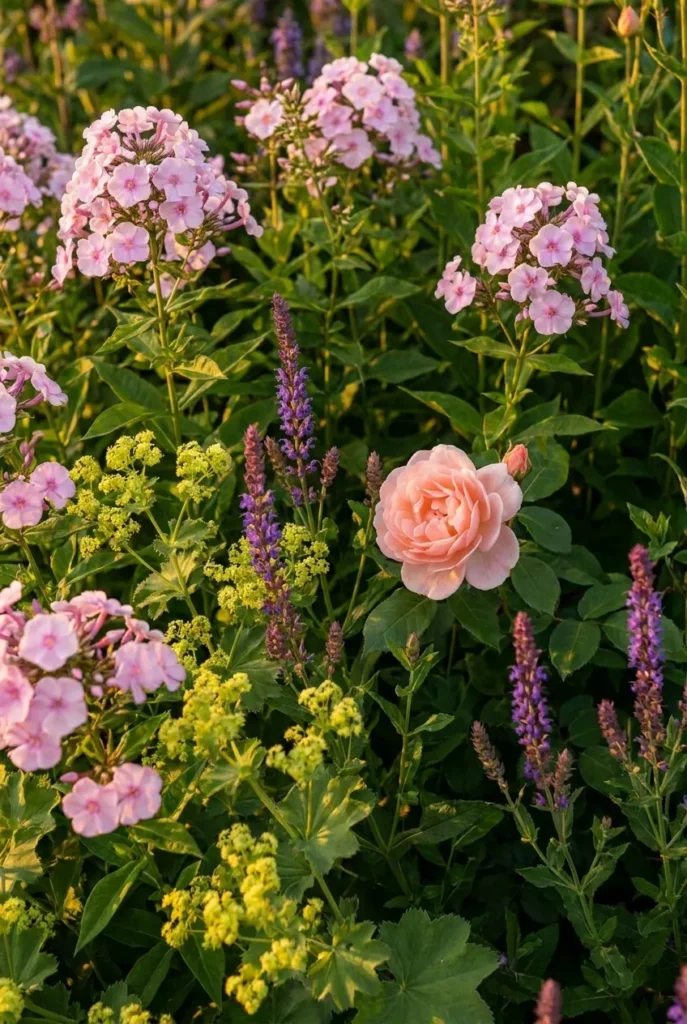
The 3-Layer Front-to-Back Rule (Our Copy-This Framework)
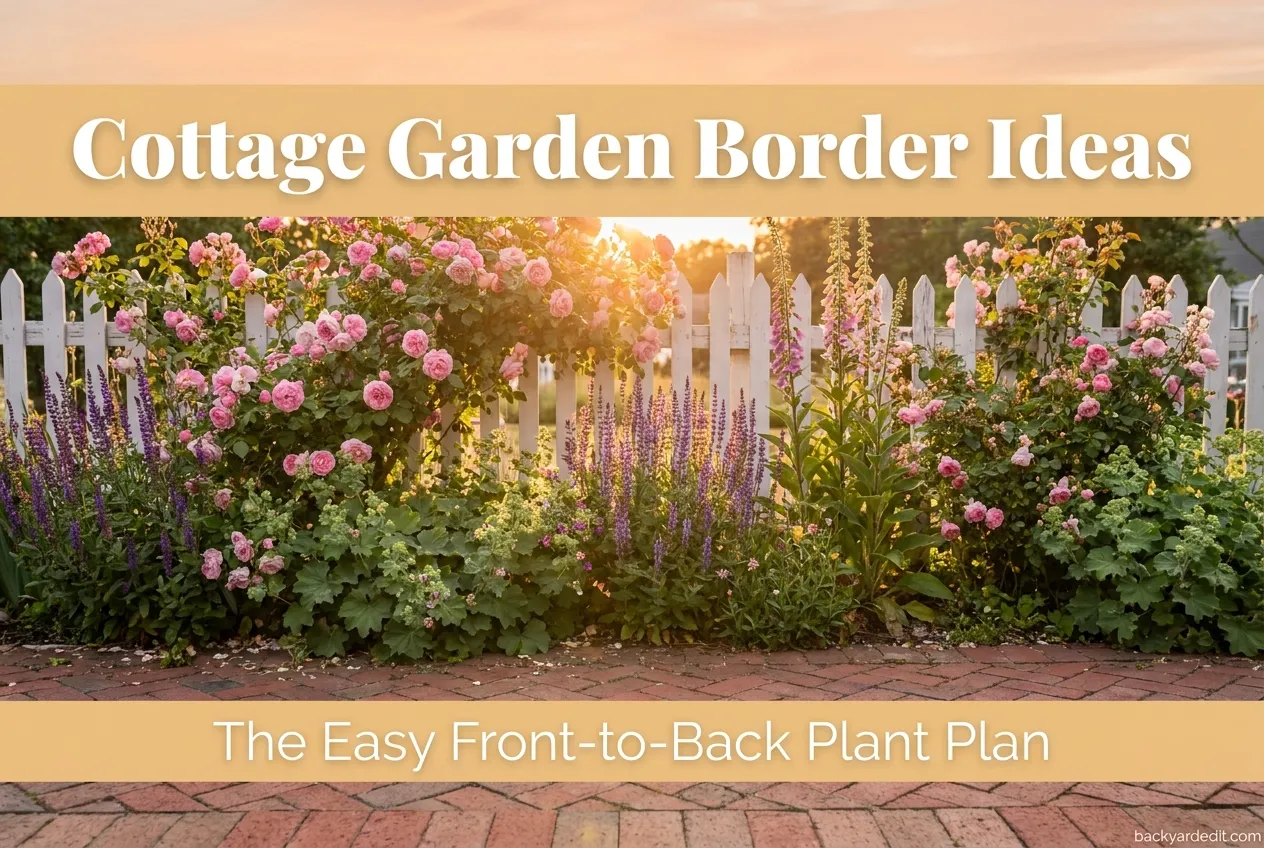
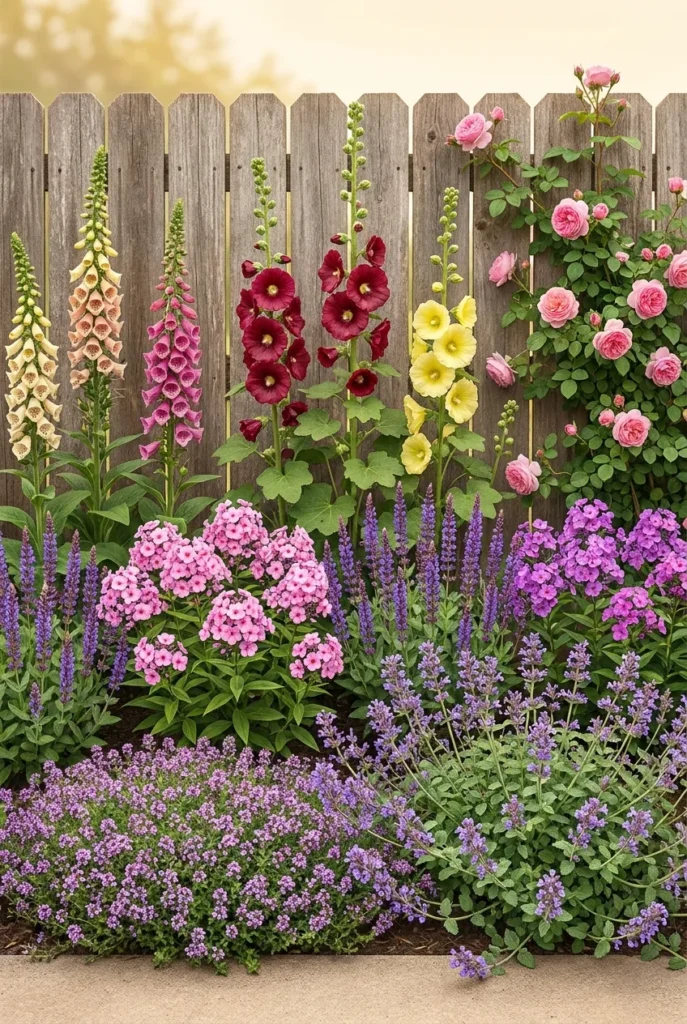
Here’s our simple framework, and it’s the one thing that fixes 90% of sad borders. We call it the 3-Layer Front-to-Back Rule. Every cottage border gets three depth bands: a low front edge (under 12 inches), a mid mound (12 to 30 inches), and a tall back (30 inches and up). Plant tallest at the back, shortest at the front, and let the middle spill.
For a border that reads full, aim for at least 24 to 36 inches of planting depth. Anything shallower than about 18 inches gets cramped fast (carrots aside, most cottage perennials just want elbow room).
The 3-Layer cheat sheet:
- Front edge, under 12 in: lady’s mantle, catmint, dianthus, sweet alyssum, creeping thyme.
- Mid mound, 12 to 30 in: salvia, phlox, yarrow, coreopsis, shorter roses like ‘Drift’.
- Tall back, 30 in and up: foxglove, delphinium, hollyhock, climbing rose on the fence.
Repeat two or three of these in odd-numbered clumps (threes and fives) down the length. That repetition is what turns a plant collection into a designed border.
Front Yard Cottage Garden Border Ideas (Curb Appeal First)
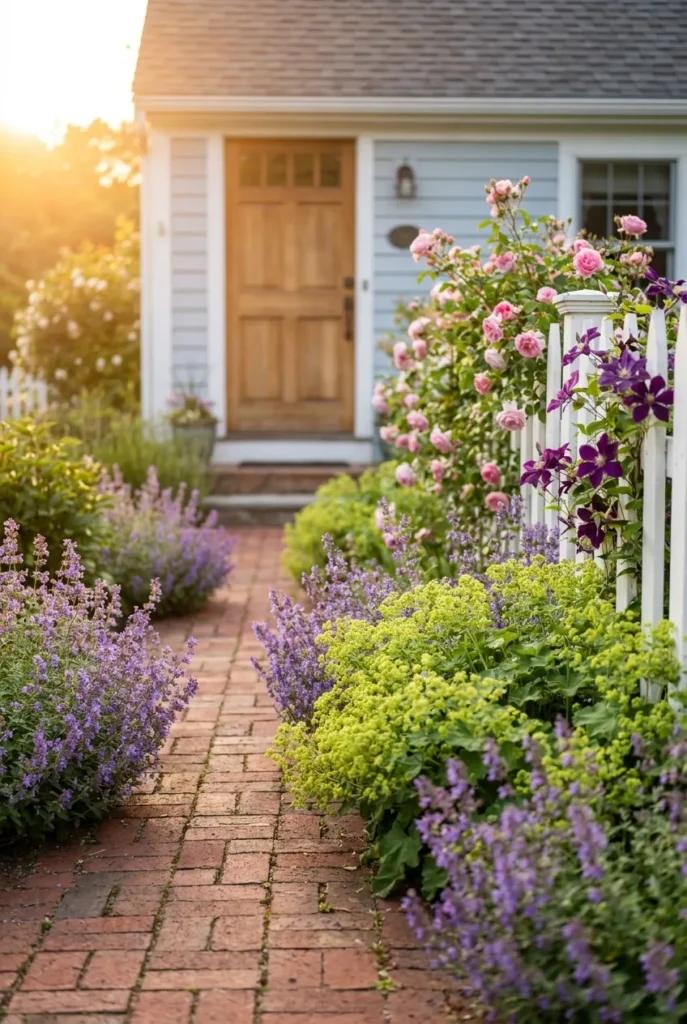
Your front border has a job the back one doesn’t: it greets people. So it leans a little tidier. Keep the front edge crisp, repeat a color down the walk, and frame the path so guests feel pulled toward the door.
A classic front move is the picket-fence border. Roses and clematis climb the fence, salvia and catmint pool at the base, and a ribbon of lady’s mantle softens the walkway edge. It’s the look most people picture when they say “cottage.”
Short on space out front? A narrow 18-inch strip along the walk still works if you stick to the 3-Layer Rule in miniature. For more curb-appeal structure around the whole yard, our front yard landscaping ideas pair nicely with a cottage border.
Real experience, e.g. “We ripped out a boring boxwood hedge along our front walk one spring and replaced it with catmint and ‘Knock Out’ roses; the catmint alone (three plants, roughly $12 each at Lowe’s) filled the whole strip by August.”
Back Yard Cottage Garden Border Ideas (Where You Actually Live)
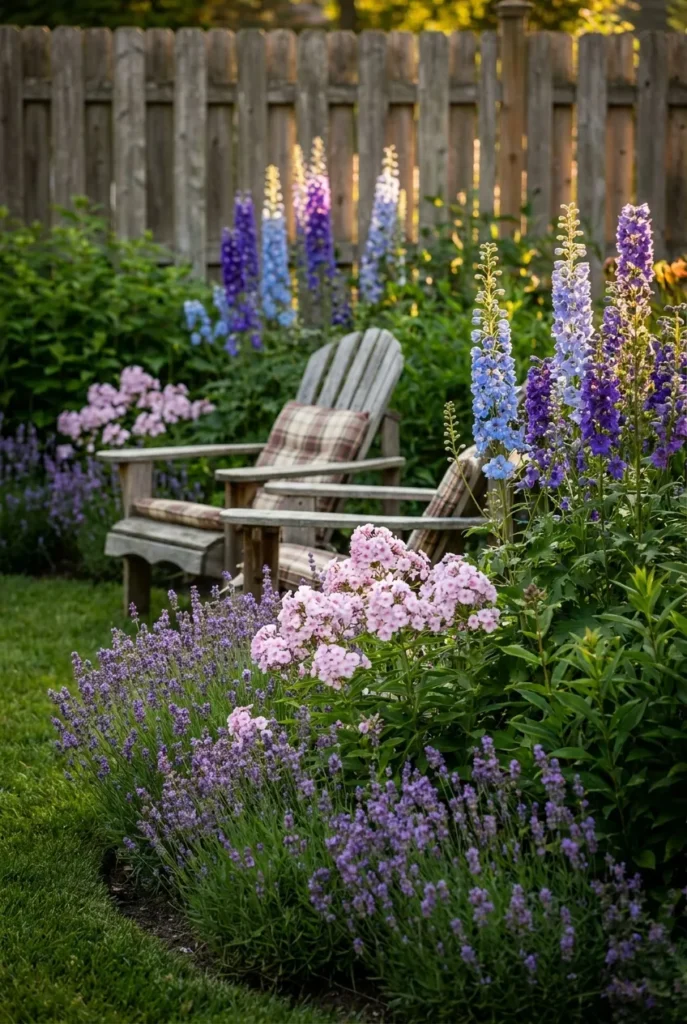
The back border gets to relax. This is where you can go fuller, wilder, and more fragrant, because it’s for you, not the neighbors. Curve the bed around a seating spot so you’re surrounded by bloom when you sit down.
Fragrance earns its keep back here. Lavender by the patio edge, a climbing rose near the door, and a clump of phlox that perfumes the evening. Plant the scented stuff where you brush past it.
Back borders also love a “borrowed” backdrop. Let the tall layer (delphinium, hollyhock) blur into the fence line so the border feels like it goes on forever. If you’re building raised structure into the mix, a galvanized bed can hold a tidy cottage border beautifully; here’s a galvanized raised garden bed that works for exactly this.
Cottage Garden Border Plants by USDA Zone
Cottage classics are forgiving, but zones still matter. Most of the staples thrive across Zones 5 to 9, which covers a huge slice of US gardens. Before you buy, check your USDA hardiness zone so you’re not babying a plant that hates your winters.
A quick, stable pairing guide (these preferences don’t change year to year):
- Zones 5 to 6 (colder): peony, delphinium, catmint, yarrow, Shasta daisy, hardy geranium.
- Zones 7 to 9 (warmer): salvia, lavender, phlox, coreopsis, ‘Drift’ roses, verbena.
- Everywhere, workhorses: lady’s mantle, black-eyed Susans, ornamental grasses.
Frost timing shapes when you plant, and it swings by year and micro-spot. As a rule, wait until after your last spring frost (often mid-April in Zone 5, earlier in Zone 8) to set out tender annuals, and confirm your local date against the USDA map or your county extension.
Real experience, e.g. “I garden in Zone 6b and lost a whole flat of tender salvia by planting the first warm week of April; now I hold off until the first week of May and everything sails through.”
Cottage Garden Border Edging Ideas (On Any Budget)
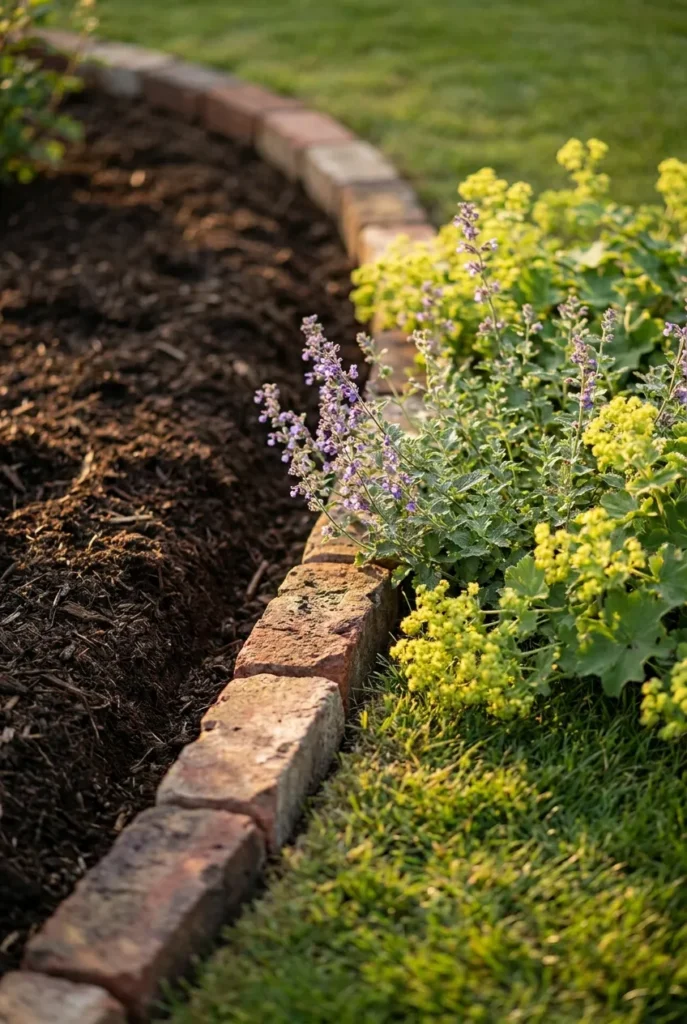
Edging is the frame around your painting. It’s also the cheapest way to make a messy border look intentional. A soft curved edge beats a hard rectangle every time for that cottage feel.
Budget tiers, roughly:
- Under $20: a clean spade-cut trench edge (free), or bricks laid on their side. Old reclaimed bricks give that gentle, weathered look for next to nothing.
- Around $30 to $45: flexible wood or willow roll edging (Home Depot and Walmart both carry versions in this range) .
- $150 and up: natural stone or cut-stone cobbles for a permanent curved edge .
The cheapest genuinely good option is a spade-cut edge plus a mulch line. Costs nothing, reads crisp, and it’s exactly what many high-end gardens use. Whatever you pick, curve it. Straight lines fight the cottage look.
Small and Narrow Cottage Border Ideas
Tiny space? Good news: cottage style actually loves a packed little strip. A narrow border reads lush because everything touches by default. The trick is choosing plants that stay in scale.
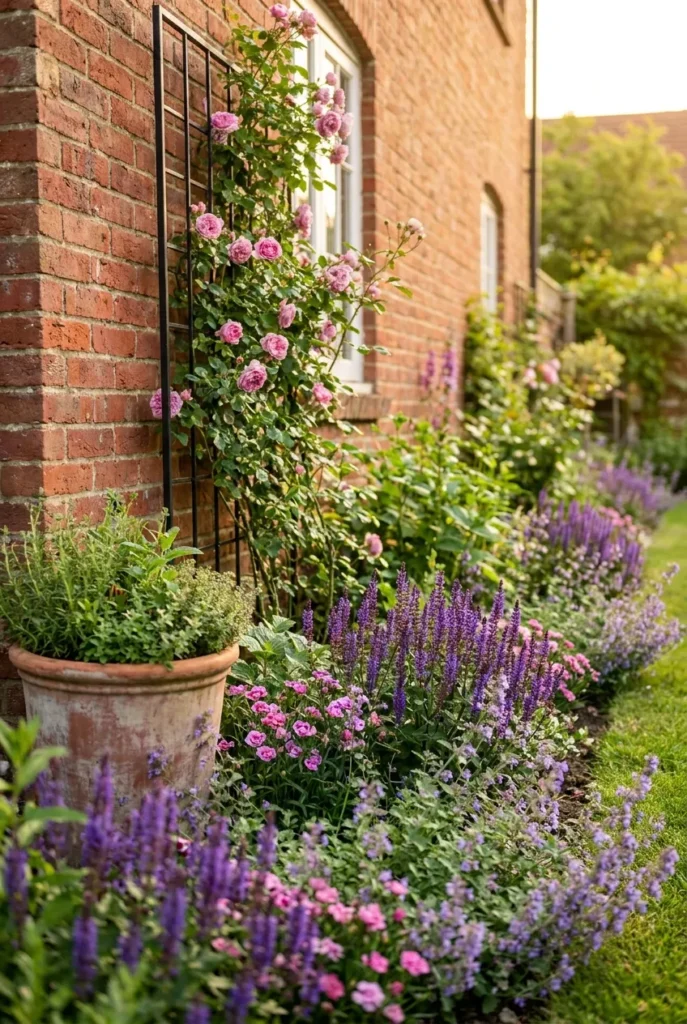
For a strip under 18 inches, skip the giant hollyhocks and lean on vertical instead of wide. A slim climber on a trellis gives you height without eating floor space, while catmint, dianthus, and compact salvia handle the ground. Pots tucked at the ends add fullness where the soil runs out.
Small front strips also benefit from one repeated color so the eye reads “designed,” not “cluttered.” Pick one hero (say, purple salvia) and echo it three times down the run.
How to Build a Cottage Border This Weekend
You really can rough this in over two days. Saturday is prep, Sunday is planting.
The weekend flow:
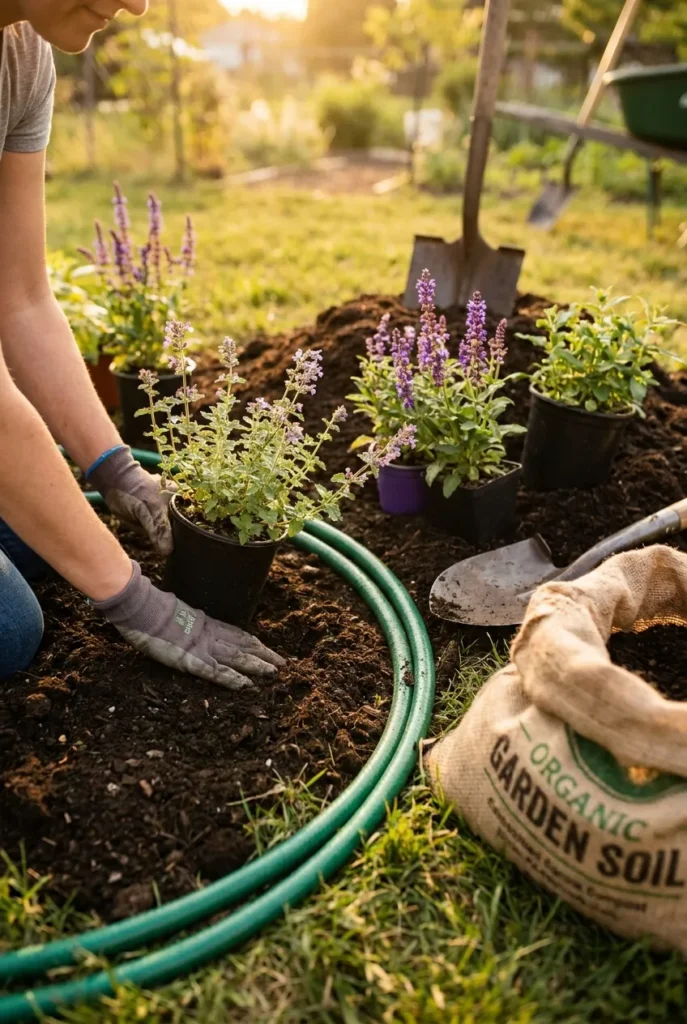
- Mark the curve. Lay a garden hose to shape a gentle curved edge, then cut it with a spade.
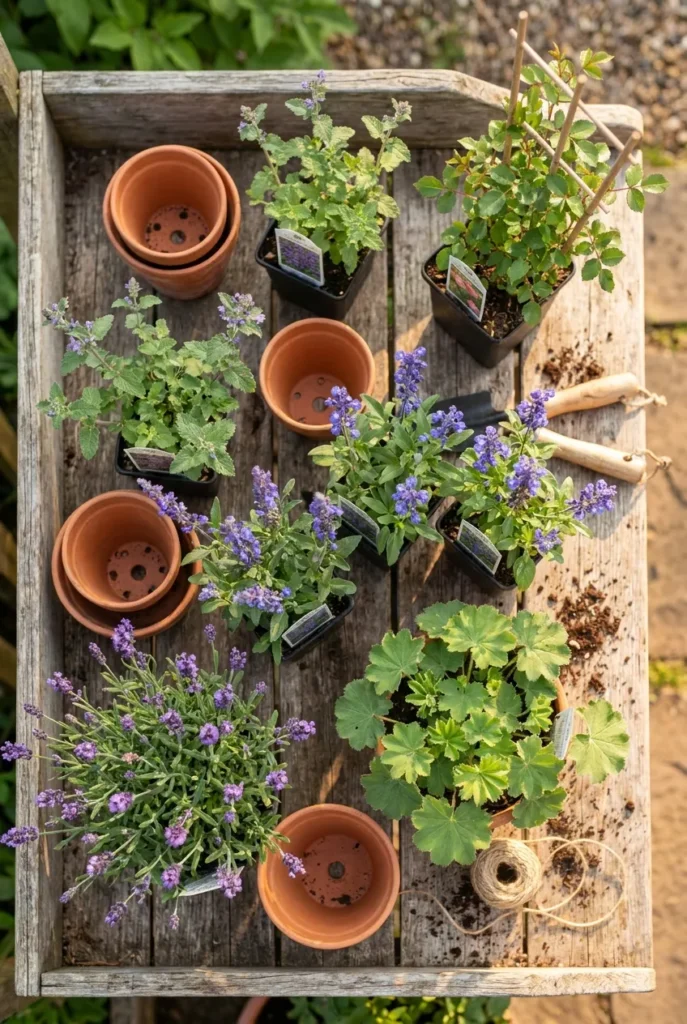
- Kill the grass and feed the soil. Smother with cardboard and top with a few inches of compost (Kellogg or Miracle-Gro garden soil both work).
- Set the tall layer. Place your back-of-border climbers and foxgloves first.
- Fill the mid and front. Drop in salvia, phlox, then edge with catmint and lady’s mantle, in odd clumps.
- Mulch and water deeply. Cover every inch of soil. Bare dirt is the tell.
Buy at least five specific staples to start: three catmint, three salvia, one climbing rose, a flat of lady’s mantle, and a bag of compost. That’s a real border for well under the cost of one restaurant dinner. For the wider makeover picture, our full cottage garden yard ideas guide covers the rest of the yard.
Keeping It Cottage Through the Seasons
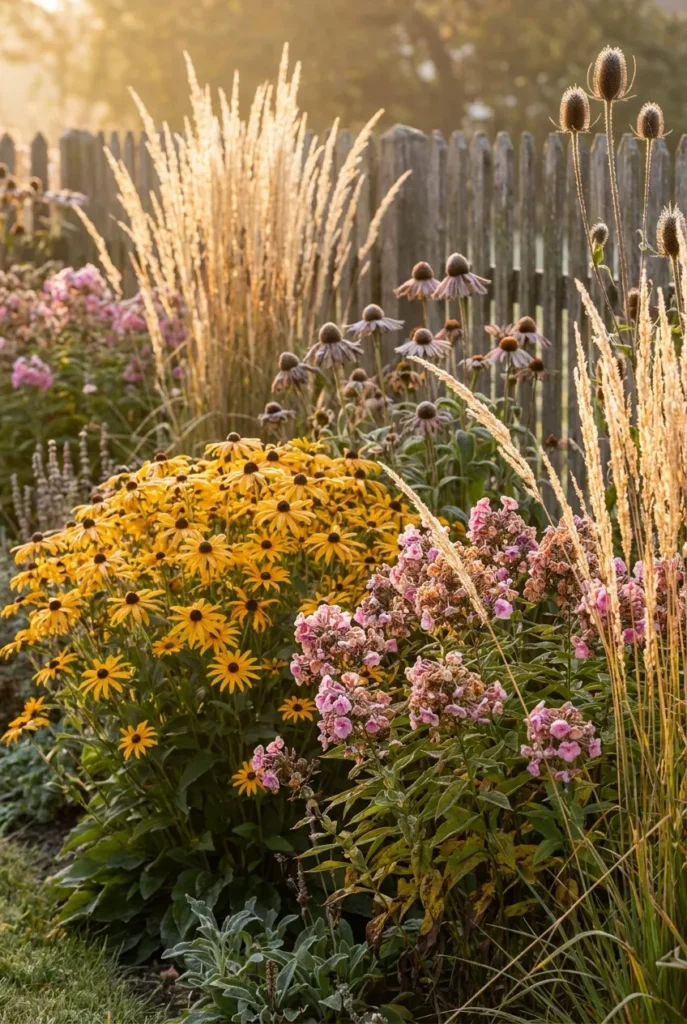
A cottage border shouldn’t fizzle after June. Stagger bloom times so something’s always going: peony and catmint in late spring, salvia and roses through summer, black-eyed Susans and grasses carrying you into fall.
Leave the ornamental grasses and seed heads standing into winter. They catch frost, feed the birds, and keep the border from looking bare in December (to be fair, they also mean less fall cleanup, which we won’t complain about).
Frequently Asked Questions
How do you plan a cottage garden border?
Start with the 3-Layer Front-to-Back Rule: tall plants at the back, mid mounds in the middle, low edgers up front. Curve the edge, repeat two or three plants in odd-numbered clumps, and cover every inch of soil so nothing looks new.
What’s the cheapest way to do garden borders?
A spade-cut trench edge is free and looks crisp, and reclaimed bricks cost almost nothing. Fill with self-seeding, easy-splitting perennials like catmint and lady’s mantle, then divide them each year to expand the border for $0.
How do you design a cottage-style garden?
Go for informal and packed, not neat and spaced. Use curved beds, mixed heights, repeated colors, at least one climber, and a soft edge. Straight rows and bare soil are the two things that break the look.
What is the best plant for a cottage garden border?
There isn’t one winner, but catmint is the closest thing to a can’t-fail pick: it’s tough across Zones 5 to 9, blooms for months, and softens any edge. Pair it with salvia and a rose and you’ve got an instant cottage trio.
What are good low-maintenance cottage border plants?
Yarrow, black-eyed Susans, catmint, ornamental grasses, and salvia. They’re drought-tolerant once established, mostly deer-resistant, and happy to be ignored, which is the real secret to a border that looks lush without babying.
Can I make a cottage border in a small or narrow space?
Absolutely. Narrow strips read lush because plants touch by default. Use a vertical climber for height, pick compact varieties, repeat one hero color, and tuck pots at the ends where the soil runs out.
Your Border Is One Weekend Away
Cottage garden border ideas aren’t about a big budget or a green thumb you were born with. They’re about layering, a curved edge, and refusing to let bare soil show. Pick your three staples, mark that curve, and let the plants do the romantic part.
Save this plan, grab your catmint, and tell us in a pin or comment which layer you’re starting with. We’d love to see your border take shape.