

Self-Watering Container Garden DIY (The $12 Wicking Pot That Waters Itself)
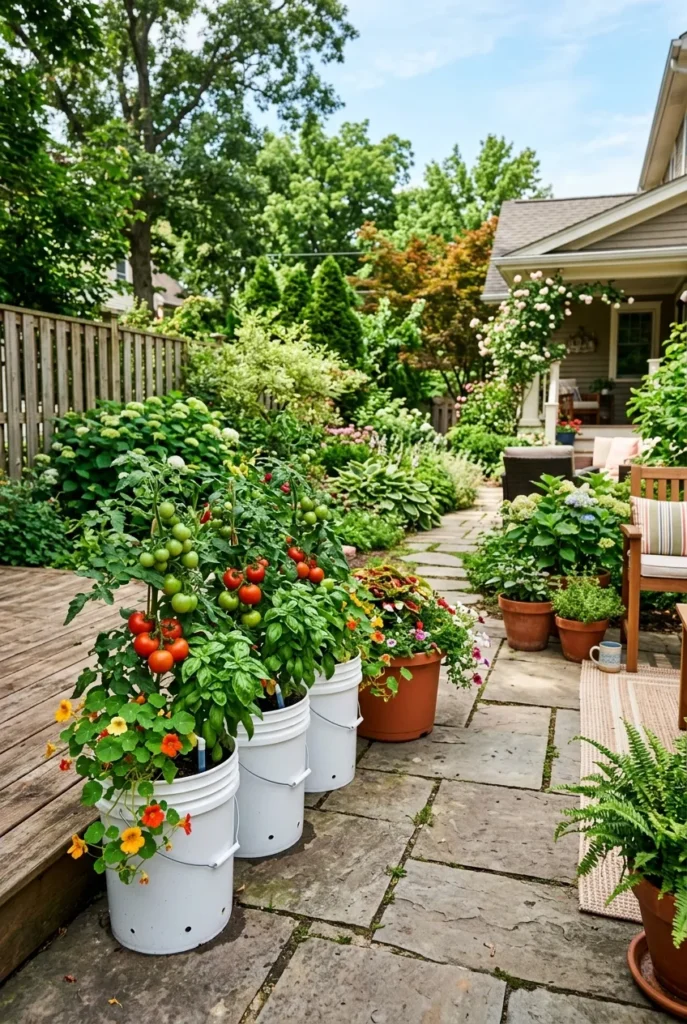
A self-watering container garden is the closest thing balcony and patio growers have to a babysitter. You fill a reservoir at the bottom, the plant drinks from it through a wick, and you stop running outside with a watering can at 2 p.m. in July. My first summer with patio tomatoes ended in marble-sized fruit and bone-dry soil by lunchtime.
The fix was not more watering. It was less, done smarter, with a reservoir doing the work while I was at my desk. If you have killed a plant by underwatering, this is your method, and it starts with a bucket and about $12 in parts. We break the whole thing down in our container vegetable garden for beginners guide, but here we go deeper on the self-watering part.
How a Self-Watering Container Garden Actually Works
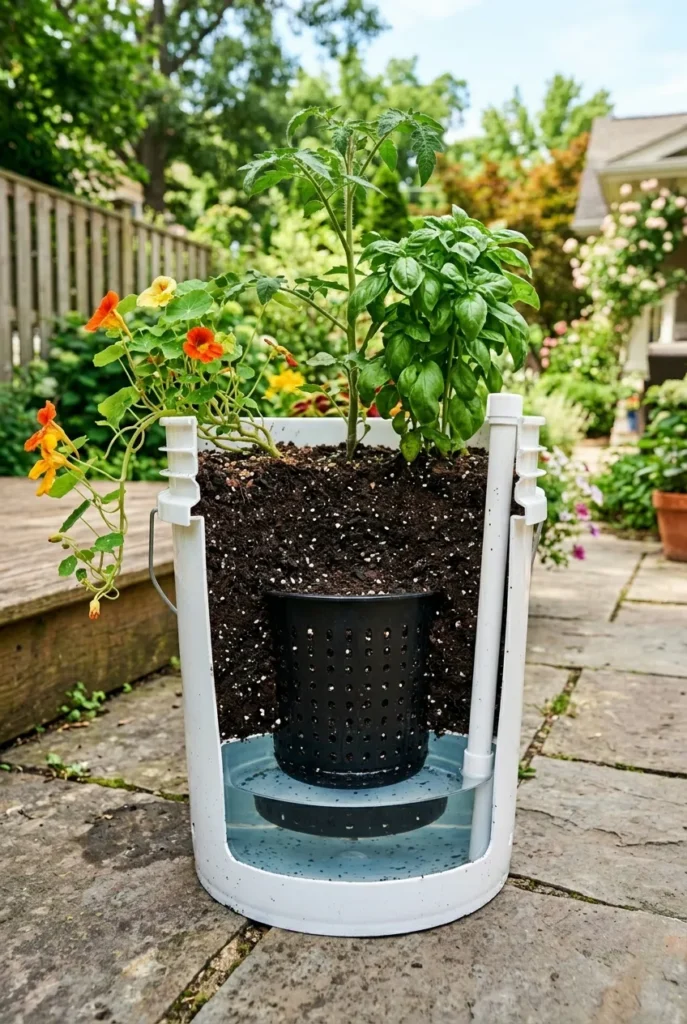
Capillary action does the heavy lifting. Water sits in a sealed reservoir at the bottom of the pot. A wick, usually a small cup packed with soil, dips into that water and pulls it up into the root zone as the plant drinks. The roots take what they need and leave the rest. No daily guesswork.
There are three non-negotiable parts. A reservoir to hold the water. A wick to move it upward. An overflow hole so a heavy rain cannot drown the roots. Miss the overflow hole and you have built a swamp, not a planter.
Store-bought versions like the self-watering EarthBox ($45) do this for you out of the box. The DIY route gets you the same physics for a fraction of the cost, which is why the 5-gallon bucket build keeps trending on Pinterest. According to the University of Maryland Extension’s guidance on container gardening, consistent soil moisture is one of the biggest factors in container vegetable success, and a reservoir delivers exactly that.
What You Need (The $12 Bucket Build)
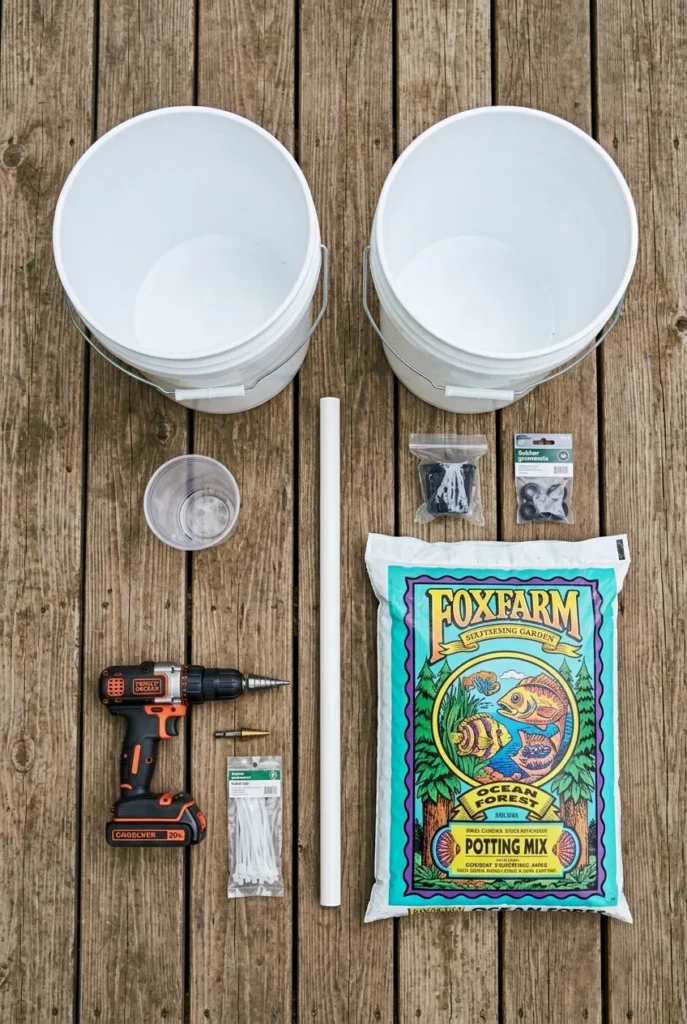
You do not need a kit. Here is the short shopping list, and almost all of it comes from Home Depot or Lowe’s.
- Two food-safe 5-gallon buckets (about $4 each, Home Depot)
- One small plastic cup or net pot for the wick (under $1)
- A short length of PVC pipe for the fill tube (a few dollars)
- A drill with a half-inch bit and a hole saw
- One bag of potting mix (FoxFarm Ocean Forest, $25 for 1.5 cu ft, or Kellogg Garden Patio Plus, $12 at Lowe’s, for a budget build)
That is roughly $12 in hardware if you already own the drill and use a budget mix. The pricier potting mix is the one line item worth splurging on, because cheap garden soil compacts and chokes the wick.
The Build, Step by Step
This is the part the top tutorials all cover, so here it is, tightened up.
- Drill a single half-inch hole in the side of one bucket, about 4 inches up from the bottom. That is your overflow.
- Cut a hole in the bottom center of that same bucket, sized to snug-fit your wicking cup.
- Drill a ring of small holes around the sides and bottom of the cup so water can soak in.
- Drop the second bucket inside the first to create the reservoir gap, or use spacers if you only have one bucket.
- Cut a notch for the PVC fill tube near the rim and slide it down to the reservoir.
- Pack the wicking cup with potting mix and seat it in the bottom hole.
- Fill the bucket with mix, water it from the top once to settle everything, then plant.
- From then on, pour water down the fill tube until it runs out the overflow hole.
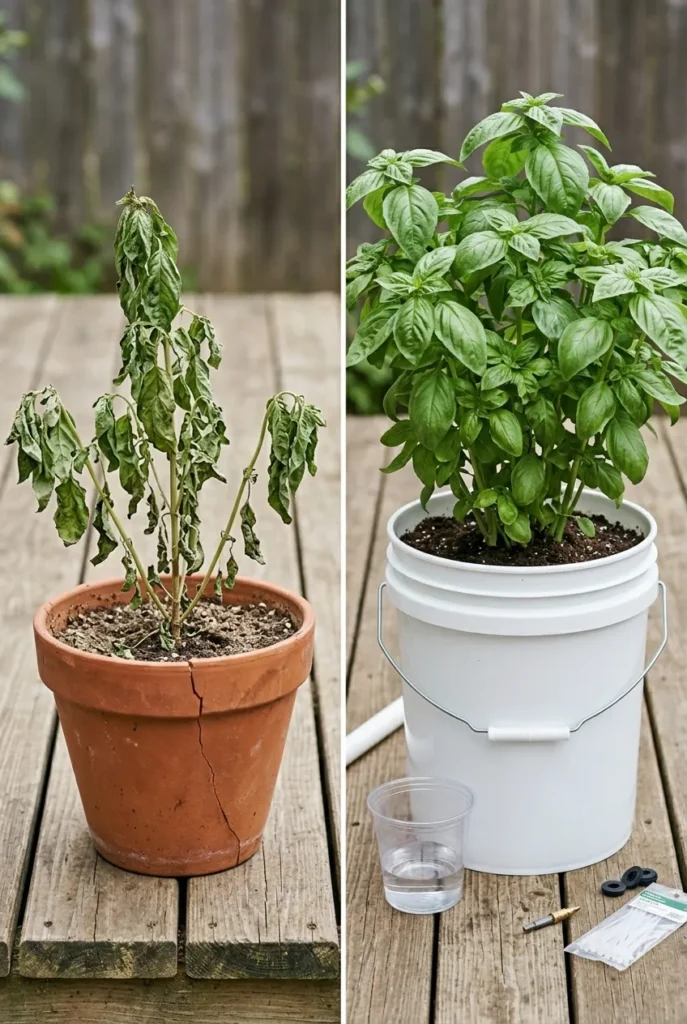
Worth every penny of the 20 minutes it takes. The first time I tried this with patio tomatoes, the EarthBox-style setup outproduced my in-ground row 2 to 1 the following summer, mostly because the water never crashed in the afternoon heat.
Self-Watering Container Gardening for Vegetables
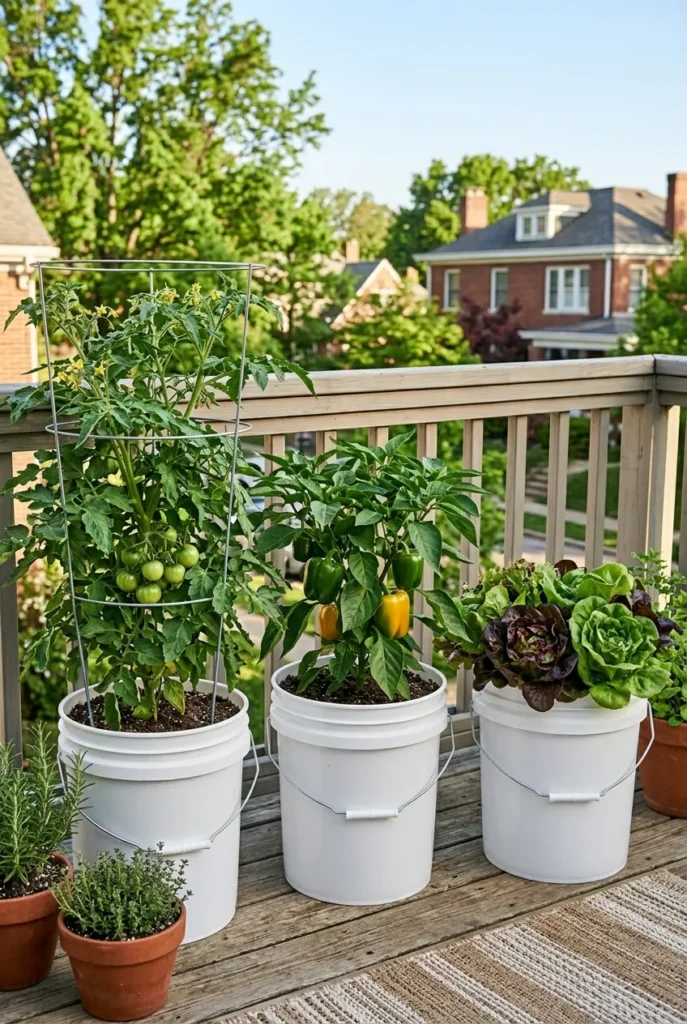
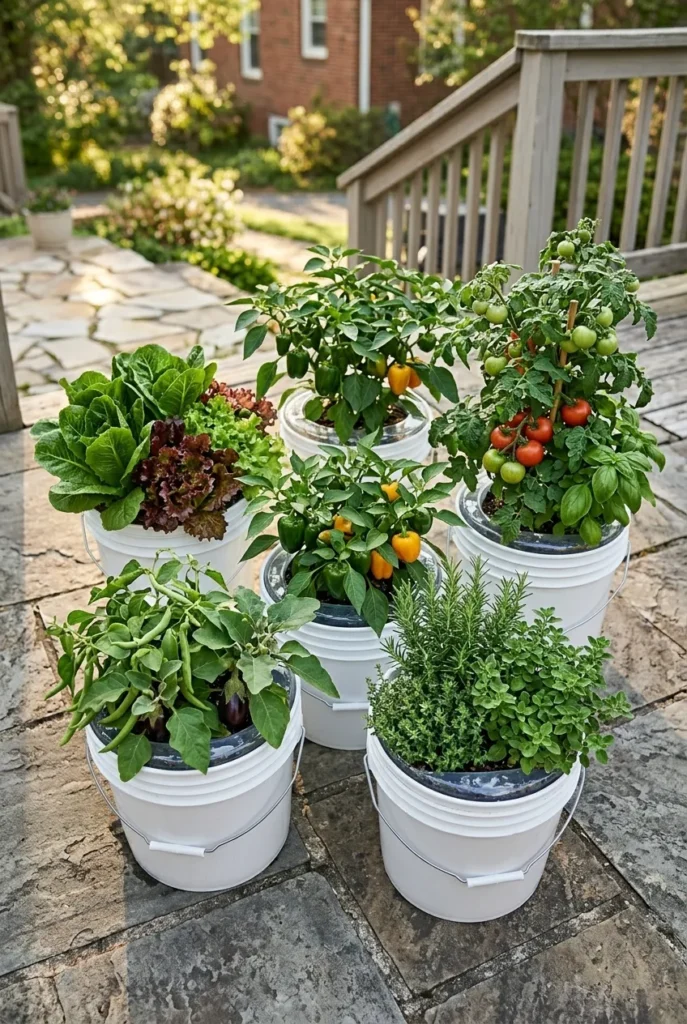
This is where the method shines. Thirsty, fast-growing crops love a steady reservoir. Tomatoes, peppers, cucumbers, and leafy greens all reward you for it.
Tomatoes are the headline act. Our full patio tomato container setup walks through varieties and pot sizes, and a determinate type like Celebrity in a self-watering 5-gallon build is hard to beat. Peppers want the same consistency. Lettuce and spinach stay tender instead of bolting when the moisture never spikes and dips.
A few crop notes worth knowing:
- Tomatoes and peppers: one plant per 5-gallon self-watering bucket
- Lettuce, spinach, herbs like basil and parsley: three to four per bucket
- Cucumbers: one per bucket with a small trellis
What NOT to Grow (The Honest Part Nobody Mentions)
Here is the contrarian take. A self-watering container garden is wrong for a whole category of plants, and the popular tutorials skip this entirely.
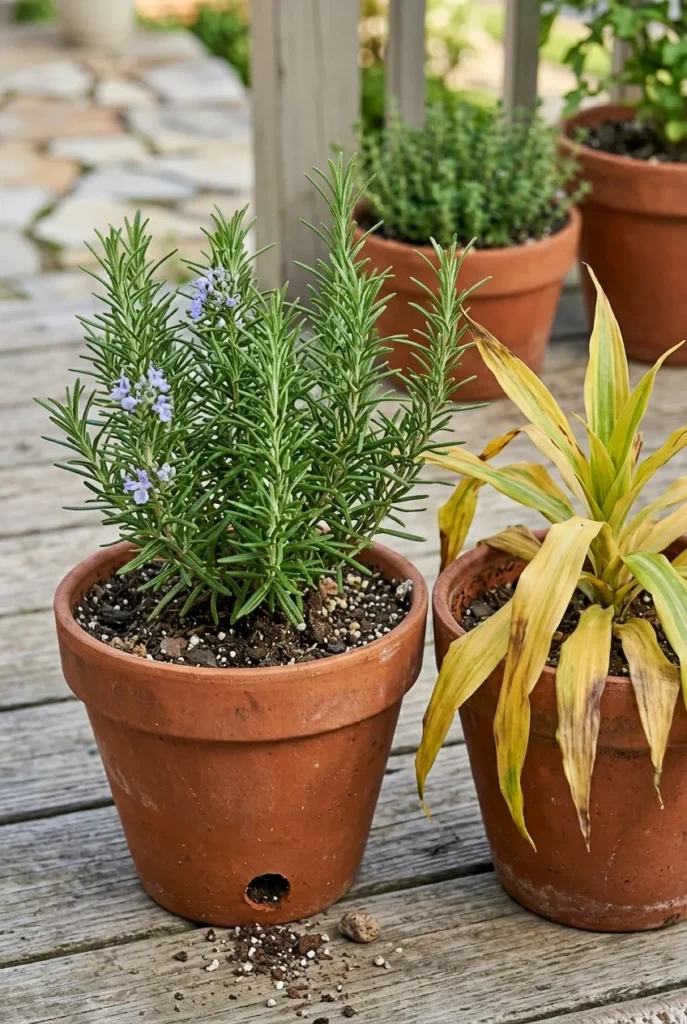
Anything that wants to dry out between drinks will sulk or rot in a constant reservoir. That means succulents, cacti, rosemary, lavender, and most Mediterranean herbs. I killed two rosemary plants in terra cotta before I learned the clay was wicking water away from the roots, and the irony is a self-watering pot would have killed them faster by keeping the roots permanently damp.
What about dracaena, the plant people keep asking about? Skip the reservoir there too. Dracaena hates wet feet and shows it with yellow drooping leaves and root rot. It wants to dry out, so a standard pot with good drainage beats a self-watering one every time.
The rule is simple. Constant moisture for thirsty annuals and vegetables. Standard drainage for anything that evolved in dry, rocky soil.
Leaving Town: Vacation-Proof Your Whole Setup
This answers the question I get most. How do you keep a vegetable garden watered while on vacation? A self-watering container garden is the answer, but only if you set the whole thing up as a system instead of one lonely pot.
The reservoir size sets your runway. A 5-gallon bucket build in mild weather can coast 5 to 7 days on a full reservoir. In a Zone 9 July heat wave, cut that to 3 or 4 days and group the pots in afternoon shade. According to the Old Farmer’s Almanac guidance on watering container plants, containers dry out far faster than in-ground beds, so the reservoir buys you the cushion a plain pot never could.
Three quick moves before you leave:
- Top off every reservoir to the overflow hole the morning you go
- Cluster pots together so they shade each other and slow evaporation
- Move the whole group out of blistering full afternoon sun for the week
This same trick scales to a balcony garden. We leaned on it hard during our tiny balcony makeover, where every container had to survive long weekends with nobody home.
Reservoir Size to Watering Frequency Cheat Sheet
Screenshot this one. It maps how long different builds coast before you refill, in normal summer weather versus a real heat wave.
| Container Build | Reservoir Size | Refill (Mild) | Refill (Heat Wave) |
|---|---|---|---|
| 10 in terra cotta self-watering | ~0.5 gal | 3 days | 1 to 2 days |
| 5-gal bucket build | ~1.5 gal | 5 to 7 days | 3 to 4 days |
| EarthBox ($45) | ~3 gal | 7 to 10 days | 4 to 5 days |
| Extra-large self-watering planter | ~5 gal | 10 to 14 days | 6 to 7 days |
Bigger reservoir, longer runway. If you travel often, build big once instead of refilling small pots daily.
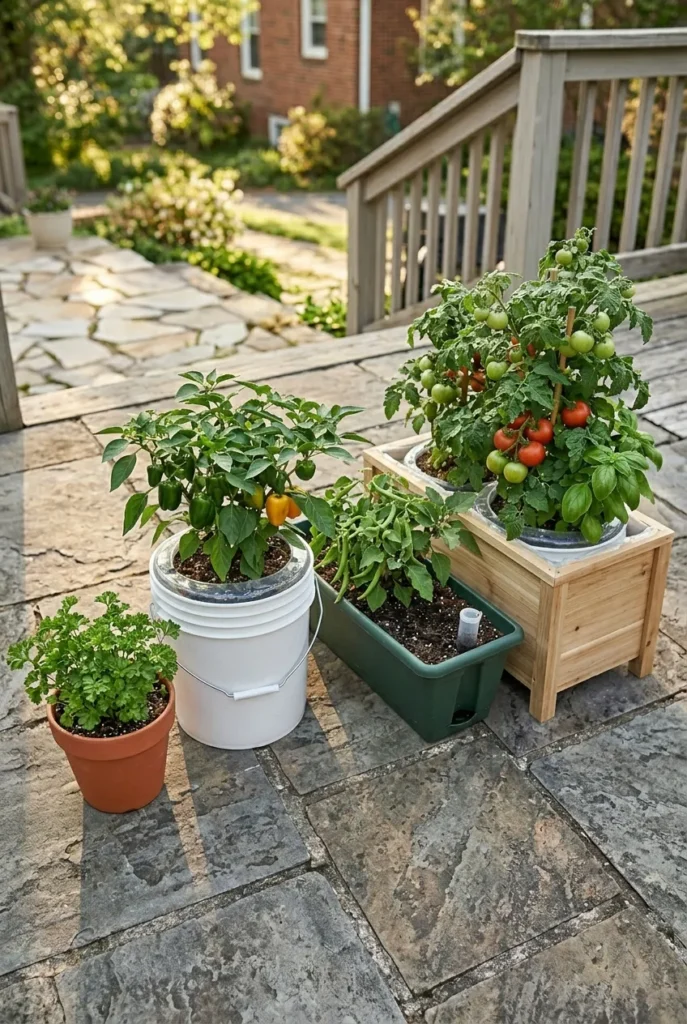
DIY vs Store-Bought: Which Is Worth It
Both work. The math is what decides it.
A DIY 5-gallon bucket runs about $12 plus a bag of mix. An EarthBox runs $45 and looks tidier on a patio where appearance matters. Extra-large self-watering planters with a built-in water level indicator can run $80 and up, and the indicator is genuinely handy if you hate guessing.
My honest read: build DIY buckets for the back-of-the-balcony veggie workhorses, and buy one good-looking store planter for the spot guests actually see.

Common Mistakes That Sink the Whole Thing
Most failures trace back to three errors. Skipping the overflow hole, so roots drown. Using dense garden soil instead of a light potting mix, so the wick cannot pull water. And letting the reservoir run bone dry once, which breaks the capillary connection and forces you to top-water to reset it.
Fix those and the system runs itself for months.

Frequently Asked Questions
Do self-watering containers really work?
Yes, for the right plants. They keep soil evenly moist through a reservoir and wick, which is exactly what thirsty vegetables and annual flowers want. They are not magic for drought-loving plants, but for tomatoes, peppers, and greens they genuinely outperform daily hand-watering.
What are the drawbacks of self-watering pots?
Three main ones. They can waterlog roots if you skip the overflow hole. They are wrong for succulents and Mediterranean herbs that need to dry out. And in cold climates the standing reservoir can freeze, so you empty them before a hard frost.
Are self-watering pots good for dracaena?
No. Dracaena likes to dry out between waterings and rots in constant moisture. Use a standard pot with a drainage hole and let the top inch or two of soil dry before you water again.
How do I keep my vegetable garden watered while on vacation?
A self-watering container garden is the simplest answer. Top off every reservoir to the overflow hole, cluster the pots in partial shade, and a 5-gallon build will usually coast 5 to 7 days, longer with a bigger reservoir.
Do self-watering containers need drainage holes?
They need an overflow hole, not bottom drainage. The overflow sits a few inches up the side and dumps excess water before it reaches the roots, which protects the plant during heavy rain.
Can you use any pot for a self-watering container garden?
Almost. You need room at the bottom for a reservoir and a wick, so very shallow pots will not work. Buckets, deep planters, and storage totes convert easily.
Final Word
A self-watering container garden is the rare project where doing less actually grows more. Build one $12 bucket this weekend, plant a tomato, and watch how rarely you touch a watering can after that. Match the method to thirsty plants, skip it for the dry-loving ones, and size your reservoir to your travel habits. If you are just getting started with pots and want the bigger picture first, read our container vegetable garden for beginners walkthrough next.
This is general gardening guidance, not a guarantee for every climate or plant. Watch your own plants and adjust.


