Cedar Raised Garden Bed Plans for a Weekend Build
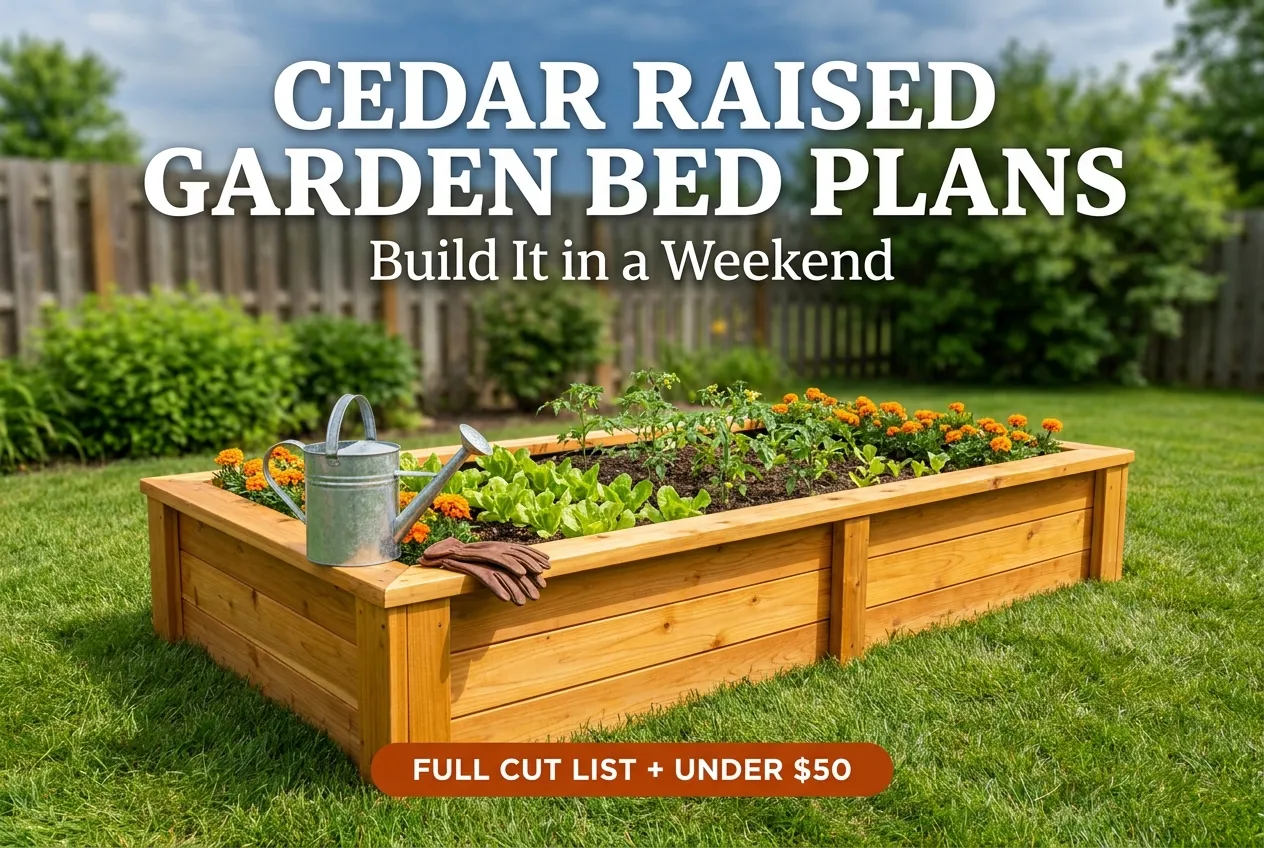
We built our first cedar bed on a Saturday, coffee in hand, sawdust everywhere. If you want cedar raised garden bed plans that skip the fluff and hand you a real cut list, you are in the right spot. Cedar smells amazing, shrugs off rot, and looks expensive even when you build it from cheap fence pickets. This is the beginner-friendly version we wish someone had handed us on day one.
Here is the promise. By the end, you will know exactly what to buy, how to cut it, and how to bolt it together before Sunday dinner.
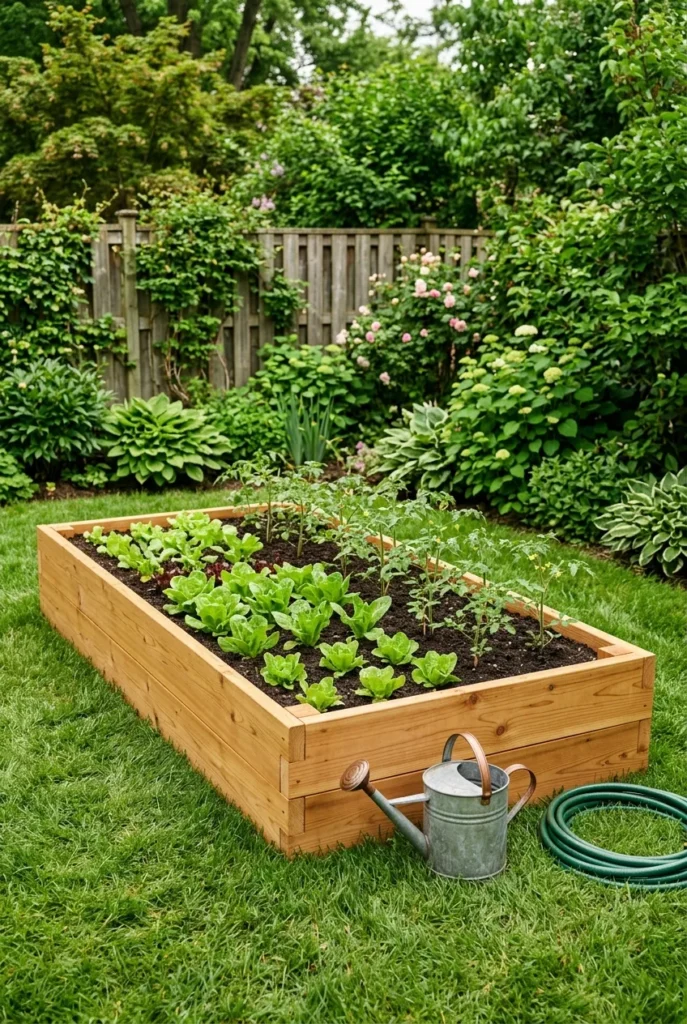
Why Cedar Wins for a DIY Raised Bed
Cedar earns its spot for one blunt reason. It resists rot and bugs without chemicals, which matters a lot when you are growing food in that soil. Western red cedar and eastern white cedar both carry natural oils that slow decay, so a well-built bed can last years longer than plain pine.
Cost is the catch. Full cedar boards run pricey, often in the $150 to $300 range for enough lumber to frame a big bed. Cheap cedar fence pickets are the workaround smart gardeners use, and we will lean on those hard.
Real experience, e.g. “I filled my first 4×8 cedar bed with bagged Miracle-Gro Raised Bed Soil alone and learned that swapping the bottom third for logs and branches would have saved me roughly $80.”
One honest note on safety. Cedar is a solid food-safe choice, but if you ever consider treated lumber instead, that is a different conversation. This is general info, not a substitute for advice from a qualified pro on any structural or local permit questions.
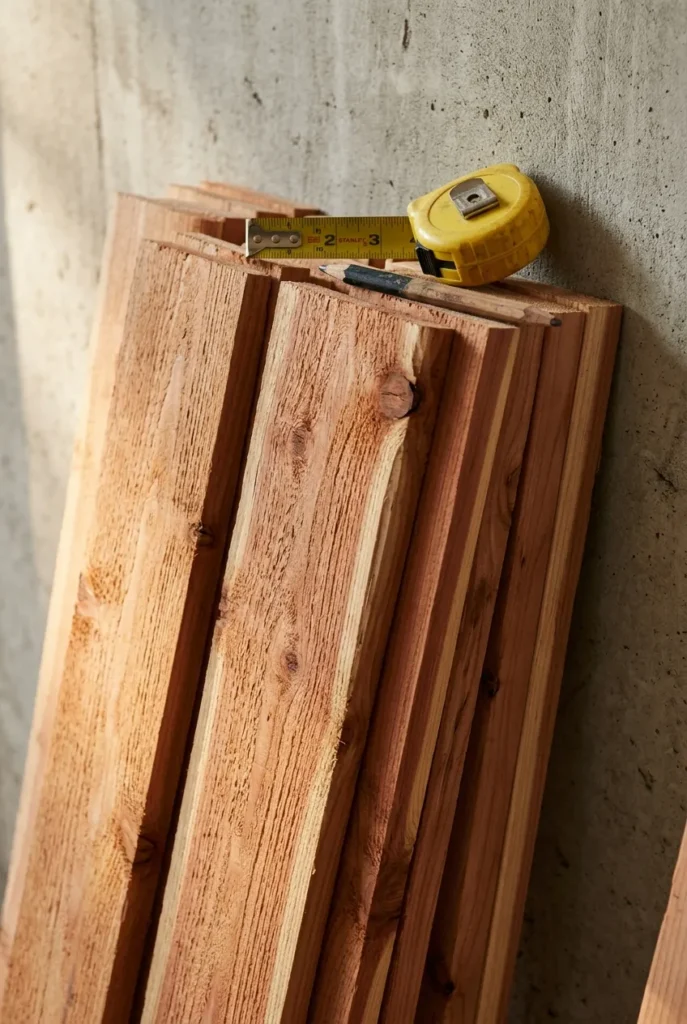
Tools and Materials Shopping List
Grab these before you start. Nothing here is exotic, and most of it you might already own.
Tools you need:
- A circular saw or a miter saw (a hand saw works, it just takes longer)
- A drill or impact driver
- A speed square and a tape measure
- Safety glasses and work gloves, always
Materials for one 4×8 bed, roughly 11 inches tall:
- Ten to twelve cedar fence pickets (about 5.5 inches wide, 6 feet long)
- Four cedar 2×2 or 2×4 posts for the corners, cut to bed height
- A box of exterior-grade 2.5 inch deck screws
- Optional landscape fabric for the bottom
Wondering how tall to go? Our guide on how deep the bed should be breaks down root depth by crop so you are not guessing.
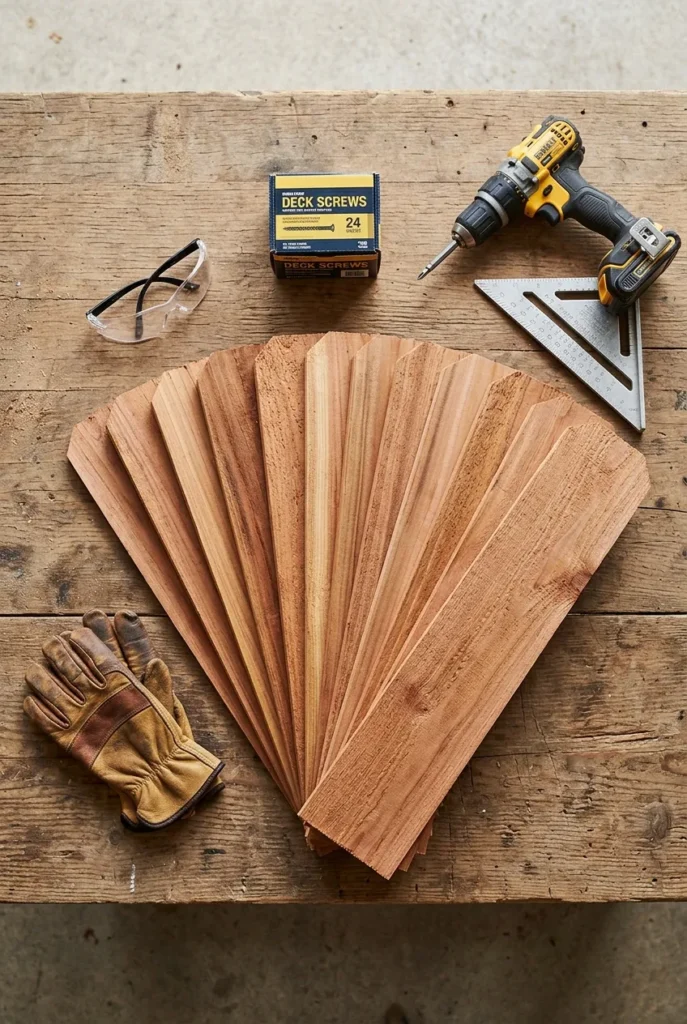
The Exact Cut List for a 4×8 Cedar Bed
Here is where most plans get vague. Not this one. Grab your saw.
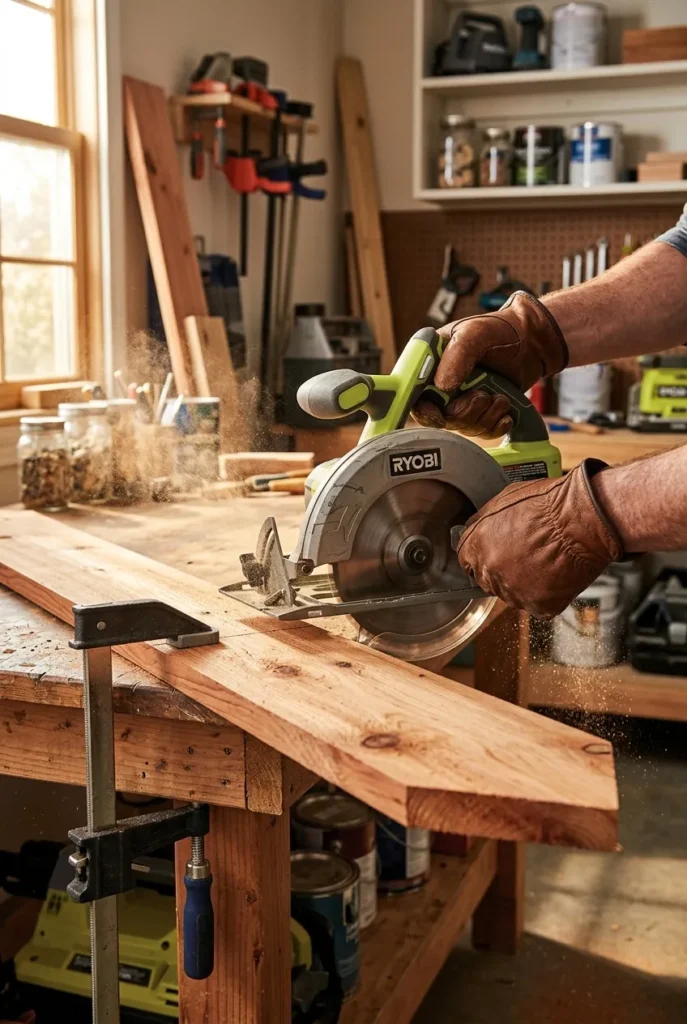
Cut your pieces like so:
- Long sides: cut 4 pickets to 96 inches (or leave 6-foot pickets and plan an 8-foot bed by butting two shorter pieces, your call)
- Short ends: cut 4 pickets to 45 inches so the finished outside width lands near 48 inches
- Corner posts: cut 4 cedar 2x2s to 11 inches, or taller if you want legs sunk into the ground for stability
Stack two pickets per side to reach that 11-inch height. That gives you a bed deep enough for carrots, which want around 12 inches of loose soil to size up right.
Quick fragment for the impatient: measure twice, cut once. To be fair, we still botched one board and had to re-cut. It happens.
Step-by-Step Assembly (The Weekend Part)
This is the satisfying bit. You are about ninety minutes from a finished frame.
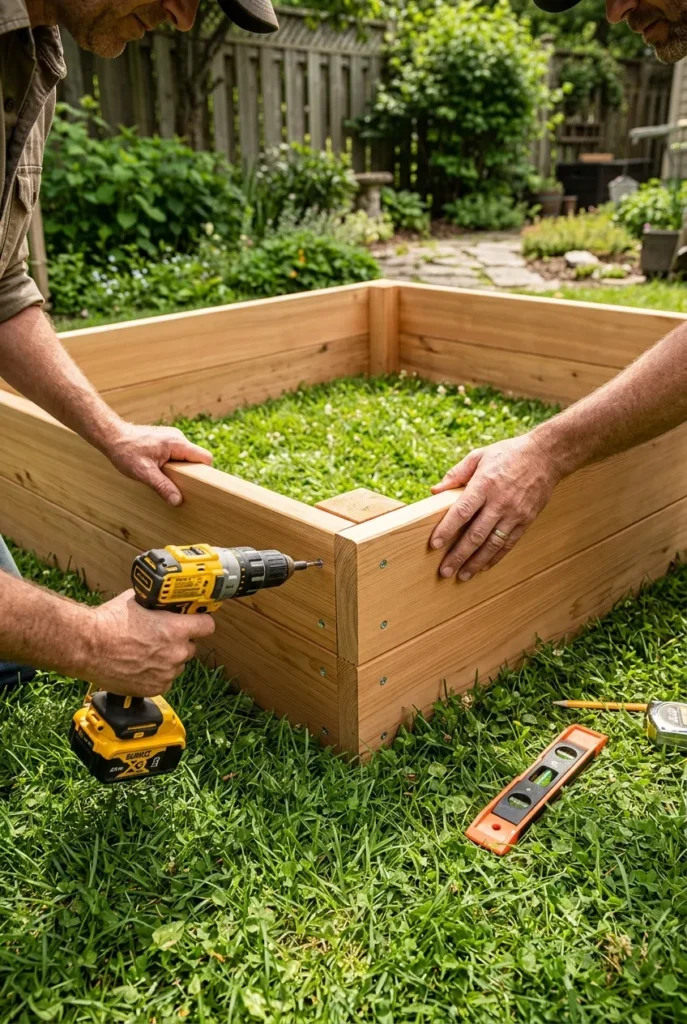
Step 1: Build the long sides. Lay two pickets edge to edge. Stand a corner post at each end, flush to the top, and drive three deck screws through the picket into the post. Repeat for the second long side.
Step 2: Join the ends. Stand both long sides up. Screw the short end pickets into the same corner posts to close the box. Have a helper hold things square here if you can.
Step 3: Check for square. Measure diagonally corner to corner both ways. When the two measurements match, your bed is square. Nudge and re-screw as needed.
Step 4: Reinforce the middle. On an 8-foot bed, add a center brace across the top or a short stake mid-span. Long cedar sides love to bow outward once wet soil pushes on them. This one move saves the shape.
If you want the fully photographed walk-through with every screw placement, our step by step raised bed plans post covers it frame by frame.
The Picket Math Rule: Know Your Yield Before You Buy
Here is a gap almost no plan covers. Cedar fence pickets are cheap, but only if you buy the right count. We call this the Picket Math Rule, and it keeps you from three trips to the store.
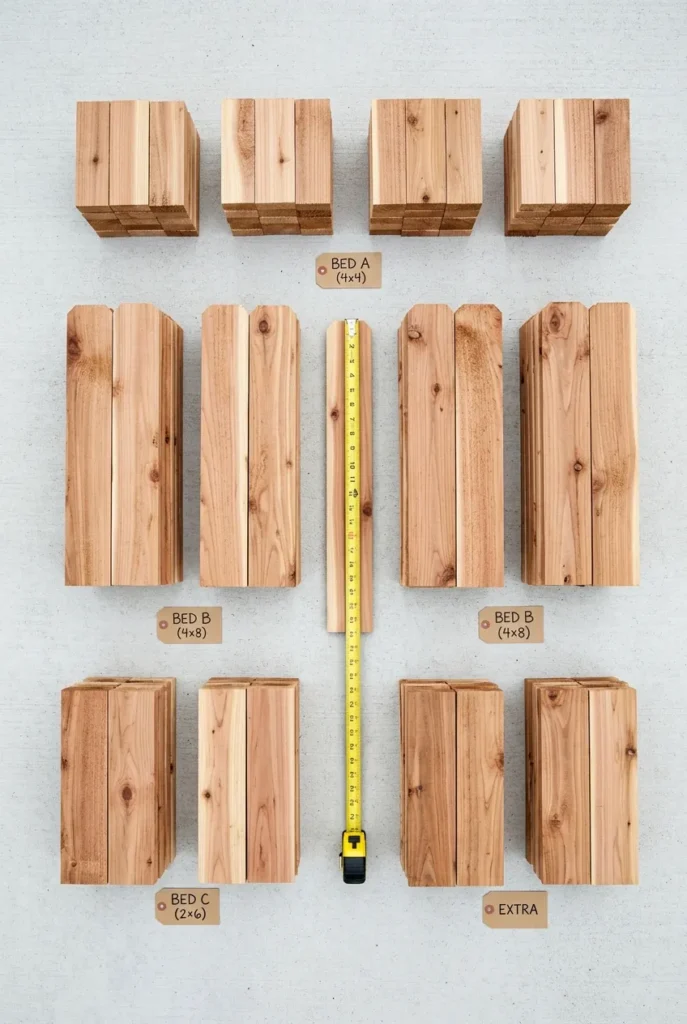
The rule is simple. One standard 4×8 bed at 11 inches tall needs 8 pickets for the four walls (two stacked per side), plus 1 to 2 spares for miscuts and corner trim. So budget 10 pickets, not 8. Pickets often run under $4 each , which is how the whole bed can land near or under the $30 to $50 range that the popular budget builds brag about.
Scale it up with this mini-table you can screenshot:
| Bed size | Pickets for walls | Buy this many (with spares) |
|---|---|---|
| 4×4, 11 in tall | 6 | 8 |
| 4×8, 11 in tall | 8 | 10 |
| 4×8, 16 in tall | 12 | 14 |
| 4×12, 11 in tall | 12 | 14 |
Buy the spares. Cedar varies board to board, and you will want to cull the cracked ones.
Will Cedar Rot? Longevity, Sealing, and Food Safety
This is the question the Reddit builders keep asking, and the top guides gloss over it. Straight answer: untreated cedar in ground contact typically lasts 7 to 10 years before the bottom boards start to soften, and thin pickets on the low end of that. Thicker cedar lasts longer.
Do you need to seal it? For food growing, we skip sealers on the inside. If you want to protect the outside, a food-safe option like raw linseed oil or a plant-based deck oil works without nasty leaching. Never use old creosote or mystery stain on a veggie bed.
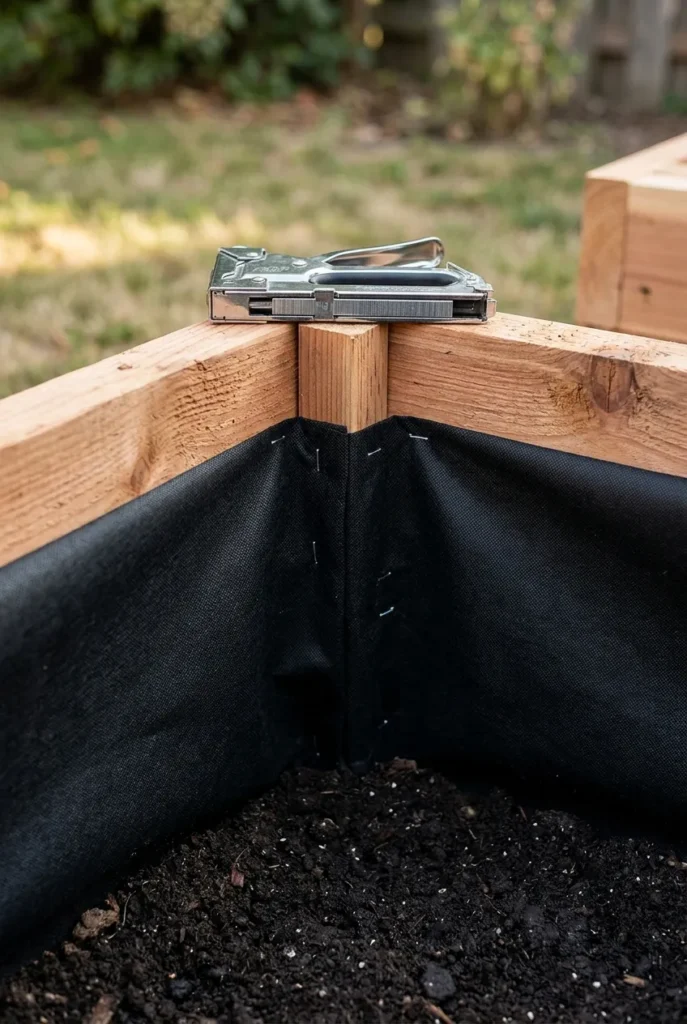
Want to squeeze out more years? Line only the inside walls (not the soil floor) with landscape fabric so wet dirt is not sitting directly against the wood 24/7. Leave the bottom open so worms and drainage do their thing.
Growing zone matters for how hard your winters beat on the wood too. It is worth a two-minute check of your USDA hardiness zone so you plan planting dates around your real last frost, which in Zone 5 usually lands around mid-April.
Filling and Planting Your Finished Bed
Your box is built. Now do not blow the budget on bagged soil.
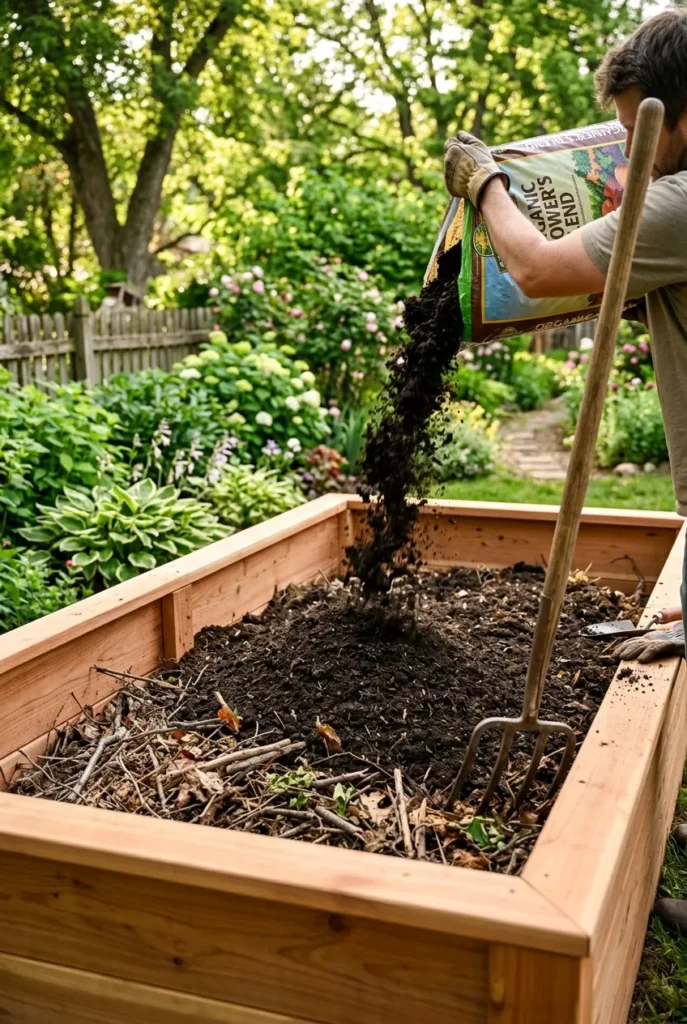
Layer it. Logs, branches, and leaves on the bottom third. Compost and topsoil up top. This hugelkultur-style approach cuts cost and feeds the bed for years. We spell out the full ratio in our guide on what to fill your bed with, which will save you real money on your first fill.
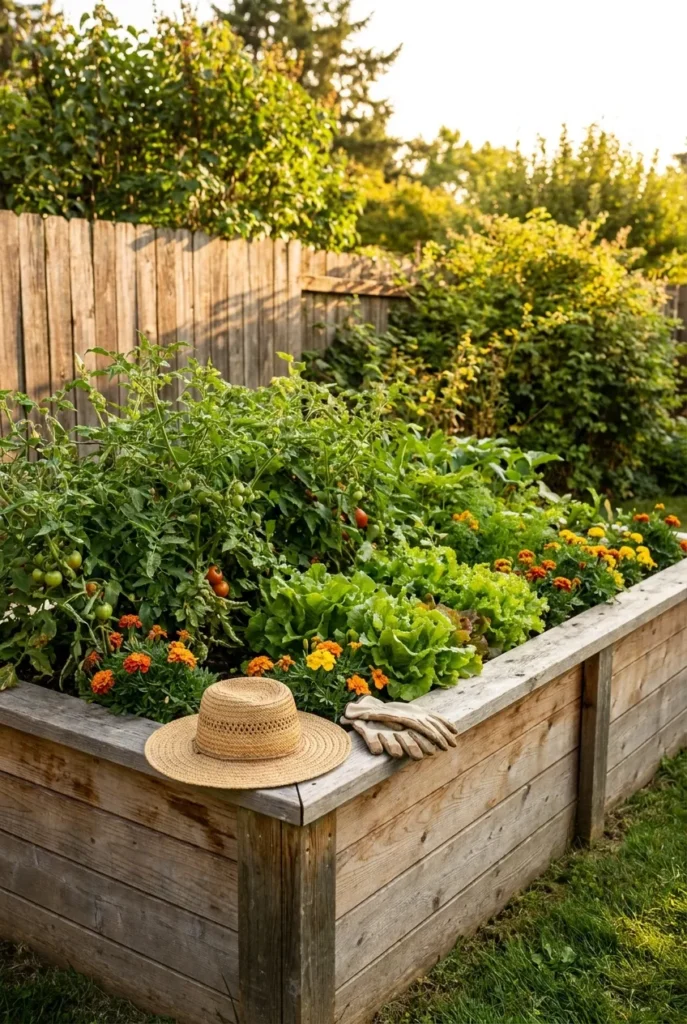
For a first-year 4×8, plant confident growers: bush beans, leaf lettuce, cherry tomatoes, and a border of marigolds. They forgive beginner mistakes.
Common Mistakes We Made So You Do Not Have To
Learn from our sawdust.
- We skipped the center brace once. The bed bowed into a sad banana shape by July.
- We bought exactly 8 pickets, hit two cracked ones, and drove back to the store mid-build. Buy spares.
- We set a bed in shade and wondered why the tomatoes sulked. Six-plus hours of sun, please.
Real experience, e.g. “The season I used Vego Garden hardware on cedar posts, the galvanized screws held far better than the cheap ones that rusted orange by fall.”
Frequently Asked Questions
How do you build a cedar raised bed step by step?
Cut your pickets and corner posts to size, screw two pickets to each corner post to form the long sides, join the short ends to close the box, check that it is square by matching diagonal measurements, then add a center brace on longer beds. Fill and plant.
How thick should cedar be for raised garden beds?
Thicker lasts longer. Fence pickets around 5/8 inch build a cheap bed that lasts several years, while 1.5-inch cedar boards can last a decade or more. If longevity is your priority, go thicker or double up thin pickets.
What is the cheapest way to build a raised garden bed?
Cedar fence pickets are the budget champ. A basic 4×8 bed can come together for well under $50 in lumber, and layering logs at the bottom slashes your soil cost too.
Does cedar make a good raised garden bed?
Yes. Cedar resists rot and insects naturally, stays food-safe without chemical treatment, and looks great. It is one of the most recommended woods for edible gardens.
Do I need to line a cedar raised bed?
Line the inner walls with landscape fabric to keep wet soil off the wood and stretch its life. Leave the bottom open for drainage, worms, and root depth.
How long will a cedar raised bed last?
Expect roughly 7 to 10 years for typical cedar in ground contact, longer for thick boards kept off constant moisture, shorter for thin pickets.
What size should a beginner cedar bed be?
A 4×8 bed at about 11 inches tall is the sweet spot. It is reachable from both sides, deep enough for most veggies, and cheap to fill.
Ready to Build This Weekend?
That is the whole plan, cut list and all. Cedar raised garden bed plans do not need to be complicated or expensive, they just need a saw, a free afternoon, and a little confidence. Pick your bed size, grab your pickets plus a couple of spares, and give it a go. Save this guide so the cut list is in your pocket at the store, and come tell us what you planted first. We are rooting for your tomatoes.