Gravel Patio Ideas on a Budget That Look Way More Expensive
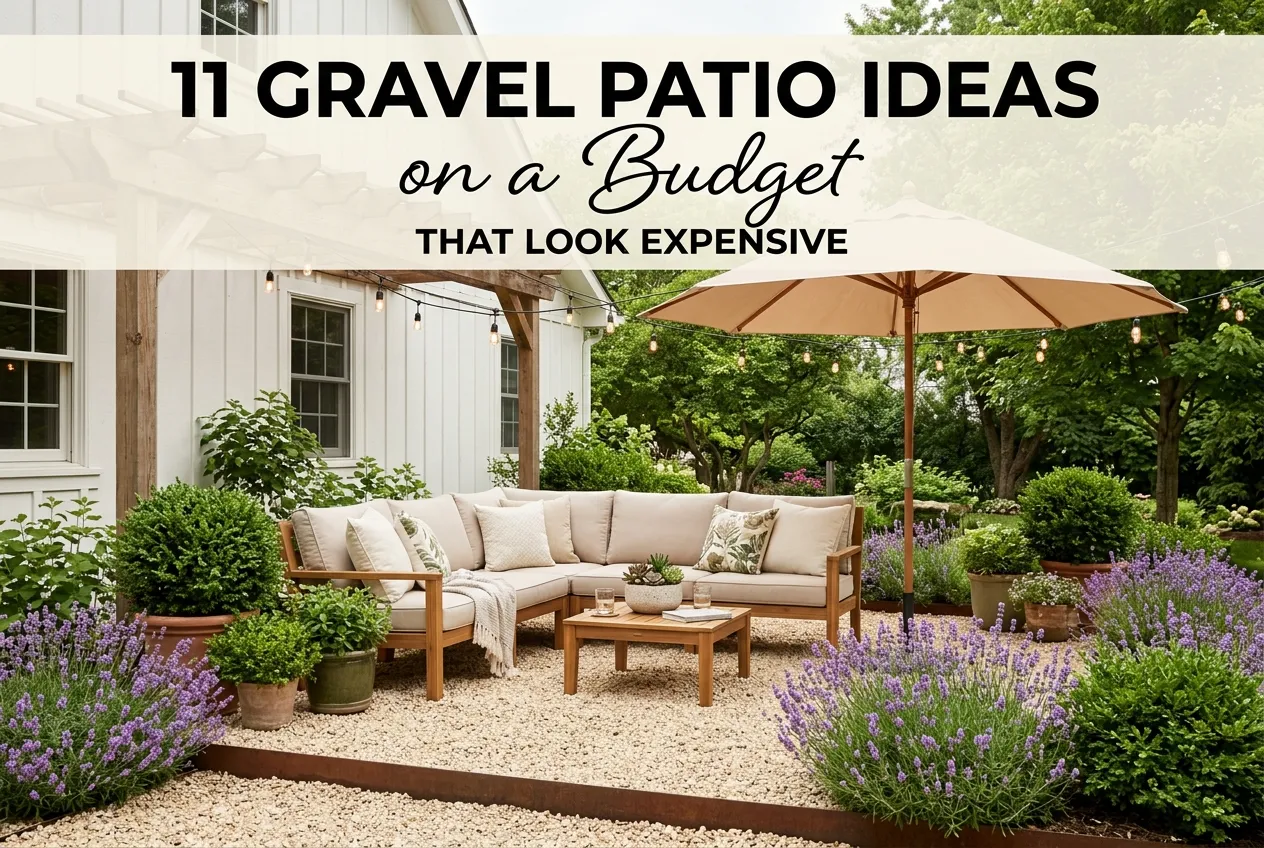
Want a patio without the concrete price tag? Gravel is the shortcut. These gravel patio ideas on a budget are DIY-friendly, they drain fast after a storm, and they can make a plain corner of the yard feel like a little retreat for a fraction of what pavers or poured concrete would run you.
Here’s the honest part. We’ve built one, tweaked it twice, and learned a few things the hard way. So this isn’t a gallery of pretty pictures with no plan behind them. You’ll get real layouts, the base build that keeps stones from wandering, a rough cost breakdown, and the pea gravel styling tricks that make a $200 project read like $2,000.
Grab a coffee. Let’s dig in (sorry, couldn’t resist).
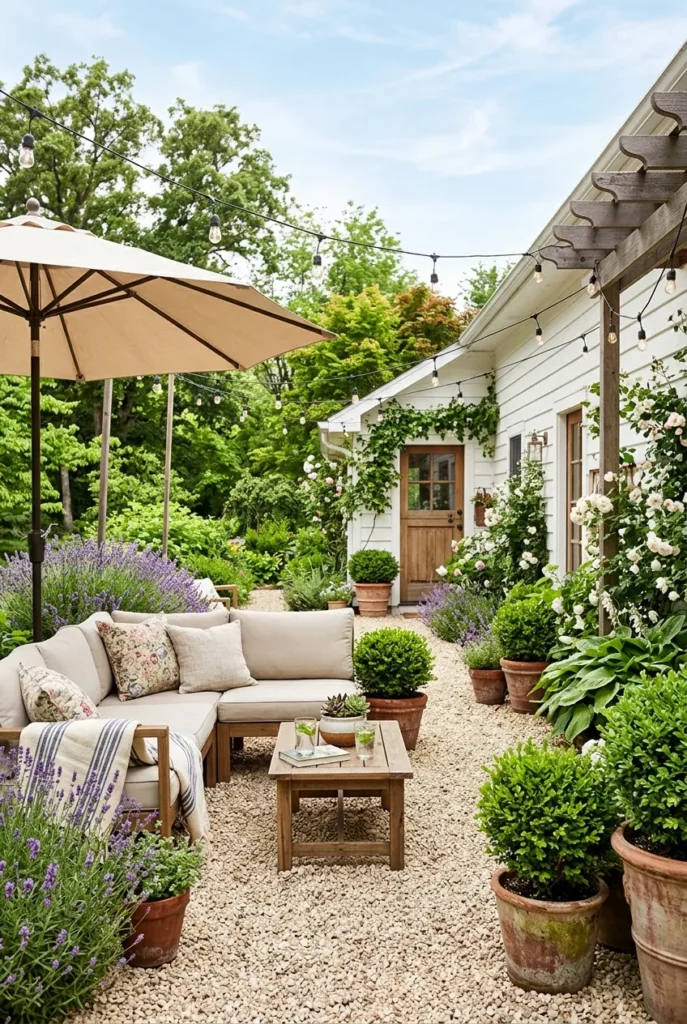
Why a Gravel Patio Is the Smartest Budget Move
Let’s talk money first, because that’s probably why you’re here.
A poured concrete patio can run several dollars per square foot once you factor in the pros. Pavers climb higher. Gravel? You can often cover a 10×10 area for a rounded cost in the low hundreds if you do the labor yourself. That’s the whole appeal.
Gravel drains. Rain slips straight through instead of pooling, which matters if your yard sits low or your soil holds water. Those loose stones act like permeable surfaces that soak up rain, and that can ease the load on your yard during heavy storms.
It’s also forgiving. Mess up a paver layout and you’re prying up concrete. Mess up gravel and you rake it. (Been there.)
Real experience, e.g. “Our first pea gravel patio cost me about $180 in materials for a 10×12 space in Zone 6, and the single biggest saver was buying gravel by the half-yard from a local landscape yard instead of bagged from the store.
One quick honest note. Gravel isn’t zero-maintenance, and it isn’t perfect under dining chairs. We’ll cover the fixes for both. If you’d rather compare it against a firmer surface, our guide to paver patio ideas on a budget breaks down that route too.
The 3-Layer Budget Base Rule (Our Simple Framework)
Here’s the one thing that separates a gravel patio that lasts from one that turns into a muddy mess by August. The base.
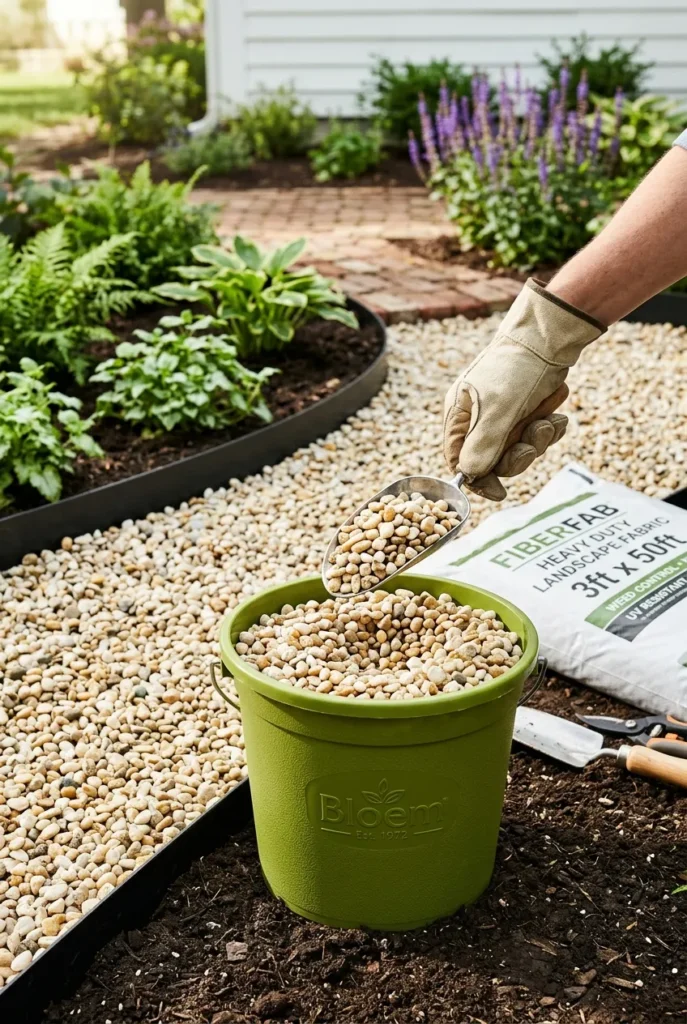
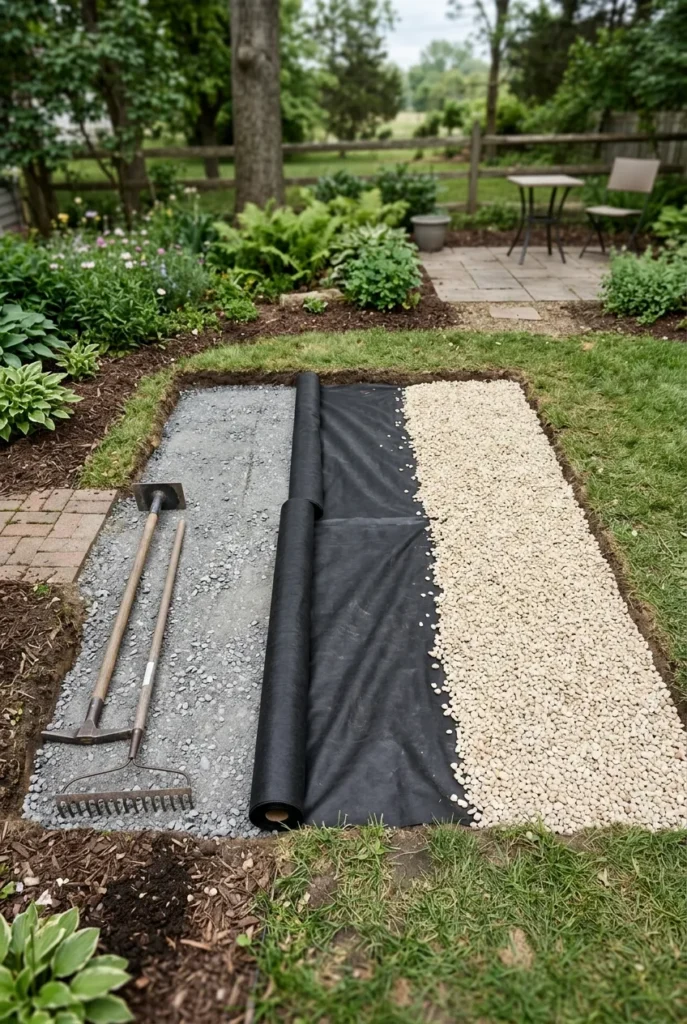
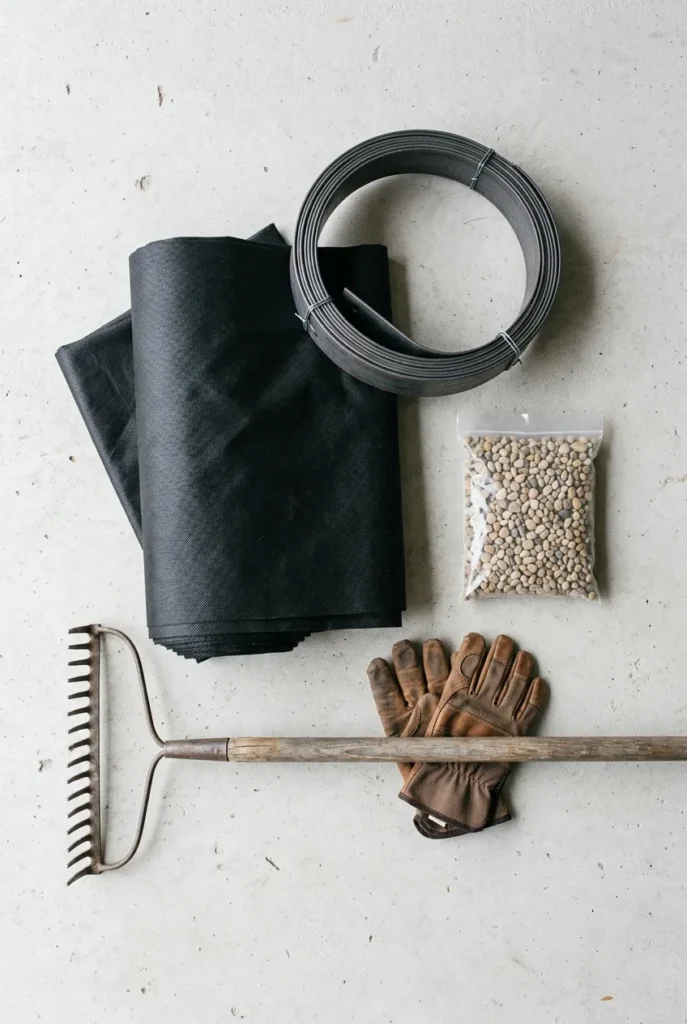
We call it the 3-Layer Budget Base Rule, and it’s dead simple. Every good gravel patio is three stacked layers: a compacted sub-base of crushed stone, a weed barrier of landscape fabric, then your pretty top layer of pea gravel or decomposed granite. Skip the middle and weeds win. Skip the bottom and your patio sinks unevenly.
Dig down about 4 to 5 inches. Lay 2 to 3 inches of crushed gravel (the sharp, angular kind packs tight). Roll landscape fabric over it. Top with 1 to 2 inches of your decorative gravel. That’s it.
Real talk on depth: aim for roughly 4 inches total for a walking patio, a little deeper if you’ll set heavy furniture on it.
Here’s a quick cheat table you can screenshot.
| Layer | Material | Depth | Rough budget pick |
|---|---|---|---|
| Bottom | Crushed stone / paver base | 2 to 3 in | Bagged base from Lowe’s or Home Depot |
| Middle | Landscape fabric | one layer | Any woven weed barrier, around $20 |
| Top | Pea gravel or decomposed granite | 1 to 2 in | Bulk from a local landscape yard |
Real experience, e.g. “I skipped the fabric on my very first try to save $20 in spring, and by mid-summer I was pulling crabgrass out of the stones every weekend. The re-do with fabric took one Saturday and fixed it for good.”
Pick the Right Gravel (It Changes Everything)
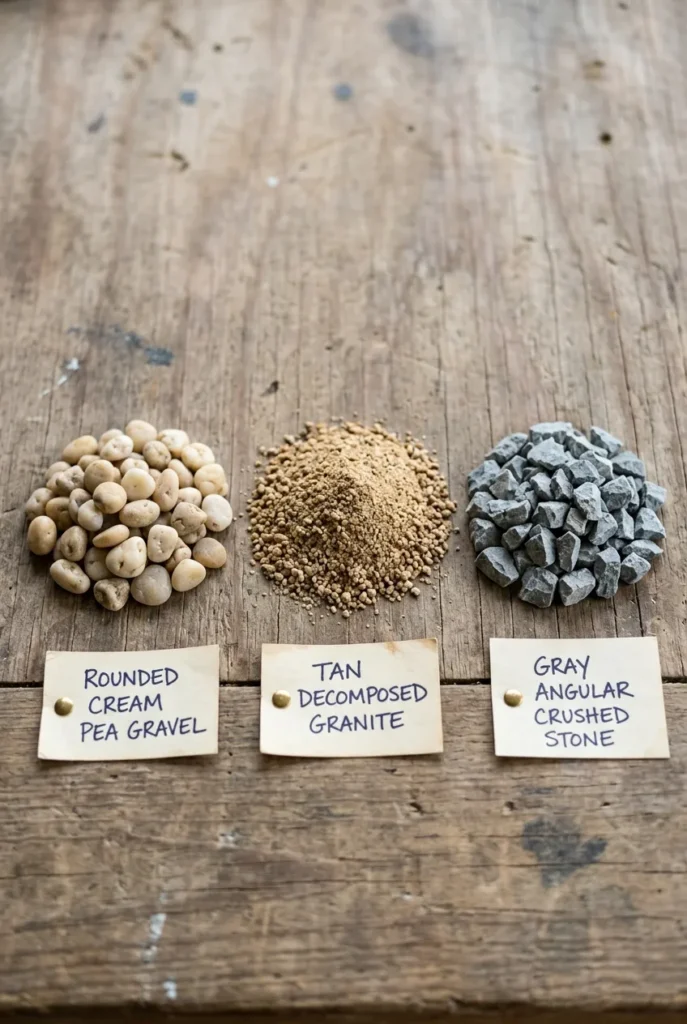
Not all gravel behaves the same, and the wrong pick is the reason some patios feel like walking on a beach.
Pea gravel is the Pinterest darling. Smooth, rounded, warm-toned, and cheap. The catch? It shifts underfoot and chair legs sink. Gorgeous for a low-traffic seating nook, less ideal for a dining zone.
Decomposed granite (DG) packs down firm and gives you a solid, almost path-like surface. It’s the budget hero for furniture. Crushed stone with angular edges locks together too, so it’s another firm option.
For most budget backyards, we mix it: DG or crushed base under the seating and furniture zones, pretty pea gravel where you walk and lounge.
A short buyer’s guide:
- Pea gravel: best for looks and lounging, softest budget price.
- Decomposed granite: best under tables and chairs, firmest feel.
- Crushed granite or limestone: best for the compacted base layer.
Buy in bulk by the cubic yard when you can. Bagged gravel from Home Depot works for tiny spaces, but the per-pound cost is higher.
Small Gravel Patio Ideas for Tiny Yards
Short on space? Gravel might be your best friend, honestly.
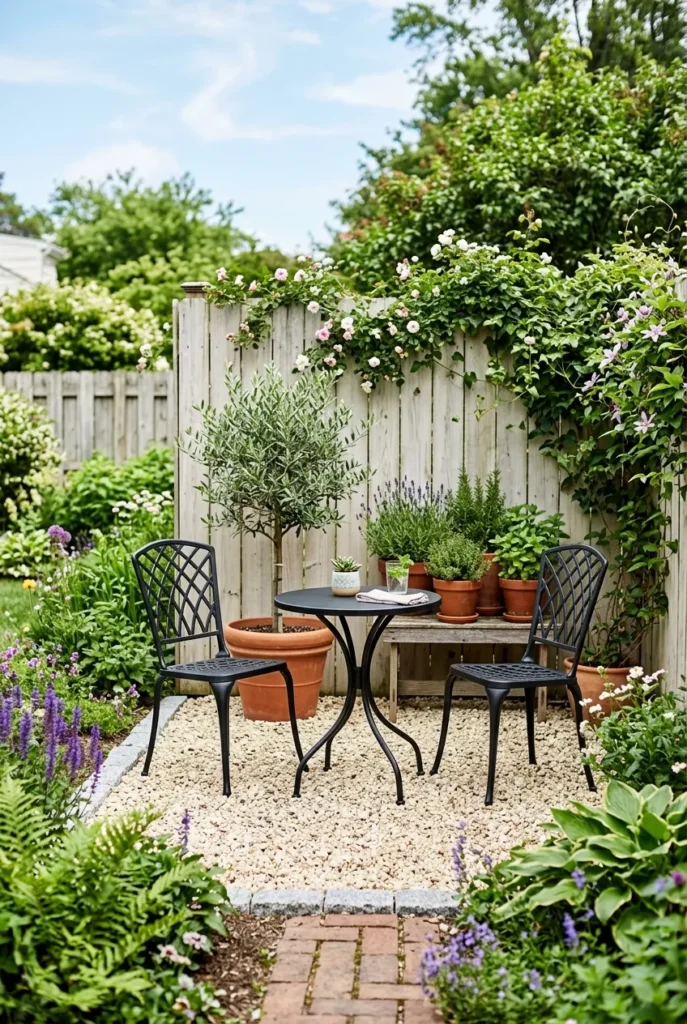
A tiny gravel patio reads as intentional, not cramped. Carve out a small circle or square just big enough for two chairs and a little Article-style bistro table, edge it cleanly, and suddenly you’ve got a destination instead of dead grass.
Corners are gold. Tuck a compact seating nook into an unused corner, add a potted olive tree or two, and you’ve made a room. For narrow side yards, a slim gravel runner with a couple of chairs works where a full patio never could.
Keep the footprint honest. A 6×6 or 8×8 gravel pad is plenty for a cozy conversation set, and it keeps your gravel bill tiny.
If your whole yard is petite, you’ll like our other wider backyard patio ideas for stealing more usable space.
Pea Gravel Patio Ideas That Look High-End
This is where the magic happens for almost no money.
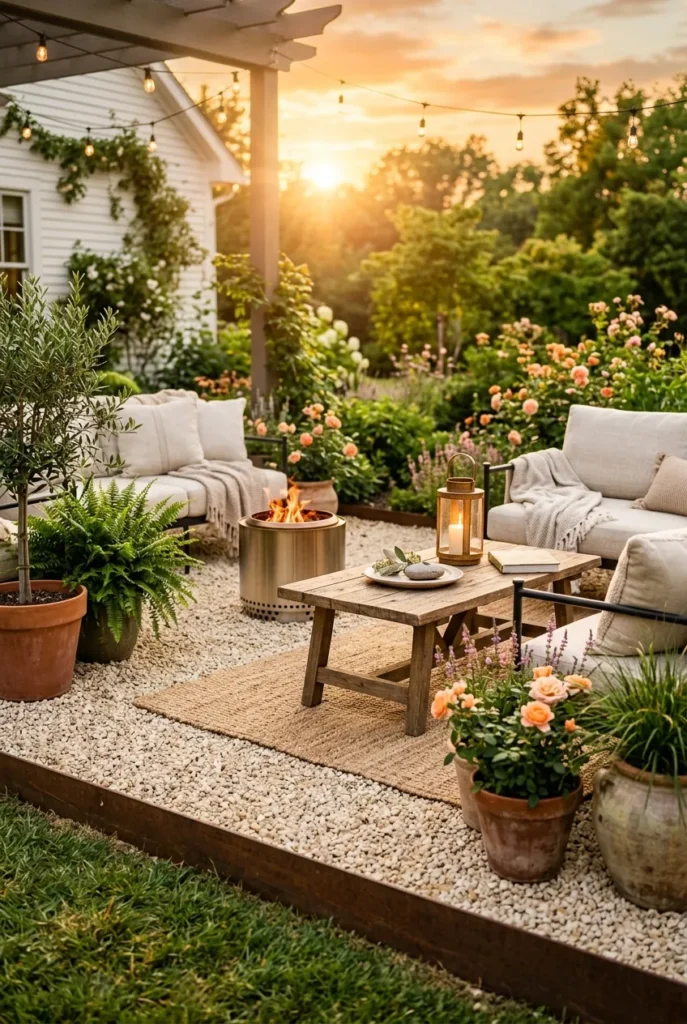
The trick to making cheap gravel look expensive is contrast and edges. A crisp border (steel, brick, or a row of pavers) frames the loose stone so it reads as designed rather than dumped. Greenes Fence corten-look steel edging is a clean choice. A single soldier course of brick works too and costs less.
Layer in warmth. Pea gravel plus a weathered wood coffee table plus a jute-look outdoor rug plus a Solo Stove in the corner equals that Magnolia magazine feel. The gravel is the cheap part doing the expensive-looking work.
Stepping stones save your soles and your budget. Set a few large flagstones or budget pavers into the pea gravel for a firm walking path, and leave the rest loose and pretty. It’s the “how to make pea gravel look wet” glow-up without the sealant.
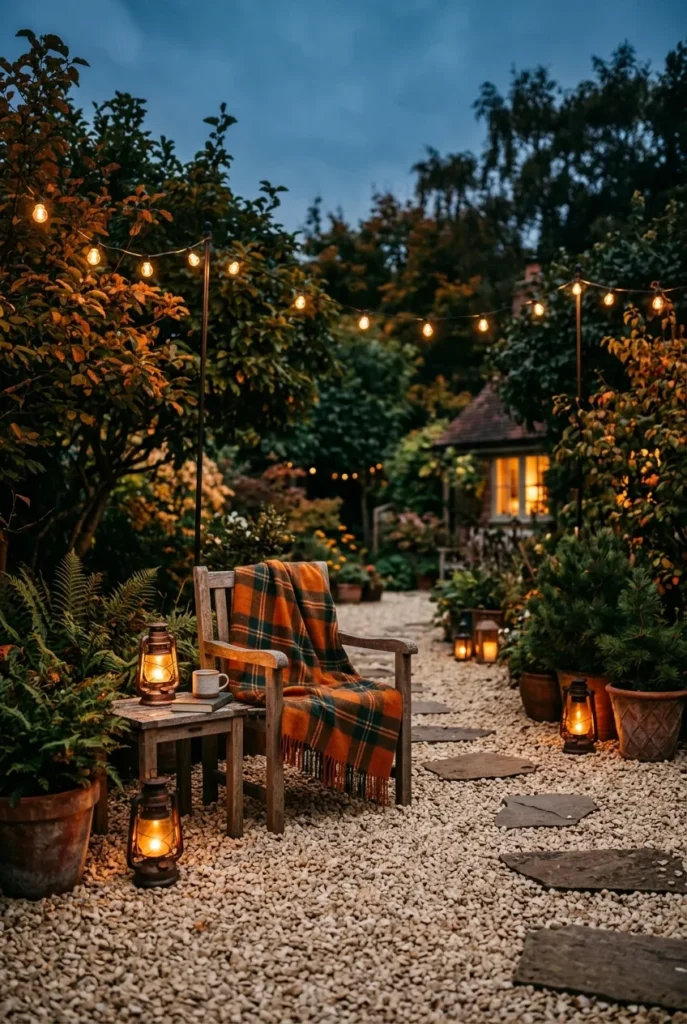
Warm string lights overhead seal the deal at night. Brightech Ambience Pro bulbs on a couple of DIY poles turn the whole thing golden.
Gravel Patio with Fire Pit (The Cozy Upgrade)
If you build one upgrade, make it this one.
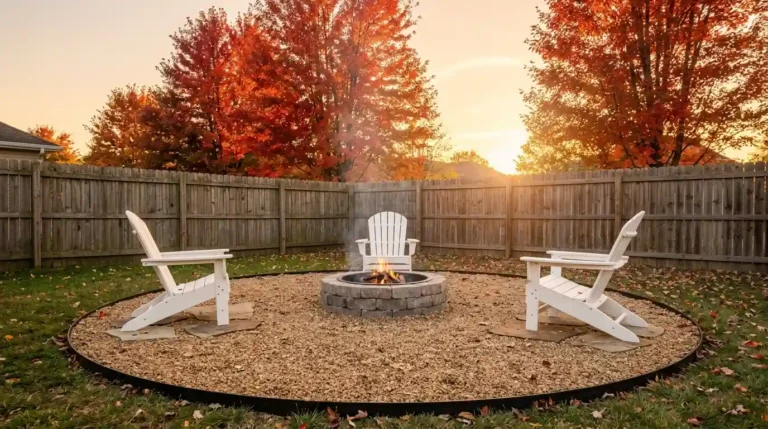
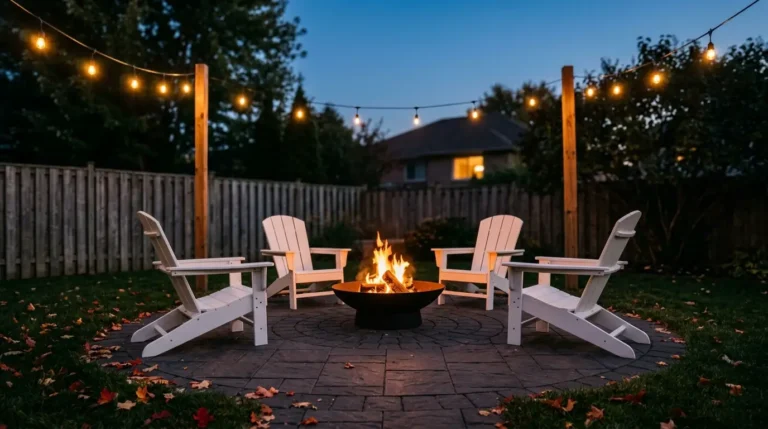
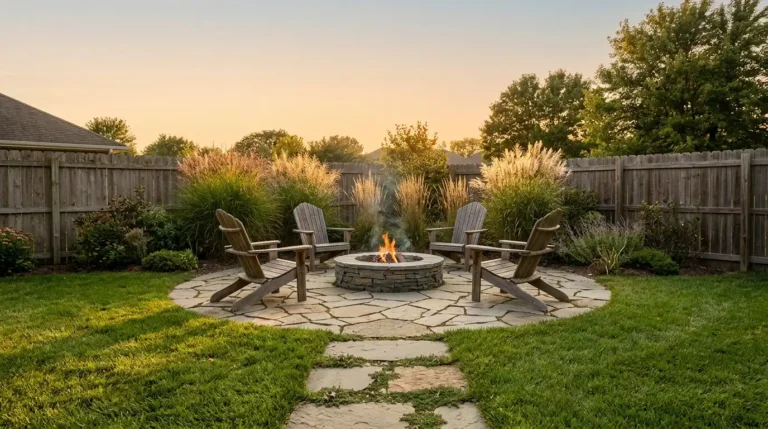
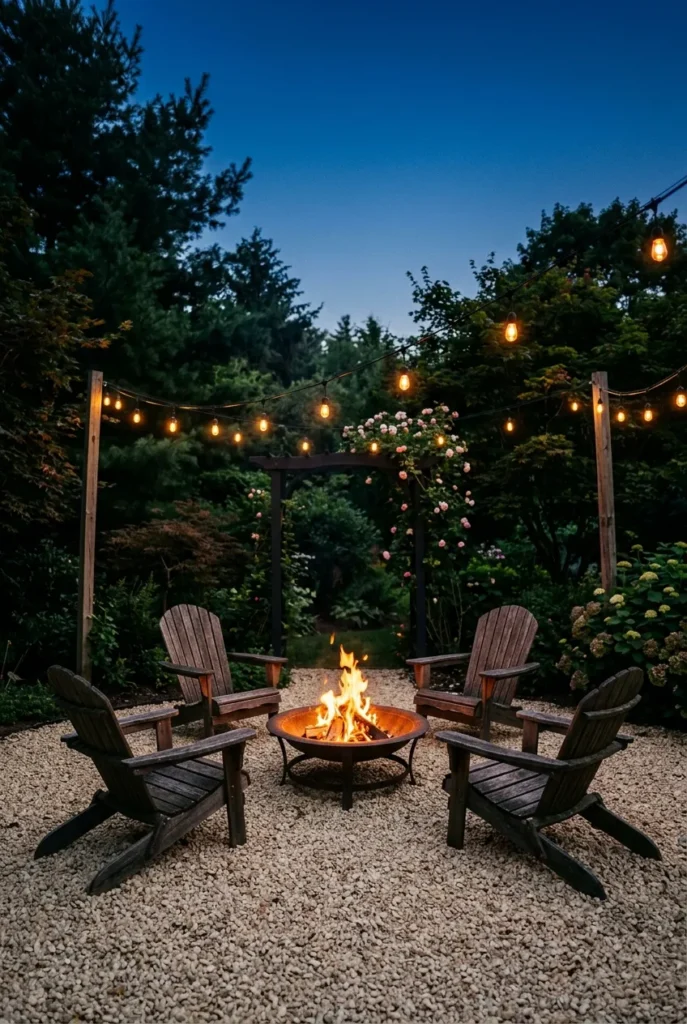
Gravel is the ideal base for a fire pit. It won’t catch, it drains, and it gives you that campground-meets-backyard vibe. Ring a Sunnydaze or Solo Stove pit with a few Adirondack chairs on the gravel, and you’ve got the coziest seat in the neighborhood.
Safety first, and we mean it. Keep the pit well away from the house, fences, and low branches, set it on a stable spot, and never leave open flame near anything flammable. For fire-pit clearances and safe setups, we lean on established fire-safety guidance rather than guessing.
Want the full build? Pair this with our take on backyard fire pit seating for layout ideas that fit a gravel base.
Keep the Gravel Where It Belongs (Edging and Drainage)
Nobody pins this part, but it’s what keeps your patio from becoming a rake-it-every-week chore.
Loose gravel wants to travel. Edging is the fix. A defined border of steel, brick, timber, or even large cobbles holds the stones in their lane and gives that clean, finished line. Without it, pea gravel ends up in your lawn mower (ask us how we know).
Drainage is your friend, but slope still matters. Grade the base to fall a touch away from the house so water runs off. On soggy ground, a deeper crushed-stone base helps everything drain and stay firm.
Renters, listen up. You can build a removable version. Lay a heavy landscape fabric, add a shallow gravel layer inside a low timber or metal frame, and lift it out when you move. Low commitment, high payoff.
A Realistic Budget Breakdown (What You’ll Actually Spend)
Let’s put numbers to it, roughly, so you can plan.
For a 10×10 DIY gravel patio, the big line items are the crushed base, the landscape fabric, the decorative top gravel, and the edging. Buying gravel in bulk from a local landscape yard rather than bagged is the single biggest saver, often cutting the stone cost by a wide margin.
Rough tiers for a 10×10, doing the work yourself:
- Bare-bones: under $150 if you skip fancy edging and buy bulk gravel.
- Mid-range: in the $200 to $400 range with steel edging and a nicer top gravel.
- Splurge-lite: $400+ once you add a fire pit, stepping stones, and lighting.
These are ballpark ranges, not quotes. your local gravel and edging prices, since bulk stone and delivery fees swing a lot by region and season. For more ways to stretch a yard budget, browse our more backyard ideas on a budget.
Real experience, e.g. “We came in around $230 for our 10×12 build in Zone 6 by renting a plate compactor for a half-day instead of buying one, which alone saved close to $100.”
Plant Around It for the Cottage Look
Bare gravel looks unfinished. Planting is what makes it charming.
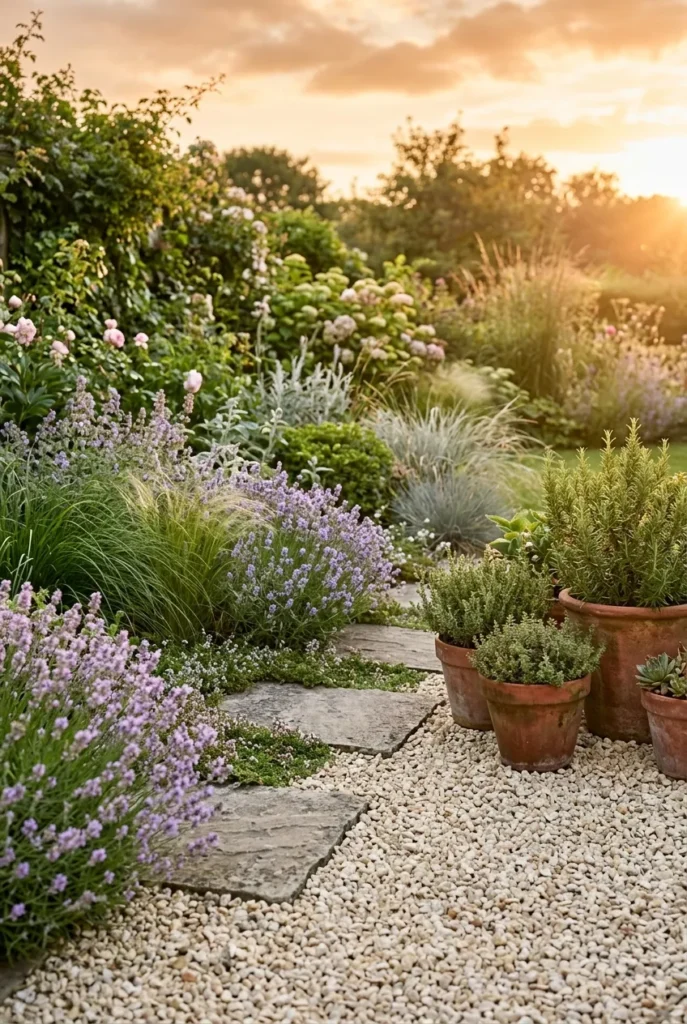
Soften the edges with lavender, ornamental grasses, creeping thyme, and potted boxwood. Gravel plays beautifully with drought-tolerant, Mediterranean-style plants, which also happen to be low-water and low-fuss.
Match plants to your climate before you buy. [check your USDA planting zone] so your lavender and rosemary actually survive the winter, and lean on hardy perennials for the border. In cooler zones (say 5 and 6), tuck tender herbs into pots you can move indoors.
A few gravel-garden favorites: lavender, catmint, sedum, and creeping thyme between stepping stones (it smells amazing when you step on it).
Style It for Every Season
A gravel patio earns its keep year-round if you dress it right.
Spring and summer bring the lush version: potted annuals, a bright outdoor rug, an umbrella for shade. Come fall, swap in warm throws, a few lanterns, and pull the fire pit into the spotlight. Winter, keep it simple with evergreens in pots and string lights for that cozy glow on cold clear nights.
The gravel base stays put through all of it, which is half the reason we love it.
Frequently Asked Questions
Are gravel patios a good idea?
Yes, for most budget backyards they’re a great idea. They’re cheap, they drain fast, they install in a weekend, and they suit almost any style. The main trade-off is that loose gravel shifts under furniture, which a firm base layer and good edging solve.
How do you make a simple gravel patio?
Mark your shape, dig down about 4 to 5 inches, lay and compact a crushed-stone base, roll landscape fabric over it, then spread 1 to 2 inches of pea gravel or decomposed granite. Finish with edging so the stones stay put. One weekend, basic tools.
What is the best gravel for a budget patio?
Pea gravel is the cheapest good-looking option and it’s easy to find in bulk. If you want a firmer surface for tables and chairs on a similar budget, decomposed granite packs down harder for not much more.
What kind of gravel is best for a patio?
It depends on use. Pea gravel for lounging and looks, decomposed granite or crushed stone for firm footing under furniture. Angular crushed stone is best for the compacted base layer beneath everything.
How deep should a gravel patio be?
Aim for roughly 4 inches total: about 2 to 3 inches of compacted base plus 1 to 2 inches of decorative gravel on top. Go a little deeper under heavy furniture or on soft, wet ground.
How do I stop gravel from spreading into my lawn?
Install edging. A border of steel, brick, timber, or cobbles keeps the stones contained. Landscape fabric underneath and a slight slope for drainage also help everything stay neat and firm.
Does a gravel patio need drainage?
Gravel drains well on its own, but you still want to grade the base so water flows away from your house. On soggy soil, a deeper crushed-stone base improves drainage and keeps the surface stable.
Ready to Build Your Budget Gravel Patio?
Here’s the short version: pick your gravel, nail the three-layer base, edge it clean, and style it with plants and warm light. That’s a patio that looks like a splurge and spends like a bargain.
Start small if you’re nervous. A tiny corner nook is a perfect first build, and you can always expand next season. Save this guide, pin your favorite look above, and tell us which idea you’re trying first. Your weekend project is waiting.