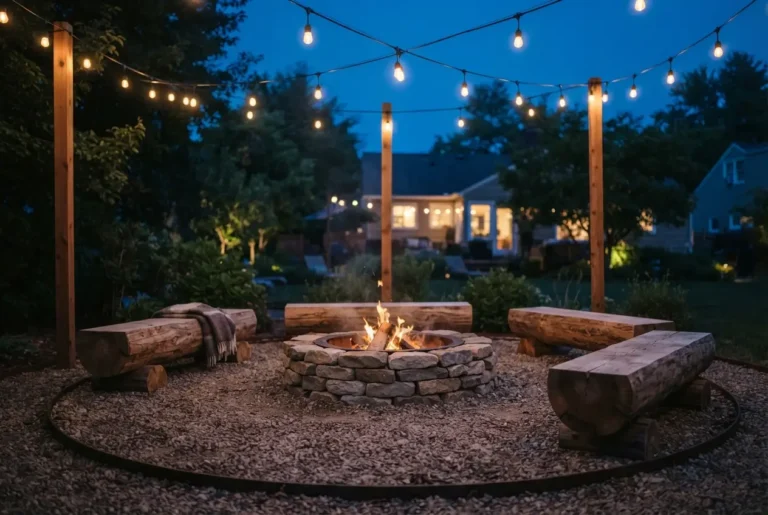
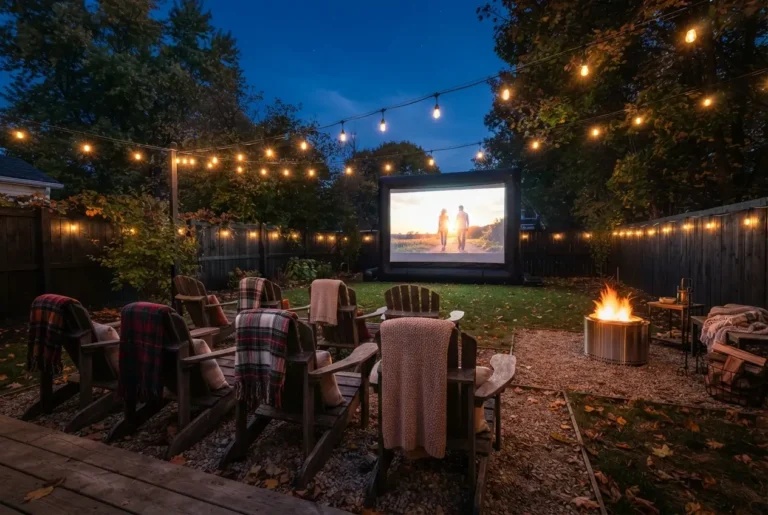
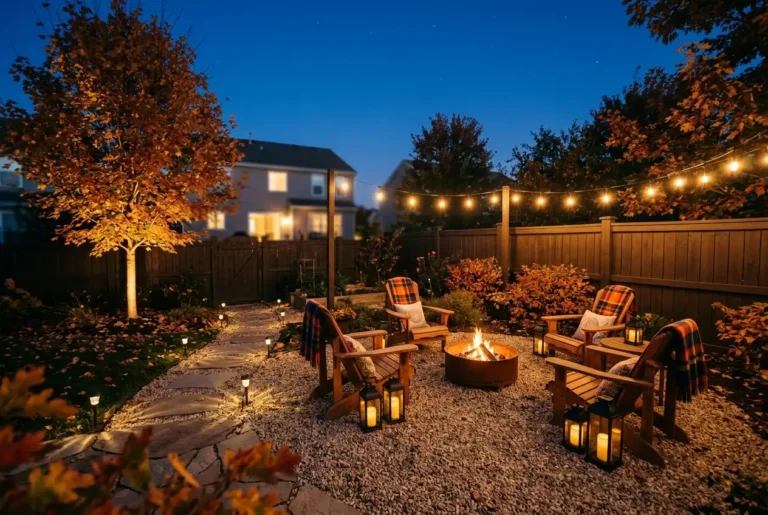
How to Build an In-Ground Fire Pit for Cozy Fall Nights

Fall is when a backyard fire finally makes sense. The bugs are gone, the air smells like dry leaves, and a hoodie is all you need. These in-ground fire pit ideas start with one plain truth: a pit set into the ground sits lower, blocks more wind, and keeps embers where they belong.
We’ll cover the whole build. Where to put it, how deep to dig, which rocks crack in heat, and what the materials cost at Home Depot and Walmart this season. You’ll also get The 18-6-12 Dig Rule, our three-number shortcut for sizing the hole so it drains in October rain and still breathes well enough to burn clean.
After that come five looks worth stealing, plus a fall checklist for leaves, damp firewood, and burn bans. Most of the work fits into one weekend with a shovel, a tamper, and a few bags of gravel.
Grab a tape measure. Let’s find your spot
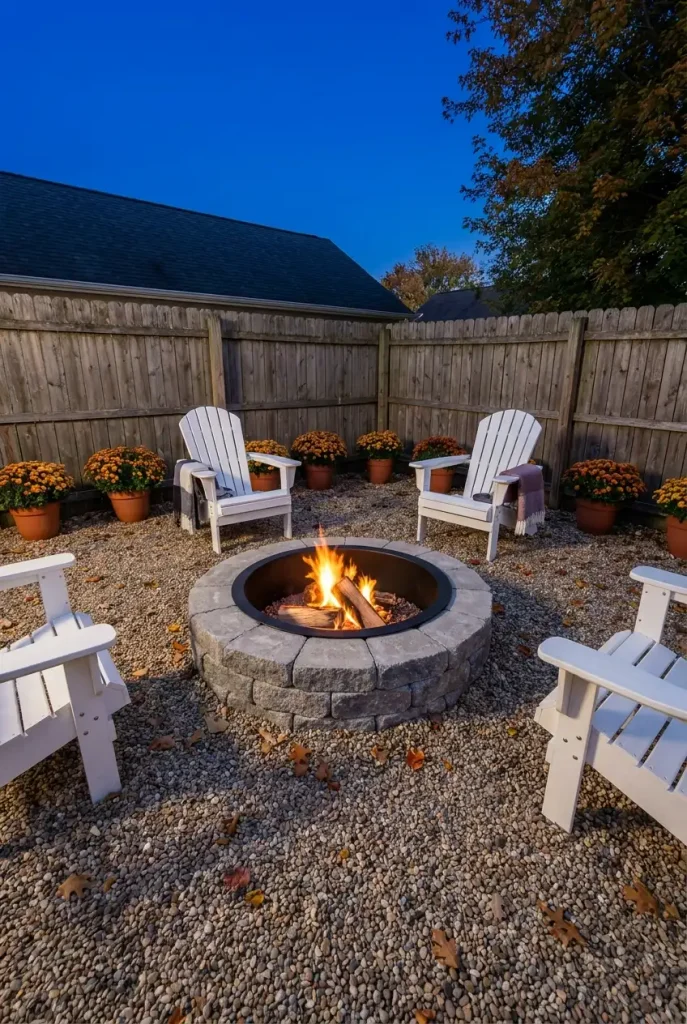
Why a Sunken Fire Pit Wins on Fall Nights
A fire bowl on legs is easy. Carry it out, light it, done.
A sunken fire pit asks more of you on day one and pays you back every chilly night after. Here’s why we lean in-ground once the leaves start dropping:
- Wind rides over it. The flames burn below the rim, so autumn gusts skim across the top instead of shoving smoke into someone’s face.
- Sight lines stay open. Nothing rises more than a block or two off the ground, so you still see the garden past the fire.
- It looks like part of the yard. Set flush with gravel or pavers, it reads as built in, not as furniture somebody forgot to put away.
- You buy fewer blocks. Much of the structure is the hole itself, so the wall above grade can stop at one or two courses.
There’s a catch. A hole collects rainwater, it stays behind when you move, and digging means checking for buried lines first.
Wind also hits people at seat height, not just the flames. If your seating area feels exposed, pair the pit with one of these budget backyard privacy ideas so the shelter works where you actually sit.
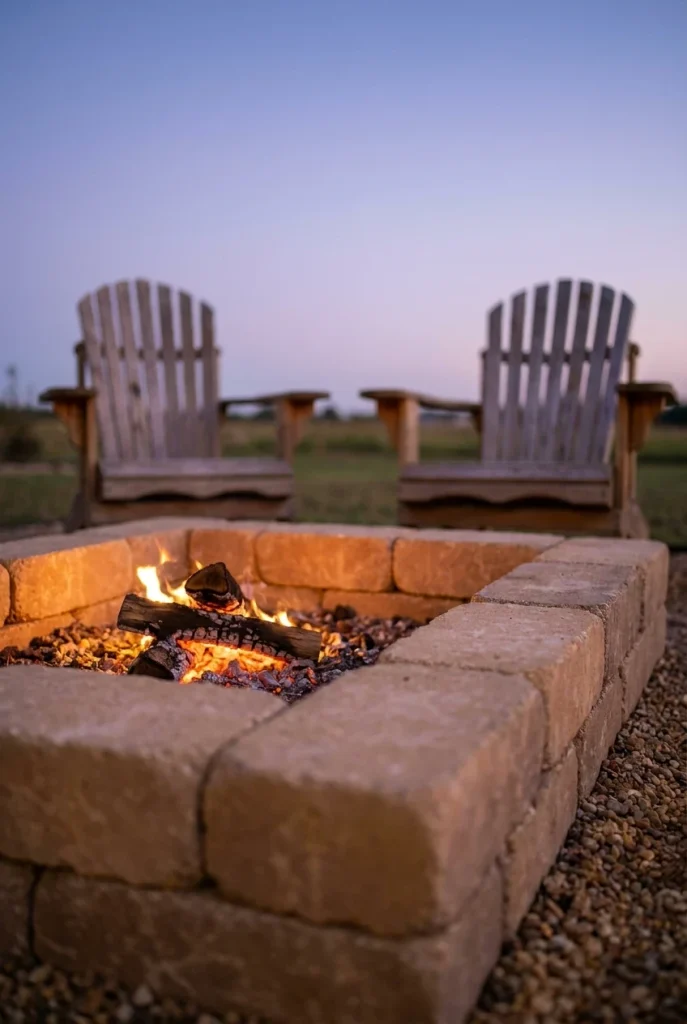
In-Ground Fire Pit Ideas Worth Copying
Five looks, five different digs and budgets. Pick the one that fits your yard, then follow the build steps further down.
Flush ring in a paver patio
Pavers run right up to a steel ring set at ground level. There’s nothing to trip over, and the whole patio sweeps clean with a push broom. Still choosing a surface? Our roundup of budget backyard patio ideas pairs well with this look.
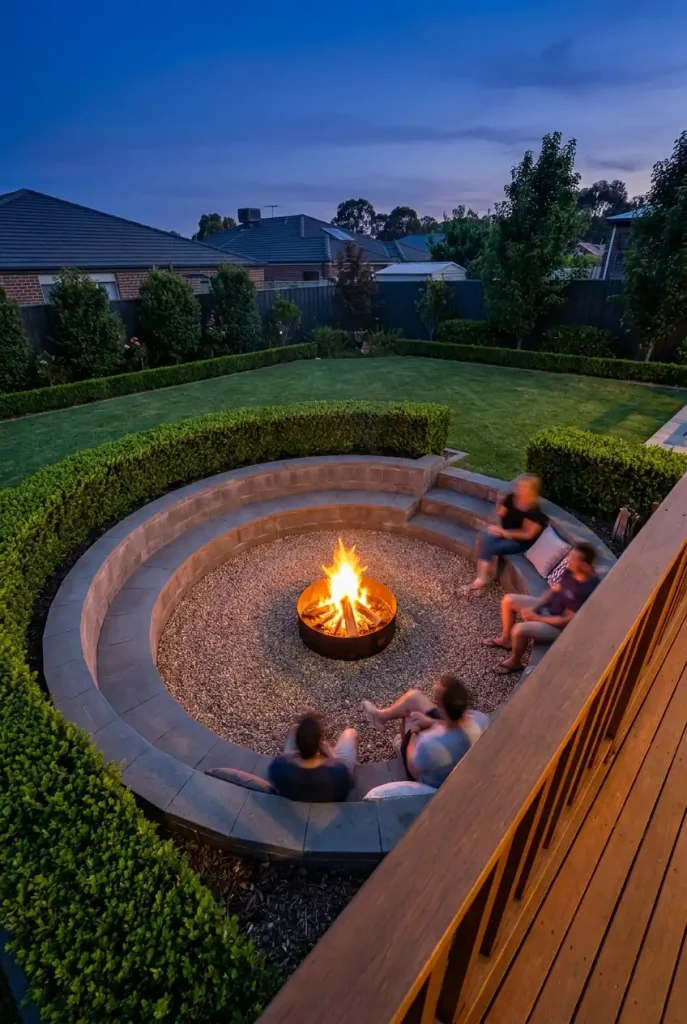
Sunken gravel lounge
Dig the whole seating circle down one step, roughly the height of a retaining wall block, and floor it with pea gravel. The wall around the edge turns into a built-in bench. Bigger dig, bigger payoff, and drainage matters twice as much here.
Flagstone rim around a steel ring
Irregular flagstone laid around a round steel insert gives a rustic edge without a mortar job. The steel takes the heat. The stone stays a step back from the flames, which is exactly where natural stone belongs.
Half-sunk block kit
Stacked block kits are built to sit on top of the ground, but nothing stops you from setting the bottom course or two below grade. You get a no-cut kit with a lower, more built-in profile. It’s the splurge pick in the cost table below.
Square fire well with a modern edge
A square steel insert inside a square paver pad looks clean, and square pavers need fewer cuts. One 36-inch square insert we found on Walmart’s site measures 30 by 30 inches inside with 10-inch walls, a handy size for four chairs.
| Idea | Best for | Cost tier | Effort |
|---|---|---|---|
| 🧱 Flush paver ring | Patios that double as play space | Mid | Weekend plus patio work |
| 🪑 Sunken gravel lounge | Larger yards that drain well | Mid to high | Two or more weekends |
| 🪵 Flagstone rim | Rustic or cottage gardens | Low to mid | One weekend |
| 🔥 Half-sunk block kit | No-cut, kit-style builders | High | One weekend |
| ⬛ Square fire well | Modern yards, square paver pads | Low to mid | One weekend |
Pick the Spot, Then Call 811 Before You Dig
Wrong spot, wrong fire. Most regrets with an in-ground pit trace back to where it went, not how it was built.
Walk the yard on a breezy evening and watch which way smoke from the grill drifts. Put the pit where that smoke heads away from the house and the patio door. Then check four things:
- Distance. Home Depot’s in-ground build guide sets the pit at least 15 feet from shrubs, trees, and buildings. Alabama Extension’s tips for burning safely during bonfire season suggest at least 10 feet from structures. Your local code beats both.
- Overhead. No branches, wires, or patio covers above the pit.
- Low spots. If puddles sit there after rain, a hole will turn into a pond. Pick higher ground or plan a drain.
- Level. Flat ground saves you hours of shimming blocks later.
Now the step most DIY guides skip. Call 811, or file a request online, a few working days before you dig; your state sets the exact lead time. The service is free, and utility crews come out to mark buried gas, electric, and water lines with paint or flags. A fire pit dug over a gas line is the kind of mistake that ends up on the local news.
⚠️ Watch Out
Check your city’s burn rules before you light anything, keep the clearance from structures and branches that your fire pit’s manual and local code call for, and never leave a fire unattended.
The 18-6-12 Dig Rule: How Deep Should a Fire Pit Be?
Three numbers. One hole. Here’s our rule for a standard pit about 36 inches across inside:
📏 The 18-6-12 Dig Rule
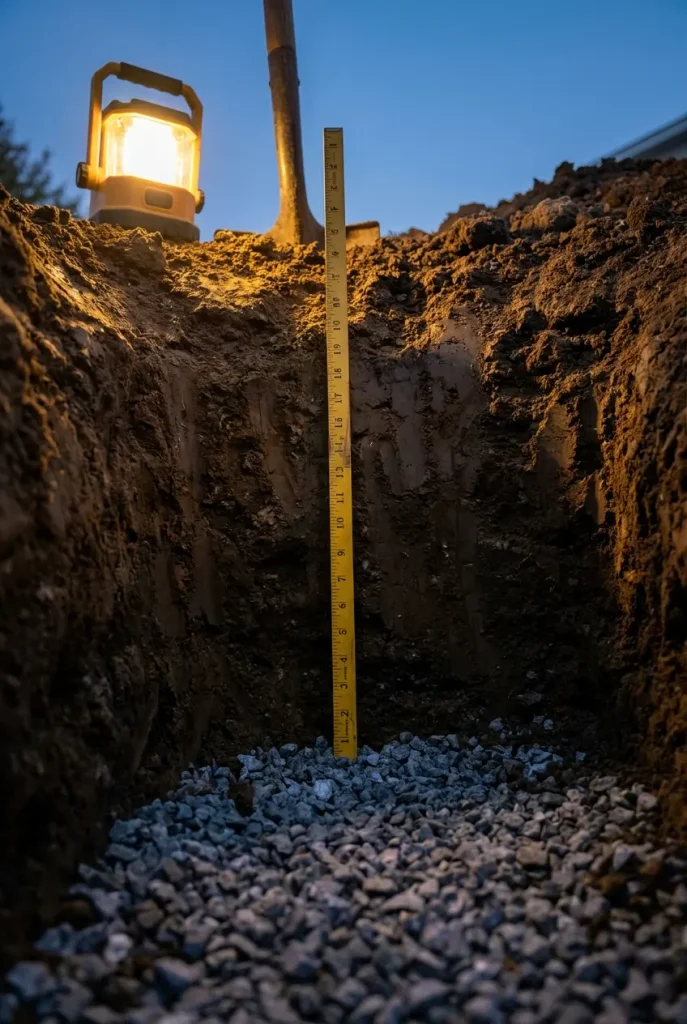
Dig 18 inches. That matches the depth in Home Depot’s in-ground guide for a 36-inch pit, and it leaves room for everything below.
Pour 6 inches of coarse gravel. Rain drains down through it instead of pooling under the fire, and your blocks get a firm, level bed.
Keep the fire well at 12 inches or less. Most guides land between 6 and 12 inches. Western Interlock’s depth chart puts 30 to 40 inch pits at 6 to 8 inches, so a smaller pit should sit on the shallow end. Count any block courses above ground as part of that depth.
Here’s the part people get backward. Deeper feels safer, but it isn’t. Past about a foot, air struggles to reach the bottom logs, so the fire smolders and smokes more, and a deep pit holds even more water after every storm. Depth guides tie depth to airflow for exactly this reason.
What a DIY In-Ground Fire Pit Really Costs
These prices come from listings we checked in early October 2026. They change often, so treat them as ballparks and confirm before you buy.
| 💲 Tier | What you buy | Ballpark |
|---|---|---|
| Budget | 36 in. steel ring insert (about $68 at Walmart) plus two boxes of Rutland fire brick ($34.49 per 6-pack at Home Depot) plus bagged gravel | Roughly $150 to $250 (estimate) |
| Middle | A ring of concrete retaining wall blocks from Lowe’s or Home Depot, a steel insert, gravel, and landscape fabric | A few hundred dollars (estimate) |
| Splurge | Pavestone RumbleStone 46 in. Fire Pit Kit No. 2 with round steel insert, plus gravel | About $1,011 for the kit at Home Depot |
Spend on the liner and save on the look. Concrete wall blocks aren’t made to take direct flame, and they can crack or crumble when they do. Fire brick or a steel ring is the cheap insurance.
For tools, you need a round-point shovel, a hand tamper, a 4-foot level, a tape measure, stakes, and string. The tamper is the one people skip. It’s also the one that keeps your blocks from settling crooked by spring.
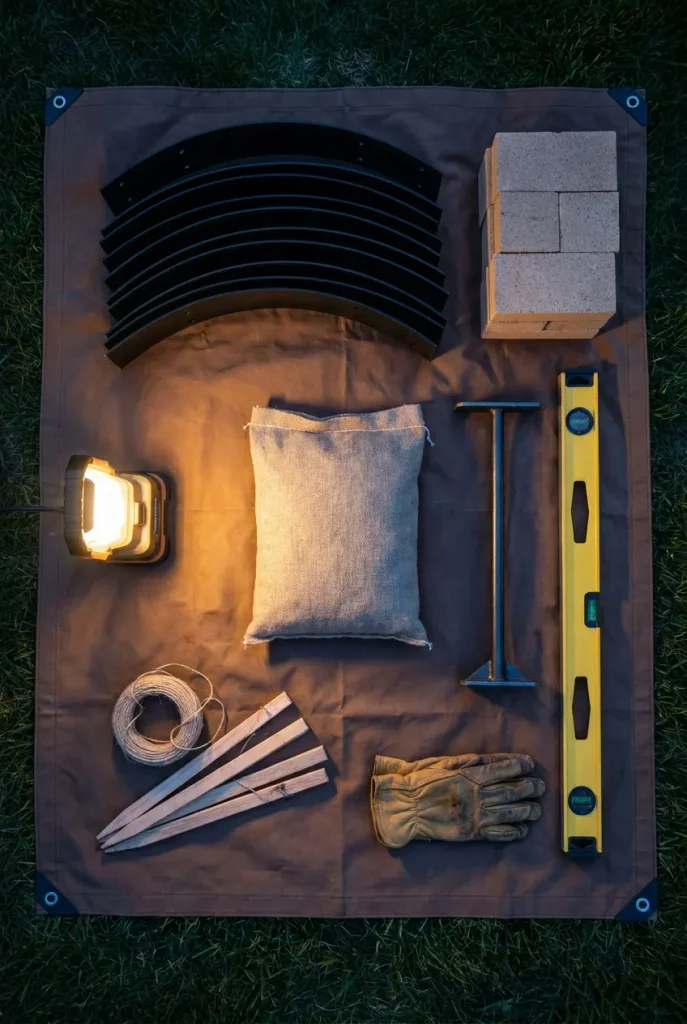
How to Build an In-Ground Fire Pit, Step by Step
Home Depot rates its version as an advanced project that runs longer than a day, so block out a full weekend. Saturday is for digging. Sunday is for building.
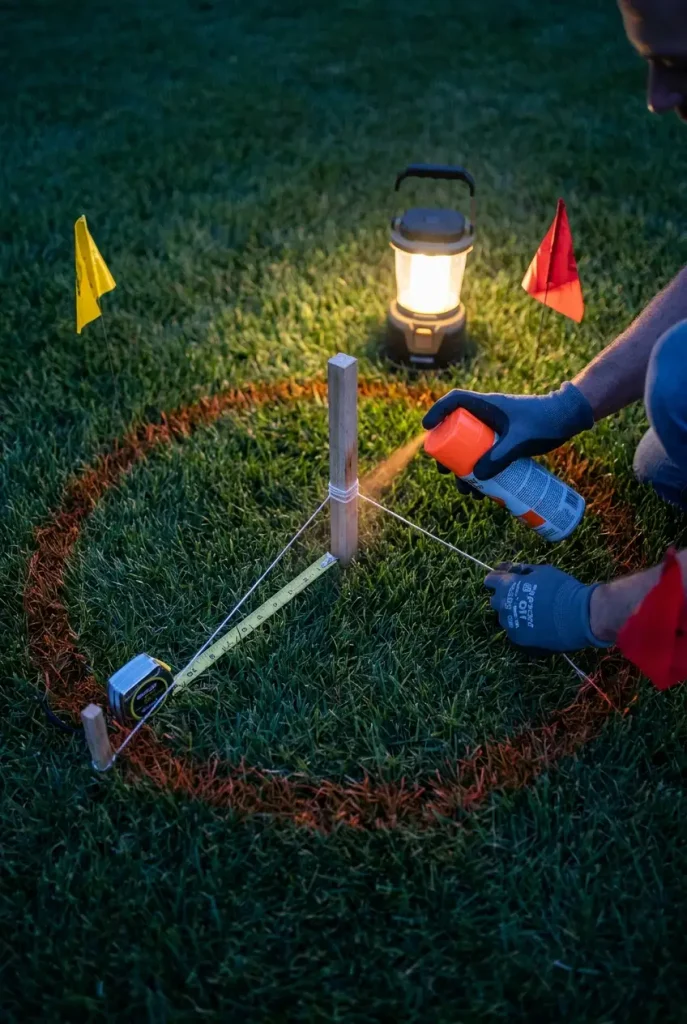
Drive a stake in the center, tie string to it, and spray-paint a circle. Make the radius half your inside width plus the depth of one wall block.
Dig 18 inches down with straight sides and a flat floor. Pile the dirt on a tarp so the lawn survives.
Give rain somewhere to go. In soil that drains well, Home Depot’s guide adds a 12-inch-wide, 18-inch-deep drain hole in the center, filled with gravel. In heavy clay, it runs a 4-inch pipe out to lower ground instead.
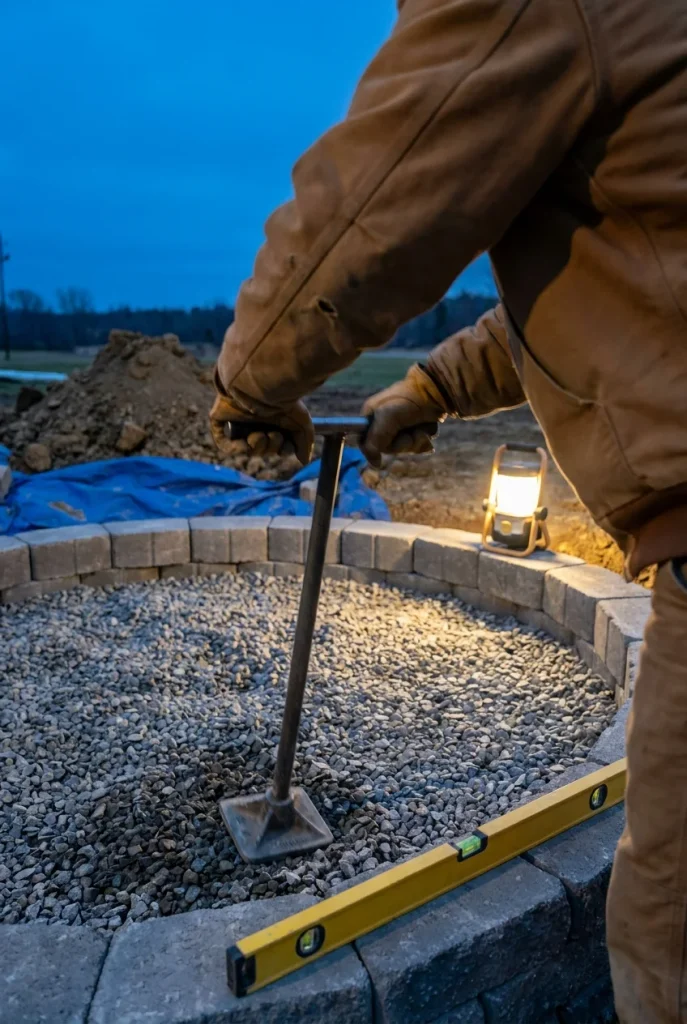
Pour 6 inches of coarse gravel, tamp it hard, and check it with a level in two directions.
Set the first course of blocks on the gravel, leveling each one. This row decides how straight everything above it sits.
Stack the next courses with staggered joints until the top sits at or just above ground level.
Line the inside with a steel ring or fire brick so the concrete blocks never take direct flame.
Backfill around the outside with gravel, tamp it, then finish the surround. Slope pavers away from the pit about 1 inch every 8 feet so rain runs off.
Keep the first fire small. Watch the blocks and the liner as they heat up. A hairline crack or a shifting block is far easier to fix now than after a winter of freezing and thawing.
Pick Rocks That Won’t Crack in the Heat
Those smooth river stones in so many fire pit photos are the rocks we’d keep farthest from the flames.
River rock soaks up water. When it heats fast, that trapped moisture turns to steam, and the pressure can crack the stone or burst it, throwing hot chips, according to Hello Gravel’s river rock safety guide. The same goes for pea gravel inside the fire well and any stone that has been sitting in a wet creek bed. Fall rain makes all of it riskier.
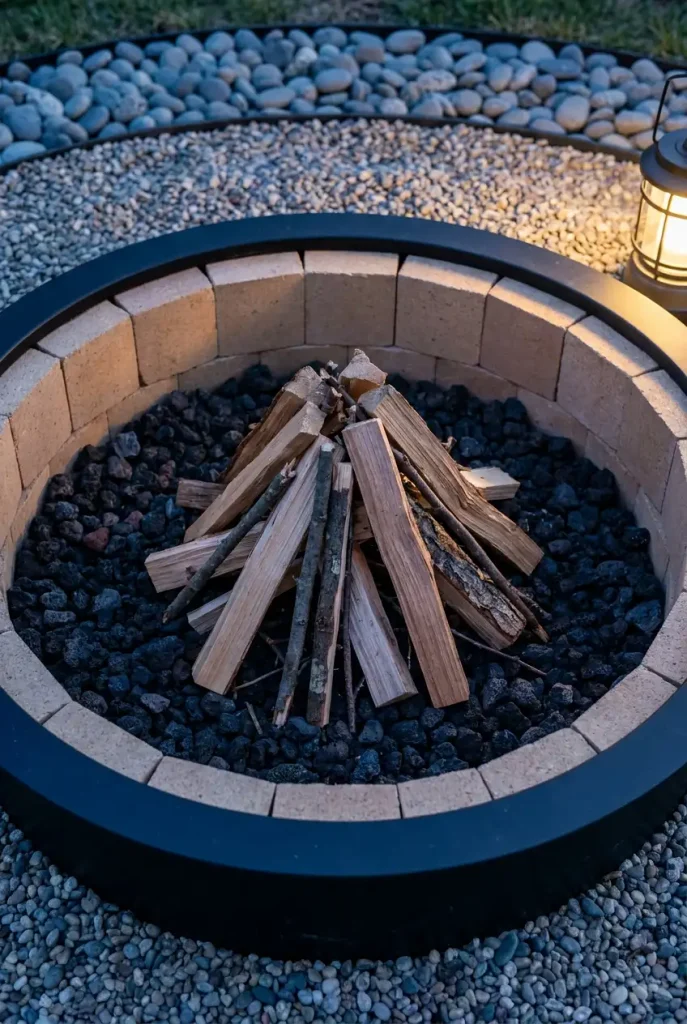
What belongs in the flame zone: fire brick, lava rock, fire-rated pavers, and steel. The Rutland fire brick from the cost table is rated to 2,700°F on its Home Depot listing, which is a lot more than a backyard fire throws at it.
Fire brick lining the walls.
Lava rock across the floor.
A steel ring insert or fire-rated pavers.
River rock and pea gravel. Use them as ground cover a few feet out.
Creek stones or any rock that has been sitting wet.
Plain concrete blocks with no liner between them and the fire.
Fall-Proof It: Rain, Leaves, Damp Wood, and Burn Bans
October throws four problems at an in-ground pit. Each one has a quick fix.
Rain. A sunken pit works like a catch basin. After a storm, scoop out wet ash before it cakes into gray paste on the gravel, then give the pit a dry day before you light it. If water still stands 24 hours later, your drain needs work.
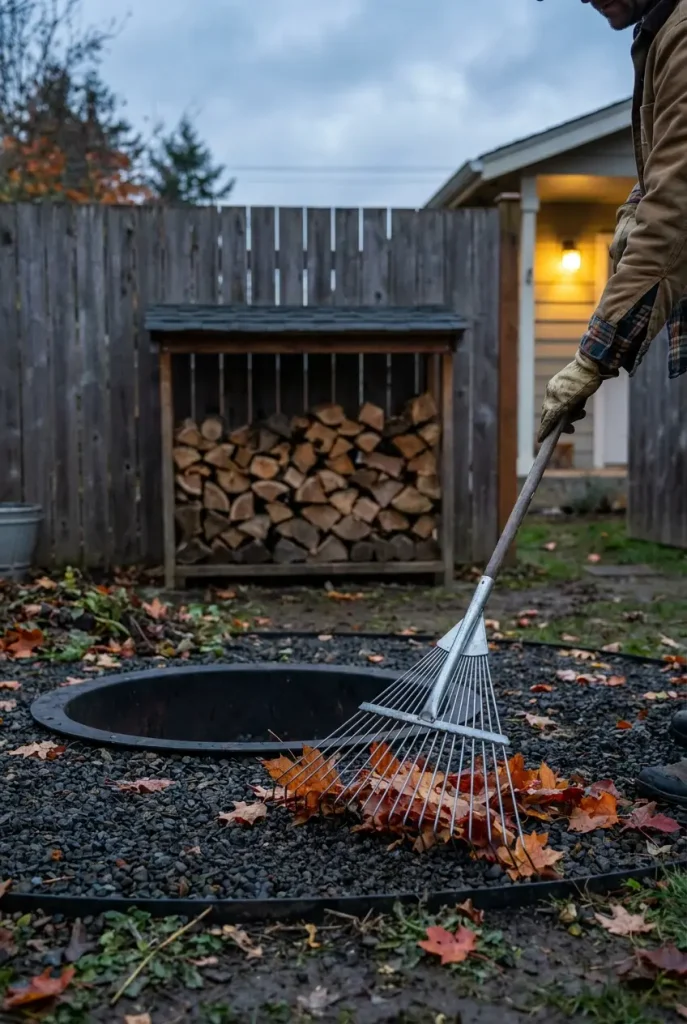
Leaves. Rake a clear ring around the pit before every fire. Dry leaves drift into a gravel border fast, and they catch even faster. Skip the urge to burn the pile, too. EPA guidance on backyard recreational fires lists yard waste among the things you shouldn’t burn, since it makes more smoke and can be toxic.
Damp wood. The same EPA page says seasoned firewood burns best at about 20 percent moisture. A pin-style moisture meter from General Tools runs roughly $12 to $44 at Walmart, and it settles the “is this dry?” debate in five seconds.
Burn bans. Dry autumn spells bring bans fast. New York, for one, put a statewide burn ban in place in early October 2025 during a drought. Rules on whether backyard pits count vary by place, so check your county or fire department page on the day you plan to light up.
When the night ends, use the drown, stir, drown, feel method Alabama Extension teaches. Pour water until the hissing stops, stir the embers, add more water, and hover a hand over the ashes to make sure they’re cool.
🍂 Before you light it this fall
Set Up the Seating Circle
Fire draws people in. Chairs decide whether they stay.
Leave a clear walking lane between the chairs and the pit rim, so nobody has to step over a hot edge to refill a drink. Start with the chairs pulled back. People can always scoot closer once the fire settles.
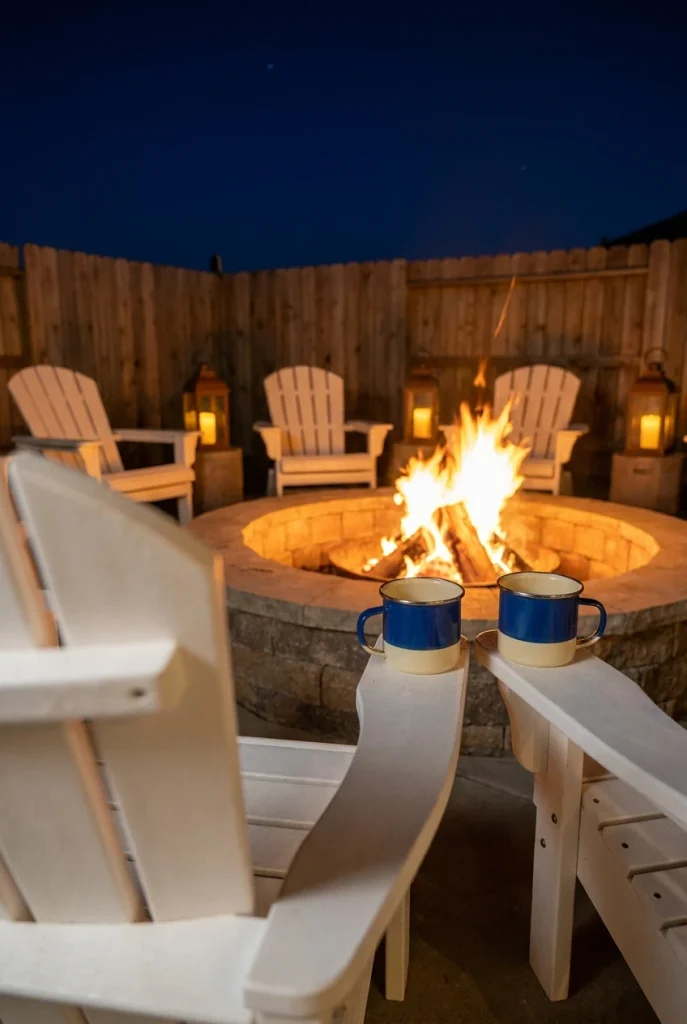
Chair material matters more than style. Wood and metal shrug off a stray spark. Poly lumber handles rain and frost well, which is why POLYWOOD’s Classic Folding Adirondack Chair (from $239 on Polywood’s site) shows up around so many fire pits. Any plastic-based chair can scar if a popping ember lands on it, though, so give those an extra foot of space.
Light the path, not the circle. A few lanterns along the fence or walkway keep people from tripping without washing out the firelight. You can find inexpensive lanterns and solar stakes among our Dollar Tree backyard decor ideas. Keep throws and seat pads in a lidded deck box so evening dew doesn’t soak them.
🔥 Bright light outside the circle, firelight inside it. Your eyes adjust to the glow, faces stay warm, and on a clear night the stars show up too.
Frequently Asked Questions
How deep should an in-ground fire pit be?
For a typical 36-inch pit, keep the fire well about 12 inches deep or less. Most build guides land between 6 and 12 inches, with smaller pits on the shallow end. Dig the hole about 18 inches so there’s room for 6 inches of drainage gravel underneath. Going deeper than a foot tends to starve the fire of air, which means more smoke and a pit that holds water.
Do you need gravel in the bottom of an in-ground fire pit?
Yes. A layer of coarse gravel, about 6 inches in most guides, lets rain drain down instead of pooling where the fire sits. It also gives your wall blocks or steel ring a firm, level base. In soil that drains poorly, add a gravel-filled drain hole in the center or a pipe that carries water out to lower ground.
Can you put river rocks in a fire pit?
Keep river rock out of the flame zone. Smooth river stones can hold moisture, and when they heat up, that water turns to steam that can crack or burst the rock and throw hot pieces. Line the fire well with fire brick, lava rock, or a steel ring instead, and save river rock for ground cover a few feet out.
How far should a fire pit be from the house?
Your local fire code sets the real number, so check it first. As reference points, Home Depot’s in-ground build guide uses at least 15 feet from buildings, trees, and shrubs, and Alabama Extension suggests at least 10 feet from structures. Also look up for branches and wires, and place the pit so smoke drifts away from doors and windows.
Do you need a fire pit ring for an in-ground fire pit?
You don’t strictly need one, but it’s a smart buy. A steel ring insert or a fire brick lining takes the direct heat so your concrete wall blocks don’t crack or crumble over time. Basic steel inserts are often under $100. One 36-inch square insert we found was listed around $68, which is cheap insurance for the blocks around it.
Do I need a permit to build an in-ground fire pit?
It depends on where you live. Some cities treat a permanent fire pit like any other outdoor fire feature and want a permit or inspection. Others only regulate when and what you burn. Call your city building or fire department before you dig, and check HOA rules too. While you have them on the phone, ask about burn days.
Your First Fire of the Season
Start small. Mark the circle, call 811, dig to the 18-6-12 Dig Rule, and the rest of the build comes together over one weekend.
Most of the in-ground fire pit ideas above share the same bones: a gravel bed, a heat-proof liner, and a spot where smoke drifts away from the house. Pick the look that fits your yard. Buy wood that’s actually dry, and rake the leaves back before you strike a match.
Then pull up a chair and stay out late.
Save this guide to your fall projects board so the depth numbers and the before-you-light checklist are on your phone when you’re standing at the hole with a shovel.